

Lemon Baking Soda Oven Cleaner: Tired of battling baked-on grime and harsh chemicals every time you tackle your oven? I know I was! For years, I dreaded oven cleaning day, resorting to overpowering sprays that left my kitchen smelling like a science lab. But what if I told you there’s a simple, natural, and incredibly effective solution hiding in your pantry?
Using lemon and baking soda for cleaning isn’t exactly a new idea. In fact, our grandmothers likely used similar methods, drawing on the natural cleaning power of these ingredients long before commercial cleaners dominated the market. It’s a return to simpler times, a nod to resourcefulness, and a way to keep our homes (and our lungs!) healthier.
This DIY Lemon Baking Soda Oven Cleaner isn’t just about nostalgia, though. It’s about reclaiming control over the products we use in our homes. It’s about saving money, reducing our exposure to harmful chemicals, and achieving sparkling clean results without the elbow grease (okay, maybe a little elbow grease!). Plus, the fresh, citrusy scent is a welcome change from the usual chemical odor. So, ditch the harsh sprays and let’s get started on creating a natural oven cleaner that will leave your oven looking (and smelling) fantastic!
DIY Lemon Baking Soda Oven Cleaner: A Sparkling Clean Oven Without Harsh Chemicals!
Okay, let’s face it, cleaning the oven is probably on everyone’s list of least favorite chores. But a sparkling clean oven makes baking so much more enjoyable! And the best part? You don’t need harsh chemicals to get it done. I’m going to show you how to create a powerful, natural oven cleaner using just lemon and baking soda. It’s safe, effective, and smells amazing!
What You’ll Need:
* Baking Soda
* Lemons (2-3 depending on size)
* Water
* Spray Bottle
* Sponge or Scrub Brush
* Rubber Gloves (optional, but recommended)
* Bowl
* Spatula or Scraper
* Clean Cloth or Paper Towels
Why This Works: The Science Behind the Sparkle
Baking soda is a mild alkali, which means it can help dissolve grease and grime. Lemon juice is acidic, and the combination of the two creates a fizzing action that helps lift stubborn stains. Plus, the lemon scent is a natural deodorizer, leaving your oven smelling fresh and clean. This method is much gentler than commercial oven cleaners, which often contain harsh chemicals that can be harmful to your health and the environment.
Getting Started: Preparation is Key
Before we dive into the cleaning process, let’s get everything prepped and ready to go. This will make the whole process smoother and more efficient.
1. Remove Oven Racks and Accessories: Take out all the oven racks, baking sheets, pizza stones, or anything else that’s inside your oven. We’ll clean these separately later.
2. Protect Your Workspace: Lay down some old newspapers or a drop cloth around the base of your oven to catch any drips or spills. This will save you from having to clean up a bigger mess later.
3. Ventilate the Area: Open a window or turn on your kitchen fan to ensure good ventilation. Even though we’re using natural ingredients, it’s always a good idea to have fresh air circulating.
4. Lightly Dampen the Oven Interior: Using a spray bottle filled with water, lightly mist the interior surfaces of your oven. This will help the baking soda paste adhere better. Don’t soak it, just a light spritz will do.
Making the Lemon Baking Soda Paste: The Magic Mixture
Now for the fun part! Let’s create our powerful cleaning paste.
1. Combine Baking Soda and Water: In a bowl, mix together about 1/2 cup of baking soda with enough water to form a thick, spreadable paste. You’ll want a consistency similar to frosting. Add the water gradually, a tablespoon at a time, until you reach the desired consistency.
2. Add Lemon Juice: Squeeze the juice from one or two lemons into the baking soda paste. You should see it start to fizz! This is the chemical reaction that helps loosen the grime. Stir the lemon juice into the paste until it’s well combined. The amount of lemon juice you need will depend on the size of your lemons and the consistency of your paste. Aim for a slightly thinner consistency than before, but still thick enough to spread easily.
3. Optional: Add Lemon Zest (for extra cleaning power and fragrance): If you want an extra boost of cleaning power and a more intense lemon fragrance, you can add a tablespoon or two of lemon zest to the paste. Just make sure to wash the lemons thoroughly before zesting.
Applying the Paste: Getting Down and Dirty
Time to get our hands dirty (well, maybe with gloves on!). This is where we apply the lemon baking soda paste to the oven interior.
1. Apply the Paste Generously: Using a spatula, your hands (with gloves!), or a scrub brush, spread the baking soda paste all over the interior surfaces of your oven. This includes the walls, floor, door, and even the heating elements (if they’re accessible). Avoid the heating elements if you are unsure.
2. Focus on Problem Areas: Pay special attention to areas with heavy grease buildup or baked-on food splatters. Apply a thicker layer of paste to these areas and really work it into the grime.
3. Avoid the Heating Elements and Fan: Be careful not to get the paste on the heating elements or the fan (if your oven has one). These components can be damaged by the paste.
4. Leave it Overnight: This is the most important step! Let the baking soda paste sit in your oven for at least 12 hours, or preferably overnight. This gives the baking soda and lemon juice time to work their magic and loosen the grime.
Cleaning the Oven Racks: A Separate Operation
While the paste is working its magic inside the oven, let’s tackle those dirty oven racks.
1. Soaking Method (Recommended for Heavily Soiled Racks): Fill your bathtub (or a large utility sink) with hot water and add about 1/2 cup of dish soap and 1/2 cup of baking soda. Submerge the oven racks in the water and let them soak for several hours, or even overnight. The hot water and soap will help loosen the grease and grime.
2. Scrubbing Method (For Lighter Cleaning): If your racks aren’t too dirty, you can simply scrub them with a sponge or scrub brush and some dish soap. Rinse them thoroughly with water.
3. Rinse and Dry: After soaking (or scrubbing), rinse the oven racks thoroughly with clean water to remove any soap residue. Dry them completely with a clean cloth before putting them back in the oven.
Removing the Paste: The Final Touches
After letting the paste sit overnight, it’s time to remove it and reveal your sparkling clean oven!
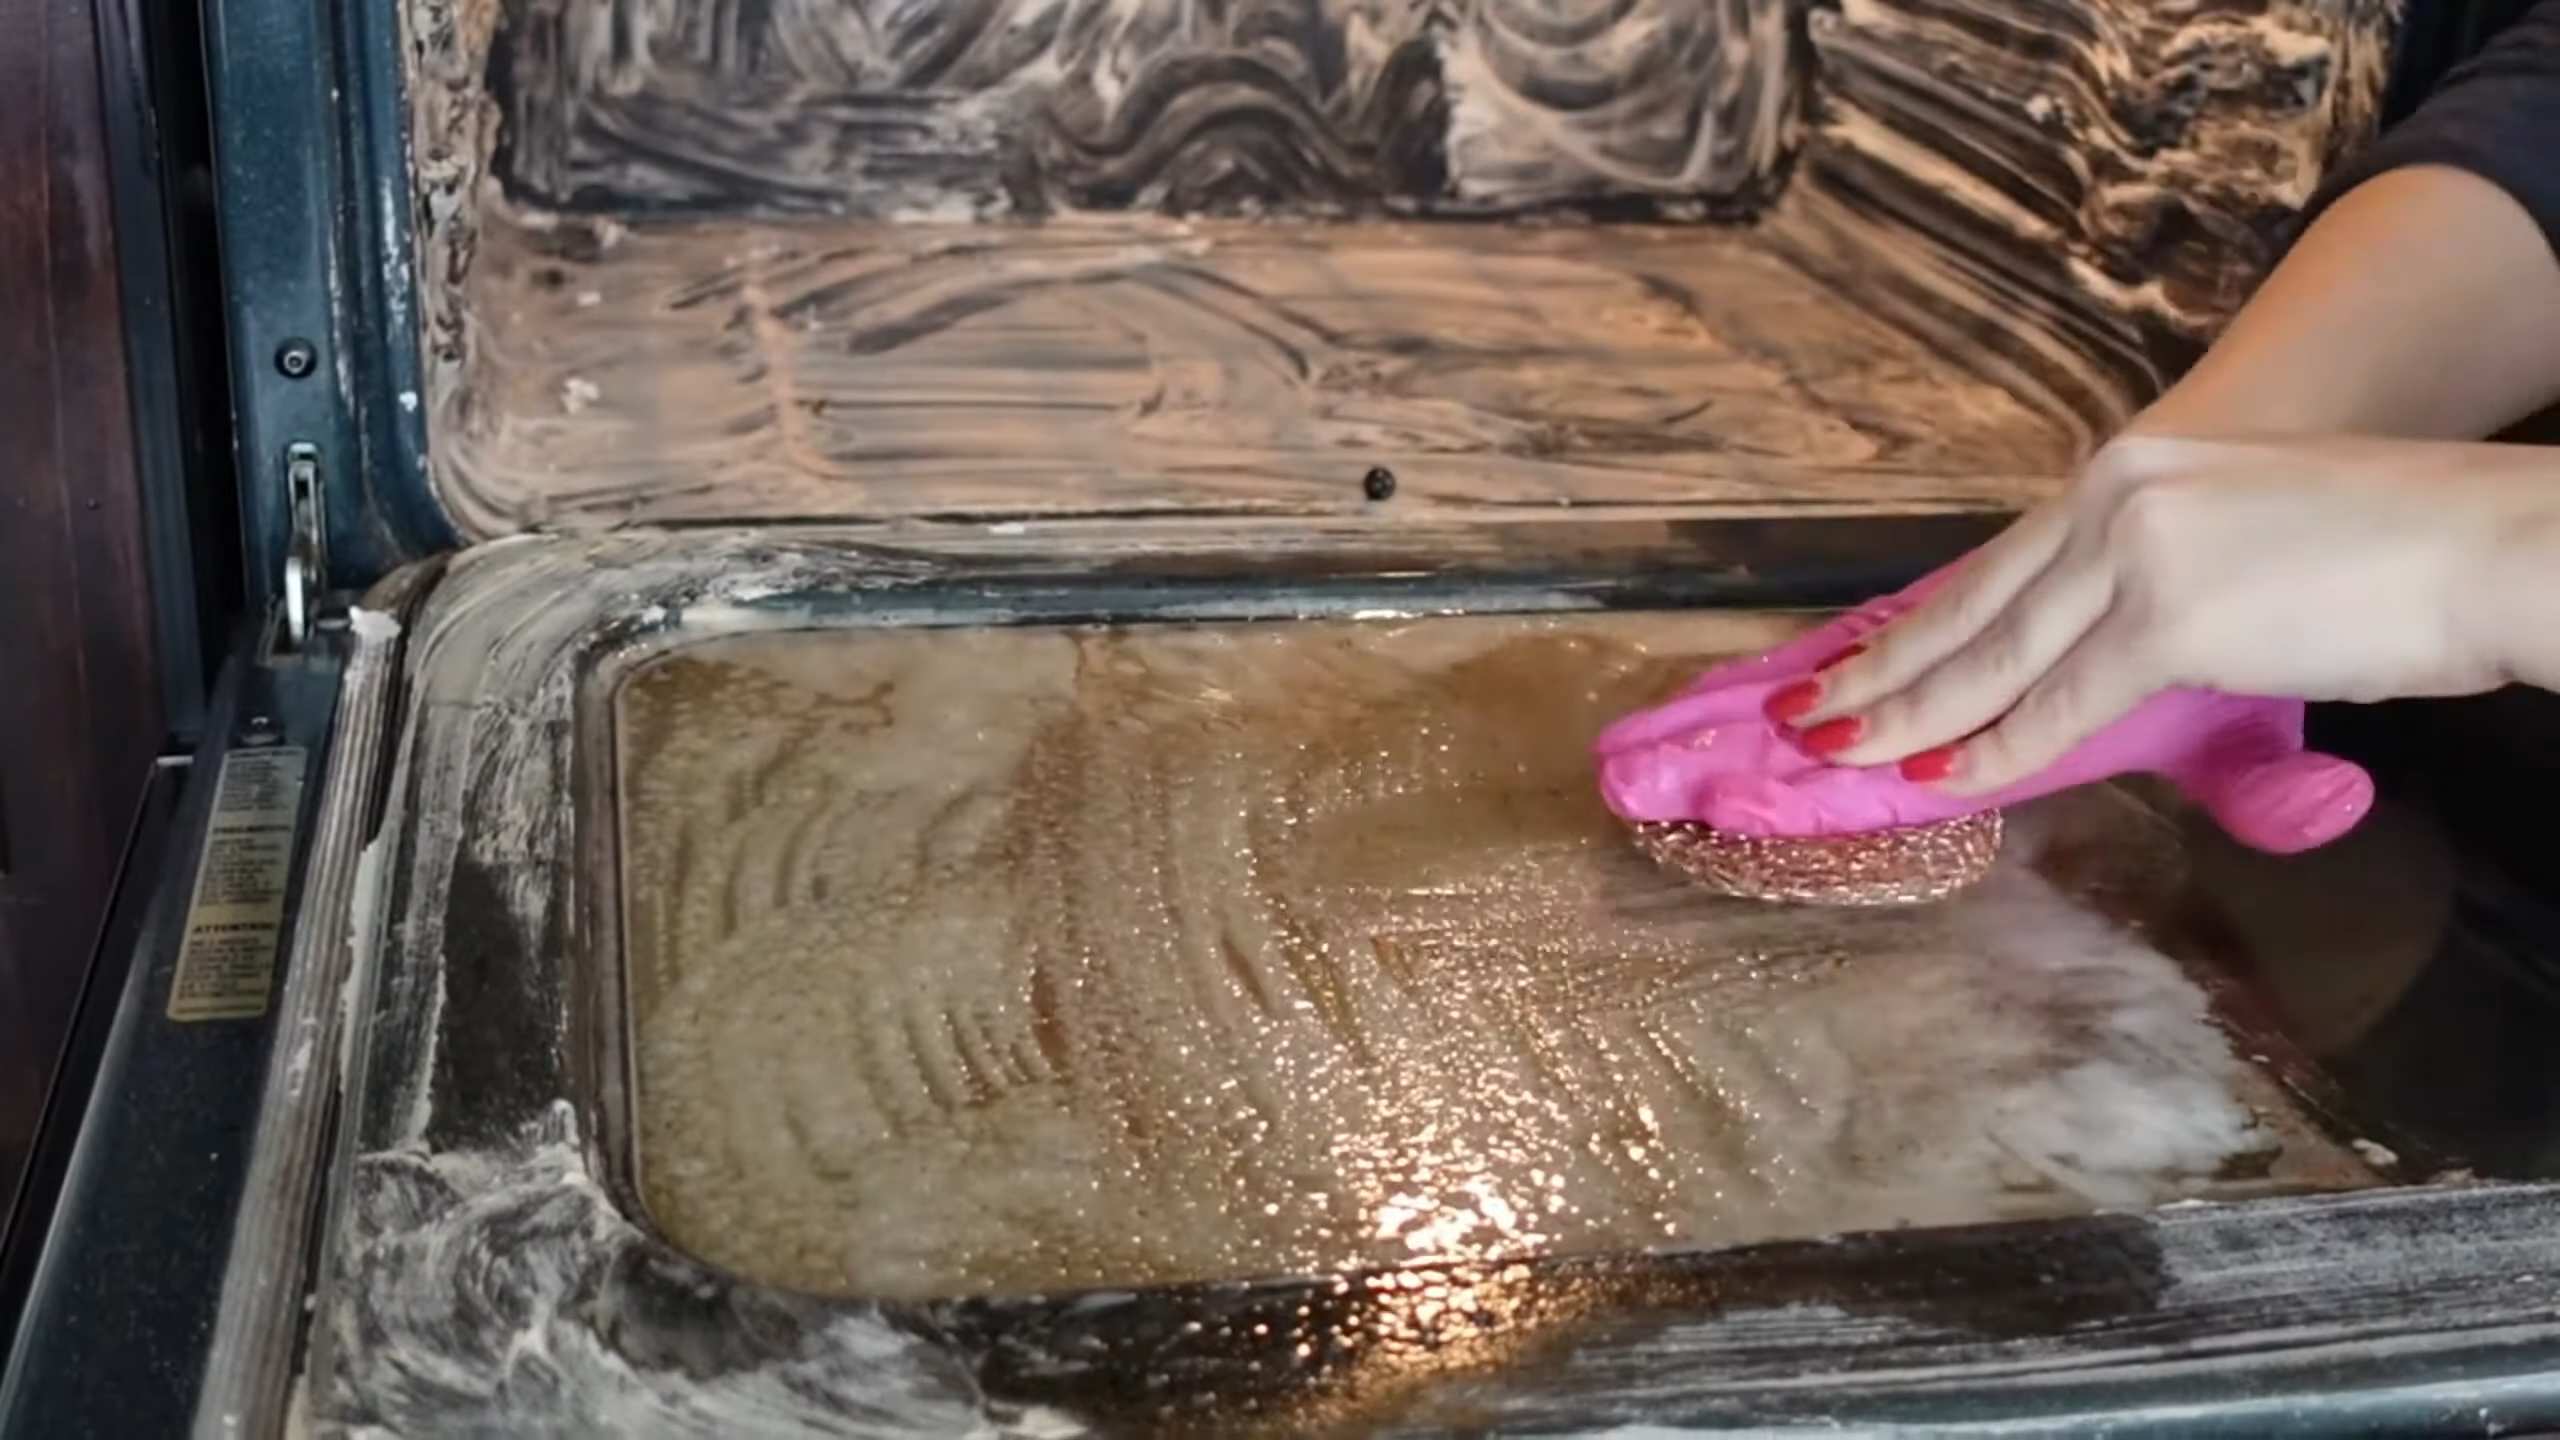
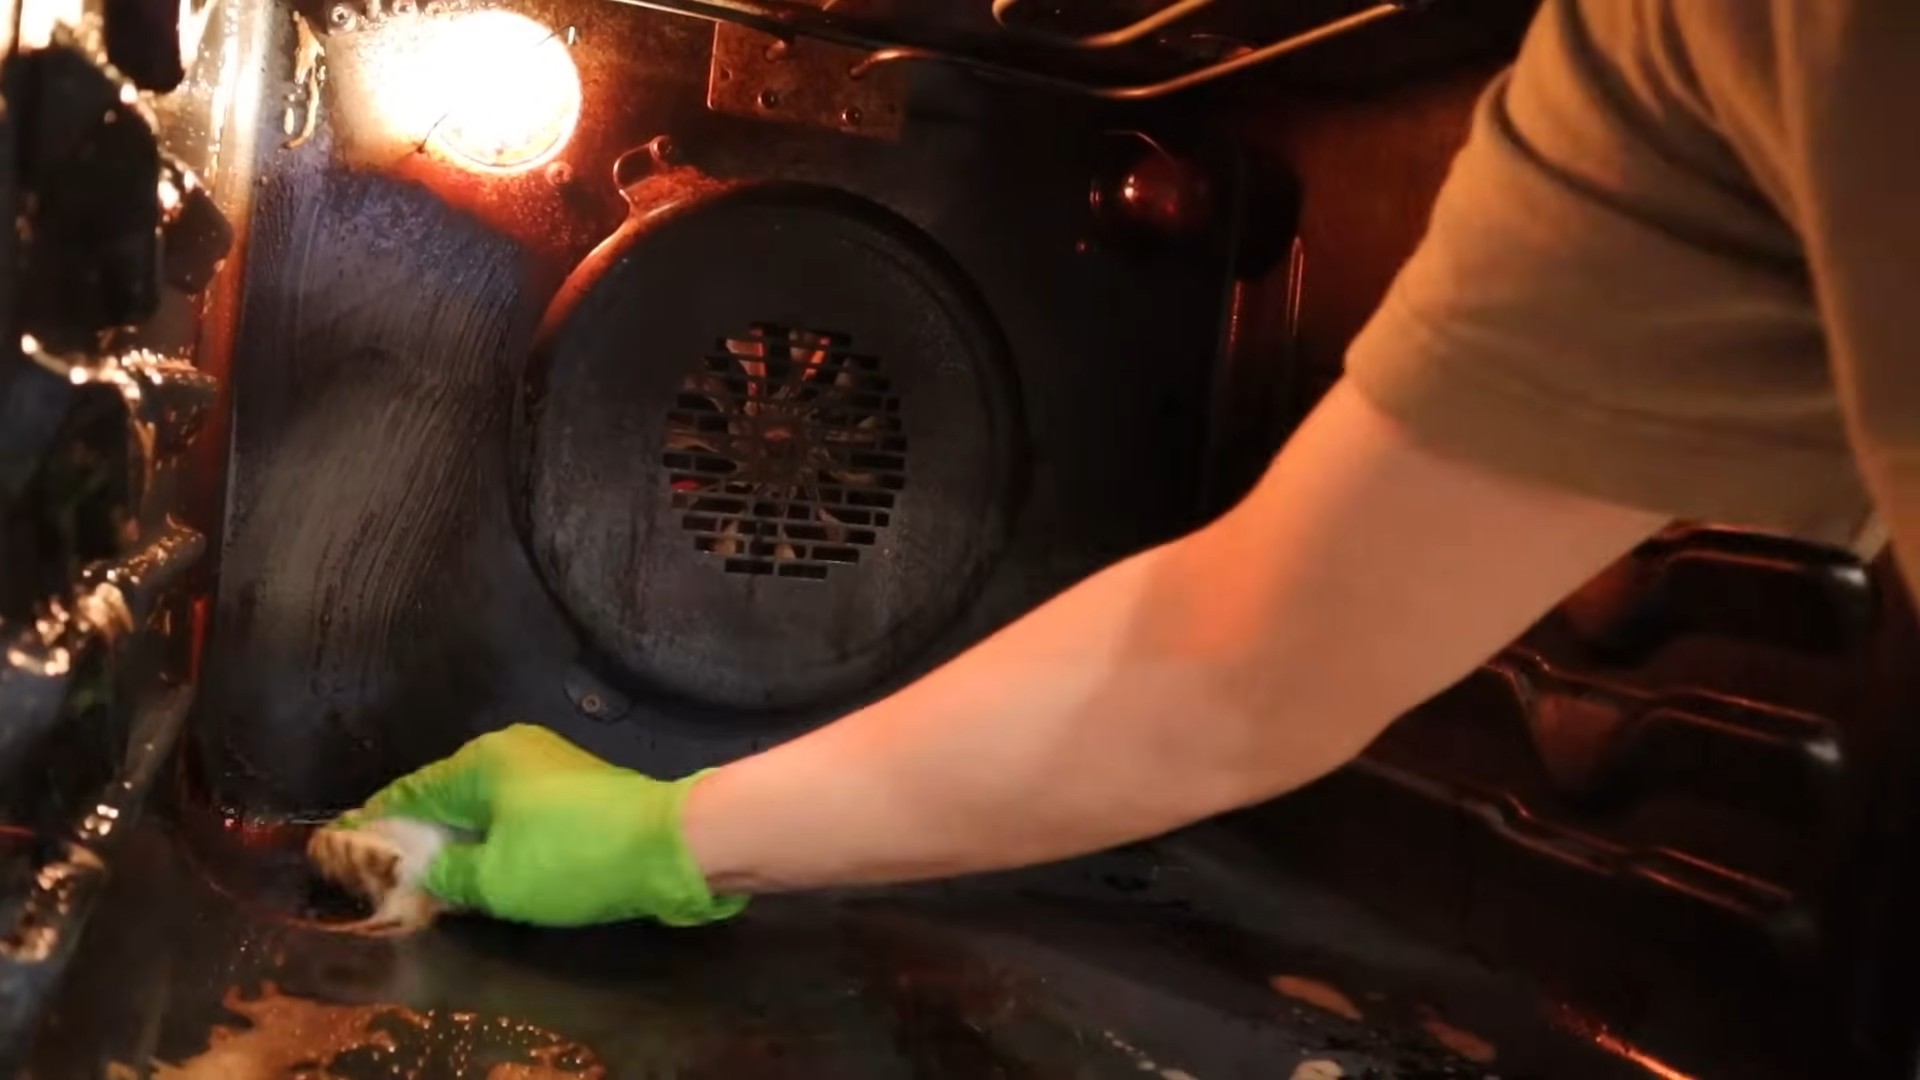
1. Wipe Away the Paste: Using a damp sponge or cloth, start wiping away the baking soda paste from the interior surfaces of your oven. You may need to use a little elbow grease to remove stubborn spots.
2. Use a Scraper for Stubborn Areas: For areas where the paste is particularly difficult to remove, use a plastic scraper or spatula to gently scrape away the grime. Be careful not to scratch the oven’s surface.
3. Rinse Thoroughly: Once you’ve removed all the paste, rinse the interior of your oven thoroughly with clean water. Use a damp sponge or cloth to wipe away any remaining residue.
4. Dry the Oven: Finally, dry the interior of your oven with a clean cloth or paper towels. This will prevent water spots and ensure a sparkling clean finish.
5. Lemon Water Steam Clean (Optional): For an extra touch of freshness, you can steam clean your oven with lemon water. Fill an oven-safe bowl with water and add the juice of one lemon. Place the bowl in the oven and bake at 350°F (175°C) for about 30 minutes. The steam will help loosen any remaining grime and leave your oven smelling amazing.
Reassembling and Final Inspection: Almost There!
Now that the oven is clean, let’s put everything back together and give it a final inspection.
1. Replace the Oven Racks: Carefully place the clean oven racks back into the oven.
2. Inspect for Any Remaining Residue: Take a close look at the interior of your oven to make sure you’ve removed all the baking soda paste and grime. If you see any remaining residue, wipe it away with a damp cloth.
3. Run a Short Cleaning Cycle (Optional): If you want to be extra sure that your oven is completely clean, you can run a short self-cleaning cycle (if your oven has one). This will help burn off any remaining residue and leave your oven sparkling clean. Be sure to follow the manufacturer’s instructions for using the self-cleaning cycle.
4. Enjoy Your Sparkling Clean Oven!: That’s it! You’ve successfully cleaned your oven using natural ingredients. Now you can enjoy baking in a clean and fresh-smelling oven.
Tips and Tricks for a Super Clean Oven:
* Clean Regularly: The more often you clean your oven, the easier it will be to keep it clean. Try to clean it at least once a month, or more often if you use it frequently.
* Spot Clean Spills Immediately: If you spill something in your oven, clean it up immediately before it has a chance to bake on. This will prevent stubborn stains and make cleaning much easier.
* Use Oven Liners: Consider using oven liners to catch drips and spills. This will protect the bottom of your oven and make cleanup a breeze.
* Don’t Use Abrasive Cleaners: Avoid using abrasive cleaners or scouring pads on your oven’s interior surfaces. These can scratch the finish and make it more difficult to clean in the future.
* Be Patient: Cleaning an oven can take time and effort, so be patient and don’t give up! With a little elbow grease and the right ingredients, you can achieve a sparkling clean oven without harsh chemicals.
Conclusion
So, there you have it! Ditching those harsh chemicals and embracing the power of a Lemon Baking Soda Oven Cleaner is not just a trend; it’s a game-changer for your kitchen and your well-being. We’ve walked you through a simple, effective, and surprisingly satisfying method to transform your grimy oven into a sparkling clean space, all with ingredients you likely already have in your pantry.
Why is this DIY trick a must-try? Because it’s more than just cleaning; it’s about making conscious choices. It’s about reducing your exposure to potentially harmful chemicals that can linger in your home and affect your health. It’s about saving money by using affordable, readily available ingredients. And, let’s be honest, it’s about the sheer satisfaction of seeing that stubborn grime lift away with a little elbow grease and the magic of lemon and baking soda.
But the beauty of this method lies in its adaptability. Feel free to experiment with variations to suit your specific needs and preferences. For instance, if you’re dealing with particularly stubborn baked-on messes, consider adding a tablespoon of white vinegar to the paste for an extra boost of cleaning power. The vinegar will react with the baking soda, creating a fizzing action that helps to loosen the grime.
Another variation you might want to try is adding a few drops of your favorite essential oil to the paste. Lemon essential oil, of course, complements the lemon juice beautifully and adds an extra layer of freshness. Lavender or tea tree oil can also be used for their antibacterial properties and pleasant scents. Just be sure to use essential oils that are safe for cleaning purposes.
For ovens with self-cleaning functions, always consult your manufacturer’s instructions before using any cleaning method, even a natural one. While this lemon baking soda paste is generally safe for most ovens, it’s always best to err on the side of caution.
And don’t limit this cleaning power to just your oven! This paste can also be used to clean your stovetop, grill grates, and even your microwave. Just be sure to test it on a small, inconspicuous area first to ensure it doesn’t damage the surface.
We truly believe that once you try this Lemon Baking Soda Oven Cleaner, you’ll never go back to those harsh chemical cleaners again. It’s effective, affordable, eco-friendly, and safe for your family and pets.
So, what are you waiting for? Gather your ingredients, roll up your sleeves, and get ready to transform your oven. We’re confident that you’ll be amazed by the results.
But more importantly, we want to hear about your experience! Did you find this method helpful? Did you try any variations? What were your results? Share your tips, tricks, and photos in the comments below. Let’s create a community of clean oven enthusiasts who are passionate about natural cleaning solutions. Your feedback will not only help us improve this recipe but also inspire others to make the switch to a healthier and more sustainable way of cleaning. Let us know if you have any questions, and we’ll do our best to answer them. Happy cleaning!
Frequently Asked Questions (FAQ)
1. Is a Lemon Baking Soda Oven Cleaner safe for all types of ovens?
Generally, yes, this cleaning method is safe for most ovens, including electric, gas, and convection ovens. However, it’s always best to consult your oven manufacturer’s instructions before using any cleaning method, even a natural one. Pay particular attention to any warnings about specific cleaning agents or methods that should be avoided. For ovens with self-cleaning functions, it’s especially important to check the manual, as some self-cleaning cycles can be affected by residue from cleaning products. If you’re unsure, test the paste on a small, inconspicuous area of the oven first to ensure it doesn’t damage the surface.
2. How long should I leave the baking soda paste on the oven?
For best results, leave the baking soda paste on the oven for at least 12 hours, or even overnight. This allows the baking soda to penetrate and loosen the baked-on grime and grease. If you’re short on time, you can try leaving it on for a shorter period, such as 4-6 hours, but the cleaning process may require more scrubbing. For particularly stubborn messes, you may even want to leave the paste on for up to 24 hours. The longer it sits, the easier it will be to remove the grime.
3. What if the baking soda paste dries out and becomes difficult to remove?
If the baking soda paste dries out and becomes hard to remove, don’t worry! Simply spray the paste with a generous amount of water or a mixture of water and vinegar. Let it sit for a few minutes to rehydrate the paste, then use a sponge or scraper to loosen and remove it. You may need to repeat this process a few times to fully remove the dried paste. Another tip is to use a damp cloth to wipe away the excess paste as you scrub.
4. Can I use this cleaning method on the self-cleaning function of my oven?
No, it is generally not recommended to use this cleaning method in conjunction with the self-cleaning function of your oven. The high temperatures of the self-cleaning cycle can bake the baking soda paste onto the oven surface, making it even more difficult to remove. Additionally, the lemon juice could potentially damage the oven’s enamel coating at high temperatures. It’s best to clean your oven manually using the lemon baking soda paste and then, if necessary, run the self-cleaning cycle after all the paste has been completely removed.
5. What if I don’t have lemons? Can I use lemon juice from a bottle?
Yes, you can use lemon juice from a bottle if you don’t have fresh lemons. However, fresh lemon juice is generally more effective due to its higher acidity and natural oils. If using bottled lemon juice, be sure to use 100% lemon juice and not a lemon juice concentrate or a lemon-flavored beverage. You may also need to use a slightly larger amount of bottled lemon juice to achieve the same cleaning power as fresh lemon juice.
6. Is there a specific type of baking soda I should use?
No, any type of baking soda will work for this cleaning method. Baking soda is baking soda, regardless of the brand or packaging. Just make sure it’s fresh and hasn’t expired. Expired baking soda may not be as effective at cleaning.
7. How often should I clean my oven with this method?
The frequency with which you should clean your oven depends on how often you use it and how messy it gets. As a general rule, it’s a good idea to clean your oven every 3-6 months. However, if you frequently bake or cook messy dishes, you may need to clean it more often. Regular cleaning will prevent the buildup of stubborn grime and make the cleaning process easier in the long run.
8. Can I use this method to clean my oven door glass?
Yes, this method is safe and effective for cleaning your oven door glass. Apply the baking soda paste to the glass, let it sit for a few hours, and then scrub it clean with a sponge or scraper. You may need to use a razor blade scraper to remove any stubborn baked-on residue. Be careful not to scratch the glass.
9. Will this Lemon Baking Soda Oven Cleaner eliminate strong odors from my oven?
Yes, the lemon in this cleaner helps to neutralize and eliminate strong odors from your oven. Baking soda is also a natural odor absorber. After cleaning your oven, leave a small bowl of baking soda inside for a few days to further absorb any lingering odors. You can also add a few drops of your favorite essential oil to the baking soda for a pleasant scent.
10. What are some other natural cleaning alternatives for my kitchen?
Besides a Lemon Baking Soda Oven Cleaner, there are many other natural cleaning alternatives for your kitchen. White vinegar is a versatile cleaner that can be used to clean countertops, sinks, and appliances. Hydrogen peroxide is a natural disinfectant that can be used to clean cutting boards and other surfaces. Castile soap is a gentle and effective cleaner that can be used to wash dishes and clean floors. And of course, good old-fashioned elbow grease can go a long way in keeping your kitchen clean and sparkling.


Leave a Comment