

Grow Spinach at Home – and unlock a world of fresh, nutritious greens right at your fingertips! Have you ever dreamed of strolling into your backyard and harvesting vibrant, leafy spinach for your salad or smoothie? Well, dream no more! This DIY guide is your key to making that dream a reality, even if you’re a complete beginner.
Spinach, a powerhouse of vitamins and minerals, has been cultivated for centuries, with its origins tracing back to ancient Persia. From humble beginnings, it has become a staple in cuisines worldwide, celebrated for its health benefits and versatility. But why rely on store-bought spinach when you can easily grow spinach at home, ensuring freshness and quality?
In today’s world, where we’re increasingly conscious of what we eat and where it comes from, home gardening is experiencing a major resurgence. People are seeking ways to connect with nature, reduce their carbon footprint, and enjoy the unparalleled taste of homegrown produce. This DIY guide provides simple, effective tricks and hacks to help you cultivate a thriving spinach patch, regardless of your space or experience level. Imagine the satisfaction of serving a meal featuring spinach you nurtured from seed to table! Let’s get started and transform your space into a mini-spinach farm!
Grow Your Own Spinach: A Beginner’s Guide to a Bountiful Harvest
Hey there, fellow gardening enthusiasts! I’m so excited to share my secrets to growing delicious, vibrant spinach right in your own backyard (or even on your balcony!). Spinach is packed with nutrients, super easy to grow, and tastes infinitely better when it’s fresh from the garden. Trust me, once you taste homegrown spinach, you’ll never go back to the store-bought stuff. Let’s dive in!
Choosing the Right Spinach Variety
First things first, let’s talk about spinach varieties. There are a few different types, and choosing the right one for your climate and growing conditions is key.
* Savoy Spinach: This type has crinkled, curly leaves. It’s cold-hardy and great for fall and winter harvests. ‘Bloomsdale’ is a popular Savoy variety.
* Smooth-Leaf Spinach: As the name suggests, this type has smooth, flat leaves. It’s easier to clean than Savoy spinach and is often preferred for processing. ‘Space’ and ‘Melody’ are good choices.
* Semi-Savoy Spinach: This is a hybrid between Savoy and smooth-leaf spinach. It offers the best of both worlds – good cold tolerance and relatively easy cleaning. ‘Tyee’ is a popular semi-Savoy variety.
I personally love growing ‘Bloomsdale’ in the fall because it can handle the cooler temperatures, and ‘Space’ in the spring because it grows quickly and is so easy to wash. Experiment and see what works best for you!
Preparing Your Spinach Bed
Spinach thrives in well-drained soil that’s rich in organic matter. Before planting, it’s important to prepare your garden bed properly.
* Sunlight: Spinach needs at least 3-6 hours of sunlight per day. Choose a location that gets morning sun and some afternoon shade, especially in warmer climates.
* Soil: Spinach prefers a soil pH between 6.5 and 7.0. Amend your soil with compost or well-rotted manure to improve drainage and fertility. I usually add a generous layer of compost a few weeks before planting.
* Drainage: Make sure your soil drains well. Spinach doesn’t like to sit in soggy soil, which can lead to root rot. If your soil is heavy clay, consider adding sand or perlite to improve drainage.
* Weed Removal: Clear the area of any weeds. Weeds compete with spinach for nutrients and water, so it’s important to get rid of them before planting.
Planting Spinach Seeds
Now for the fun part – planting! Spinach can be grown from seed either directly in the garden or started indoors. I prefer direct sowing because it’s less work, but starting indoors can give you a head start, especially in colder climates.
Direct Sowing Spinach Seeds
1. Timing: The best time to plant spinach is in early spring or early fall. Spinach is a cool-season crop and doesn’t like hot weather. In the spring, plant as soon as the soil can be worked. In the fall, plant about 4-6 weeks before the first expected frost.
2. Sowing: Sow seeds about ½ inch deep and 1 inch apart in rows that are 12-18 inches apart. I like to use a garden trowel to make a shallow trench, sprinkle the seeds in, and then gently cover them with soil.
3. Watering: Water the soil gently after planting. Keep the soil consistently moist until the seeds germinate.
4. Thinning: Once the seedlings emerge, thin them to about 3-6 inches apart. This will give them enough room to grow and prevent overcrowding. You can eat the thinnings – they’re delicious in salads!
Starting Spinach Seeds Indoors
1. Timing: Start seeds indoors about 4-6 weeks before the last expected frost.
2. Containers: Use seed starting trays or small pots filled with seed starting mix.
3. Sowing: Sow seeds about ½ inch deep in the seed starting mix.
4. Watering: Water gently and keep the soil consistently moist.
5. Light: Place the trays or pots under grow lights or in a sunny window.
6. Hardening Off: Before transplanting the seedlings outdoors, you’ll need to harden them off. This means gradually exposing them to outdoor conditions over a period of about a week. Start by placing them outside for a few hours each day, gradually increasing the amount of time they spend outdoors.
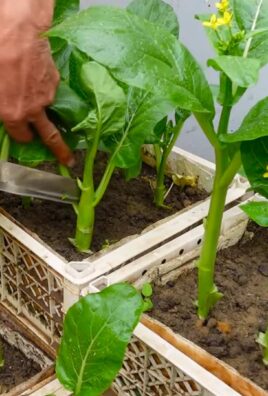
7. Transplanting: Once the seedlings are hardened off, transplant them into your garden bed, spacing them about 3-6 inches apart.
Caring for Your Spinach Plants
Once your spinach plants are established, it’s important to provide them with the care they need to thrive.
* Watering: Spinach needs consistent moisture, especially during hot weather. Water deeply and regularly, but avoid overwatering, which can lead to root rot. I usually water my spinach plants every other day, or more often if the weather is hot and dry.
* Fertilizing: Spinach is a heavy feeder, so it benefits from regular fertilization. Use a balanced fertilizer or side-dress with compost or well-rotted manure. I like to use a liquid seaweed fertilizer every few weeks.
* Weeding: Keep the area around your spinach plants free of weeds. Weeds compete with spinach for nutrients and water.
* Pest Control: Spinach is relatively pest-resistant, but it can be susceptible to aphids, flea beetles, and leaf miners. Inspect your plants regularly for pests and take action if you see any. I usually use insecticidal soap to control aphids and flea beetles. For leaf miners, I remove and destroy any affected leaves.
* Bolting: Bolting is when spinach plants send up a flower stalk and the leaves become bitter. This usually happens when the weather gets hot. To prevent bolting, plant spinach in the spring and fall, and provide shade during hot weather. You can also choose bolt-resistant varieties.
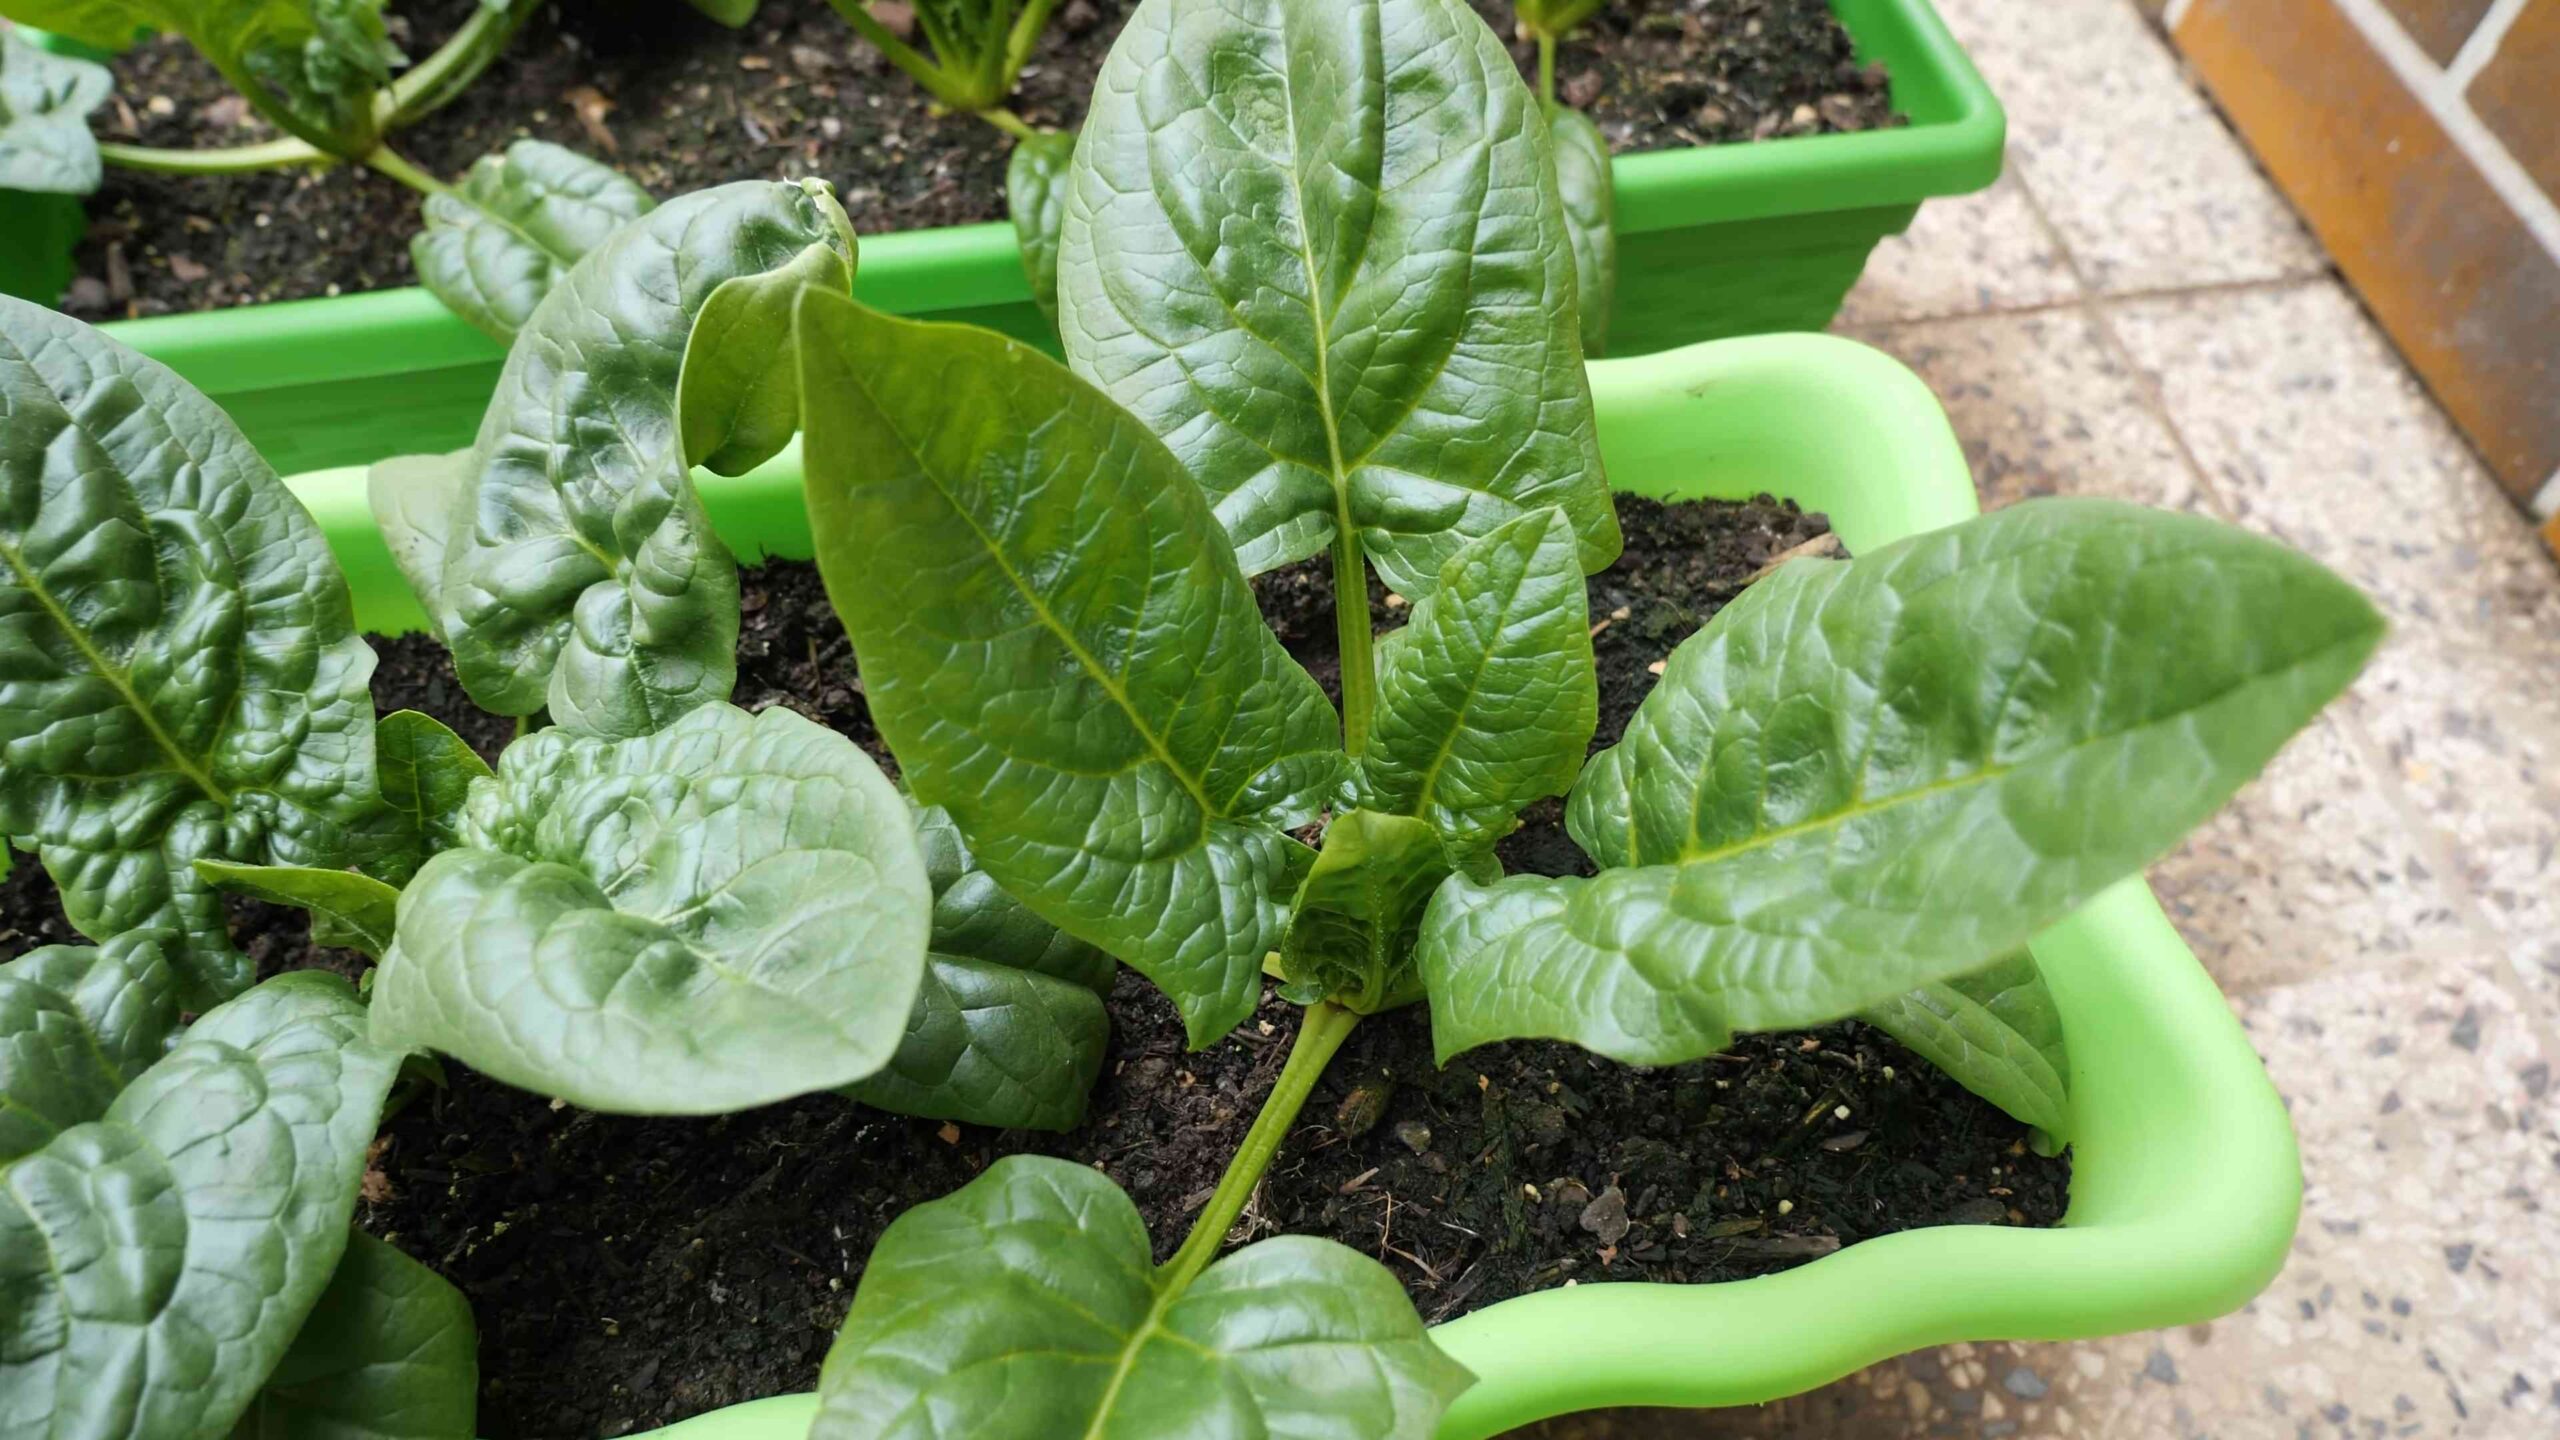
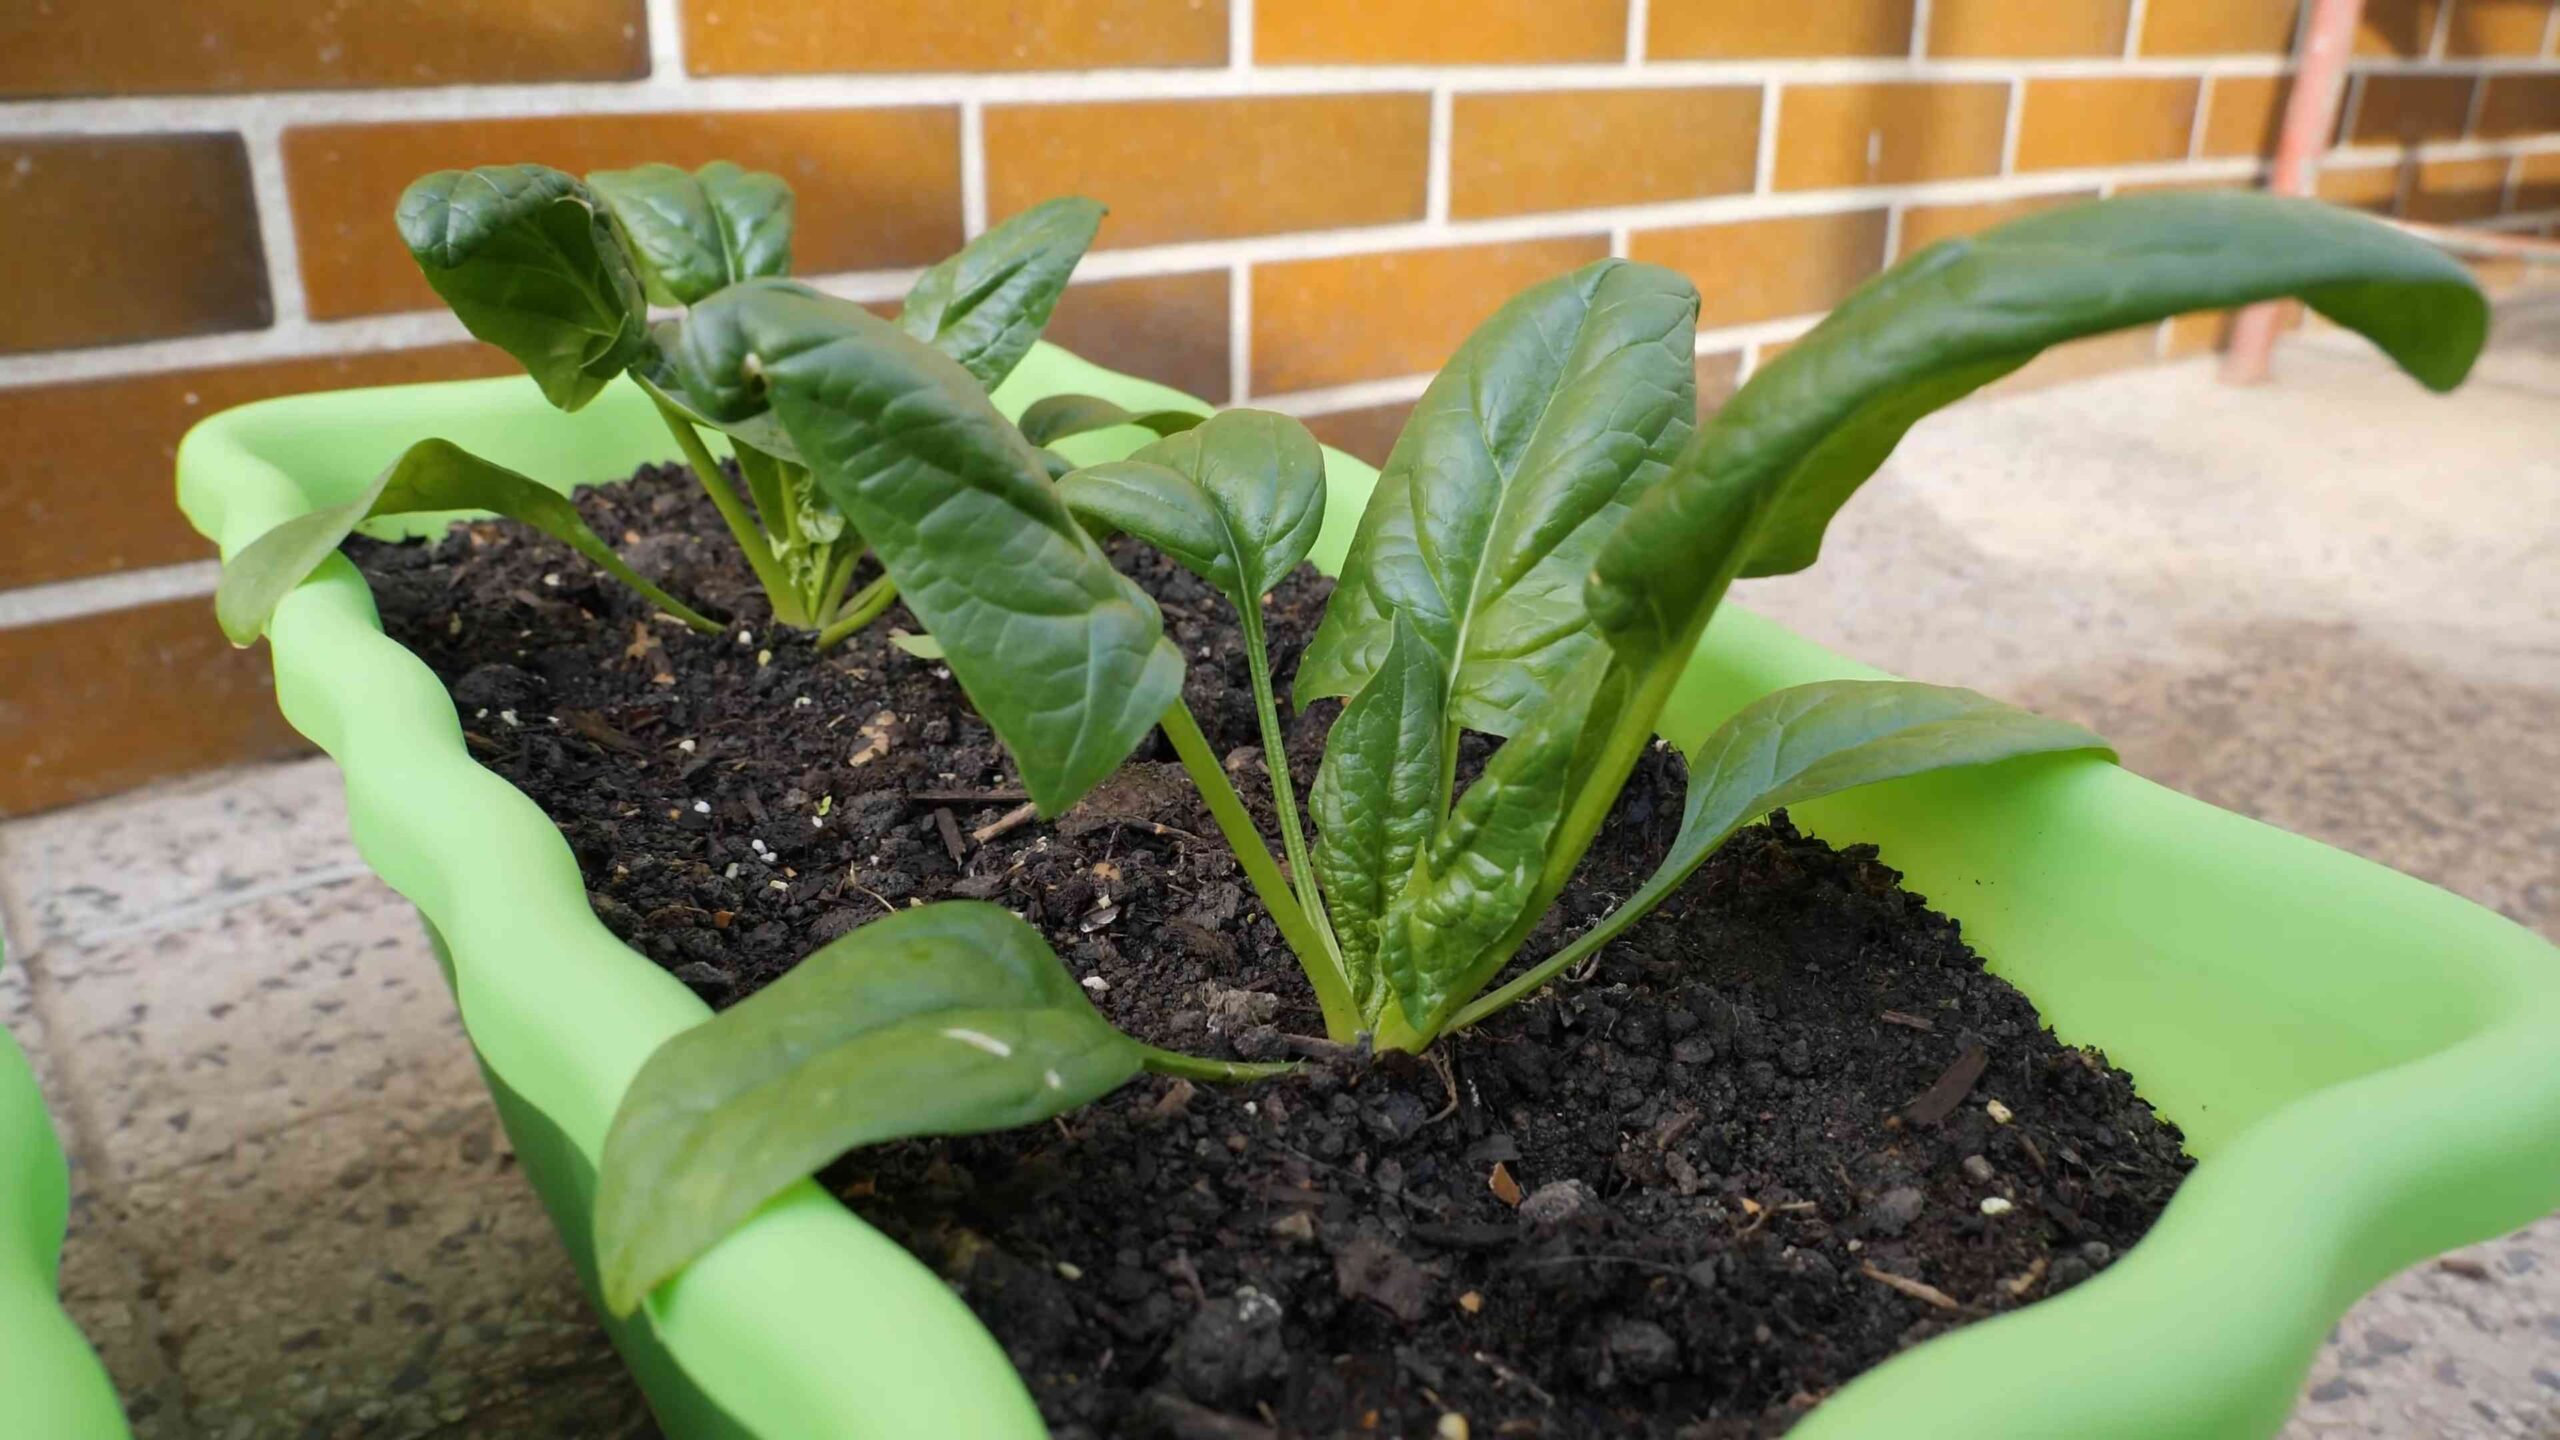
Harvesting Your Spinach
Harvesting is the most rewarding part of growing spinach! You can start harvesting spinach leaves as soon as they are large enough to eat.
* Timing: Harvest spinach in the morning, when the leaves are crisp and cool.
* Method: You can harvest individual leaves or cut the entire plant at the base. I usually harvest individual leaves, starting with the outer leaves. This allows the plant to continue producing new leaves.
* Storage: Store spinach in the refrigerator in a plastic bag or container. It will keep for several days.
Troubleshooting Common Spinach Problems
Even with the best care, you might encounter some problems when growing spinach. Here are a few common issues and how to deal with them:
* Yellowing Leaves: This can be caused by a nutrient deficiency, overwatering, or disease. Make sure your soil is well-drained and that you’re fertilizing regularly. If the problem persists, consider getting a soil test to determine if there are any nutrient deficiencies.
* Slow Growth: This can be caused by poor soil, lack of sunlight, or cool temperatures. Amend your soil with compost or well-rotted manure, make sure your plants are getting enough sunlight, and protect them from cold weather.
* Pest Infestations: As mentioned earlier, spinach can be susceptible to aphids, flea beetles, and leaf miners. Inspect your plants regularly for pests and take action if you see any.
Extending Your Spinach Season
Want to enjoy fresh spinach for as long as possible? Here are a few tips for extending your spinach season:
* Succession Planting: Plant new spinach seeds every few weeks to ensure a continuous harvest.
* Cold Frames or Row Covers: Use cold frames or row covers to protect your spinach plants from cold weather.
* Overwintering: In mild climates, you can overwinter spinach plants by protecting them with a thick layer of mulch.
Enjoying Your Homegrown Spinach
Now that you’ve harvested your delicious homegrown spinach, it’s time to enjoy it! Spinach can be eaten raw in salads, cooked in soups and stews, or sautéed as a side dish. Here are a few of my favorite spinach recipes:
* Spinach Salad with Strawberries and Goat Cheese: This is a classic salad that’s perfect for spring.
* Creamed Spinach: This is a rich and decadent side dish that’s perfect for special occasions.
* Spinach and Ricotta Stuffed Shells: This is a hearty and satisfying vegetarian meal.
* Spinach Smoothie: A great way to sneak in some extra greens!
Growing your own spinach is a rewarding experience that will provide you with fresh, healthy greens all season long. With a little bit of planning and care, you can enjoy a bountiful harvest of delicious spinach right from your own backyard. Happy gardening!
Conclusion
So, there you have it! Growing spinach at home is not only achievable but also incredibly rewarding. Forget those limp, pre-packaged greens from the supermarket. Imagine stepping into your garden or onto your balcony and harvesting crisp, vibrant spinach leaves bursting with flavor and nutrients. This DIY approach puts you in complete control, allowing you to cultivate organic, pesticide-free spinach that’s far superior to anything you can buy.
Why is this a must-try? Because it’s about more than just saving money (though you’ll definitely do that!). It’s about connecting with your food, understanding where it comes from, and enjoying the unparalleled freshness of homegrown produce. Plus, it’s surprisingly easy! Even if you’re a complete beginner, with a little patience and the right guidance, you can successfully grow spinach at home.
Think of the possibilities! You can tailor your spinach to your specific tastes. Experiment with different varieties, from the smooth-leaved ‘Melody’ to the crinkled ‘Savoy’. Try growing baby spinach for salads or larger leaves for cooking. You can even succession plant, sowing seeds every few weeks, to ensure a continuous harvest throughout the growing season.
Consider these variations to elevate your spinach-growing game:
* Vertical Gardening: If space is limited, explore vertical gardening options. Spinach thrives in containers and can be grown on walls or in hanging baskets.
* Companion Planting: Plant spinach alongside beneficial companions like radishes, lettuce, or strawberries to deter pests and improve growth.
* Hydroponics: For a more advanced approach, try growing spinach hydroponically. This soilless method can yield impressive results.
* Indoor Growing: If you live in a climate with harsh winters, you can grow spinach indoors under grow lights.
Growing spinach at home is a journey of discovery. It’s about learning, experimenting, and enjoying the fruits (or rather, the leaves!) of your labor. It’s a sustainable and fulfilling way to add fresh, healthy greens to your diet.
We wholeheartedly encourage you to give this DIY trick a try. Start small, be patient, and don’t be afraid to experiment. Once you taste the difference between homegrown spinach and store-bought, you’ll never go back.
And most importantly, we want to hear about your experience! Share your tips, successes, and challenges in the comments below. Let’s create a community of home spinach growers and inspire others to embrace the joy of homegrown goodness. What variety did you choose? What challenges did you face, and how did you overcome them? Your insights can help others on their journey to growing delicious, fresh spinach at home.
Frequently Asked Questions (FAQ)
What is the best time of year to plant spinach?
Spinach is a cool-season crop, meaning it thrives in cooler temperatures. The best time to plant spinach is in early spring or early fall. For a spring crop, sow seeds as soon as the ground can be worked, typically 4-6 weeks before the last expected frost. For a fall crop, sow seeds 6-8 weeks before the first expected frost. In warmer climates, you can grow spinach throughout the winter. Avoid planting spinach during the heat of summer, as high temperatures can cause it to bolt (go to seed) prematurely.
How much sunlight does spinach need?
Spinach needs at least 3-6 hours of sunlight per day. While it can tolerate some shade, especially in warmer climates, more sunlight will result in better growth and larger leaves. If you’re growing spinach indoors, use grow lights to supplement natural sunlight and ensure adequate light exposure.
What kind of soil is best for growing spinach?
Spinach prefers well-drained soil that is rich in organic matter. The ideal soil pH is between 6.5 and 7.0. Before planting, amend the soil with compost or other organic matter to improve drainage and fertility. Avoid heavy clay soils, as they can become waterlogged and inhibit root growth. If you’re growing spinach in containers, use a high-quality potting mix.
How often should I water spinach?
Spinach needs consistent moisture to thrive. Water regularly, especially during dry periods, to keep the soil evenly moist but not waterlogged. Avoid overhead watering, as this can promote fungal diseases. Instead, water at the base of the plants. Mulching around the plants can help retain moisture and suppress weeds.
What are some common pests and diseases that affect spinach?
Some common pests that affect spinach include aphids, flea beetles, and leaf miners. Aphids can be controlled with insecticidal soap or neem oil. Flea beetles can be deterred with row covers. Leaf miners can be controlled by removing infested leaves. Common diseases that affect spinach include downy mildew and white rust. To prevent these diseases, ensure good air circulation, avoid overhead watering, and choose disease-resistant varieties.
How do I harvest spinach?
You can harvest spinach leaves as soon as they are large enough to eat, typically when they are 4-6 inches long. Harvest outer leaves first, leaving the inner leaves to continue growing. You can also harvest the entire plant at once. To harvest, simply cut the leaves or the entire plant at the base with a sharp knife or scissors.
How do I store spinach after harvesting?
After harvesting, wash the spinach leaves thoroughly and pat them dry. Store them in a plastic bag or container in the refrigerator. Spinach is best used within a few days of harvesting.
Can I grow spinach in containers?
Yes, spinach grows well in containers. Choose a container that is at least 6 inches deep and has drainage holes. Use a high-quality potting mix and water regularly. Container-grown spinach may need to be fertilized more frequently than spinach grown in the ground.
How do I prevent spinach from bolting?
Bolting is when spinach goes to seed prematurely, which can make the leaves bitter. To prevent bolting, plant spinach in early spring or early fall, avoid planting during the heat of summer, and provide adequate water and shade. Choose bolt-resistant varieties.
Is homegrown spinach more nutritious than store-bought spinach?
Generally, yes. Homegrown spinach is often more nutritious than store-bought spinach because it is harvested at its peak ripeness and consumed shortly thereafter. Store-bought spinach may be harvested before it is fully ripe and may lose nutrients during transportation and storage. Growing your own spinach also allows you to control the growing conditions and avoid the use of pesticides and herbicides. Enjoy the benefits of fresh, nutrient-rich spinach grown right in your own backyard!


Leave a Comment