

Sweet Potato Tops Growing: Did you know that the humble sweet potato offers more than just its delicious, nutritious root? I’m talking about those vibrant, leafy greens that often get overlooked! For generations, resourceful gardeners, particularly in Asian and African cultures, have cherished sweet potato leaves as a valuable food source. They’re not just edible; they’re packed with vitamins and minerals, making them a fantastic addition to your diet.
But here’s the thing: many people are unaware that you can easily grow these nutritious greens right in your own backyard, or even indoors! That’s where this DIY guide comes in. I’m going to show you simple, effective tricks to unlock the potential of sweet potato tops growing. Imagine harvesting fresh, organic greens just steps from your kitchen – no more trips to the grocery store for expensive, sometimes wilted, leafy vegetables.
In this article, I’ll walk you through everything you need to know, from selecting the right sweet potatoes to propagating the tops and caring for your leafy crop. Whether you’re a seasoned gardener or a complete beginner, I promise you’ll find these tips easy to follow and incredibly rewarding. Let’s get started and transform those sweet potato scraps into a thriving source of delicious, healthy greens!
Growing Sweet Potato Slips from Sweet Potatoes: A Gardener’s Delight!
Hey there, fellow gardening enthusiasts! Have you ever looked at a sweet potato and thought, “I bet I could grow more of those!” Well, you absolutely can! And the best part? You don’t even need seeds. We’re going to dive into the wonderful world of growing sweet potato slips – those little sprouts that turn into glorious, sweet potato-producing vines. This is a super rewarding DIY project, and I’m excited to guide you through it.
What are Sweet Potato Slips?
Before we get started, let’s clarify what we’re aiming for. Sweet potato slips are basically baby sweet potato plants that sprout from a mature sweet potato. They’re the key to propagating new plants, and they’re surprisingly easy to grow. Forget buying transplants; we’re making our own!
Materials You’ll Need:
* A healthy sweet potato (organic is best, as non-organic ones may be treated to prevent sprouting).
* A clean glass jar or container.
* Toothpicks (optional, but helpful).
* Water.
* A sunny windowsill or grow light.
* Potting soil.
* Small pots or seedling trays.
Getting Started: Sprouting Your Sweet Potato
This is where the magic begins! We’re going to coax our sweet potato into producing those precious slips.
1. Choose Your Sweet Potato Wisely: Look for a firm sweet potato with no soft spots or blemishes. Organic sweet potatoes are ideal because they haven’t been treated with sprout inhibitors. I’ve had success with both orange and purple varieties, so feel free to experiment!
2. Prepare Your Sprouting Setup: Fill your glass jar or container with water, leaving about an inch of space at the top.
3. Position the Sweet Potato: This is where the toothpicks come in handy. If you’re using them, insert three or four toothpicks around the middle of the sweet potato, evenly spaced. These will act as a support system, allowing you to suspend the sweet potato in the jar with the bottom half submerged in water. If you don’t have toothpicks, you can simply place the sweet potato directly in the jar, ensuring that at least the bottom third is submerged.
4. Water Level is Key: Make sure the water level remains consistent. The bottom of the sweet potato needs to stay submerged to encourage sprouting. Check the water level daily and add more as needed.
5. Find a Sunny Spot: Place your jar with the sweet potato on a sunny windowsill or under a grow light. Sweet potatoes need warmth and light to sprout. A south-facing window is usually best.
6. Patience is a Virtue: This is the most important step! It can take anywhere from a few weeks to a month (or even longer) for sprouts to appear. Don’t get discouraged if you don’t see anything happening right away. Just keep the water level consistent and the sweet potato in a sunny location.
Harvesting and Rooting Your Sweet Potato Slips
Once your sweet potato has sprouted, it’s time to harvest and root those slips! This is where we transform those sprouts into individual plants.
1. Wait for Growth: Let the sprouts grow to be about 6-8 inches long. They should have several leaves and be sturdy enough to handle.
2. Gently Remove the Slips: There are two main methods for removing the slips:
* Twisting and Pulling: Carefully grasp the base of the slip where it connects to the sweet potato. Gently twist and pull upwards. The slip should detach relatively easily. If it’s resistant, try a different slip.
* Cutting: If the slips are difficult to remove by twisting, you can use a clean, sharp knife or scissors to cut them off close to the sweet potato.
3. Rooting the Slips in Water: This is my preferred method, as it allows you to see the roots developing.
* Fill a glass or jar with water.
* Place the slips in the water, ensuring that the bottom 1-2 inches of the stem are submerged.
* Place the jar in a sunny location.
* Change the water every few days to keep it fresh.
4. Rooting the Slips Directly in Soil: This method can be a bit faster, but it requires more attention to moisture levels.
* Fill small pots or seedling trays with well-draining potting soil.
* Make a small hole in the soil for each slip.
* Insert the bottom 1-2 inches of the slip into the hole and gently press the soil around it.
* Water thoroughly.
* Keep the soil consistently moist, but not waterlogged.
5. Wait for Roots to Develop: Whether you’re rooting in water or soil, you’ll need to wait for roots to develop. This usually takes about a week or two. You’ll know the slips are ready to plant when they have a healthy root system that’s at least an inch or two long. If rooting in soil, gently tug on the slip; if it resists, it has likely rooted.
Planting Your Sweet Potato Slips
Now for the grand finale: planting your rooted sweet potato slips in the garden!
1. Choose a Sunny Location: Sweet potatoes need at least 6-8 hours of sunlight per day.
2. Prepare the Soil: Sweet potatoes prefer well-drained soil that’s rich in organic matter. Amend your soil with compost or well-rotted manure before planting.
3. Create Mounds or Ridges: Sweet potatoes grow best in mounds or ridges. This helps with drainage and allows the tubers to develop more easily. Create mounds that are about 6-8 inches high and 12 inches wide.
4. Plant the Slips: Space the slips about 12-18 inches apart on the mounds or ridges. Dig a small hole for each slip and gently place the roots in the hole. Cover the roots with soil and gently press down.
5. Water Thoroughly: Water the newly planted slips thoroughly to help them establish.
6. Mulch (Optional): Mulching around the plants can help retain moisture, suppress weeds, and regulate soil temperature. Use organic mulch such as straw, hay, or wood chips.
Caring for Your Sweet Potato Plants
Once your sweet potato slips are planted, it’s important to provide them with proper care to ensure a bountiful harvest.
1. Watering: Water regularly, especially during dry periods. Sweet potatoes need consistent moisture, but avoid overwatering, which can lead to root rot.
2. Fertilizing: Sweet potatoes don’t need a lot of fertilizer. In fact, too much nitrogen can lead to excessive vine growth and fewer tubers. If your soil is poor, you can apply a balanced fertilizer (such as 10-10-10) at planting time. Avoid high-nitrogen fertilizers.
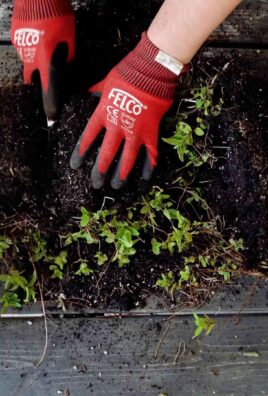
3. Weeding: Keep the area around your sweet potato plants free of weeds. Weeds compete with the plants for nutrients and water.
4. Vine Management: Sweet potato vines can be quite vigorous and spread rapidly. You can prune the vines to keep them under control, but be careful not to remove too much foliage, as this can reduce tuber production. You can also lift the vines occasionally to prevent them from rooting at the nodes, which can also reduce tuber production.
5. Pest and Disease Control: Sweet potatoes are generally resistant to pests and diseases, but they can be susceptible to certain problems, such as sweet potato weevils and fungal diseases. Inspect your plants regularly for signs of pests or diseases and take appropriate action if necessary. Organic pest control methods, such as insecticidal soap or neem oil, can be effective for controlling many common pests.
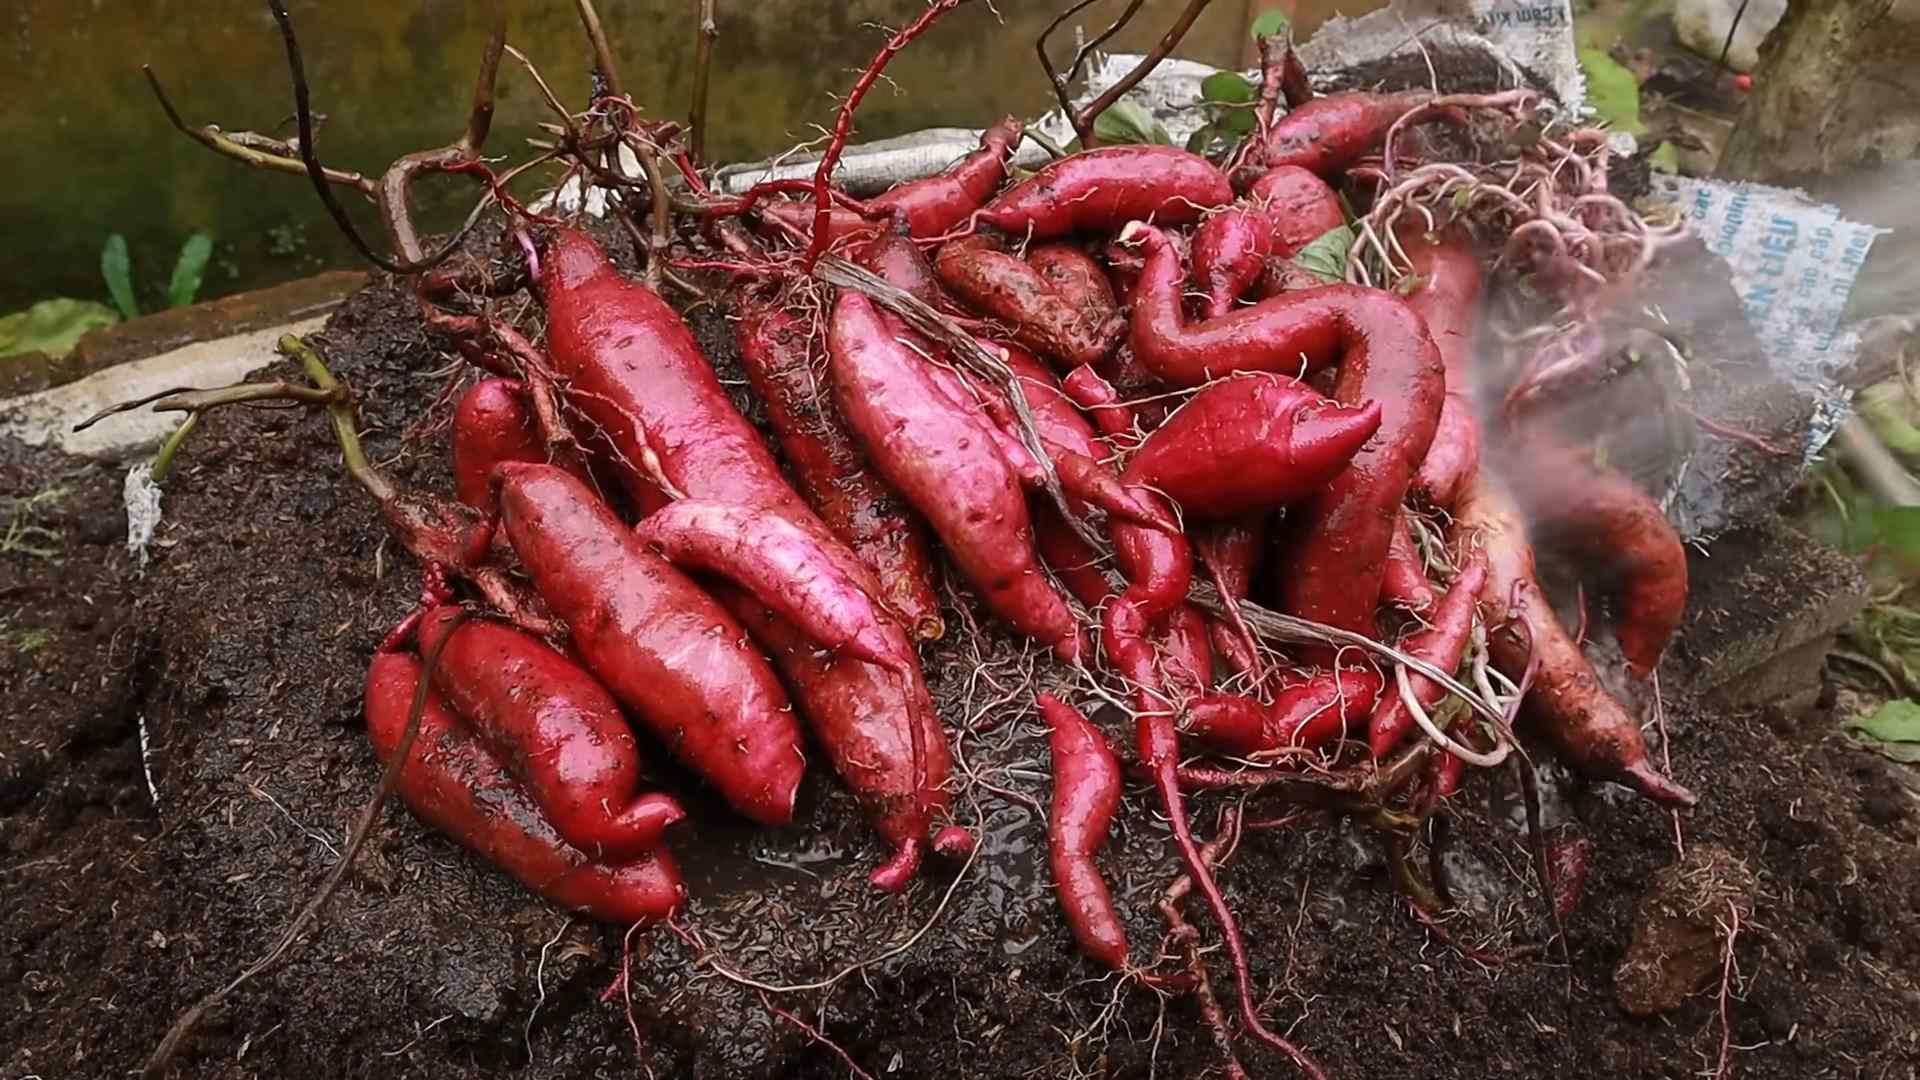
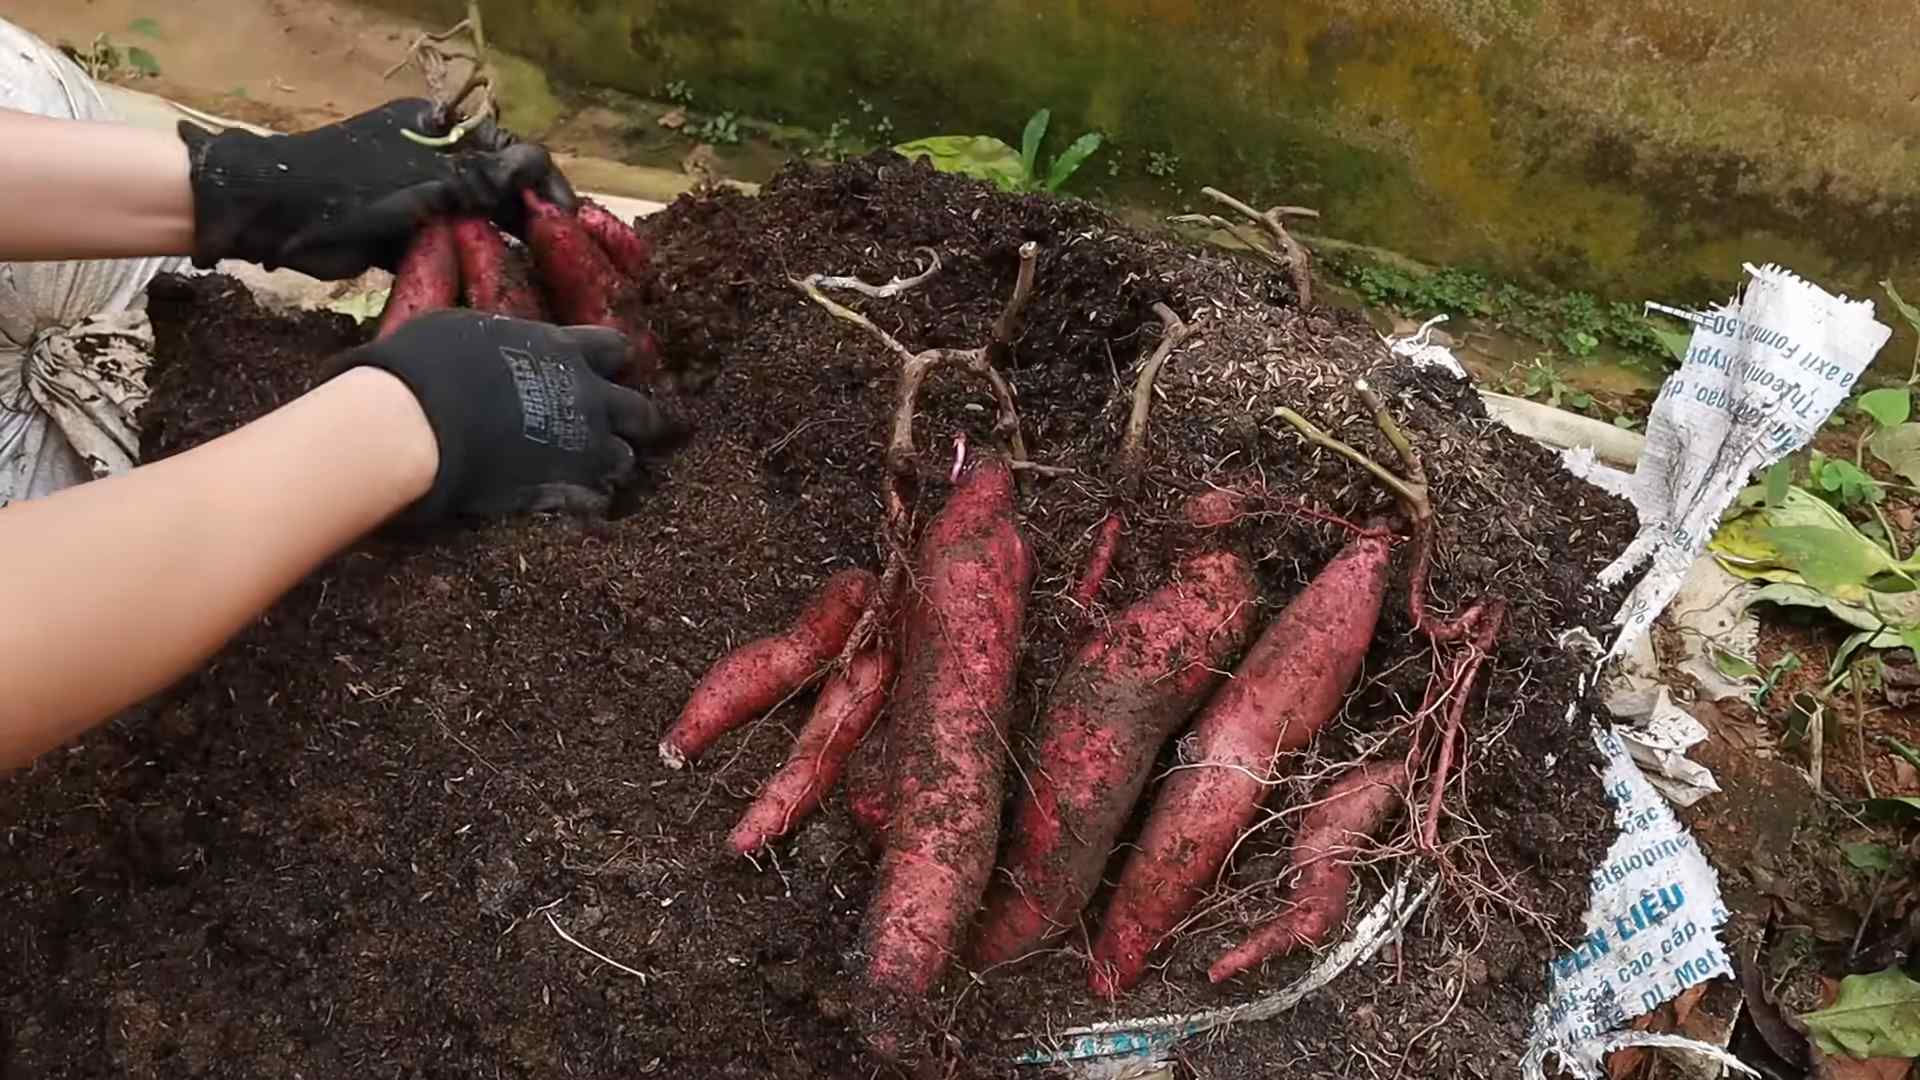
Harvesting Your Sweet Potatoes
The moment we’ve all been waiting for! Harvesting your homegrown sweet potatoes is incredibly rewarding.
1. Timing is Key: Sweet potatoes are typically ready to harvest about 90-120 days after planting. The exact timing will depend on the variety and your local climate. A good indicator is when the vines start to turn yellow and die back.
2. Choose a Dry Day: Harvest your sweet potatoes on a dry day to prevent rot.
3. Dig Carefully: Use a garden fork or shovel to carefully dig around the plants, being careful not to damage the tubers. Start digging a foot or so away from the base of the plant.
4. Lift the Tubers: Gently lift the tubers from the soil.
5. Curing Your Sweet Potatoes: Curing is an essential step for improving the flavor and storage life of your sweet potatoes.
* Clean the Tubers: Gently brush off any excess soil from the tubers. Avoid washing them, as this can promote rot.
* Cure in a Warm, Humid Place: Place the sweet potatoes in a warm (80
Conclusion
So, there you have it! Growing sweet potato tops, often discarded as waste, is not only incredibly simple but also a fantastic way to add fresh, nutritious greens to your diet. It’s a sustainable practice that reduces food waste and connects you more deeply to the food you consume. This DIY trick transforms what would otherwise be trash into a treasure trove of delicious and versatile leaves.
Why is this a must-try? Because it’s economical, environmentally friendly, and surprisingly rewarding. Imagine the satisfaction of harvesting your own greens, knowing you nurtured them from a simple sweet potato. Plus, sweet potato leaves are packed with vitamins and minerals, making them a healthy addition to salads, stir-fries, soups, and more.
But the beauty of this DIY project lies in its adaptability. Feel free to experiment! Try growing different varieties of sweet potatoes to see if the leaf flavor varies. Some gardeners have even successfully grown sweet potato tops indoors, providing a year-round supply of fresh greens. You can also experiment with different growing mediums, such as hydroponics, for a unique twist. Consider adding companion plants like basil or marigolds to deter pests and enhance growth.
Don’t be afraid to get creative with how you use your harvested sweet potato tops. Beyond the usual salads and stir-fries, try adding them to smoothies for a nutritional boost, blending them into pesto, or even using them as a wrap for your favorite fillings. The possibilities are endless!
We wholeheartedly encourage you to give this DIY trick a try. It’s a simple, satisfying, and sustainable way to enjoy fresh, homegrown greens. Once you’ve experienced the joy of harvesting your own sweet potato tops, we’re confident you’ll be hooked.
And most importantly, we want to hear about your experience! Share your successes, your challenges, and your creative uses for sweet potato leaves in the comments below. Let’s build a community of sweet potato top growers and learn from each other. Your insights could inspire others to embark on this rewarding journey. So, grab a sweet potato, get your hands dirty, and discover the delicious potential of sweet potato tops! Let us know how your **sweet potato tops growing** adventure goes!
Frequently Asked Questions (FAQ)
What exactly are sweet potato tops, and are they edible?
Yes, sweet potato tops, also known as sweet potato leaves or vines, are absolutely edible. They are the leafy green parts of the sweet potato plant. In many cultures, they are a common vegetable, enjoyed for their mild flavor and nutritional benefits. They are a good source of vitamins A and C, as well as fiber and antioxidants.
How do I start growing sweet potato tops?
The easiest way to start is by suspending a sweet potato in a jar or glass of water, with the bottom half submerged. Use toothpicks to hold the potato in place. Place the jar in a sunny location. Within a few weeks, sprouts and roots will begin to emerge. Once the sprouts have developed several leaves, you can carefully remove them and plant them in soil. Alternatively, you can directly plant a sweet potato in soil, leaving the top exposed.
What kind of soil is best for growing sweet potato tops?
Sweet potato tops thrive in well-draining soil that is rich in organic matter. A slightly acidic to neutral pH (around 6.0 to 7.0) is ideal. You can amend your soil with compost or aged manure to improve its fertility and drainage. If you’re growing in containers, use a high-quality potting mix.
How much sunlight do sweet potato tops need?
Sweet potato tops need at least 6 hours of direct sunlight per day to grow well. Choose a sunny location in your garden or place your container near a sunny window if growing indoors. Insufficient sunlight can result in leggy growth and reduced leaf production.
How often should I water sweet potato tops?
Water your sweet potato tops regularly, keeping the soil consistently moist but not waterlogged. Check the soil moisture by sticking your finger into the soil. If the top inch feels dry, it’s time to water. Avoid overwatering, as this can lead to root rot. During hot, dry weather, you may need to water more frequently.
When can I start harvesting sweet potato tops?
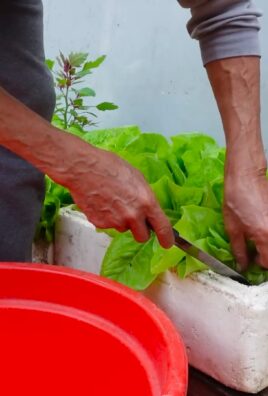
You can start harvesting sweet potato tops once the vines have grown to a reasonable size, typically around 8-12 inches long. Harvest the leaves by snipping off the tips of the vines, leaving several leaves behind to encourage continued growth. Avoid harvesting more than one-third of the plant at any one time.
How do I store harvested sweet potato tops?
Freshly harvested sweet potato tops are best used immediately. However, you can store them in the refrigerator for a few days. Wrap them loosely in a damp paper towel and place them in a plastic bag or container.
Are there any pests or diseases that affect sweet potato tops?
Sweet potato tops are generally resistant to pests and diseases, but they can occasionally be affected by aphids, spider mites, or whiteflies. Inspect your plants regularly and treat any infestations promptly with insecticidal soap or neem oil. Root rot can also be a problem if the soil is poorly drained.
Can I grow sweet potato tops indoors?
Yes, you can grow sweet potato tops indoors, provided you have a sunny location and provide adequate care. Use a large container with well-draining soil and ensure the plant receives at least 6 hours of direct sunlight per day. You may also need to provide supplemental lighting if natural light is insufficient.
Are there any specific varieties of sweet potatoes that are better for growing tops?
While you can grow tops from any variety of sweet potato, some varieties are known for producing more abundant foliage. Beauregard and Georgia Jet are popular choices. Experiment with different varieties to see which ones grow best in your area and produce the most flavorful leaves.
Can I eat the sweet potato itself after growing the tops?
Yes, you can still harvest and eat the sweet potato itself after growing the tops. However, keep in mind that the potato may be smaller than if you had focused solely on growing the tuber. The energy the plant uses to produce the tops will slightly reduce the size of the potato.
Are sweet potato tops poisonous to pets?
Sweet potato tops are generally considered safe for pets in small quantities. However, consuming large amounts may cause digestive upset. If your pet ingests a significant amount of sweet potato leaves, it’s best to consult with your veterinarian.
How can I encourage more leaf growth on my sweet potato plant?
To encourage more leaf growth, ensure your plant receives adequate sunlight, water, and nutrients. Fertilize regularly with a balanced fertilizer or compost tea. Pruning the vines by snipping off the tips will also encourage branching and bushier growth, leading to more leaf production.
Can I propagate sweet potato tops from cuttings?
Yes, you can easily propagate sweet potato tops from cuttings. Simply take a cutting from a healthy vine, about 4-6 inches long, and remove the lower leaves. Place the cutting in a glass of water, ensuring that the nodes (where the leaves were removed) are submerged. Roots will typically develop within a week or two. Once the roots are about an inch long, you can plant the cutting in soil.
Leave a Comment