

Bottle Gourd Small Space Growing can feel like a distant dream when you’re staring at a tiny balcony or a postage-stamp-sized backyard. But guess what? It’s totally achievable! For centuries, bottle gourds have been cherished across cultures, from being used as water containers in ancient civilizations to playing a vital role in traditional medicine and culinary practices. Think of the beautiful, handcrafted instruments and utensils made from dried gourds – a testament to their versatility!
But let’s be real, most of us aren’t thinking about crafting instruments; we’re dreaming of fresh, homegrown veggies. And that’s where this DIY guide comes in. I know the frustration of wanting a thriving garden but feeling limited by space. That’s why I’ve compiled these easy-to-follow tricks and hacks specifically designed for bottle gourd small space growing. We’ll explore vertical gardening techniques, container selection, and clever pruning methods to maximize your yield without sacrificing precious square footage.
Imagine harvesting your own bottle gourds, knowing you nurtured them from tiny seedlings in your limited space. It’s not just about the food; it’s about the satisfaction of creating something beautiful and sustainable. So, let’s ditch the “I don’t have enough space” excuse and dive into the world of compact gardening! Get ready to transform your small area into a bottle gourd paradise!
DIY: Growing Bottle Gourds in Small Spaces – A Vertical Gardening Adventure!
Hey there, fellow gardening enthusiasts! Are you dreaming of homegrown bottle gourds but think you lack the space? Well, think again! I’m here to show you how to cultivate these fascinating vegetables even if you only have a balcony, patio, or a tiny backyard. This vertical gardening method is not only space-saving but also adds a unique aesthetic touch to your outdoor area. Let’s get started!
What You’ll Need: The Essential Supplies
Before we dive into the nitty-gritty, let’s gather our supplies. Trust me, having everything ready beforehand will make the process much smoother and more enjoyable.
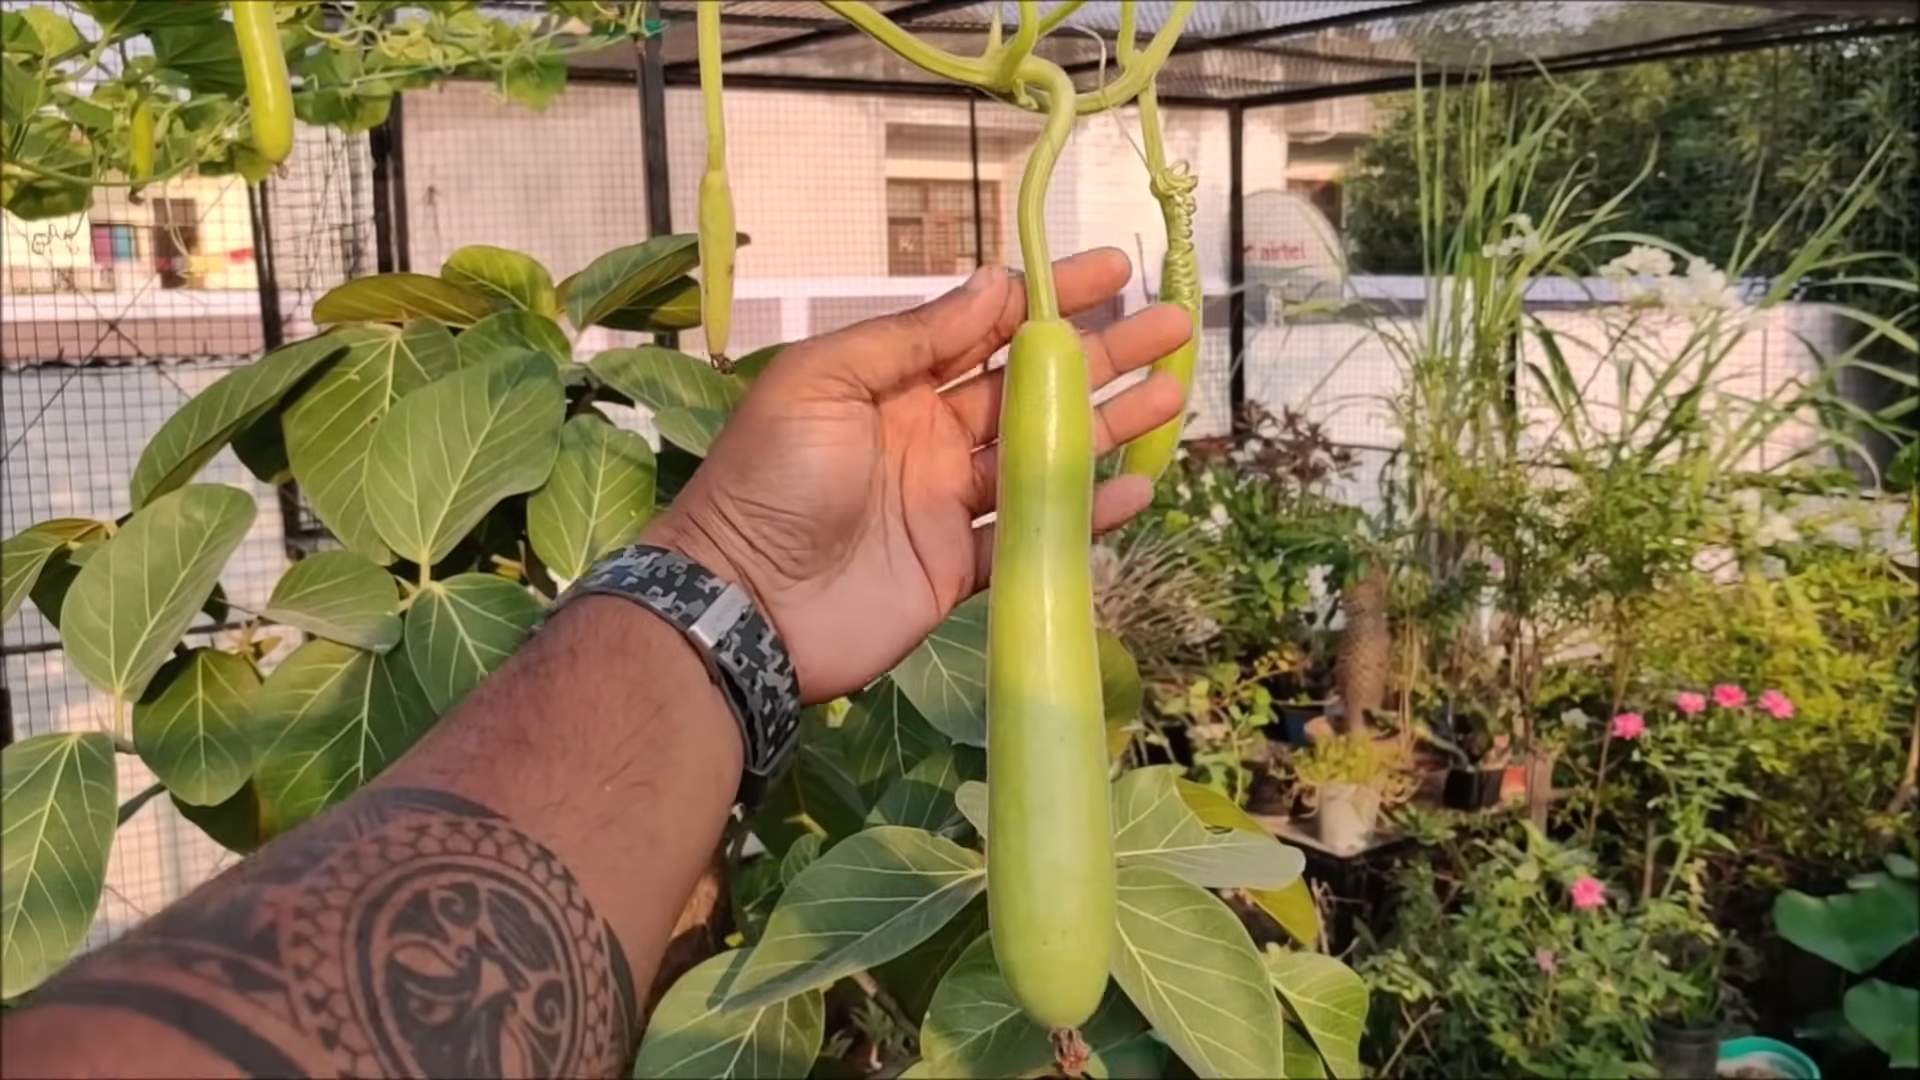
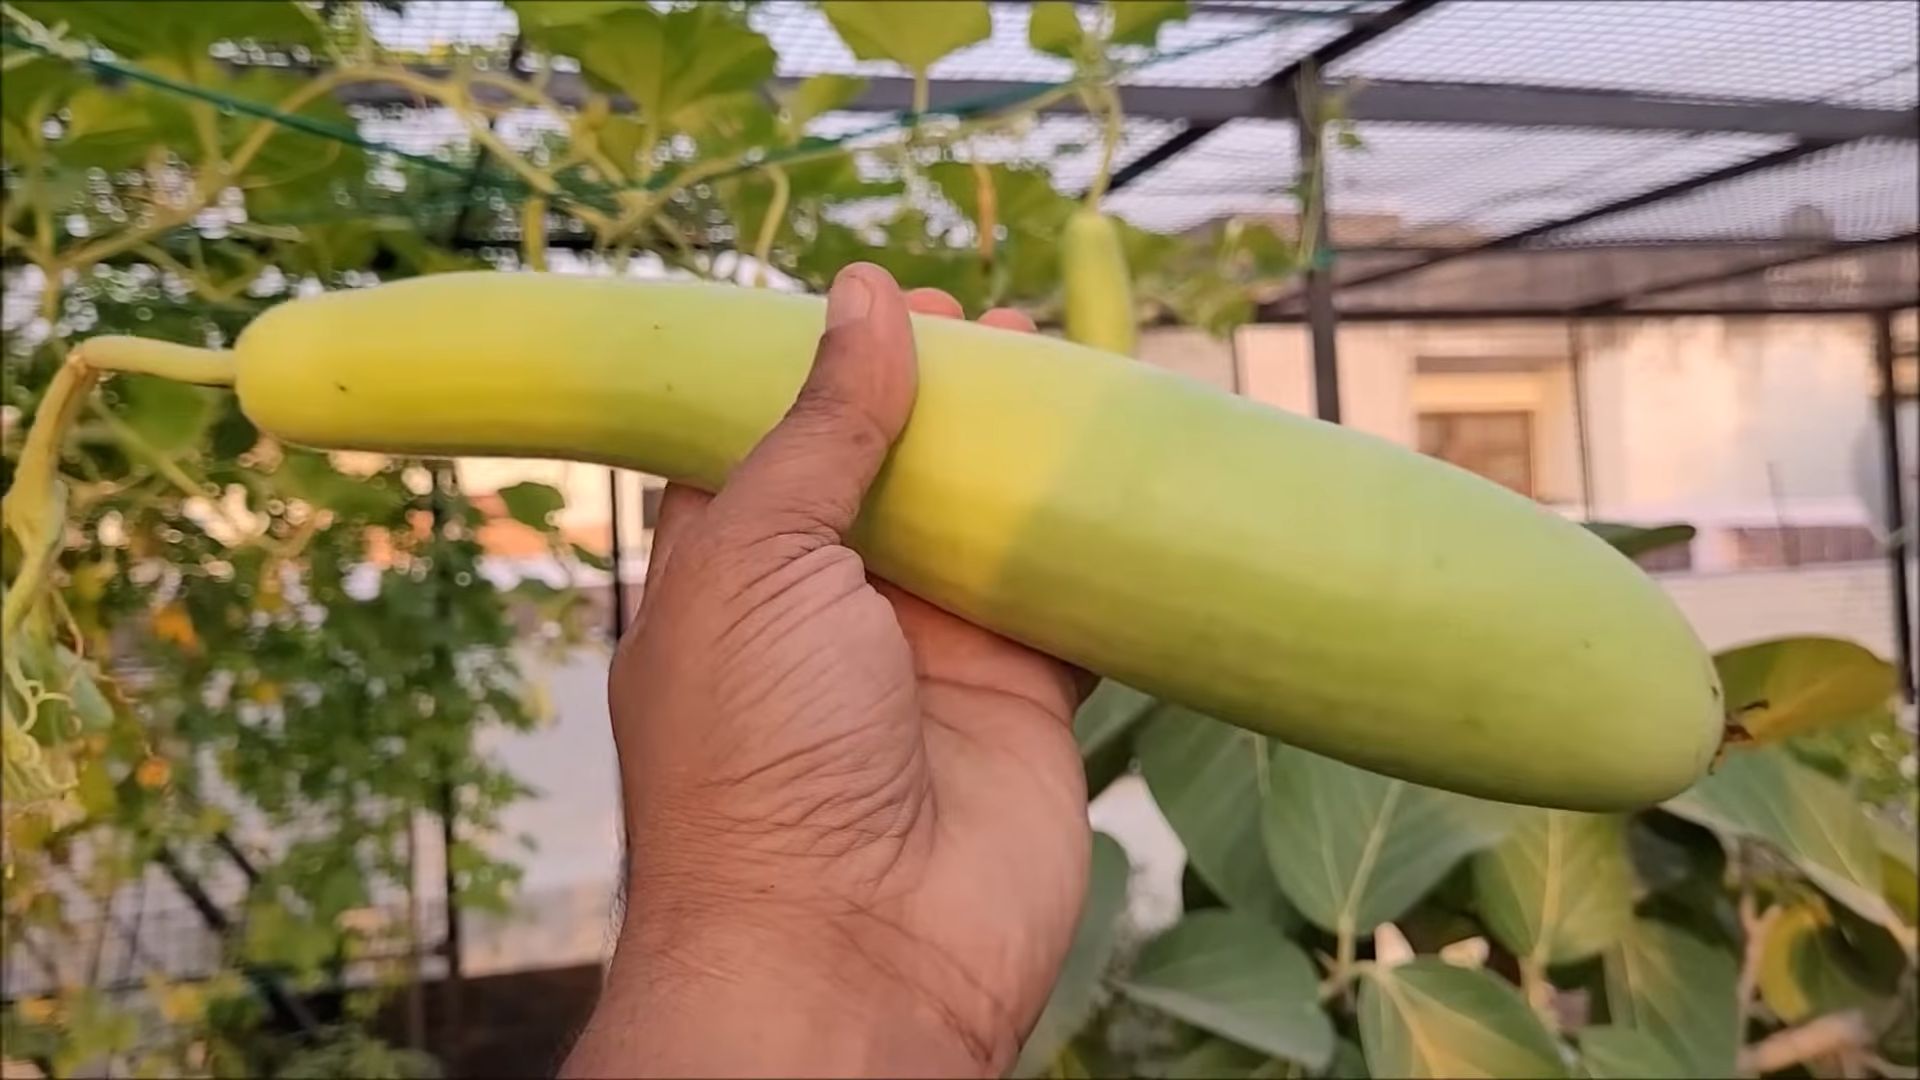
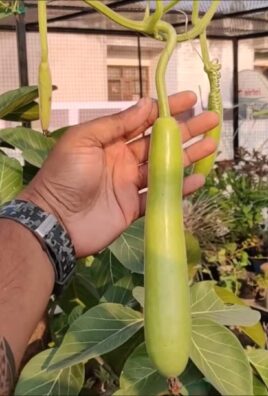
* Bottle Gourd Seeds: Choose a variety that suits your taste and climate. I personally love the long, slender varieties for their versatility in cooking.
* Large Container (at least 15-20 gallons): A sturdy pot, a repurposed barrel, or even a large grow bag will work. Make sure it has drainage holes!
* High-Quality Potting Mix: This is crucial for healthy growth. Opt for a well-draining mix rich in organic matter.
* Trellis or Support Structure: Bottle gourds are climbers, so they need something to cling to. A sturdy trellis, a repurposed fence panel, or even a DIY bamboo structure will do the trick. The height should be at least 6-8 feet.
* Fertilizer: A balanced, slow-release fertilizer is ideal. You can also supplement with liquid seaweed or compost tea.
* Gardening Gloves: Protect your hands!
* Watering Can or Hose: For regular watering.
* Pruning Shears or Scissors: For trimming and shaping the plant.
* Twine or Plant Ties: To help guide the vines onto the trellis.
* Optional: Mulch (straw, wood chips, or shredded leaves) to retain moisture and suppress weeds.
Phase 1: Seed Starting and Germination
Okay, let’s get those seeds sprouting! You can either directly sow them into the container or start them indoors for a head start. I prefer starting them indoors, especially if you live in a region with a shorter growing season.
1. Soaking the Seeds (Optional but Recommended): Before planting, soak the bottle gourd seeds in lukewarm water for 24 hours. This helps soften the seed coat and promotes faster germination.
2. Preparing Seedling Trays or Small Pots: Fill small seedling trays or individual pots with a seed-starting mix. Moisten the mix thoroughly.
3. Sowing the Seeds: Plant one or two seeds per cell or pot, about ½ inch deep.
4. Providing Warmth and Moisture: Cover the trays or pots with a clear plastic lid or plastic wrap to create a humid environment. Place them in a warm location (around 70-80°F or 21-27°C). A heat mat can be helpful if your home is cooler.
5. Monitoring Germination: Keep the soil consistently moist but not waterlogged. Germination usually takes 7-14 days. Once the seedlings emerge, remove the plastic cover and provide them with plenty of light. A sunny windowsill or a grow light will work wonders.
6. Hardening Off the Seedlings: Before transplanting the seedlings outdoors, you need to “harden them off.” This process gradually acclimates them to outdoor conditions. Start by placing the seedlings outdoors in a sheltered location for a few hours each day, gradually increasing the time over a week or two.
Phase 2: Setting Up Your Vertical Garden
Now comes the fun part – creating the perfect home for your bottle gourd vines!
1. Choosing the Right Location: Bottle gourds need at least 6-8 hours of direct sunlight per day. Choose a sunny spot that is also sheltered from strong winds.
2. Preparing the Container: Fill your large container with the high-quality potting mix. Leave a few inches of space at the top.
3. Installing the Trellis: This is crucial! Position the trellis securely behind the container. Make sure it’s sturdy enough to support the weight of the mature vines and gourds. You can anchor it to a wall or fence for added stability. I once used an old ladder as a trellis, and it looked fantastic!
4. Transplanting the Seedlings: Once the seedlings have developed a few sets of true leaves and the danger of frost has passed, it’s time to transplant them into the container. Gently remove the seedlings from their trays or pots, being careful not to damage the roots. Plant one or two seedlings per container, spacing them a few inches apart.
5. Watering Thoroughly: After transplanting, water the seedlings thoroughly to help them settle in.
Phase 3: Nurturing Your Growing Gourds
This is where the magic happens! Consistent care is key to a bountiful harvest.
1. Watering Regularly: Bottle gourds need consistent moisture, especially during hot weather. Water deeply whenever the top inch of soil feels dry to the touch. Avoid overwatering, as this can lead to root rot.
2. Fertilizing: Feed your bottle gourd plants regularly with a balanced fertilizer. Follow the instructions on the fertilizer package. I like to use a slow-release fertilizer at planting time and then supplement with liquid seaweed or compost tea every few weeks.
3. Training the Vines: As the vines grow, gently guide them onto the trellis using twine or plant ties. This will help them climb and spread evenly.
4. Pruning: Pruning can help improve air circulation and encourage fruit production. Remove any dead or yellowing leaves. You can also pinch back the tips of the vines to encourage branching.
5. Pollination: Bottle gourds produce separate male and female flowers. The female flowers have a small gourd-like structure at the base. If you’re not seeing any gourds developing, you may need to hand-pollinate the flowers. Use a small paintbrush to transfer pollen from the male flowers to the female flowers. Do this in the morning, when the flowers are open.
6. Pest and Disease Control: Keep an eye out for pests such as aphids, squash bugs, and vine borers. Treat infestations promptly with insecticidal soap or neem oil. Good air circulation and proper watering can help prevent fungal diseases.
7. Supporting the Gourds: As the gourds grow larger, they may need additional support. You can use slings made from fabric or netting to support the weight of the gourds and prevent them from breaking off the vine. I’ve even used old pantyhose for this purpose!
Phase 4: Harvesting and Curing Your Bottle Gourds
The moment you’ve been waiting for! Harvesting and curing are essential for preserving your hard-earned gourds.
1. Harvesting: Bottle gourds are typically harvested when they are mature but still tender. The skin should be firm and smooth. Use a sharp knife or pruning shears to cut the gourd from the vine, leaving a few inches of stem attached.
2. Curing: Curing is essential for drying and preserving bottle gourds. Choose a well-ventilated, dry, and dark location for curing.
3. Cleaning: Gently wash the gourds with mild soap and water to remove any dirt or debris.
4. Drying: Place the gourds on a wire rack or hang them individually, making sure they don’t touch each other. Allow them to dry completely, which can take several weeks or even months, depending on the size of the gourds and the humidity levels.
5. Monitoring: Check the gourds regularly for signs of rot or mold. Discard any gourds that show signs of spoilage.
6. Storage: Once the gourds are completely dry, they can be stored in a cool, dry place for several years.
Troubleshooting Tips
Even with the best planning, you might encounter a few challenges along the way. Here are some common issues and how to address them:
* Poor Germination: Make sure your seeds are fresh and viable. Soaking the seeds before planting can also help.
* Yellowing Leaves: This could be a sign of overwatering, underwatering, nutrient deficiency, or pest infestation. Adjust your watering schedule, fertilize regularly, and inspect the plants for pests.
* Lack of Fruit Production: This could be due to poor pollination, insufficient sunlight, or nutrient deficiency. Hand-pollinate the flowers, ensure the plants are getting enough sunlight, and fertilize regularly.
* Pest Infestations: Inspect the plants regularly for pests and treat infestations promptly with appropriate methods.
* Disease Problems: Ensure good air circulation and avoid overwatering to prevent fungal diseases.
Final Thoughts
Growing bottle gourds in small spaces is a rewarding and fulfilling experience. With a little planning and effort, you can enjoy fresh, homegrown gourds even if you have limited space. So, grab your seeds
Conclusion
So, there you have it! Growing bottle gourds in a small space isn’t just a pipe dream; it’s an achievable reality with a little ingenuity and the right approach. This DIY trick, focusing on vertical gardening and strategic pruning, unlocks the potential to harvest fresh, homegrown bottle gourds even if you’re limited to a balcony, patio, or small backyard.
Why is this a must-try? Because it empowers you to take control of your food source, connect with nature, and enjoy the unparalleled satisfaction of nurturing a plant from seed to table. Imagine the pride you’ll feel serving a dish made with bottle gourds you cultivated yourself, knowing exactly where they came from and how they were grown. Beyond the personal satisfaction, you’re also contributing to a more sustainable lifestyle by reducing your reliance on commercially grown produce, which often involves long transportation distances and potentially harmful pesticides.
But the benefits don’t stop there. This method is incredibly adaptable. Feel free to experiment with different trellis designs to suit your space and aesthetic preferences. You could use bamboo poles, repurposed metal fencing, or even create a living wall effect with a sturdy mesh structure. Consider companion planting to further enhance your garden’s health and productivity. Marigolds, for example, can deter pests, while basil can improve the flavor of your bottle gourds.
Variations abound! If you’re feeling adventurous, try grafting your bottle gourd seedlings onto a more vigorous rootstock for increased disease resistance and yield. Explore different bottle gourd varieties to discover your favorites – from the classic long-necked types to the smaller, rounder cultivars. You can even train your bottle gourds into unique shapes by using molds or supports as they grow, adding a touch of artistic flair to your garden.
Don’t be intimidated by the prospect of pruning. It’s a crucial step in maximizing your harvest, but it’s also a learning process. Start with small, conservative cuts and observe how your plant responds. Remember, the goal is to encourage lateral growth and fruit production while maintaining a manageable size.
We wholeheartedly encourage you to give this DIY trick a try. It’s a rewarding experience that will transform your small space into a thriving garden oasis. And most importantly, don’t forget to share your journey with us! We’d love to see your bottle gourd creations, hear about your successes (and even your challenges), and learn from your unique experiences. Post photos and stories on social media using #SmallSpaceBottleGourds or leave a comment below. Let’s build a community of urban gardeners who are passionate about growing their own food, one bottle gourd at a time. Embrace the joy of bottle gourd small space growing and discover the abundance that even the smallest garden can provide.
Frequently Asked Questions (FAQ)
What is the best time of year to plant bottle gourds?
Bottle gourds are warm-season crops, so the best time to plant them is after the last frost when the soil has warmed up to at least 65°F (18°C). In most regions, this is typically in late spring or early summer. Check your local frost dates to determine the optimal planting time for your area. Starting seeds indoors 4-6 weeks before the last frost can give you a head start.
How much sunlight do bottle gourds need?
Bottle gourds require at least 6-8 hours of direct sunlight per day to thrive. Choose a location that receives ample sunlight throughout the day. If you’re growing them on a balcony or patio, make sure they’re not shaded by buildings or trees. Insufficient sunlight can lead to poor growth and reduced fruit production.
What type of soil is best for growing bottle gourds?
Bottle gourds prefer well-drained, fertile soil that is rich in organic matter. Amend your soil with compost or well-rotted manure before planting to improve its drainage and nutrient content. A slightly acidic to neutral soil pH (6.0-7.0) is ideal. You can test your soil pH using a soil testing kit and adjust it accordingly.
How often should I water my bottle gourd plants?
Water your bottle gourd plants regularly, especially during hot, dry weather. Aim to keep the soil consistently moist but not waterlogged. Water deeply at the base of the plant, avoiding wetting the foliage, which can increase the risk of fungal diseases. Mulching around the base of the plant can help retain moisture and suppress weeds.
How do I prune my bottle gourd plants for small space growing?
Pruning is essential for managing the size and shape of your bottle gourd plants in a small space. Regularly remove any suckers (small shoots that grow from the base of the plant) to encourage the main vine to grow upwards. Pinch off the tips of the lateral branches to promote branching and fruit production. Remove any yellowing or diseased leaves to improve air circulation and prevent the spread of disease.
What type of trellis is best for bottle gourds in a small space?
A sturdy trellis is crucial for supporting the weight of the bottle gourds. Choose a trellis that is tall enough to accommodate the plant’s growth and strong enough to withstand strong winds. Options include bamboo poles, metal fencing, or a DIY trellis made from wood or wire. Ensure the trellis is securely anchored to the ground or a sturdy structure.
How long does it take for bottle gourds to mature?
Bottle gourds typically take 90-120 days to mature from seed to harvest. The exact time will depend on the variety, growing conditions, and climate. You’ll know the bottle gourds are ready to harvest when the skin is hard and the stem is dry.
Are there any common pests or diseases that affect bottle gourds?
Bottle gourds can be susceptible to pests such as aphids, squash bugs, and vine borers. Regularly inspect your plants for signs of infestation and take appropriate action, such as hand-picking pests or using insecticidal soap. Common diseases include powdery mildew and downy mildew. Improve air circulation, avoid overhead watering, and use fungicides if necessary to prevent and control these diseases.
Can I grow bottle gourds in containers?
Yes, you can grow bottle gourds in containers, but you’ll need a large container (at least 20 gallons) to accommodate their extensive root system. Choose a container with drainage holes and use a well-draining potting mix. Provide a sturdy trellis for the plant to climb on and water and fertilize regularly.
How do I harvest and store bottle gourds?
Harvest bottle gourds when the skin is hard and the stem is dry. Use a sharp knife or pruning shears to cut the gourd from the vine, leaving a few inches of stem attached. Handle the gourds carefully to avoid bruising or damaging the skin. Store bottle gourds in a cool, dry, and well-ventilated place. They can be stored for several months if properly cured.
What are some creative ways to use bottle gourds?
Bottle gourds are incredibly versatile! Young, tender bottle gourds can be used in curries, stews, and stir-fries. Mature, dried bottle gourds can be used to make utensils, musical instruments, birdhouses, and decorative items. The possibilities are endless!
How can I encourage more female flowers on my bottle gourd plant?
Female flowers are the ones that produce the fruit. To encourage more female flowers, ensure your plant receives adequate sunlight and water. Avoid over-fertilizing with nitrogen, as this can promote vegetative growth at the expense of flowering. You can also try pinching off the tips of the lateral branches to encourage branching and fruit production. Some gardeners also use hormone sprays specifically designed to promote female flower development.
Leave a Comment