

Clean Humidifier Easily – that’s the magic phrase for breathing easier and enjoying a healthier home environment! Are you tired of that stale, musty smell wafting from your humidifier? Or maybe you’re concerned about the potential for mold and bacteria lurking inside? I know I was! For generations, humidifiers have been used to combat dry air, especially during harsh winters, tracing back to ancient practices of using water-filled vessels to increase moisture levels. But with this benefit comes the responsibility of proper maintenance.
Let’s face it, cleaning a humidifier isn’t exactly a glamorous task, but it’s absolutely essential. Neglecting this chore can turn your humidifier into a breeding ground for nasty microorganisms that can then be dispersed into the air you breathe. Yikes! That’s why I’m so excited to share these simple, effective DIY tricks to clean humidifier easily and keep it running smoothly. This article will guide you through easy-to-follow steps, using common household items, to ensure your humidifier is dispensing clean, healthy moisture, leaving you and your family breathing easy. Say goodbye to that funky smell and hello to fresh, clean air!
DIY Deep Clean: Breathing New Life into Your Humidifier
Okay, let’s face it, cleaning a humidifier is nobody’s favorite chore. But a dirty humidifier isn’t just gross; it’s a breeding ground for mold, mildew, and bacteria that can then be pumped into the air you breathe! Yikes! So, let’s tackle this head-on. I’m going to walk you through a super effective deep clean that will leave your humidifier sparkling and your air fresh.
What You’ll Need
Before we dive in, gather your supplies. Trust me, having everything ready makes the process so much smoother.
* White Vinegar: This is our star player! Vinegar is a natural disinfectant and descaler.
* Hydrogen Peroxide: Another great disinfectant, especially for tackling mold.
* Mild Dish Soap: Just a little bit to help cut through grime.
* Soft-Bristled Brush: An old toothbrush or a small cleaning brush works perfectly.
* Clean Cloths or Sponges: For wiping down surfaces.
* Water: For rinsing, of course!
* Gloves (Optional): If you have sensitive skin, gloves are a good idea.
* Small Basin or Sink: For soaking smaller parts.
* Pipe Cleaners or Cotton Swabs: To get into those hard-to-reach nooks and crannies.
Disassembling Your Humidifier
This is the first crucial step. Every humidifier is a little different, so consult your owner’s manual if you’re unsure about anything. But generally, here’s what you’ll do:
1. Unplug It! Safety first! Always unplug your humidifier before cleaning.
2. Empty the Water Tank: Pour out any remaining water. Don’t just leave it sitting there!
3. Remove All Removable Parts: This usually includes the water tank, the base, any filters, and any other components that easily detach. Refer to your manual for specific instructions.
Cleaning the Water Tank
The water tank is where all the action (and the grime) happens. Let’s get it sparkling clean.
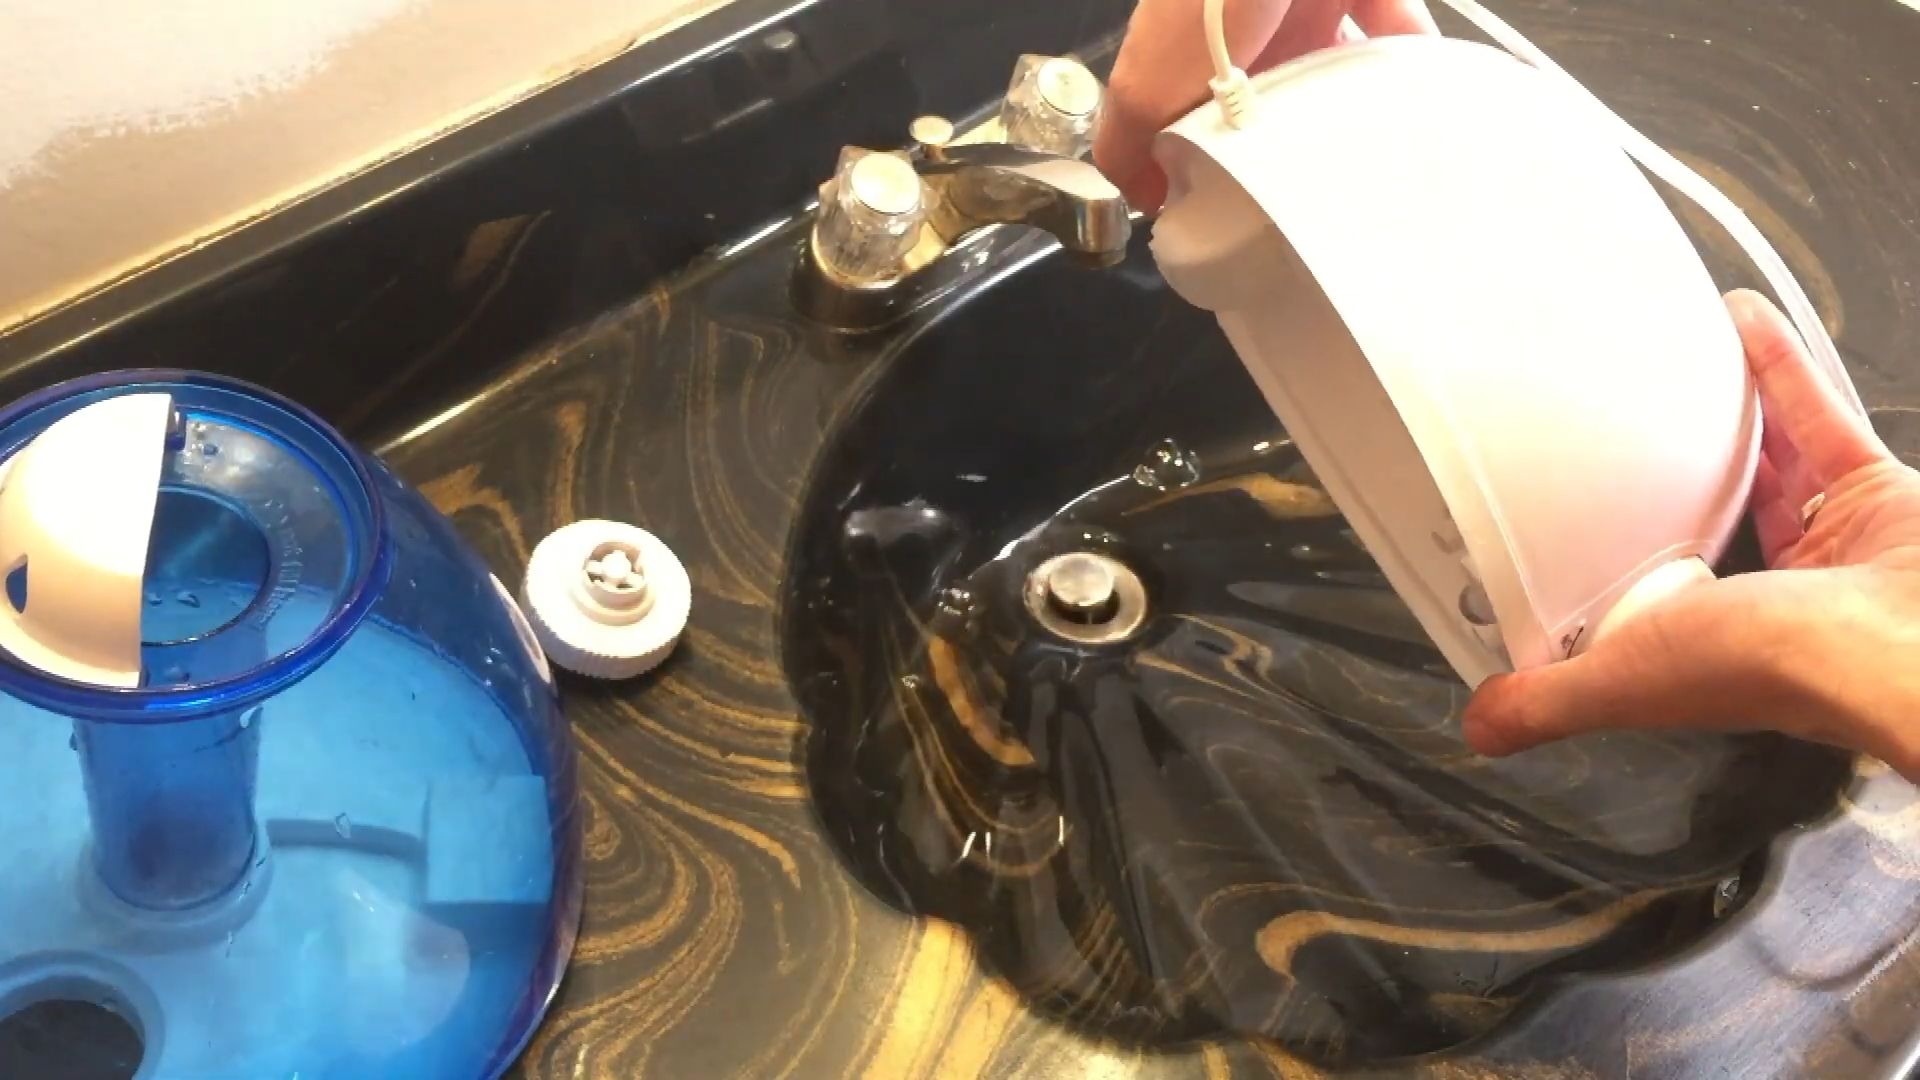
1. Rinse the Tank: Give the tank a good rinse with clean water to remove any loose debris.
2. Vinegar Soak: Fill the tank with undiluted white vinegar. Make sure the vinegar covers any mineral buildup or visible grime.
3. Soak Time: Let the vinegar soak for at least 30 minutes, or even longer (up to a few hours) if the buildup is particularly stubborn. I usually let mine soak while I tackle other parts of the humidifier.
4. Scrub-a-dub-dub: After soaking, use your soft-bristled brush to scrub the inside of the tank. Pay close attention to any areas with mineral deposits or discoloration.
5. Rinse Thoroughly: Rinse the tank very, very thoroughly with clean water until all traces of vinegar are gone. You don’t want to be breathing in vinegar fumes!
6. Hydrogen Peroxide Rinse (Optional): For extra disinfecting power, you can rinse the tank with a solution of 1 part hydrogen peroxide to 1 part water. Let it sit for about 5 minutes, then rinse thoroughly again.
Cleaning the Humidifier Base
The base is another area where mold and bacteria can thrive. Let’s give it some attention.
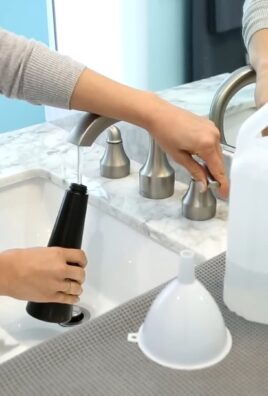
1. Empty and Rinse: Empty any remaining water from the base and rinse it with clean water.
2. Vinegar Solution: In a small basin or sink, mix a solution of equal parts white vinegar and water.
3. Soak Removable Parts: If there are any removable parts in the base, such as a tray or a small filter, soak them in the vinegar solution for at least 30 minutes.
4. Wipe Down the Base: Use a clean cloth or sponge dipped in the vinegar solution to wipe down the inside of the base. Pay attention to any crevices or hard-to-reach areas.
5. Scrub Stubborn Areas: For stubborn grime or mineral buildup, use your soft-bristled brush to scrub the affected areas.
6. Clean the Transducer (If Applicable): Some humidifiers have a transducer, which is a small disc that vibrates to create mist. This area is particularly prone to mineral buildup. Gently clean the transducer with a cotton swab dipped in vinegar. Be very careful not to damage it!
7. Rinse Thoroughly: Rinse all parts of the base thoroughly with clean water.
Cleaning the Filter (If Applicable)
If your humidifier has a filter, it’s essential to clean or replace it regularly. Check your owner’s manual for specific instructions on how to clean or replace your filter.
1. Remove the Filter: Carefully remove the filter from the humidifier.
2. Rinse or Replace:
* Washable Filters: Rinse the filter under cool running water until the water runs clear. You can also gently wash it with a mild dish soap solution. Be sure to rinse it very thoroughly to remove all traces of soap.
* Non-Washable Filters: These filters are designed to be replaced, not cleaned. If your filter is dirty or discolored, replace it with a new one.
3. Dry the Filter (If Washable): Allow the filter to air dry completely before reassembling the humidifier.
Dealing with Mold and Mildew
If you spot mold or mildew in your humidifier, don’t panic! Vinegar and hydrogen peroxide are your friends.
1. Identify the Affected Areas: Carefully inspect all parts of the humidifier for signs of mold or mildew.
2. Vinegar Treatment: Soak the affected parts in undiluted white vinegar for at least an hour.
3. Scrub Thoroughly: Use your soft-bristled brush to scrub away any visible mold or mildew.
4. Hydrogen Peroxide Treatment: After scrubbing, rinse the parts with a solution of 1 part hydrogen peroxide to 1 part water. Let it sit for about 10 minutes.
5. Rinse and Dry: Rinse all parts thoroughly with clean water and allow them to air dry completely.
Reassembling Your Humidifier
Once all the parts are clean and dry, it’s time to put everything back together.
1. Refer to Your Manual: Consult your owner’s manual for specific reassembly instructions.
2. Reassemble Carefully: Carefully reassemble all the parts of the humidifier, making sure everything is properly aligned and securely fastened.
3. Fill the Water Tank: Fill the water tank with clean, distilled water.
4. Plug It In: Plug in your humidifier and turn it on.
5. Enjoy Fresh, Clean Air! Breathe easy knowing that your humidifier is now clean and ready to provide you with fresh, clean air.
Tips for Maintaining a Clean Humidifier
Cleaning your humidifier regularly is key to preventing the buildup of mold, mildew, and bacteria. Here are a few tips to help you keep your humidifier clean:
* Empty and Rinse Daily: Empty and rinse the water tank daily to prevent the growth of bacteria.
* Use Distilled Water: Using distilled water instead of tap water can help reduce mineral buildup.
* Clean Weekly: Deep clean your humidifier at least once a week, or more often if you use it frequently.
* Replace Filters Regularly: Replace your humidifier’s filter according to the manufacturer’s instructions.
* Store Properly: When you’re not using your humidifier, store it in a clean, dry place. Make sure all the parts are completely dry before storing it.
Troubleshooting Common Humidifier Problems
Sometimes, even with regular cleaning, you might encounter some common humidifier problems. Here are a few troubleshooting tips:
* Humidifier Not Producing Mist:
* Check the water level in the tank.
* Make sure the humidifier is properly assembled.
* Clean the transducer (if applicable).
* Replace the filter (if applicable).
* Humidifier Smells Bad:
* Deep clean the humidifier with vinegar and hydrogen peroxide.
* Make sure you’re using distilled water.
* Replace the filter (if applicable).
* Humidifier Leaking:
* Check the water tank for cracks or leaks.
* Make sure the humidifier is properly assembled.
* Check the seals and gaskets for damage.
Choosing the Right Cleaning Products
While vinegar and hydrogen peroxide are my go-to cleaning products for humidifiers, there are other options available. However, it’s important to choose cleaning products that are safe for use in humidifiers and won’t damage the components.
* Avoid Harsh Chemicals: Avoid using harsh chemicals like bleach, ammonia, or strong detergents, as these can damage the humidifier and release harmful fumes into the air.
* Look for Humidifier Cleaning

Conclusion
So, there you have it! No more dreading humidifier cleaning day. This simple, effective, and budget-friendly DIY trick for how to clean humidifier easily is a game-changer. Forget those harsh chemicals and complicated disassembly instructions. With just a few readily available ingredients and a little bit of time, you can keep your humidifier sparkling clean and functioning optimally, ensuring you and your family breathe easy all season long.
Why is this a must-try? Because a clean humidifier is essential for your health and well-being. A dirty humidifier can harbor mold, mildew, and bacteria, which can then be dispersed into the air you breathe, potentially leading to respiratory problems, allergies, and even infections. This DIY method not only eliminates these harmful contaminants but also helps extend the lifespan of your humidifier, saving you money in the long run.
But don’t stop there! Feel free to experiment with variations to suit your specific needs and preferences. For instance, if you have a particularly stubborn buildup of mineral deposits, you can try soaking the affected parts in a stronger vinegar solution for a longer period. You could also add a few drops of essential oil, like tea tree or eucalyptus, to the cleaning solution for an extra boost of antimicrobial power and a refreshing scent (just be sure to check your humidifier’s manual to ensure essential oils are compatible). Another variation is to use distilled water instead of tap water in your humidifier to minimize mineral buildup in the first place. This simple switch can significantly reduce the frequency with which you need to clean your humidifier.
We’ve found that using a soft-bristled brush, like an old toothbrush, is particularly effective for scrubbing those hard-to-reach areas. And remember, regular cleaning is key! Aim to clean your humidifier at least once a week, or more frequently if you use it daily. A little preventative maintenance goes a long way in keeping your humidifier clean and your air healthy.
Don’t just take our word for it – give this DIY trick a try and see the difference for yourself! We’re confident that you’ll be amazed at how easy and effective it is. And most importantly, we want to hear about your experience! Share your tips, tricks, and variations in the comments below. Let’s create a community of clean humidifier enthusiasts and help each other breathe a little easier. We encourage you to share this article with your friends and family so they can also benefit from this simple yet powerful cleaning solution. Together, we can create healthier homes and happier lives, one clean humidifier at a time. So, go ahead, grab your vinegar and water, and get ready to experience the joy of a sparkling clean humidifier! You won’t regret it.
Frequently Asked Questions (FAQ)
Why is it so important to clean my humidifier regularly?
It’s crucial to clean your humidifier regularly because humidifiers create a moist environment that is ideal for the growth of mold, mildew, and bacteria. These microorganisms can then be released into the air you breathe, potentially causing respiratory problems, allergies, and even infections. Regular cleaning prevents this buildup and ensures that your humidifier is dispensing clean, healthy moisture into your home. Neglecting to clean your humidifier can actually make the air quality worse than if you weren’t using one at all.
How often should I clean my humidifier?
Ideally, you should clean your humidifier at least once a week, or even more frequently if you use it daily. If you notice any visible buildup of mineral deposits, mold, or mildew, it’s definitely time for a cleaning. A quick rinse and wipe-down every few days can also help prevent buildup and keep your humidifier running smoothly. Remember, preventative maintenance is key to maintaining a clean and healthy humidifier.
What kind of vinegar should I use for cleaning?
White vinegar is the best choice for cleaning your humidifier. It’s a natural disinfectant and deodorizer, and it’s effective at removing mineral deposits and killing mold and bacteria. Avoid using other types of vinegar, such as apple cider vinegar or balsamic vinegar, as they may contain sugars or other additives that could leave a residue or promote the growth of microorganisms.
Can I use bleach to clean my humidifier?
While bleach is a powerful disinfectant, it’s generally not recommended for cleaning humidifiers. Bleach can be harsh and corrosive, and it may damage certain parts of your humidifier. It can also leave behind a strong odor that can be difficult to remove. Vinegar is a safer and more natural alternative that is just as effective at cleaning and disinfecting. If you do choose to use bleach, be sure to dilute it properly and rinse all parts of the humidifier thoroughly to remove any residue. Always consult your humidifier’s manual before using any cleaning products.
What if I have a particularly stubborn buildup of mineral deposits?
If you have a stubborn buildup of mineral deposits, you can try soaking the affected parts in a stronger vinegar solution (undiluted or a higher concentration) for a longer period, such as overnight. You can also use a soft-bristled brush, like an old toothbrush, to scrub the deposits away. For extremely stubborn deposits, you might consider using a commercial descaling solution specifically designed for humidifiers, but be sure to follow the manufacturer’s instructions carefully.
Can I put essential oils directly into the water tank of my humidifier?
This depends on the type of humidifier you have. Some humidifiers are designed to be used with essential oils, while others are not. Adding essential oils to a humidifier that is not designed for them can damage the unit and void the warranty. Always check your humidifier’s manual before adding essential oils. If your humidifier is compatible with essential oils, be sure to use only pure, therapeutic-grade oils and follow the manufacturer’s instructions for dosage.
How do I prevent mineral buildup in my humidifier?
The best way to prevent mineral buildup in your humidifier is to use distilled water instead of tap water. Tap water contains minerals that can accumulate over time and form a hard, crusty residue. Distilled water is purified and free of these minerals, so it will help keep your humidifier cleaner for longer. You can also empty and dry your humidifier after each use to prevent mineral buildup.
What should I do if my humidifier still smells after cleaning?
If your humidifier still smells after cleaning, it could be due to lingering mold or bacteria. Try cleaning it again with a stronger vinegar solution, and be sure to rinse all parts thoroughly. You can also try adding a few drops of tea tree oil or eucalyptus oil to the cleaning solution for their antimicrobial properties. If the smell persists, you may need to replace certain parts of the humidifier, such as the filter or wick.
How do I properly dry my humidifier after cleaning?
It’s important to dry your humidifier thoroughly after cleaning to prevent the growth of mold and bacteria. Use a clean, dry cloth to wipe down all parts of the humidifier, and then allow them to air dry completely before reassembling. You can also use a fan to speed up the drying process. Make sure all parts are completely dry before storing the humidifier to prevent mold growth during storage.
Where can I find replacement parts for my humidifier?
You can usually find replacement parts for your humidifier online or at appliance stores. Be sure to check your humidifier’s manual for the correct part numbers and specifications. You can also contact the manufacturer of your humidifier directly to order replacement parts. Replacing worn or damaged parts can help extend the lifespan of your humidifier and keep it running efficiently.

Leave a Comment