

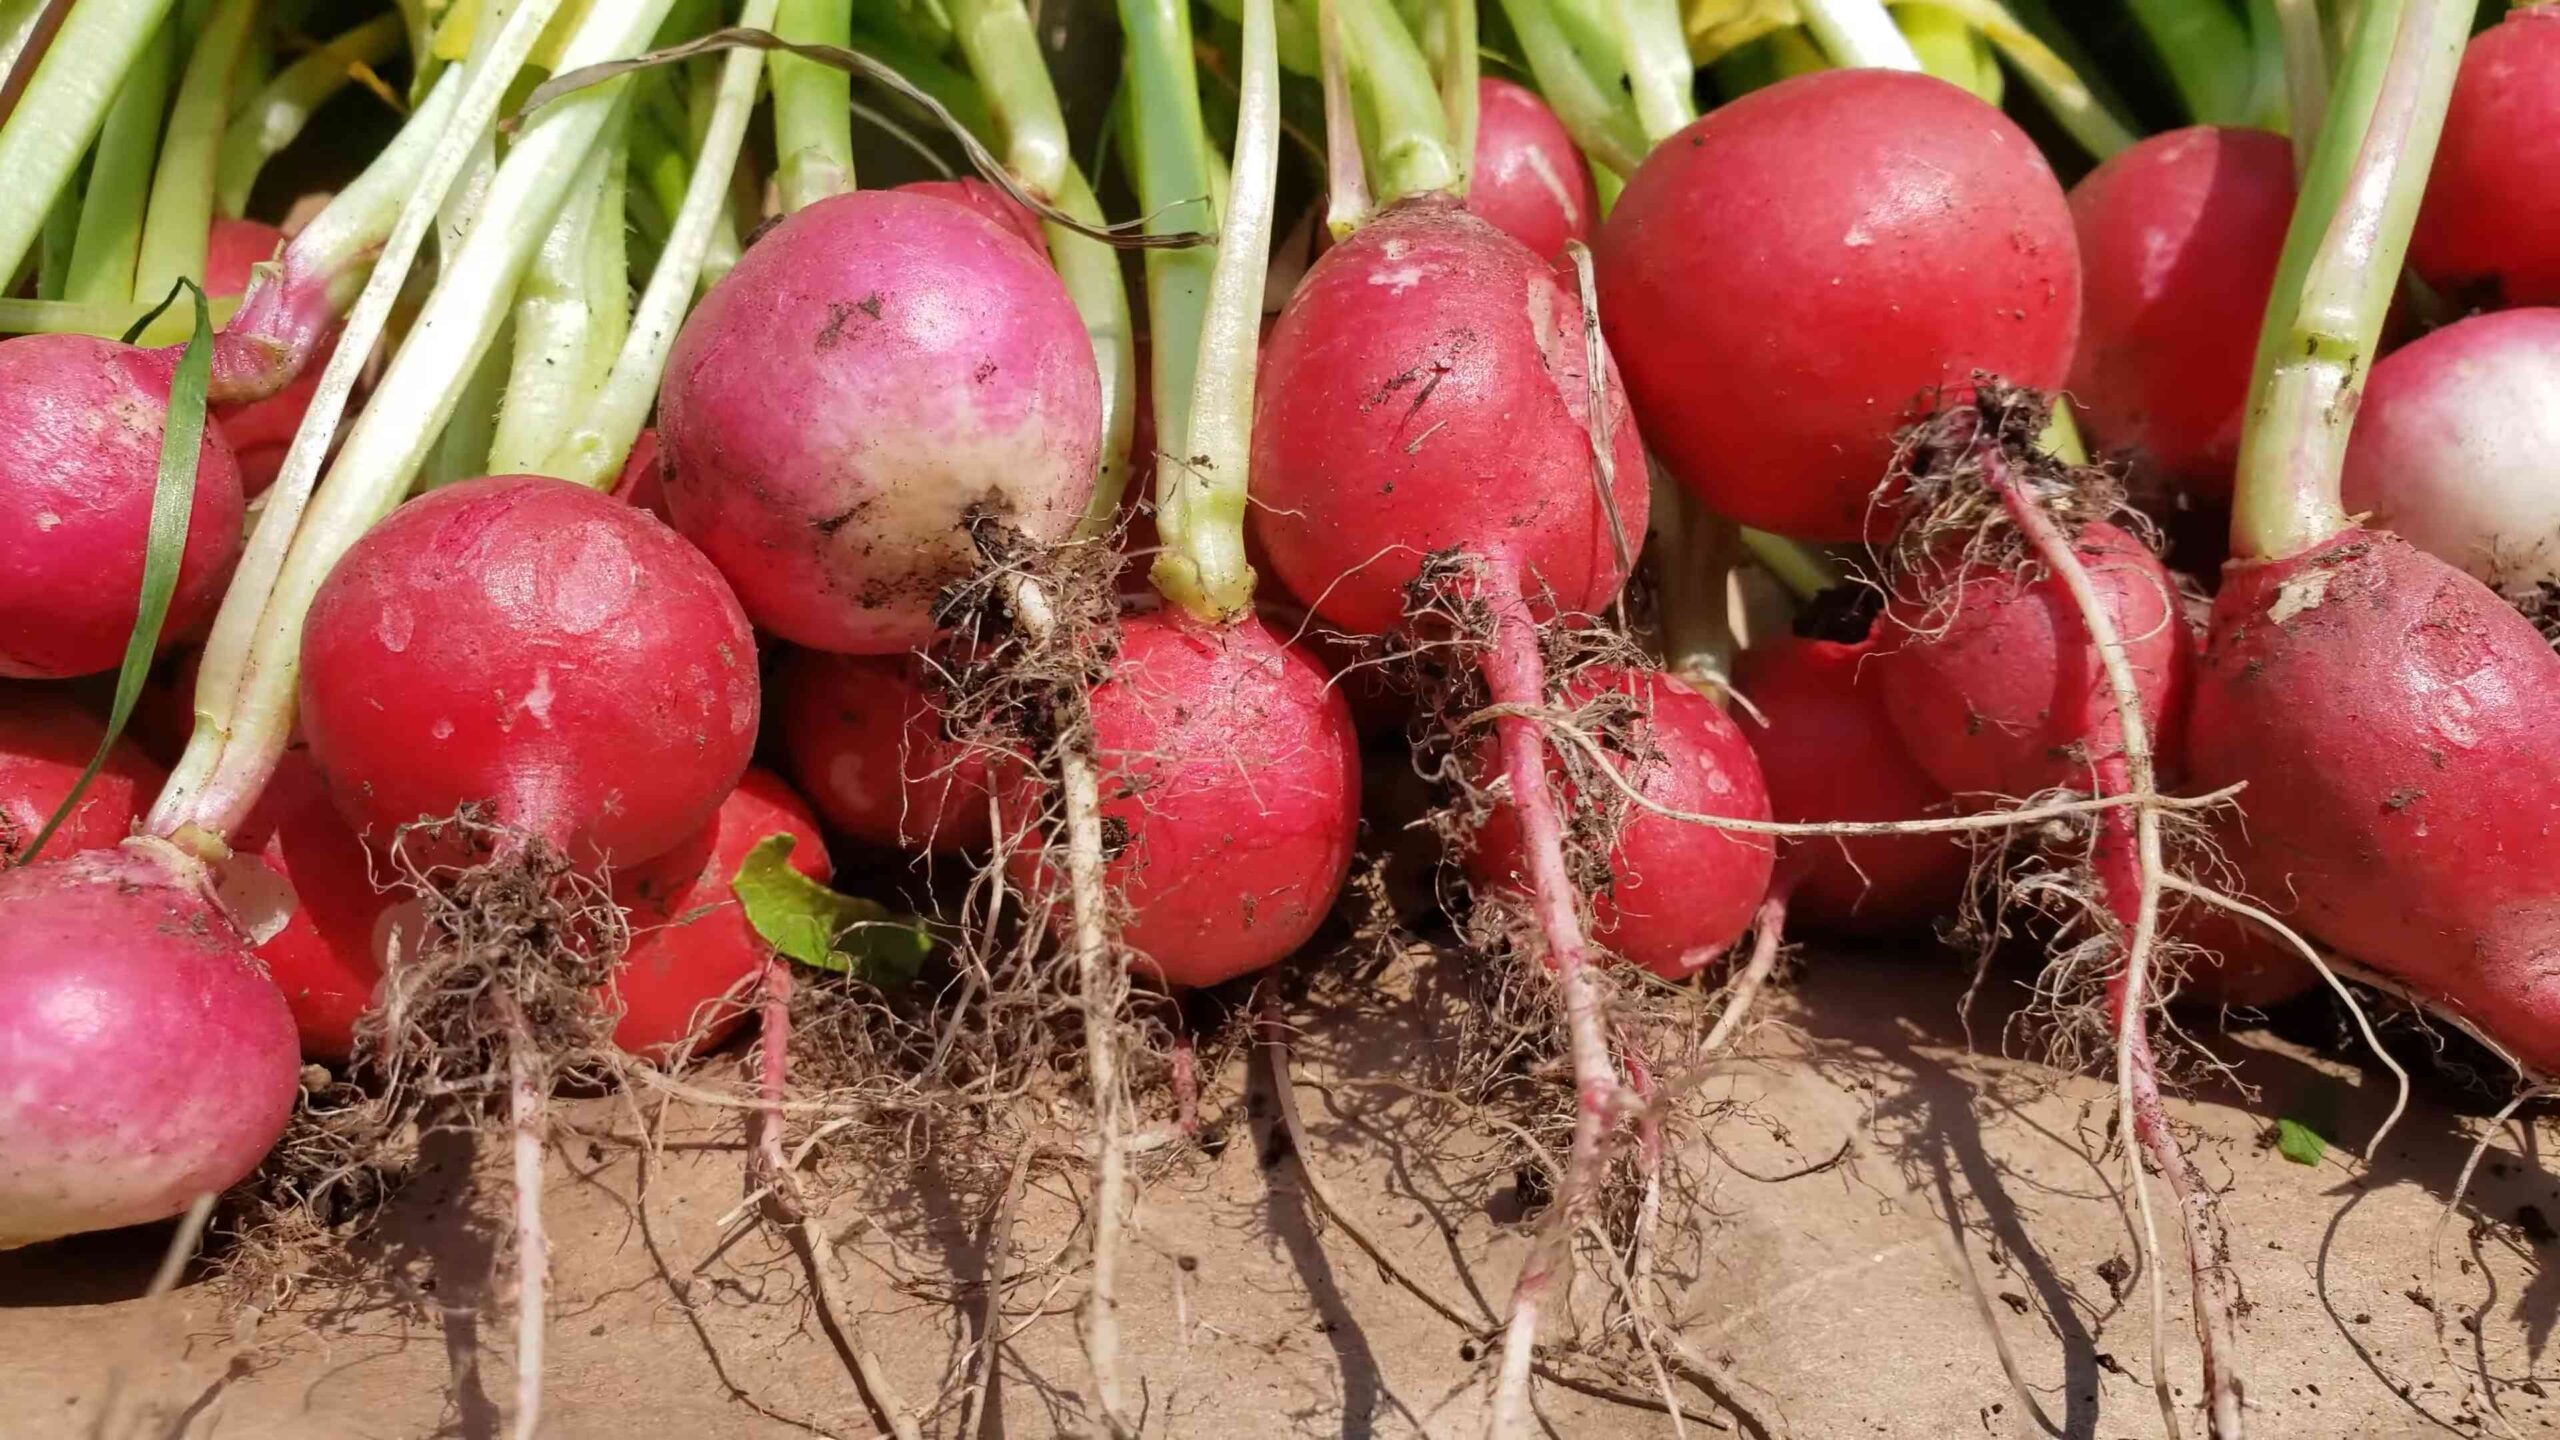
Fast growing radishes – who doesn’t want them? Imagine plucking crisp, peppery radishes from your own garden just weeks after planting! It’s a dream for any home gardener, and I’m here to tell you, it’s totally achievable. For centuries, radishes have been a staple in gardens worldwide, from ancient Egypt where they were a common food, to modern-day kitchen gardens. Their quick growth cycle makes them incredibly rewarding, especially for beginner gardeners eager to see results.
But let’s be honest, sometimes those little red globes take their sweet time, leaving us wondering if we’ll ever get to enjoy that satisfying crunch. That’s where these DIY tricks come in! I’m going to share some of my favorite, tried-and-true methods to supercharge your radish growth. Whether you’re dealing with poor soil, inconsistent watering, or just want to maximize your harvest, these hacks will help you unlock the secret to fast growing radishes. Get ready to impress your friends (and yourself!) with a bounty of delicious, homegrown radishes in record time!
DIY: Supercharge Your Radish Harvest – From Seed to Salad in Weeks!
Okay, radish lovers, let’s talk about speed. We all adore that peppery crunch of a fresh radish, but sometimes it feels like we’re waiting forever for those little roots to plump up. Well, I’m here to tell you that you can drastically cut down on your radish growing time with a few simple DIY tricks. I’ve experimented with these methods for years, and I’m consistently amazed at how quickly I can harvest a delicious crop. Get ready to enjoy radishes faster than you ever thought possible!
Choosing the Right Radish Variety
First things first, not all radishes are created equal when it comes to speed. Some varieties are naturally faster growers than others. Here’s my go-to list for rapid radish results:
* Cherry Belle: This is a classic for a reason. It’s reliable, easy to grow, and matures incredibly quickly (around 22 days!).
* French Breakfast: These elongated radishes have a mild flavor and are ready to harvest in about 25 days.
* Sparkler: Another quick option, Sparkler radishes are round with a red top and white tip, maturing in approximately 24 days.
* Easter Egg: If you want a colorful mix, Easter Egg radishes are a great choice. They come in a variety of colors (red, pink, purple, white) and mature in around 28 days.
Choosing one of these varieties is your first step towards a speedy radish harvest.
Preparing the Perfect Radish Bed
Radishes are pretty low-maintenance, but they do have a few preferences when it comes to their growing environment. Here’s how I prepare my radish bed for optimal growth:
* Sunlight: Radishes need at least 6 hours of sunlight per day. Choose a spot in your garden that gets plenty of sunshine.
* Soil: Radishes prefer loose, well-drained soil. Compacted soil can hinder root development and slow down growth.
* Amendments: Before planting, I like to amend my soil with compost or well-rotted manure. This adds nutrients and improves drainage. Avoid adding too much nitrogen, as this can lead to excessive leaf growth at the expense of root development.
* pH: Radishes prefer a slightly acidic to neutral soil pH (around 6.0 to 7.0). You can test your soil pH with a simple soil testing kit.
The DIY Speed-Growing Techniques
Now for the fun part! These are the techniques I use to really accelerate radish growth.
1. Pre-Sprouting Your Radish Seeds
This is a game-changer! Pre-sprouting gives your radishes a head start and can shave days off your harvest time.
Step-by-Step Instructions:
1. Gather your supplies: You’ll need your radish seeds, a clean jar or container, a paper towel, and some water.
2. Moisten the paper towel: Dampen the paper towel with water, but don’t soak it. You want it to be moist, not dripping.
3. Place the seeds on the paper towel: Spread the radish seeds evenly on the damp paper towel.
4. Fold the paper towel: Fold the paper towel over the seeds to keep them moist.
5. Place in the jar: Put the folded paper towel with the seeds inside the jar or container.
6. Cover the jar: Cover the jar with a lid or plastic wrap to create a humid environment.
7. Monitor and mist: Check the seeds daily. If the paper towel starts to dry out, mist it with water.
8. Wait for sprouting: Within a few days (usually 2-3), you should see tiny sprouts emerging from the seeds.
9. Plant carefully: Once the sprouts are visible, carefully plant the seeds in your prepared radish bed. Be gentle, as the sprouts are delicate.
2. Using a Cold Frame or Row Cover
Radishes thrive in cool weather, but a sudden cold snap can slow down their growth. Using a cold frame or row cover can protect your radishes from the elements and keep them growing strong.
Step-by-Step Instructions:
1. Choose your method: You can either build a simple cold frame or use a commercially available row cover.
2. Cold Frame Construction (DIY):
* Gather materials: You’ll need some wood (scrap wood works great!), clear plastic sheeting, and some nails or screws.
* Build a frame: Construct a simple rectangular frame that’s large enough to cover your radish bed.
* Attach the plastic: Staple or nail the plastic sheeting to the frame, creating a transparent cover.
* Ventilation: Make sure you have a way to ventilate the cold frame on warm days to prevent overheating. You can simply prop open one side of the frame.
3. Row Cover Installation:
* Purchase row cover: You can find row covers at most garden centers.
* Drape over plants: Drape the row cover over your radish bed, making sure it’s loose enough to allow the plants to grow.
* Secure the edges: Secure the edges of the row cover with soil, rocks, or garden staples to prevent it from blowing away.
4. Monitor temperature: Keep an eye on the temperature inside the cold frame or under the row cover. On warm days, you may need to vent the cold frame or remove the row cover to prevent overheating.
3. Consistent Watering and Fertilizing
Radishes need consistent moisture to grow quickly. Dry soil can stress the plants and slow down their development.
Step-by-Step Instructions:
1. Water deeply: Water your radishes deeply whenever the top inch of soil feels dry.
2. Avoid overwatering: Overwatering can lead to root rot, so make sure the soil is well-drained.
3. Fertilize lightly: Radishes don’t need a lot of fertilizer, but a light feeding can help them grow faster. I like to use a diluted liquid fertilizer (like fish emulsion) every couple of weeks.
4. Foliar feeding: You can also try foliar feeding, which involves spraying the leaves with a diluted fertilizer solution. This allows the plants to absorb nutrients directly through their leaves.
4. Thinning Your Radishes
This is crucial! If you don’t thin your radishes, they’ll compete for resources and won’t grow to their full potential.
Step-by-Step Instructions:
1. Wait until seedlings emerge: Wait until your radish seedlings have emerged and have a few true leaves.
2. Thin to the correct spacing: Thin the seedlings so that they are about 1-2 inches apart. This will give them enough room to grow.
3. Carefully remove seedlings: Gently pull out the extra seedlings, being careful not to disturb the roots of the remaining plants.
4. Don’t waste the thinnings: You can eat the radish thinnings! They have a mild, peppery flavor and are great in salads.
5. Companion Planting for Speed
Companion planting can be a great way to boost radish growth. Certain plants can help deter pests, improve soil health, or even provide shade.
Step-by-Step Instructions:
1. Choose your companions: Some good companion plants for radishes include:
* Carrots: Carrots and radishes are a classic combination. Radishes help break up the soil, making it easier for carrots to grow.
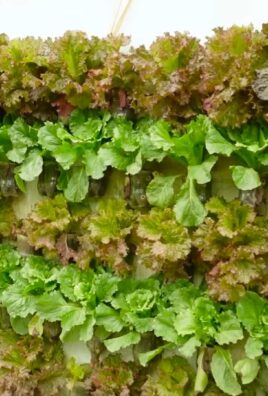
* Lettuce: Lettuce provides shade for radishes, which can help prevent them from bolting (going to seed) in hot weather.
* Spinach: Spinach is another good shade provider for radishes.
* Nasturtiums: Nasturtiums attract beneficial insects and can help deter pests.
2. Plant strategically: Plant your companion plants alongside your radishes, making sure they don’t overcrowd them.
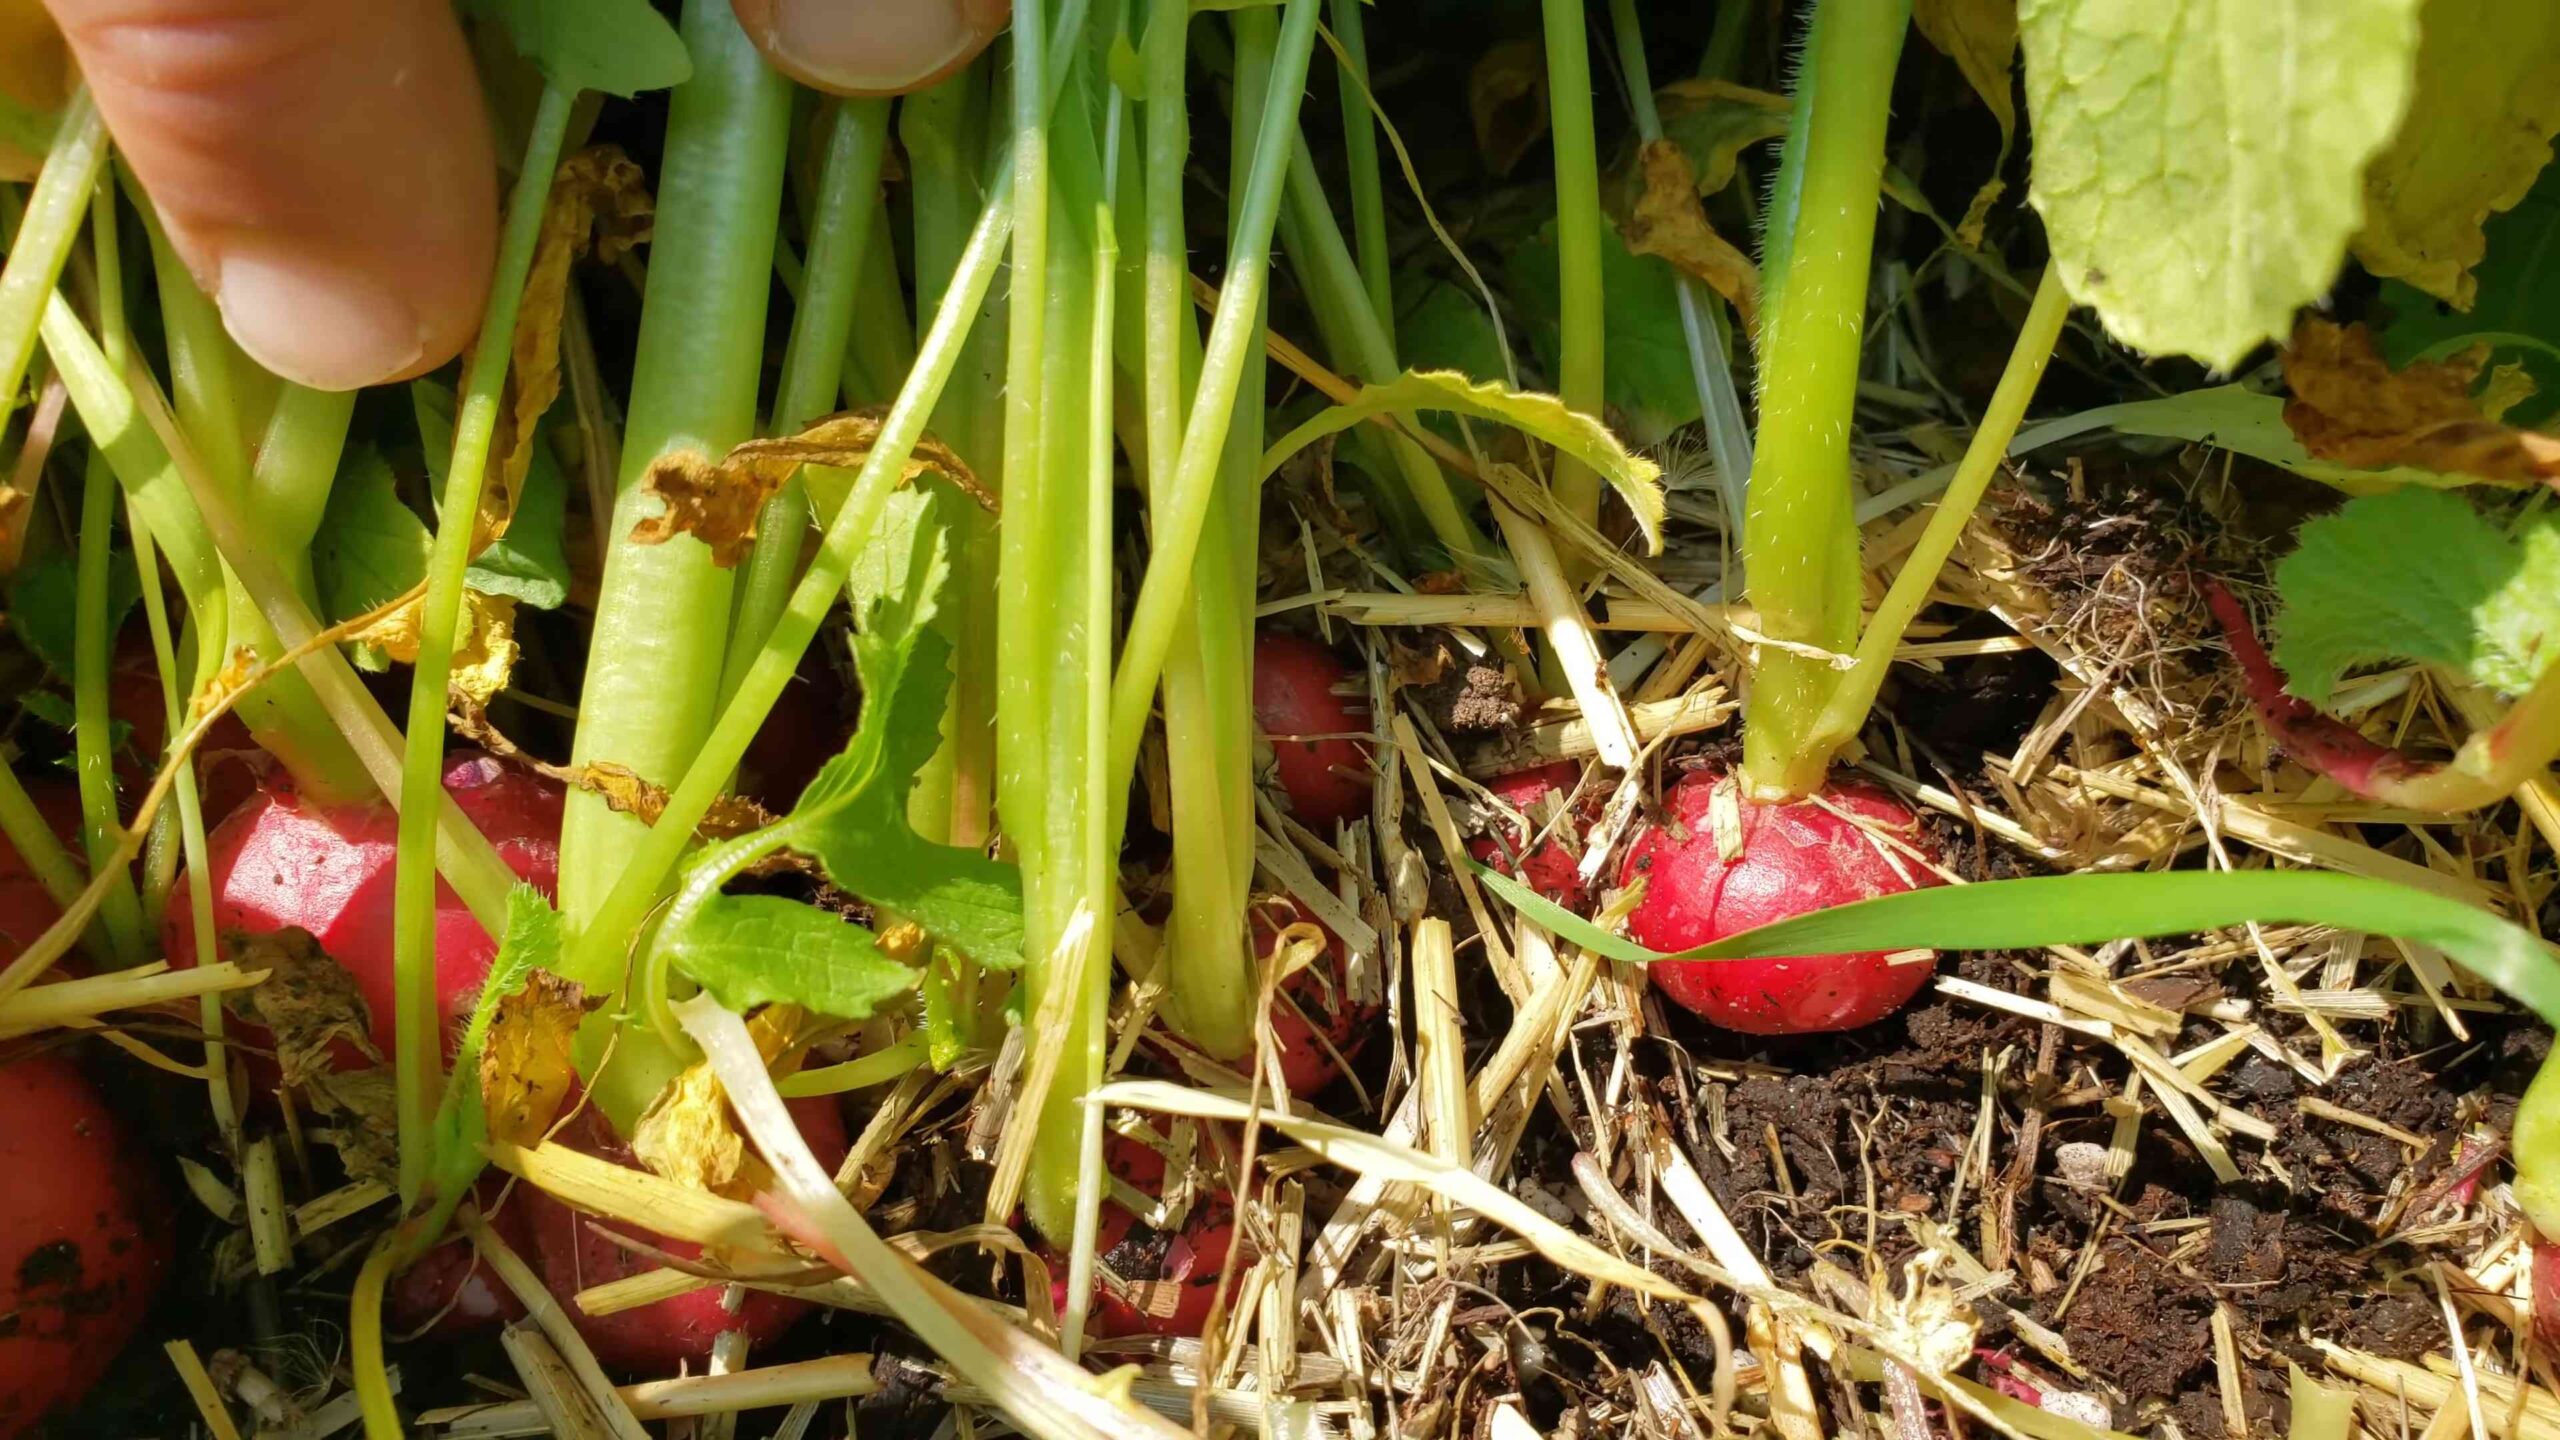
6. Harvesting at the Right Time
Don’t wait too long to harvest your radishes! Overripe radishes can become woody and bitter.
Step-by-Step Instructions:
1. Check for maturity: Check your radishes regularly to see if they’re ready to harvest. The maturity time will vary depending on the variety, but most radishes are ready to harvest in 20-30 days.
2. Look for size: The size of the radish is a good indicator of maturity. Check the seed packet for the expected size of your chosen variety.
3. Test a few: If you’re unsure, pull up a few radishes to check their size and flavor.
4. Harvest gently: Gently pull the radishes from the soil, being careful not to damage them.
Conclusion
So, there you have it! Mastering the art of cultivating fast-growing radishes at home is not only achievable but also incredibly rewarding. We’ve explored the key steps, from seed selection and soil preparation to watering techniques and pest control, all designed to accelerate the growth of these peppery delights. But why is this DIY approach a must-try?
Firstly, the taste difference is undeniable. Radishes harvested fresh from your garden boast a crispness and vibrancy that store-bought varieties simply can’t match. The subtle heat is more pronounced, the texture is more satisfying, and the overall flavor profile is significantly enhanced. You’re not just growing radishes; you’re cultivating an experience.
Secondly, you have complete control over the growing process. No more worrying about unknown pesticides or questionable farming practices. You know exactly what’s going into your radishes, ensuring a healthy and wholesome addition to your meals. This peace of mind is invaluable, especially for those conscious about their food sources.
Thirdly, it’s incredibly satisfying! There’s something deeply fulfilling about nurturing a plant from seed to harvest. Watching those tiny sprouts emerge from the soil and transform into vibrant, edible roots is a testament to your efforts and a connection to the natural world. It’s a small victory that brings joy and a sense of accomplishment.
But the journey doesn’t end here! Feel free to experiment with different radish varieties. Try French Breakfast radishes for their mild flavor and elongated shape, or Daikon radishes for their impressive size and versatility in Asian cuisine. You can also explore companion planting, pairing your radishes with carrots or lettuce to deter pests and improve soil health. Consider succession planting, sowing new seeds every couple of weeks, to ensure a continuous harvest throughout the growing season.
Don’t be afraid to get creative with your radish recipes too! Beyond salads, try roasting them for a sweeter, more mellow flavor, or pickling them for a tangy condiment. Radish greens are also edible and can be used in salads, soups, or stir-fries. The possibilities are endless!
This is more than just a gardening project; it’s an opportunity to connect with nature, enhance your culinary skills, and enjoy the freshest, most flavorful radishes imaginable.
We wholeheartedly encourage you to embark on this DIY adventure. Start small, learn as you go, and don’t be discouraged by initial setbacks. Gardening is a journey of continuous learning and refinement.
And most importantly, share your experience! We’d love to hear about your successes, challenges, and creative radish recipes. Post photos of your harvest on social media using #FastGrowingRadishesDIY and tag us [Your Social Media Handle]. Let’s build a community of radish enthusiasts and inspire others to embrace the joys of homegrown produce.
So, grab your seeds, prepare your soil, and get ready to experience the satisfaction of harvesting your own fast-growing radishes. Happy gardening!
Frequently Asked Questions (FAQ)
What are the best radish varieties for fast growth?
Several radish varieties are known for their quick maturation. Cherry Belle radishes are a classic choice, typically ready to harvest in just 22-25 days. French Breakfast radishes are another excellent option, maturing in around 25-30 days. Easter Egg radishes, a mix of red, white, and purple varieties, also offer a fast turnaround. For something a little different, consider Sparkler radishes, which have a mild flavor and mature in about 25 days. Ultimately, the best variety depends on your personal taste preferences, but these are all reliable choices for achieving a quick harvest.
How much sunlight do radishes need to grow quickly?
Radishes thrive in full sun, requiring at least 6 hours of direct sunlight per day. While they can tolerate partial shade, insufficient sunlight can lead to slower growth and smaller roots. If you’re growing radishes indoors, consider using grow lights to supplement natural sunlight and ensure optimal growth. Position the lights close to the plants and adjust their height as the radishes grow.
What type of soil is best for fast-growing radishes?
Radishes prefer loose, well-drained soil that is rich in organic matter. Heavy clay soil can hinder root development and result in misshapen radishes. Amend heavy soil with compost, aged manure, or other organic materials to improve drainage and aeration. A slightly acidic to neutral soil pH (around 6.0 to 7.0) is ideal. Before planting, loosen the soil to a depth of at least 6 inches to allow the roots to penetrate easily.
How often should I water my radishes?
Consistent moisture is crucial for fast radish growth. Water regularly, keeping the soil consistently moist but not waterlogged. Aim for about 1 inch of water per week, either through rainfall or irrigation. Avoid letting the soil dry out completely, as this can cause the radishes to become tough and bitter. Mulching around the plants can help retain moisture and suppress weeds.
What are some common pests and diseases that affect radishes, and how can I prevent them?
Common pests that can affect radishes include flea beetles, root maggots, and aphids. Flea beetles can be controlled with row covers or insecticidal soap. Root maggots can be prevented by practicing crop rotation and using diatomaceous earth around the plants. Aphids can be washed off with a strong stream of water or treated with insecticidal soap. Diseases such as damping-off and white rust can also affect radishes. Prevent damping-off by ensuring good drainage and avoiding overcrowding. White rust can be controlled with fungicides.
How do I know when my radishes are ready to harvest?
Radishes are typically ready to harvest when the roots reach about 1 inch in diameter, although this can vary depending on the variety. Gently brush away the soil around the base of the plant to check the size of the root. If the radishes are too small, leave them in the ground for a few more days. If they are too large, they may become tough and bitter. Harvest radishes by gently pulling them from the soil.
Can I eat radish greens?
Yes, radish greens are edible and nutritious! They have a peppery flavor similar to the roots and can be used in salads, soups, stir-fries, or as a garnish. Harvest the greens when they are young and tender, as they can become bitter as they mature. Wash the greens thoroughly before using them.
How can I prevent my radishes from cracking?
Cracking can occur when radishes experience inconsistent watering or rapid changes in soil moisture. To prevent cracking, water regularly and consistently, especially during dry periods. Mulching around the plants can also help retain moisture and prevent fluctuations in soil moisture levels.
My radishes are all tops and no roots. What am I doing wrong?
Several factors can contribute to radishes producing more foliage than roots. Insufficient sunlight, overcrowding, and poor soil fertility are common culprits. Ensure that your radishes are receiving at least 6 hours of direct sunlight per day. Thin the seedlings to provide adequate spacing between plants. Amend the soil with compost or other organic materials to improve fertility.
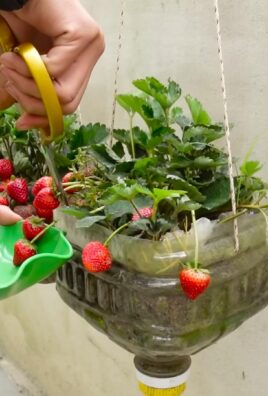
Can I grow radishes in containers?
Yes, radishes are well-suited for container gardening. Choose a container that is at least 6 inches deep and has drainage holes. Use a well-draining potting mix and water regularly. Place the container in a sunny location. Container-grown radishes may require more frequent watering than those grown in the ground.

Leave a Comment