

Lipstick Stain Removal Baking Soda: Ever had that heart-stopping moment when you realize your favorite blouse is sporting a bright red kiss mark, courtesy of your boldest lipstick? We’ve all been there! It’s a fashion emergency that demands immediate action. But fear not, fellow fashionistas and stain-fighting warriors, because I’m about to share a simple, yet incredibly effective, DIY trick that will banish those pesky lipstick stains for good.
Throughout history, women (and men!) have sought ways to preserve their garments, and stain removal has always been a crucial part of that. While modern detergents are helpful, sometimes you need a little extra oomph, especially when dealing with stubborn pigments like those found in lipstick. This is where the magic of baking soda comes in!
Why is this DIY trick so essential? Because life is too short to let a lipstick stain ruin your day (or your favorite outfit!). Professional dry cleaning can be expensive and time-consuming. This method is a quick, affordable, and readily available solution. Plus, it’s eco-friendly! So, if you’re looking for a natural and effective way to tackle lipstick stain removal baking soda is your new best friend. Let’s dive into the steps and reclaim your wardrobe, one stain-free garment at a time!
DIY Lipstick Stain Removal: Baking Soda Magic!
Hey there, fellow DIY enthusiasts! Lipstick stains, am I right? They’re the bane of our existence, especially when they decide to grace our favorite clothes, carpets, or even furniture. But don’t despair! I’m here to share a super effective and budget-friendly trick using something you probably already have in your pantry: baking soda! Yes, that humble white powder is a stain-fighting superhero. I’ve personally used this method countless times, and it’s saved me from many a lipstick-related fashion disaster. So, let’s dive in and learn how to banish those pesky lipstick stains for good!
What You’ll Need
Before we get started, let’s gather our supplies. This is a pretty simple process, so you won’t need much:
* Baking Soda
* Clean White Cloth or Sponge (avoid colored cloths as they might transfer dye)
* Soft-Bristled Brush (an old toothbrush works great!)
* Vacuum Cleaner (for carpets and upholstery)
* Water (optional, for pre-treating stubborn stains)
* Mild Laundry Detergent (optional, for clothing)
Understanding the Enemy: Lipstick Stains
Lipstick stains are tricky because they’re usually a combination of oil, wax, and pigment. The oil and wax make them cling to fabrics, while the pigment is what gives them their vibrant (and unwanted) color. This is why simply wiping them away often just smears the stain and makes it worse. Baking soda works by absorbing the oil and lifting the pigment, making it easier to remove the stain completely.
Pre-Treatment (Optional but Recommended)
For fresh stains or particularly stubborn ones, a little pre-treatment can go a long way.
1. Blot, Don’t Rub: The first rule of stain removal is always to blot, not rub! Rubbing will only spread the stain and push it deeper into the fibers. Use a clean white cloth to gently blot up as much of the excess lipstick as possible.
2. Water Application (Optional): If the stain is fresh, you can try dabbing it with a little cool water. Again, blot gently. Avoid hot water, as it can set the stain.
3. Detergent Pre-Treatment (For Clothing): For clothing, you can apply a tiny amount of mild laundry detergent directly to the stain. Gently rub it in with your fingers or a soft-bristled brush. Let it sit for about 5-10 minutes before moving on to the baking soda treatment.
Baking Soda Stain Removal: Step-by-Step Guide
Now for the main event! Here’s how to use baking soda to remove lipstick stains:
1. Apply Baking Soda Generously: Cover the entire lipstick stain with a thick layer of baking soda. Make sure the stain is completely covered. Don’t be shy – the more baking soda, the better!
2. Let it Sit: This is the crucial part. You need to give the baking soda time to absorb the oil and pigment from the stain. I usually recommend letting it sit for at least 30 minutes, but for really stubborn stains, you can leave it on for several hours or even overnight. The longer it sits, the more effective it will be.
3. Gently Brush: After the baking soda has had time to work its magic, use a soft-bristled brush (like an old toothbrush) to gently brush away the powder. Brush in a circular motion, being careful not to rub the stain further into the fabric.
4. Vacuum (For Carpets and Upholstery): If you’re dealing with a carpet or upholstery stain, use a vacuum cleaner to thoroughly remove the baking soda residue. Make sure to use the hose attachment to get into all the nooks and crannies.
5. Launder (For Clothing): If you’re treating clothing, launder the item as usual, following the care instructions on the garment label. Before putting it in the dryer, check to make sure the stain is completely gone. If it’s still there, repeat the baking soda treatment before drying. Drying the item with the stain still present can set the stain permanently.
6. Inspect and Repeat (If Necessary): After removing the baking soda (either by vacuuming or laundering), carefully inspect the area to see if the stain is completely gone. If you can still see a faint trace of the stain, repeat the entire process. Sometimes it takes a couple of tries to completely remove a stubborn stain.
Dealing with Different Fabrics
The baking soda method is generally safe for most fabrics, but it’s always a good idea to test it on an inconspicuous area first, especially if you’re dealing with delicate materials like silk or velvet.
* Delicate Fabrics: For delicate fabrics, be extra gentle when brushing away the baking soda. You might also want to reduce the amount of time you let the baking soda sit on the stain.
* Colored Fabrics: While baking soda is generally color-safe, it’s always a good idea to test it on a hidden area first to make sure it doesn’t cause any discoloration.
* Leather: I wouldn’t recommend using baking soda on leather, as it can dry it out. Instead, try a leather cleaner specifically designed for stain removal.
Stubborn Stain Strategies
Sometimes, despite our best efforts, a lipstick stain just refuses to budge. Here are a few extra strategies you can try for those particularly stubborn stains:
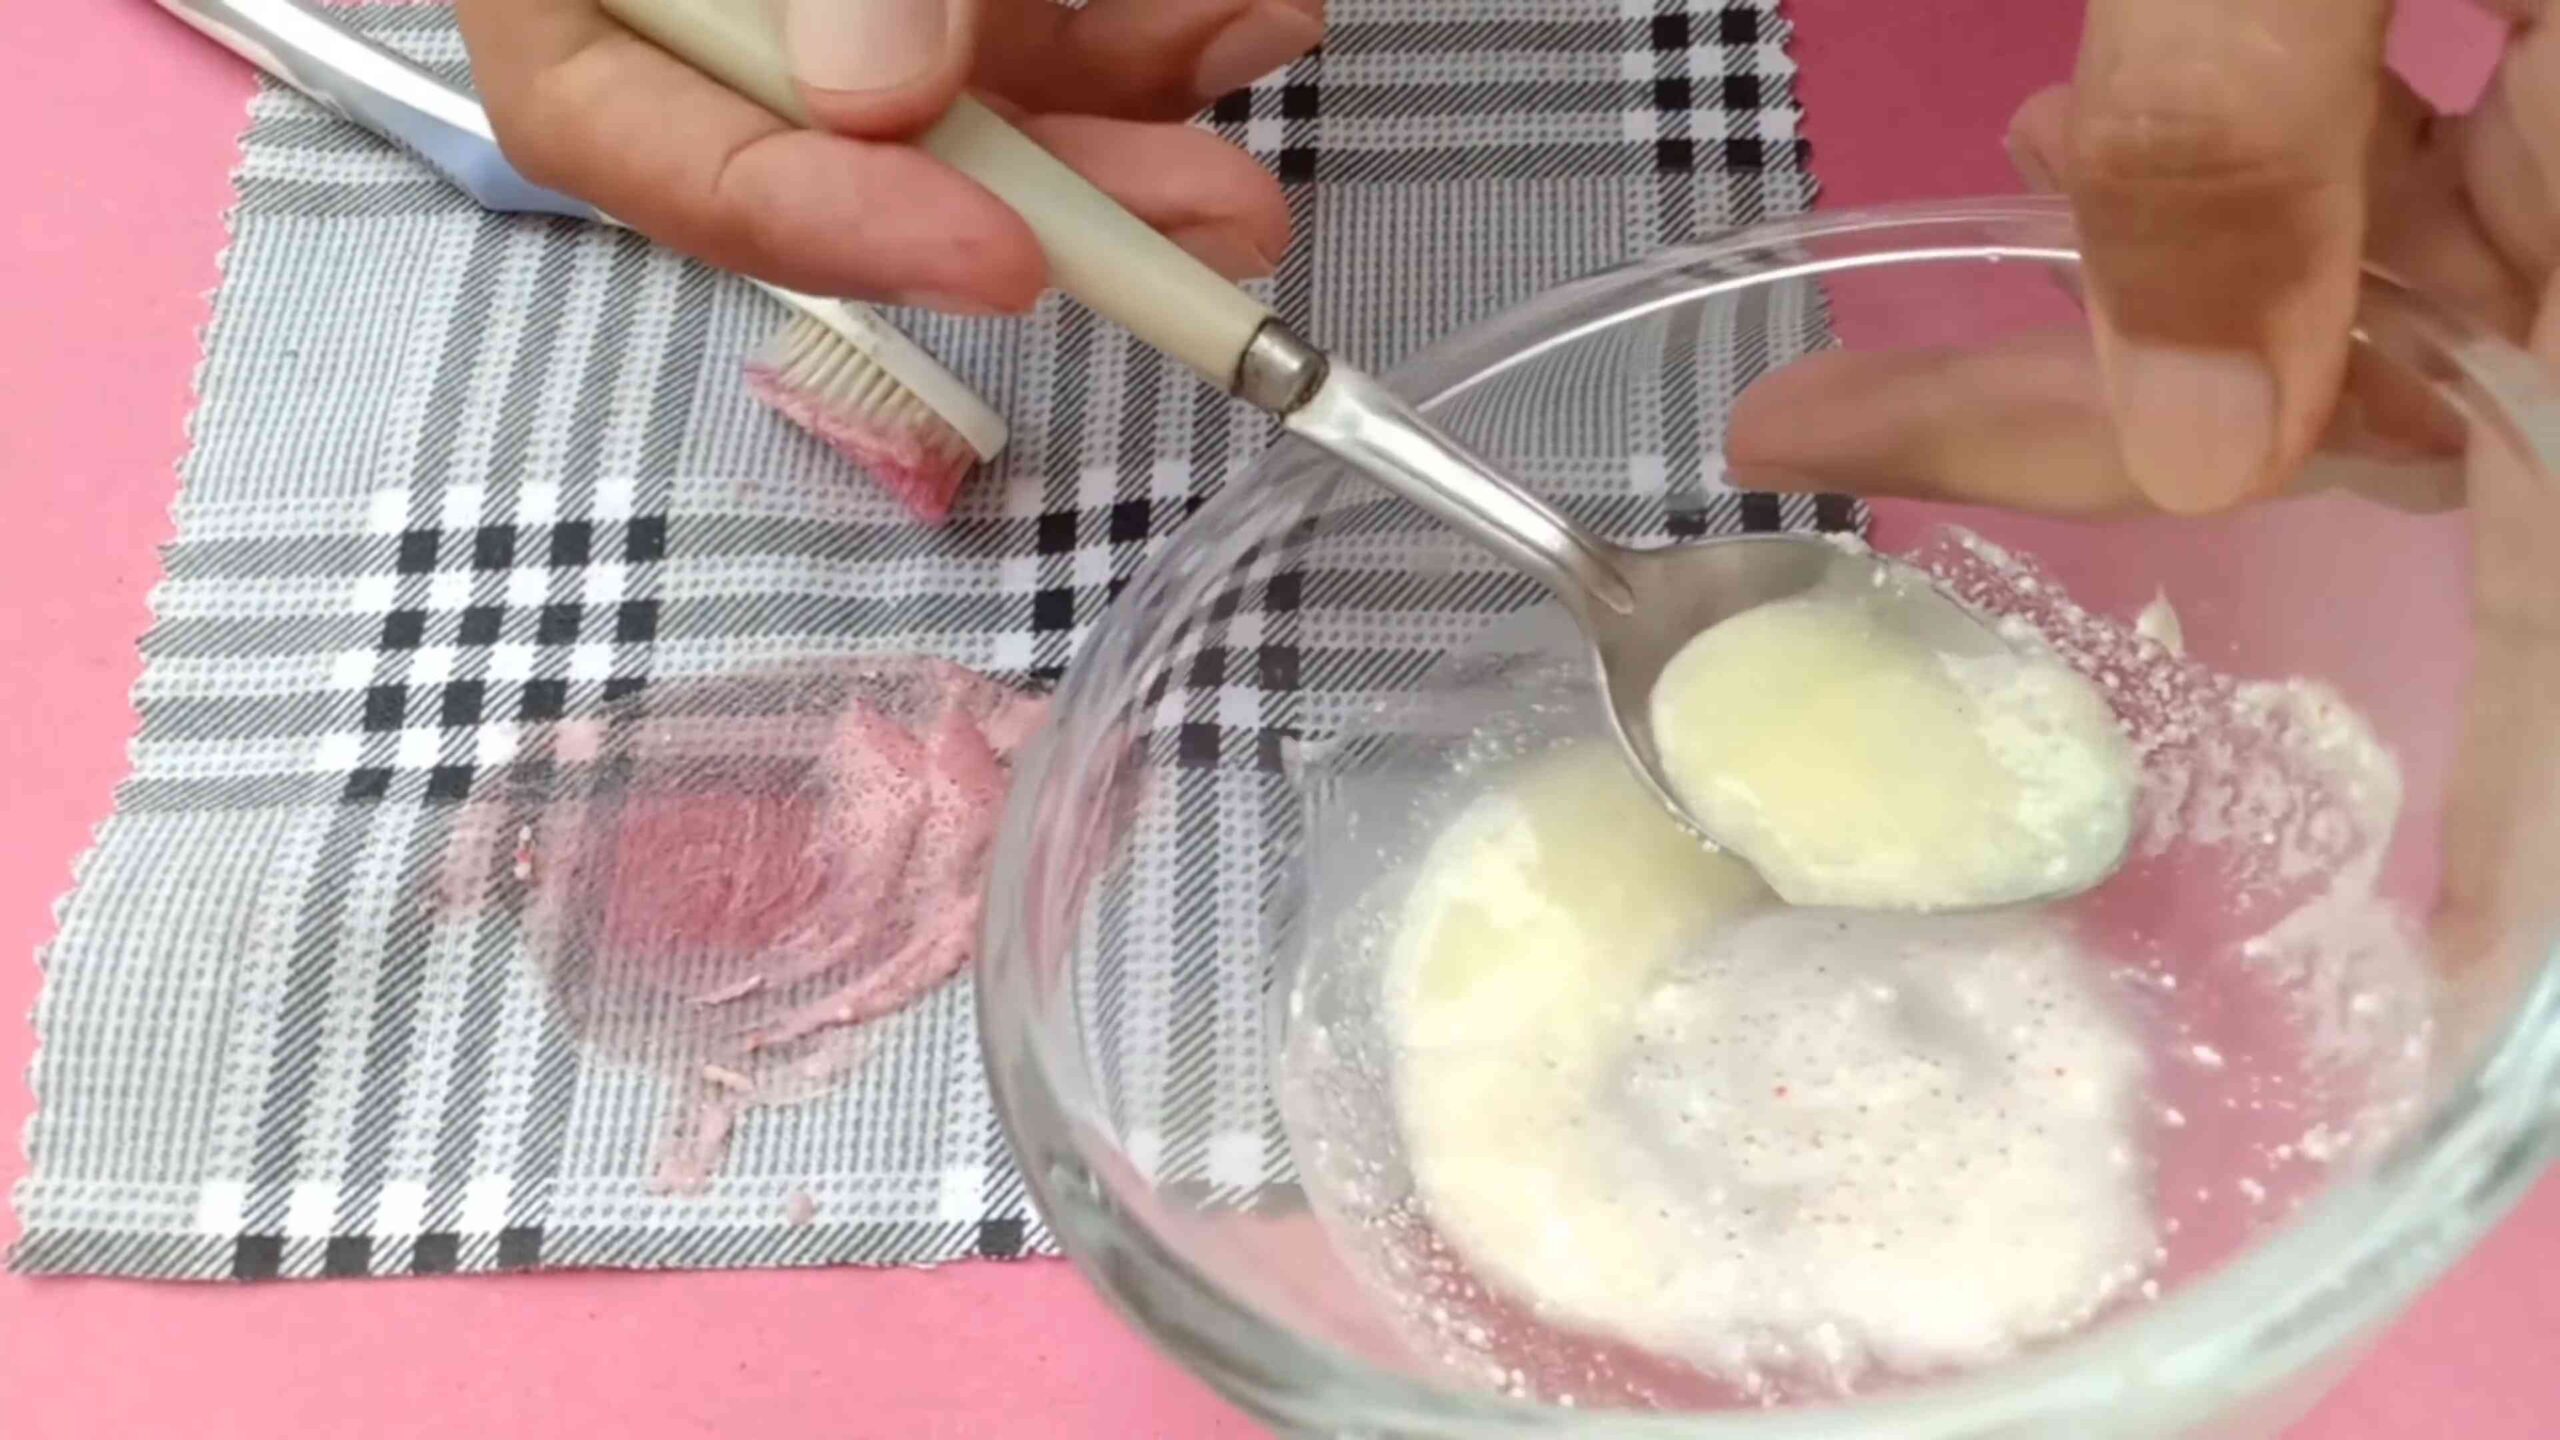
* Baking Soda Paste: Instead of using dry baking soda, try making a paste by mixing baking soda with a little water. Apply the paste to the stain and let it dry completely before brushing it away.
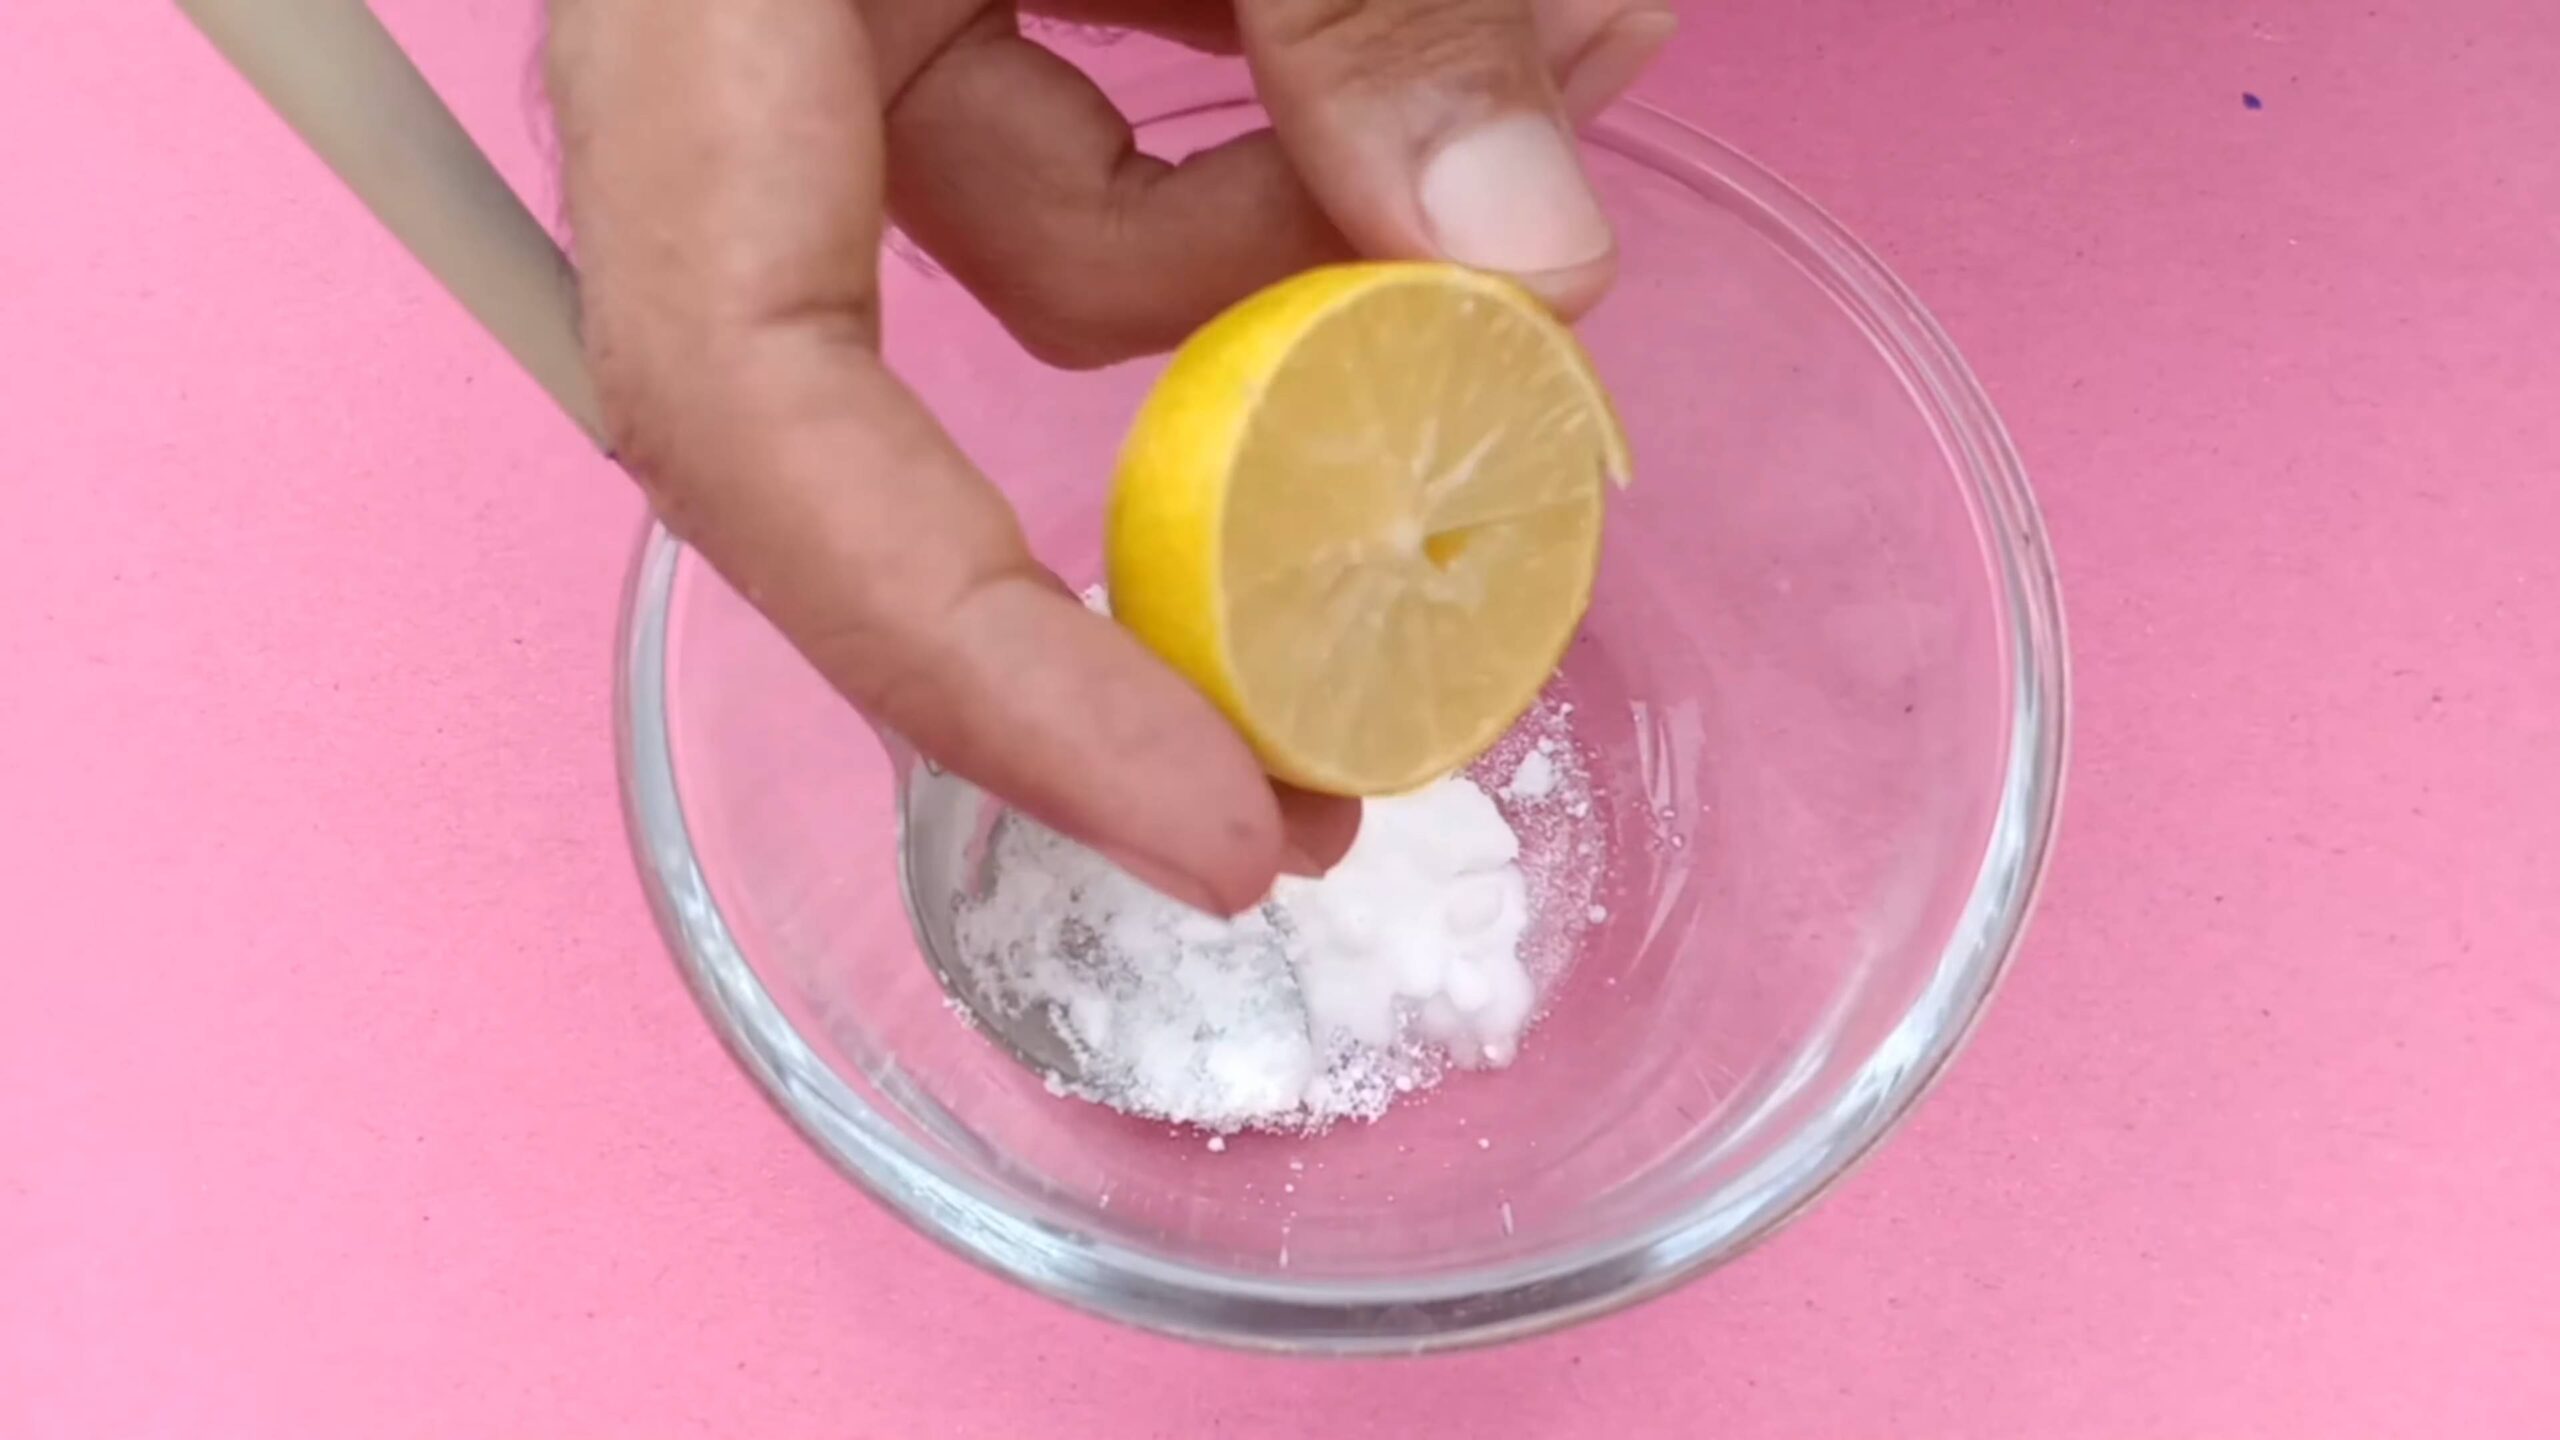
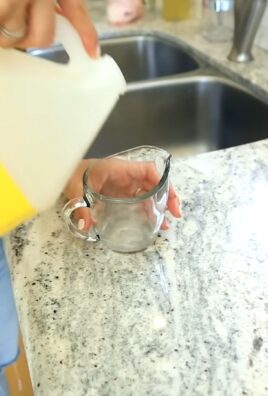
* Vinegar Rinse: After removing the baking soda, you can try rinsing the area with a solution of equal parts white vinegar and water. Vinegar can help to break down any remaining residue and brighten the fabric. Be sure to test this in an inconspicuous area first.
* Professional Cleaning: If all else fails, it might be time to call in the professionals. A professional cleaner will have access to specialized stain removal products and techniques that can tackle even the most stubborn stains.
Preventing Future Lipstick Stains
Of course, the best way to deal with lipstick stains is to prevent them in the first place! Here are a few tips to help you avoid future lipstick mishaps:
* Be Careful When Applying Lipstick: This might seem obvious, but take your time when applying lipstick and avoid rushing.
* Use a Lipstick Sealer: A lipstick sealer can help to prevent your lipstick from smudging and transferring onto clothes and other surfaces.
* Carry Stain Remover Wipes: Keep a pack of stain remover wipes in your purse or bag for quick and easy stain removal on the go.
* Act Fast: The sooner you treat a lipstick stain, the easier it will be to remove. So, don’t wait – tackle those stains as soon as they happen!
Final Thoughts
Lipstick stains can be frustrating, but they don’t have to ruin your day (or your favorite clothes!). With a little baking soda and some patience, you can conquer those pesky stains and keep your belongings looking their best. I hope this guide has been helpful! Happy stain removing!
Conclusion
So, there you have it! This simple yet incredibly effective DIY trick using baking soda for lipstick stain removal is a game-changer. No more panicking over that rogue lipstick mark on your favorite blouse or the dreaded smear on your car seat. This method is not only budget-friendly, utilizing a common household ingredient, but it’s also surprisingly gentle on fabrics, making it a safer alternative to harsh chemical stain removers.
Why is this a must-try? Because it works! We’ve all been there, frantically scrubbing at a lipstick stain with soap and water, only to spread it further or damage the material. Baking soda offers a more controlled and effective approach. Its mild abrasive properties gently lift the stain without causing excessive wear and tear. Plus, it’s a natural deodorizer, so it helps eliminate any lingering lipstick scent.
But the beauty of this DIY trick lies in its adaptability. While we’ve focused on using a paste of baking soda and water, feel free to experiment with variations. For particularly stubborn stains, you could try pre-treating the area with a dab of dish soap before applying the baking soda paste. Alternatively, for delicate fabrics, consider using a gentler approach by sprinkling dry baking soda onto the stain and letting it sit for a longer period before vacuuming it away. You can also try mixing baking soda with white vinegar for a fizzing action that can help lift the stain. Always test any variation on an inconspicuous area of the fabric first to ensure colorfastness.
Don’t just take our word for it – try it yourself! We’re confident that this baking soda method will become your go-to solution for lipstick stain removal. It’s quick, easy, and effective, saving you time, money, and the frustration of dealing with stubborn stains.
We’re eager to hear about your experiences. Did this trick work for you? Did you try any variations? Share your tips and tricks in the comments below! Your feedback will not only help other readers but also contribute to refining this already fantastic DIY solution. Let’s create a community of stain-fighting experts!
Frequently Asked Questions (FAQs)
1. What types of lipstick stains does this baking soda method work best on?
This baking soda method is generally effective on a wide range of lipstick stains, including those from creamy lipsticks, matte lipsticks, and even some long-lasting formulas. However, its effectiveness may vary depending on the age and severity of the stain, as well as the type of fabric. Fresh stains are always easier to remove than older, set-in stains. For particularly stubborn or old stains, you may need to repeat the process or try a combination of methods. Darker lipstick shades, like reds and berries, might require more than one application.
2. Can I use this baking soda method on all types of fabrics?
While baking soda is generally considered safe for most fabrics, it’s always a good idea to test it on an inconspicuous area first, especially for delicate materials like silk, velvet, or wool. Apply a small amount of the baking soda paste to a hidden area and let it sit for a few minutes. Then, rinse it off and check for any discoloration or damage. If the fabric appears unaffected, you can proceed with the stain removal process. For very delicate fabrics, consider using a dry baking soda application instead of a paste, as it will be less abrasive.
3. How long should I leave the baking soda paste on the stain?
The amount of time you leave the baking soda paste on the stain will depend on the severity of the stain and the type of fabric. For fresh, light stains, 15-30 minutes may be sufficient. For older or more stubborn stains, you may need to leave the paste on for several hours, or even overnight. Check the stain periodically to see if it’s lifting. If the paste dries out, you can lightly dampen it with water.
4. What if the baking soda method doesn’t completely remove the stain?
If the baking soda method doesn’t completely remove the stain on the first try, don’t give up! You can repeat the process, applying a fresh batch of baking soda paste and letting it sit for a longer period. You can also try pre-treating the stain with a dab of dish soap or laundry detergent before applying the baking soda. For particularly stubborn stains, you may need to consult a professional dry cleaner.
5. Can I use baking powder instead of baking soda?
No, baking powder is not a suitable substitute for baking soda in this stain removal method. Baking soda (sodium bicarbonate) is a single ingredient, while baking powder contains baking soda plus an acidifying agent and a drying agent. The acidifying agent in baking powder can potentially damage certain fabrics. Stick to using pure baking soda for the best and safest results.
6. Will this method work on lipstick stains on leather or suede?
Removing lipstick stains from leather or suede requires a different approach than removing them from fabric. Baking soda can be too abrasive for these delicate materials. For leather, try gently blotting the stain with a clean, damp cloth. If the stain persists, you can try using a leather cleaner specifically designed for stain removal. For suede, use a suede brush to gently lift the stain. If the stain is stubborn, you may need to consult a professional leather or suede cleaner.
7. How do I prevent lipstick stains in the first place?
Prevention is always better than cure! To minimize the risk of lipstick stains, try these tips:
* Apply a lip liner before applying lipstick to create a barrier and prevent feathering.
* Blot your lips after applying lipstick to remove excess product.
* Use a setting spray to help your lipstick stay in place.
* Be mindful of your surroundings and avoid touching your face unnecessarily.
* Carry stain remover wipes or a stain remover pen for quick spot treatments.
8. Is it safe to use baking soda on colored clothing?
Yes, baking soda is generally safe to use on colored clothing, but it’s always a good idea to test it on an inconspicuous area first to ensure colorfastness. Apply a small amount of the baking soda paste to a hidden area and let it sit for a few minutes. Then, rinse it off and check for any discoloration. If the color remains unchanged, you can proceed with the stain removal process. Avoid using baking soda on fabrics that are known to be sensitive to alkaline substances.
9. Can I use a toothbrush to scrub the baking soda paste into the stain?
While a soft-bristled toothbrush can be helpful for working the baking soda paste into the stain, be careful not to scrub too aggressively, as this can damage the fabric. Use gentle, circular motions and avoid applying too much pressure. For delicate fabrics, consider using a soft cloth or sponge instead of a toothbrush.
10. What’s the best way to rinse the baking soda paste off the fabric?
The best way to rinse the baking soda paste off the fabric is to use cool, clean water. Gently blot the area with a damp cloth to remove the paste. Avoid rubbing the fabric, as this can spread the stain or damage the material. Repeat the rinsing process until all traces of the baking soda are gone. Then, allow the fabric to air dry completely. Avoid using a dryer, as the heat can set any remaining stain.


Leave a Comment