

Clean Oven Racks Bathtub Soak: Sounds a bit unusual, right? But trust me, this simple DIY trick is a game-changer for anyone who’s ever wrestled with greasy, grimy oven racks. I know I have! For generations, keeping our ovens sparkling has been a household chore, often involving harsh chemicals and a whole lot of elbow grease. But what if I told you there’s a gentler, more effective way, using something you already have in your home – your bathtub?
Think about it: ovens have been a central part of our kitchens for centuries, evolving from wood-fired hearths to the sophisticated appliances we rely on today. And with that evolution comes the constant challenge of keeping them clean. This clean oven racks bathtub soak method isn’t just about convenience; it’s about reclaiming your time and avoiding those harsh chemicals that can linger in your oven.
Let’s face it, nobody enjoys scrubbing baked-on food and grease. This DIY hack is perfect for busy individuals, families, or anyone who simply wants a more efficient and eco-friendly way to tackle this dreaded chore. So, ditch the harsh chemicals and get ready to discover the magic of a bathtub soak for your oven racks! I’m excited to share this simple yet effective method with you.
DIY: Sparkling Clean Oven Racks Using Your Bathtub!
Okay, let’s face it, cleaning oven racks is one of those chores we all dread. Scrubbing, soaking, and still ending up with greasy residue clinging on for dear life? No thanks! But fear not, my friends, because I’m about to share my super-easy, super-effective method for getting those racks sparkling clean using something you probably already have: your bathtub!
This method is fantastic because it minimizes scrubbing (yay!), uses readily available supplies, and gets your racks looking almost brand new. Plus, it’s a great way to multi-task – you can let them soak while you tackle other cleaning tasks around the house.
What You’ll Need:
Before we dive in, let’s gather our supplies. This is a pretty low-key operation, so you likely have everything you need already.
* Your Bathtub: Obviously! Make sure it’s relatively clean to start with.
* Dish Soap: A good grease-cutting dish soap is key. I usually use Dawn, but any similar brand will work.
* Laundry Detergent (Powdered): This might seem a little odd, but powdered laundry detergent is a powerhouse for breaking down baked-on grime.
* Baking Soda: Our trusty friend baking soda acts as a gentle abrasive and helps to deodorize.
* White Vinegar: Vinegar is a natural cleaner and helps to cut through grease and mineral deposits.
* Hot Water: The hotter, the better (within reason – be careful not to burn yourself!).
* Old Towels or Rags: To protect your bathtub from scratches and to wipe down the racks afterward.
* Scrub Brush or Sponge: For any stubborn spots that need a little extra attention.
* Rubber Gloves: To protect your hands from the hot water and cleaning solutions.
* Optional: A bathtub stopper with a drain screen to catch any large debris.
Step-by-Step Instructions: The Bathtub Soak Method
Alright, let’s get those oven racks clean! Here’s the breakdown:
1. Protect Your Bathtub: This is important! Before you even think about putting those greasy racks in your tub, lay down some old towels or rags. This will prevent scratches and protect the finish. I usually overlap a few towels to make sure the entire bottom of the tub is covered.
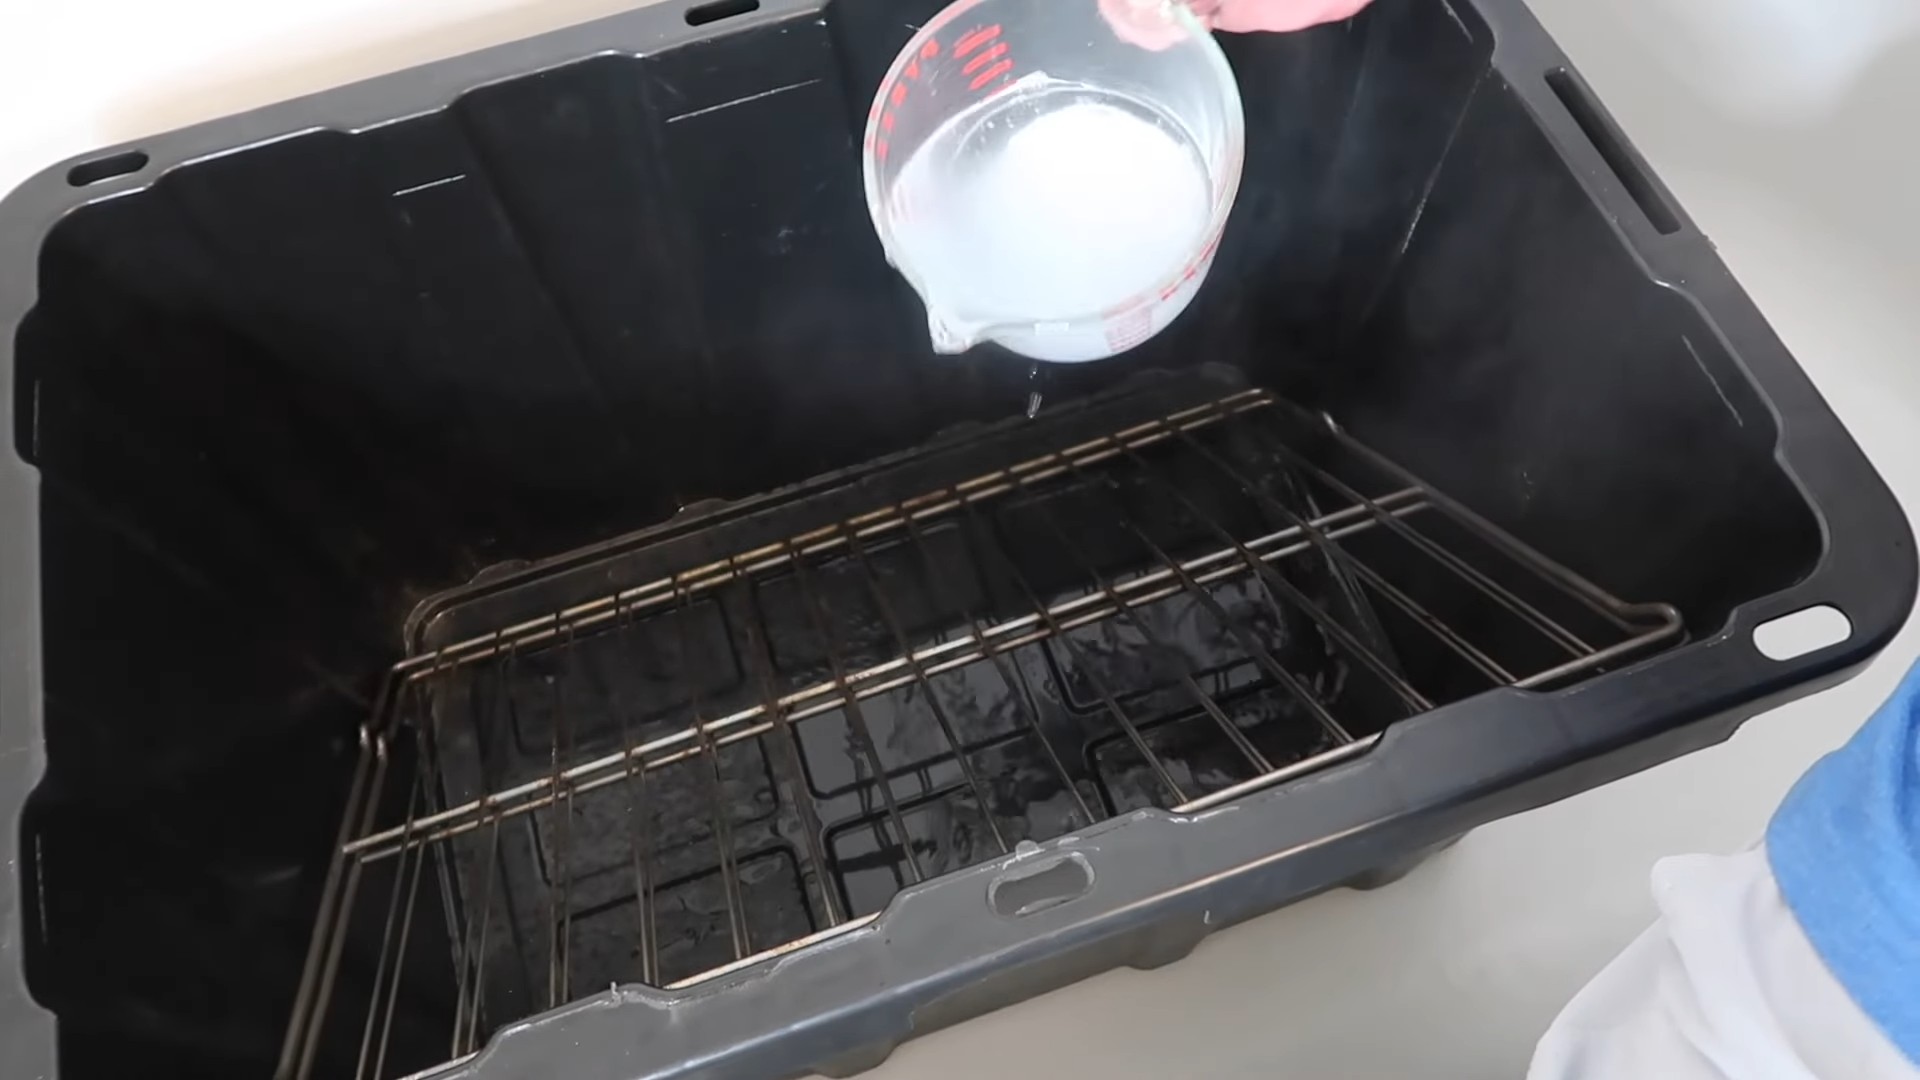
2. Plug the Drain and Add the Cleaning Powerhouse: Now, plug your bathtub drain securely. If you have a drain screen, pop it in to catch any loose bits of food or debris. Next, it’s time to add our cleaning ingredients. I usually go with:
* 1/2 cup of dish soap
* 1 cup of powdered laundry detergent
* 1/2 cup of baking soda
* 1 cup of white vinegar
Important Note: Add the vinegar *last* and slowly. It will react with the baking soda and create a fizzing action, which is exactly what we want! Just don’t add it too quickly, or you’ll have a bubbly mess on your hands.
3. Fill the Tub with Hot Water: Carefully fill the bathtub with hot water. The water should be hot enough to help dissolve the grease and grime, but not so hot that you burn yourself. Aim for a temperature you can comfortably touch with your gloved hand. Fill the tub enough to completely submerge the oven racks.
4. Submerge the Oven Racks: Gently place the oven racks into the bathtub, making sure they are fully submerged in the water. You might need to wiggle them around a bit to get them to fit properly. If your racks are particularly large, you might need to do them one at a time or fill the tub with more water.
5. Let Them Soak (The Magic Happens Here!): This is the easiest part! Now, just let the oven racks soak for at least 2-4 hours, or even overnight for really stubborn grime. The longer they soak, the easier the cleaning process will be. I usually let mine soak overnight while I sleep.
6. Drain the Tub and Rinse the Racks: After the soaking period, carefully drain the bathtub. Be sure to remove the drain screen (if you used one) and dispose of any collected debris. Rinse the oven racks thoroughly with clean, hot water. This will remove the soapy residue and any remaining loose grime.
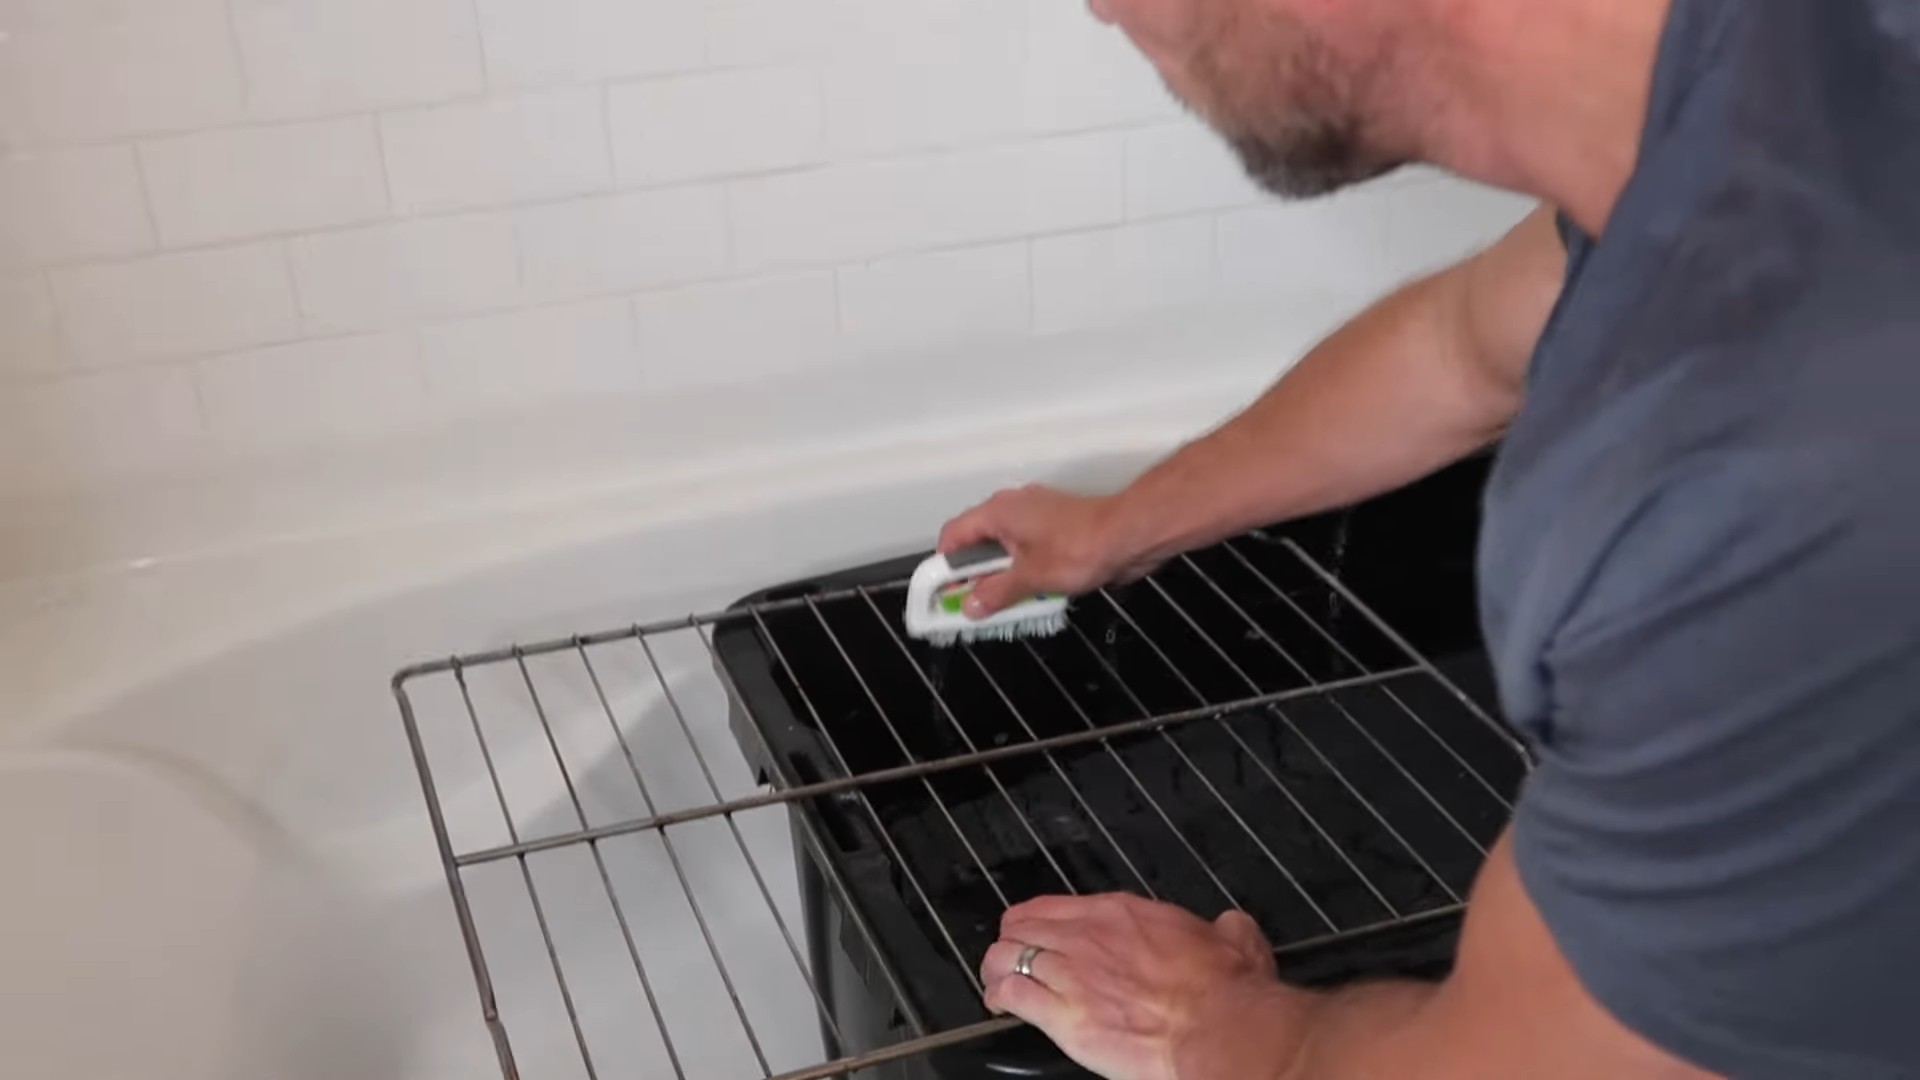
7. Scrub Away Any Stubborn Spots: While the soaking process usually does most of the work, there might be a few stubborn spots that need a little extra attention. Use your scrub brush or sponge to gently scrub away any remaining grime. I find that a little bit of dish soap on the brush helps with this step. Don’t scrub too hard, as you don’t want to damage the racks.
8. Final Rinse and Dry: Give the oven racks one final rinse with clean water to ensure all the soap and grime are gone. Then, dry them thoroughly with clean towels. Make sure they are completely dry before putting them back in your oven to prevent rust.
9. Clean Your Bathtub: After you’re done cleaning the racks, don’t forget to clean your bathtub! Rinse it thoroughly with hot water and use a bathtub cleaner to remove any remaining residue. This will keep your bathtub clean and prevent any staining.
Troubleshooting and Tips:
* Extra Stubborn Grime: If you have some really stubborn grime that just won’t budge, try making a paste of baking soda and water and applying it directly to the affected areas. Let it sit for a few minutes before scrubbing.
* Rust: If you notice any rust on your oven racks, you can try using a rust remover or a mixture of vinegar and salt to remove it. Be sure to rinse and dry the racks thoroughly after treating them for rust.
* Protecting Your Hands: Always wear rubber gloves when cleaning oven racks to protect your hands from the hot water and cleaning solutions.
* Ventilation: Make sure your bathroom is well-ventilated while you’re cleaning the oven racks. Open a window or turn on the exhaust fan to prevent the buildup of fumes.
* Alternative Cleaning Solutions: If you don’t have all the ingredients listed above, you can try using other cleaning solutions, such as Borax or ammonia. However, be sure to follow the manufacturer’s instructions carefully and take appropriate safety precautions.
* Preventative Measures: To prevent your oven racks from getting too dirty in the first place, try lining the bottom of your oven with aluminum foil or a baking sheet to catch any spills. You can also clean your oven racks more frequently to prevent the buildup of grime.
Why This Method Works So Well:
The magic of this method lies in the combination of ingredients and the soaking time. The hot water helps to loosen the grease and grime, while the dish soap, laundry detergent, baking soda, and vinegar work together to break it down. The soaking time allows these ingredients to penetrate the baked-on residue, making it much easier to remove.
* Dish Soap: Cuts through grease and oil.
* Laundry Detergent: Contains enzymes that break down food particles and stains.
* Baking Soda: Acts as a gentle abrasive and deodorizer.
* White Vinegar: Helps to dissolve mineral deposits and cut through grease.
* Hot Water: Loosens grime and helps the cleaning agents work more effectively.
Safety First!
While this method is relatively safe, it’s important to take a few precautions:
* Wear Rubber Gloves: Protect your hands from the hot water and cleaning solutions.
* Ventilate the Area: Open a window or turn on the exhaust fan to prevent the buildup of fumes.
* Be Careful with Hot Water: Avoid burning yourself with the hot water.
* Don’t Mix Chemicals: Never mix ammonia with bleach or other cleaning products, as this can create dangerous fumes.
* Keep Out of Reach of Children and Pets: Store cleaning supplies out of reach of children and pets.
Enjoy Your Sparkling Clean Oven Racks!
And there you have it! Sparkling clean oven racks without all the elbow grease. I hope this method works as well for you as it has for me. Now go forth and bake with confidence, knowing that your oven racks are clean and ready to go!
Conclusion
So, there you have it! Transforming your grimy, baked-on oven racks from a source of kitchen frustration to gleaming, like-new condition is entirely achievable with this simple, yet incredibly effective bathtub soak method. Forget harsh chemicals, strenuous scrubbing, and expensive oven cleaning services. This DIY trick is a game-changer for anyone who values a clean kitchen and wants to save time and money.
Why is this a must-try? Because it’s not just about aesthetics. Clean oven racks contribute to better cooking performance. Baked-on grease and food particles can smoke, alter the flavor of your dishes, and even pose a fire hazard. By regularly cleaning your oven racks, you’re ensuring a safer and more enjoyable cooking experience. Plus, let’s be honest, a sparkling clean oven is just plain satisfying!
Beyond the basic method, there are a few variations you can explore to tailor the process to your specific needs and preferences. For instance, if you have particularly stubborn stains, consider adding a cup of white vinegar to the hot water and dish soap mixture. The vinegar’s acidity will help to break down the grime further. Alternatively, if you’re sensitive to dish soap, you can substitute it with a natural cleaner like baking soda paste. Simply create a thick paste of baking soda and water, apply it to the racks, and let it sit for a few hours before soaking.
Another variation involves the soaking time. While overnight soaking is generally recommended for the best results, you can adjust the duration depending on the level of grime on your racks. If they’re only lightly soiled, a few hours of soaking might suffice. For heavily soiled racks, you might even consider soaking them for a full 24 hours.
Remember to always protect your bathtub surface with old towels or a rubber mat to prevent scratches or damage. And, of course, exercise caution when handling hot water and heavy oven racks.
We are confident that this oven rack cleaning method will revolutionize your kitchen cleaning routine. It’s easy, affordable, and incredibly effective. But don’t just take our word for it – try it yourself! We encourage you to give this DIY trick a try and see the amazing results firsthand.
Once you’ve experienced the satisfaction of effortlessly cleaning your oven racks, we’d love to hear about your experience. Share your before-and-after photos, tips, and variations in the comments below. Let’s create a community of clean oven enthusiasts and help each other maintain sparkling kitchens! Your feedback will not only inspire others but also help us refine and improve this method even further. So, go ahead, give your oven racks the spa treatment they deserve and share your success story with us! We can’t wait to see your gleaming results!
Frequently Asked Questions (FAQ)
Q: How often should I clean my oven racks using this method?
A: The frequency of cleaning depends on how often you use your oven. If you cook frequently, especially dishes that tend to splatter or drip, you should aim to clean your oven racks every 1-2 months. If you use your oven less often, cleaning them every 3-6 months may be sufficient. Regular cleaning prevents the buildup of stubborn grime and makes the cleaning process much easier.
Q: What type of bathtub is suitable for this method?
A: This method is generally safe for most bathtub types, including porcelain, acrylic, and enamel. However, it’s crucial to protect the bathtub surface with old towels or a rubber mat to prevent scratches or damage from the oven racks. Avoid using this method on delicate or antique bathtubs without first testing a small, inconspicuous area to ensure the cleaning solution doesn’t cause any discoloration or damage. If you have any concerns, consult with a professional cleaner before proceeding.
Q: Can I use a different type of dish soap?
A: Yes, you can use a different type of dish soap, but it’s best to choose a grease-cutting dish soap for optimal results. Avoid using dish soaps that contain harsh chemicals or abrasives, as these can damage the oven racks or your bathtub. A mild, biodegradable dish soap is a good option for those who are sensitive to chemicals or prefer a more eco-friendly approach.
Q: What if I don’t have a bathtub? Can I use a large container instead?
A: Absolutely! If you don’t have a bathtub, you can use a large plastic container, a utility sink, or even a kiddie pool as an alternative. Just make sure the container is large enough to fully submerge the oven racks. You may need to adjust the amount of hot water and dish soap accordingly.
Q: How do I deal with extremely stubborn stains that won’t come off after soaking?
A: For extremely stubborn stains, you can try a few different approaches. First, after soaking, use a non-abrasive scrub brush or sponge to scrub the racks. If that doesn’t work, make a paste of baking soda and water and apply it directly to the stains. Let the paste sit for a few hours or even overnight before scrubbing again. You can also try using a specialized oven cleaner, but be sure to follow the manufacturer’s instructions carefully and wear gloves and eye protection.
Q: Is it safe to use this method if I have a septic system?
A: Yes, this method is generally safe to use if you have a septic system, as long as you’re using a biodegradable dish soap. Avoid using harsh chemicals or excessive amounts of soap, as these can disrupt the balance of your septic system. If you have any concerns, consult with a septic system professional before proceeding.
Q: Can I use this method to clean other oven parts, such as the broiler pan?
A: Yes, you can use this method to clean other oven parts, such as the broiler pan, oven liners, and even some removable oven components. Just make sure the parts are made of materials that can withstand hot water and dish soap. Avoid using this method on electronic components or parts with delicate coatings.
Q: How do I prevent my oven racks from getting so dirty in the first place?
A: There are several things you can do to prevent your oven racks from getting so dirty. First, use oven liners or baking sheets to catch drips and spills. Second, clean up spills immediately after they occur. Third, avoid overfilling dishes that tend to bubble over. Finally, consider investing in self-cleaning oven racks, which are designed to be easier to clean.
Q: What if my oven racks are too large to fit in my bathtub?
A: If your oven racks are too large to fit in your bathtub, you can try cleaning them in sections. Submerge one end of the rack in the bathtub, let it soak for a while, then flip it over and submerge the other end. You can also try using a smaller container and cleaning the racks one at a time. Alternatively, you can take the racks outside and clean them with a pressure washer, but be sure to use a low-pressure setting to avoid damaging them.
Q: Can I use this method on self-cleaning oven racks?
A: While this method can be used on self-cleaning oven racks, it’s generally not necessary. Self-cleaning oven racks are designed to be cleaned during the oven’s self-cleaning cycle. However, if you prefer to clean them manually, this method is a safe and effective option. Just be sure to remove any plastic or rubber components before soaking.


Leave a Comment