

Grow Squash at Home and unlock a world of culinary possibilities right in your backyard! Imagine stepping outside and harvesting your own plump, vibrant squash, ready to be transformed into delicious soups, savory pies, or roasted side dishes. Forget those bland, store-bought vegetables – with a few simple tricks, you can cultivate a thriving squash patch bursting with flavor.
For centuries, squash has been a staple crop in many cultures, particularly in the Americas, where it was one of the “Three Sisters” – corn, beans, and squash – grown together for mutual benefit. This ancient tradition highlights the importance of squash as a source of nourishment and sustenance. But you don’t need to be an experienced farmer to enjoy the fruits (or rather, vegetables!) of your labor.
I know what you’re thinking: “Gardening is hard!” But trust me, growing squash at home doesn’t have to be intimidating. In fact, with the right DIY tricks and hacks, it can be a surprisingly rewarding and enjoyable experience. Whether you have a sprawling garden or just a small balcony, I’m here to show you how to successfully grow squash at home, even if you’re a complete beginner. This article is packed with easy-to-follow tips and techniques that will help you overcome common challenges and maximize your harvest. So, grab your gardening gloves, and let’s get started!
Growing Squash at Home: A Beginner’s Guide
Hey there, fellow gardening enthusiasts! I’m so excited to share my experiences and tips on growing squash right in your own backyard. Squash is a fantastic addition to any garden – it’s relatively easy to grow, incredibly versatile in the kitchen, and comes in a delightful array of shapes, sizes, and flavors. Whether you’re dreaming of creamy butternut squash soup or crispy zucchini fritters, this guide will walk you through everything you need to know to cultivate a thriving squash patch.
Choosing Your Squash Variety
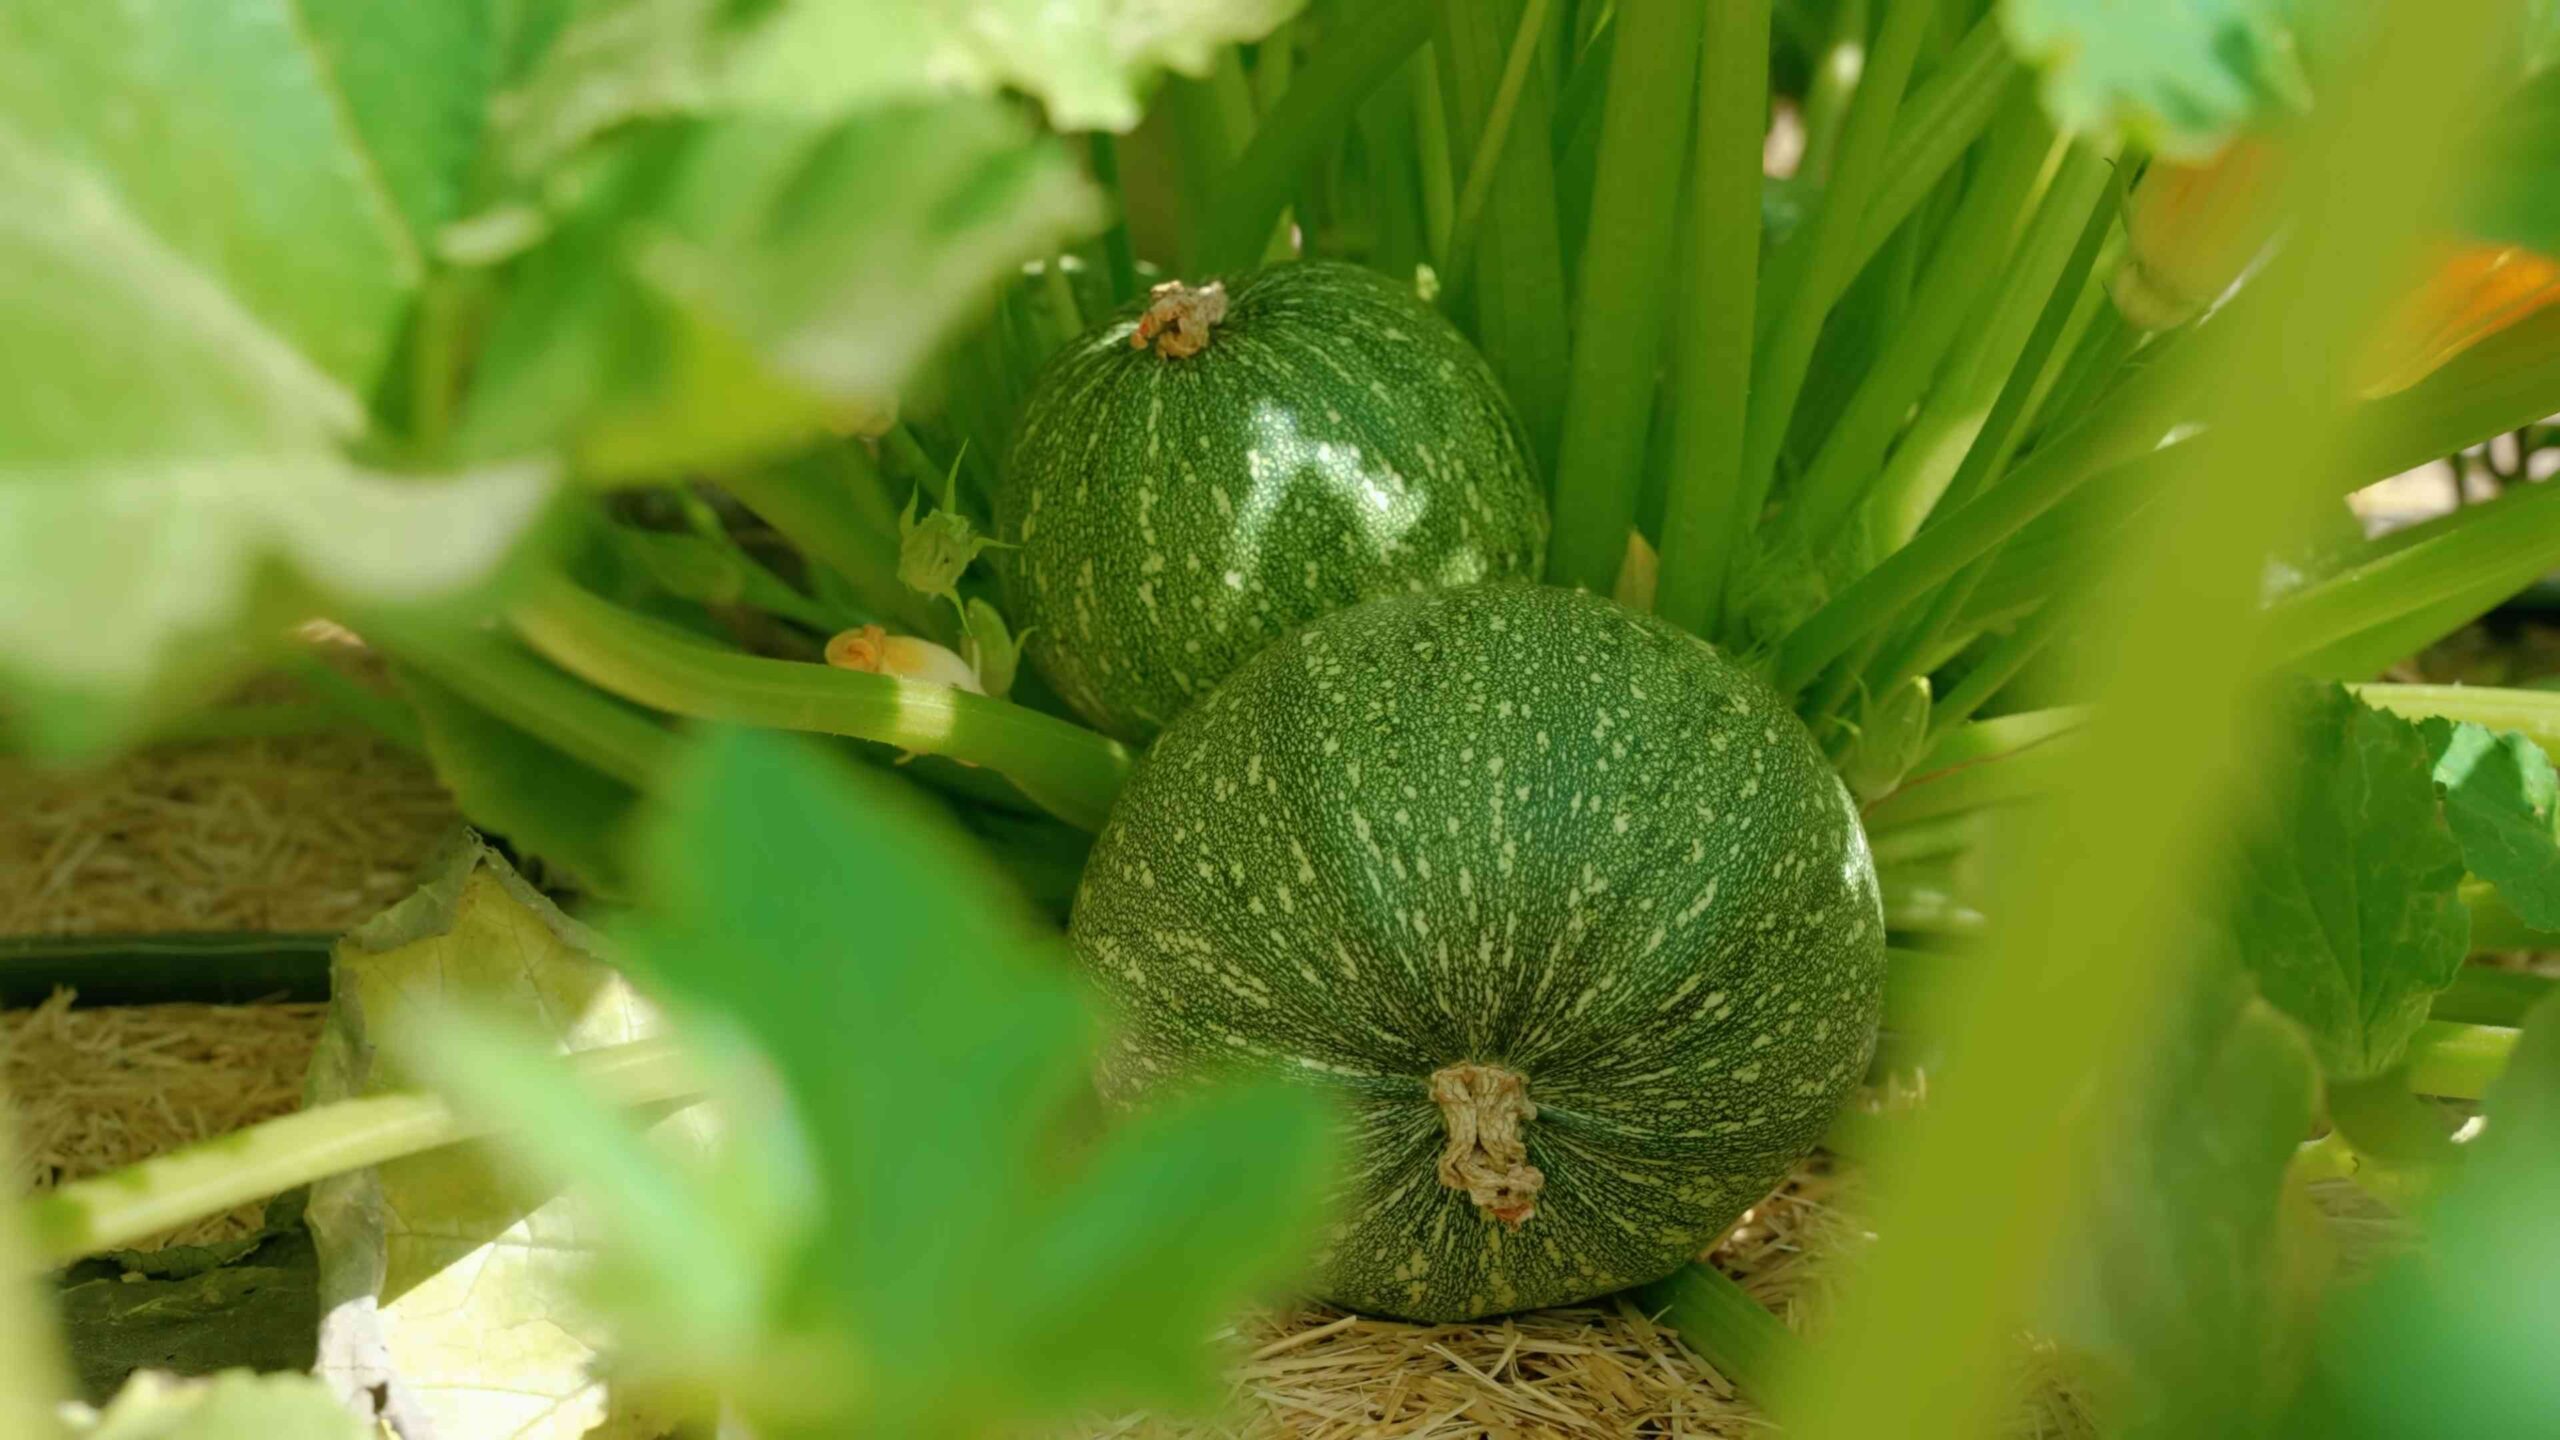
Before we get our hands dirty, let’s talk about choosing the right squash for your garden and your taste buds. There are two main categories: summer squash and winter squash.
* Summer Squash: These are harvested when immature, with tender skin and soft seeds. Think zucchini, yellow squash, and pattypan squash. They’re quick to mature and perfect for enjoying fresh throughout the summer.
* Winter Squash: These are harvested when fully mature, with a hard rind and developed seeds. Think butternut squash, acorn squash, spaghetti squash, and pumpkins. They store well and are ideal for enjoying during the cooler months.
Consider your climate, available space, and culinary preferences when making your selection. Some varieties are more compact and suitable for smaller gardens, while others require ample room to sprawl.
Preparing Your Garden Bed
Squash plants are heavy feeders, meaning they need a lot of nutrients to thrive. Proper soil preparation is crucial for a bountiful harvest.
* Sunlight: Squash needs at least 6-8 hours of direct sunlight per day. Choose a location in your garden that receives plenty of sunshine.
* Soil: Squash prefers well-drained, fertile soil with a pH between 6.0 and 7.0.
* Compost: Amend your soil with plenty of compost or well-rotted manure. This will improve drainage, add nutrients, and help retain moisture.
* Raised Beds: If your soil is heavy clay or poorly drained, consider growing squash in raised beds. This will improve drainage and warm the soil more quickly in the spring.
Planting Your Squash
There are two ways to start your squash plants: direct sowing and starting seeds indoors.
* Direct Sowing: This is the easiest method, especially for summer squash. Wait until the soil has warmed to at least 60°F (15°C) before planting.
* Starting Seeds Indoors: This gives you a head start, especially for winter squash, which takes longer to mature. Start seeds indoors about 3-4 weeks before the last expected frost.
Step-by-Step Planting Guide
1. Prepare the Soil: Loosen the soil and amend with compost.
2. Create Mounds: Squash plants benefit from being planted in mounds. Create mounds about 1-2 feet in diameter and 3-4 feet apart.
3. Sow Seeds: Sow 2-3 seeds per mound, about 1 inch deep.
4. Water Gently: Water the soil gently to avoid disturbing the seeds.
5. Thin Seedlings: Once the seedlings emerge, thin them to one plant per mound. Choose the strongest, healthiest seedling.
Caring for Your Squash Plants
Once your squash plants are established, it’s important to provide them with proper care to ensure a healthy and productive harvest.
* Watering: Squash plants need consistent moisture, especially during hot, dry weather. Water deeply at the base of the plant, avoiding wetting the foliage, which can lead to fungal diseases.
* Fertilizing: Feed your squash plants with a balanced fertilizer every 2-3 weeks. You can also side-dress with compost or manure.
* Weeding: Keep the area around your squash plants free of weeds, which can compete for nutrients and water.
* Pest Control: Squash plants are susceptible to several pests, including squash bugs, squash vine borers, and aphids. Monitor your plants regularly and take action promptly if you notice any signs of infestation.
* Pollination: Squash plants have separate male and female flowers. Bees are essential for pollination. If you notice that your squash fruits are not developing properly, you may need to hand-pollinate the flowers.
Dealing with Common Squash Pests and Diseases
Unfortunately, squash plants can be magnets for pests and diseases. But don’t worry, with a little vigilance, you can keep your plants healthy and productive.
* Squash Bugs: These sap-sucking insects can weaken and kill squash plants. Handpick them off the plants or use insecticidal soap.
* Squash Vine Borers: These pests bore into the stems of squash plants, causing them to wilt and die. Wrap the base of the stems with aluminum foil or row covers to prevent them from laying eggs. If you see signs of infestation, you can try injecting Bacillus thuringiensis (Bt) into the stems.
* Powdery Mildew: This fungal disease causes a white, powdery coating on the leaves. Improve air circulation by pruning the plants and avoid overhead watering. You can also treat with a fungicide.
* Aphids: These tiny insects suck sap from the leaves, causing them to curl and distort. Spray them off with a strong stream of water or use insecticidal soap.
Harvesting Your Squash
The timing of your harvest will depend on the type of squash you’re growing.
* Summer Squash: Harvest summer squash when it’s young and tender, typically when it’s about 6-8 inches long. Cut the squash from the vine with a sharp knife.
* Winter Squash: Harvest winter squash when the rind is hard and the stem is dry and brown. Leave about 2-3 inches of stem attached to the squash.
Harvesting Summer Squash: A Quick Guide
1. Check Regularly: Summer squash grows quickly, so check your plants every day or two.
2. Look for Size: Harvest when the squash is the right size for its variety. Zucchini, for example, is best when it’s about 6-8 inches long.
3. Cut Carefully: Use a sharp knife to cut the squash from the vine, leaving a short stem attached.
4. Enjoy Fresh: Summer squash is best enjoyed fresh. Store it in the refrigerator for up to a week.
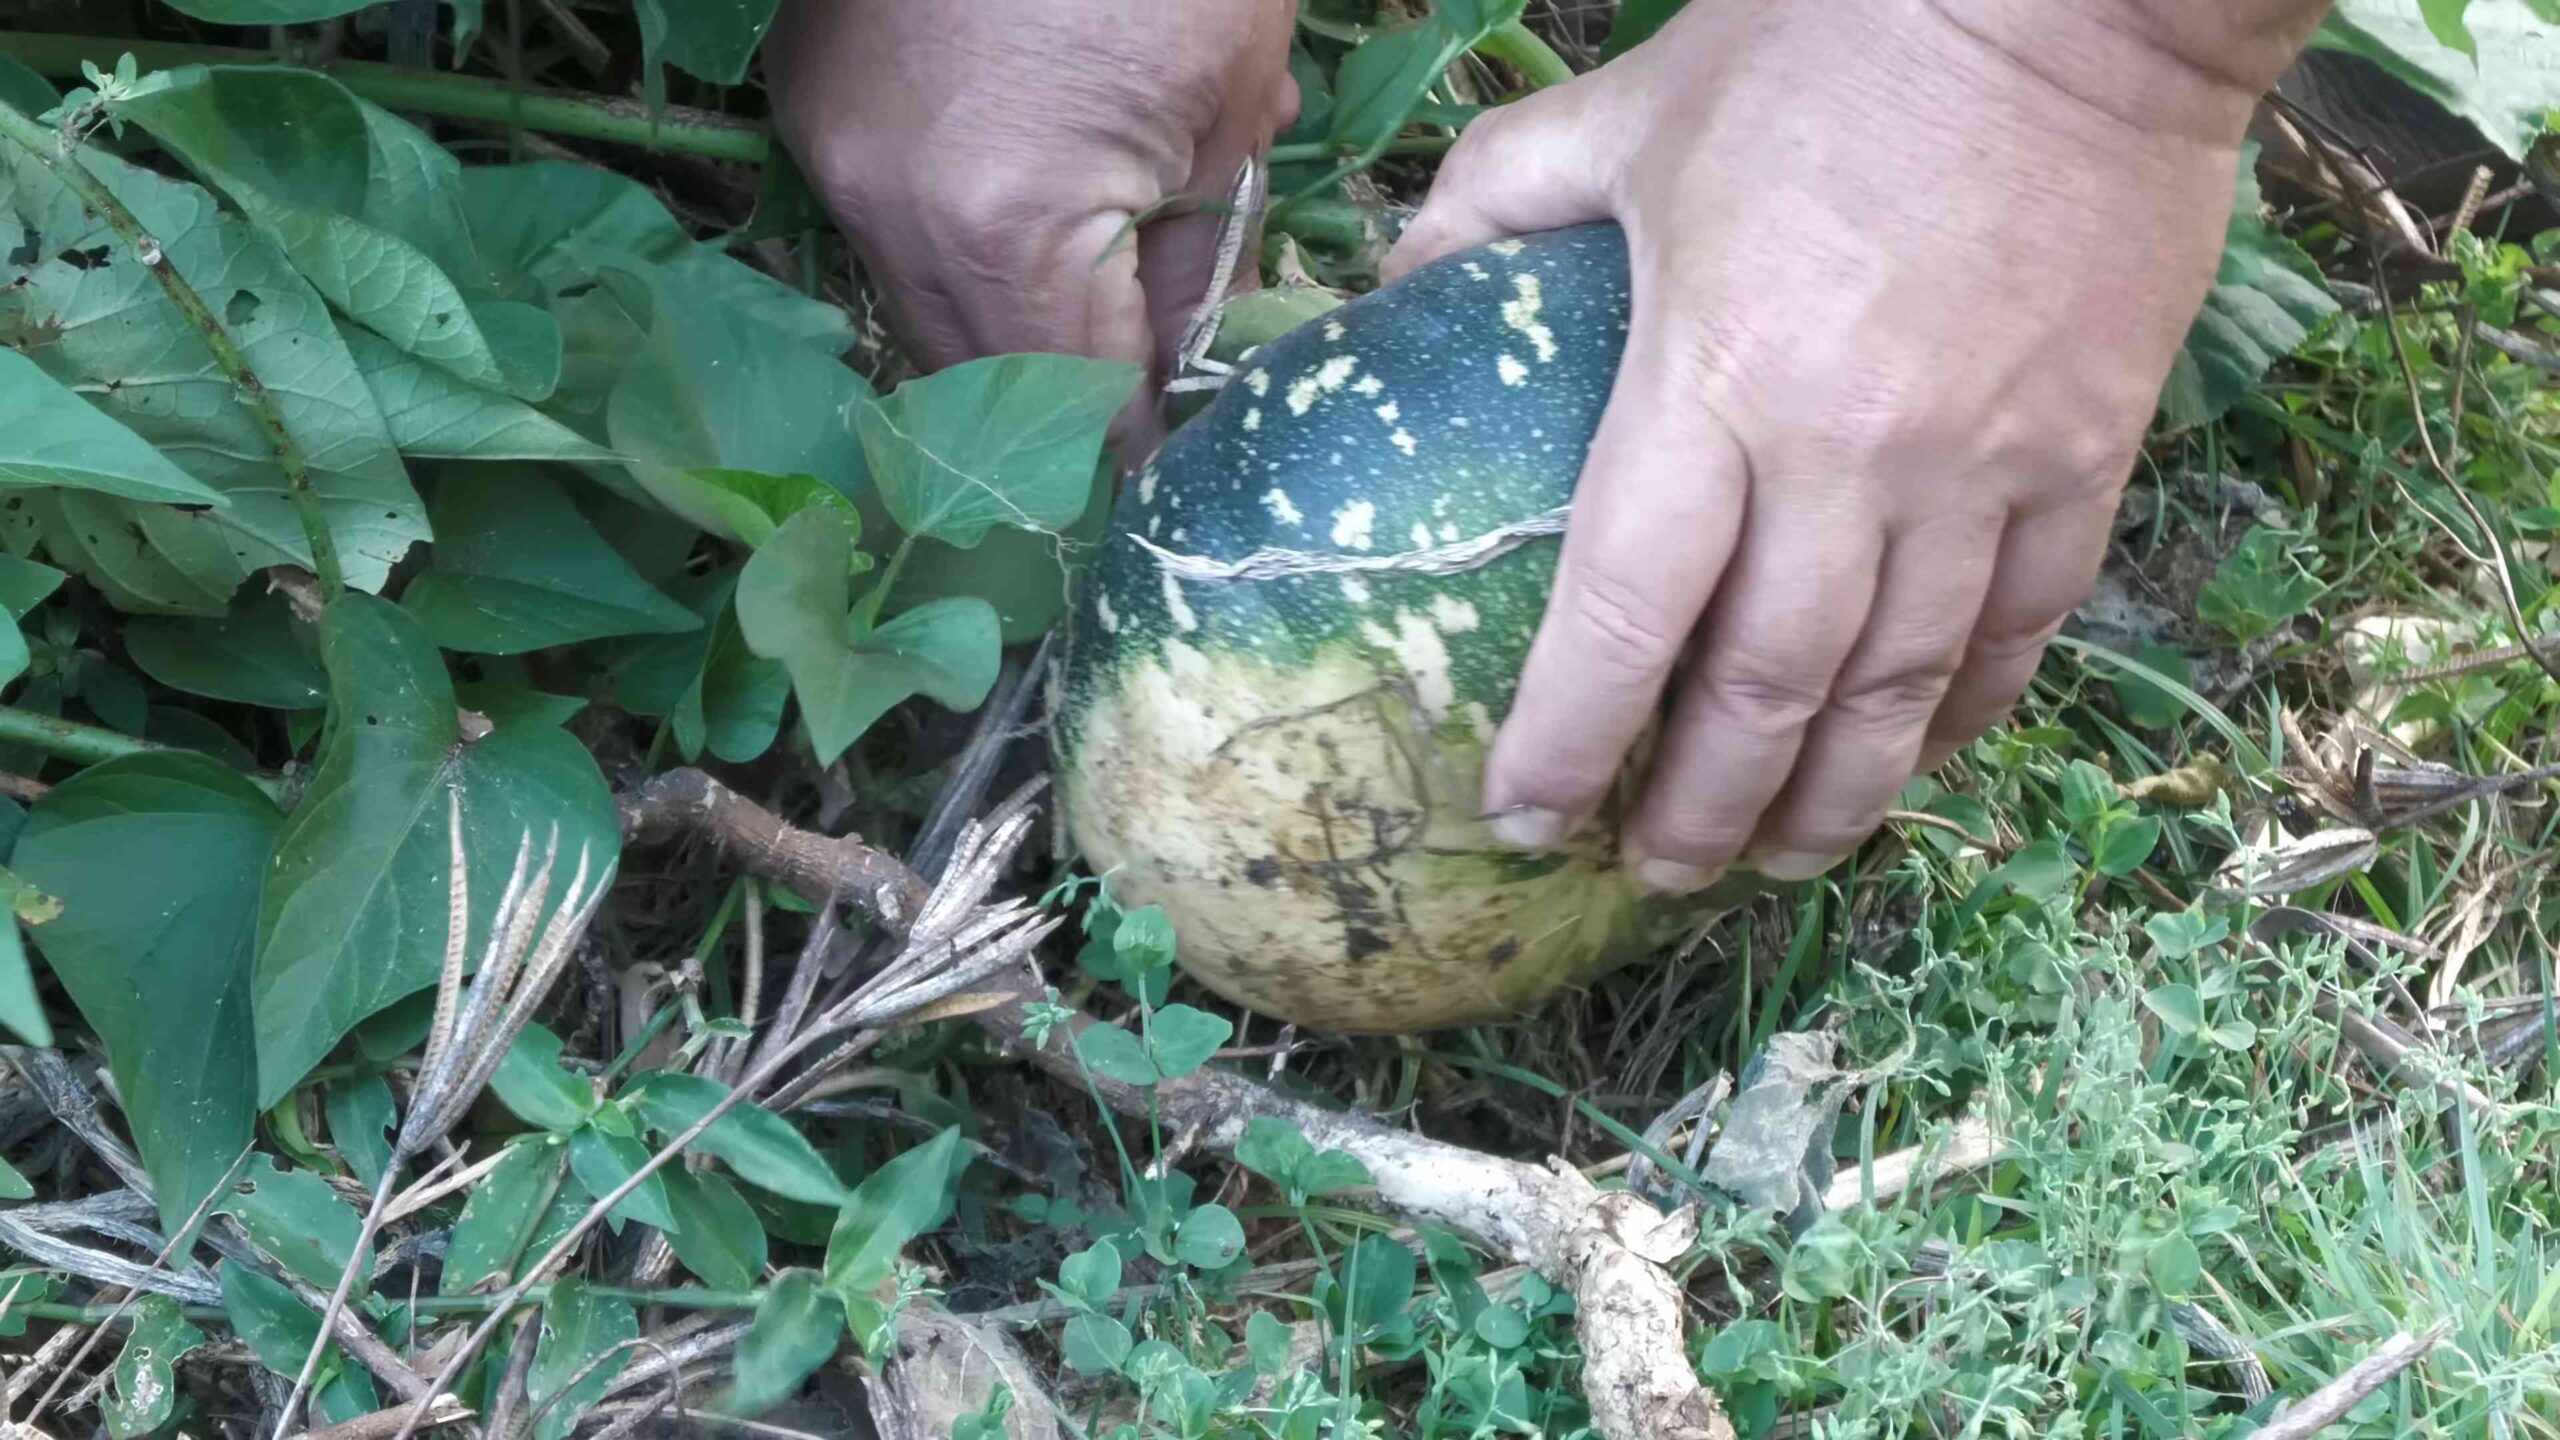
Harvesting Winter Squash: A Detailed Guide
1. Wait for Maturity: Winter squash needs to mature fully on the vine. This usually takes 90-120 days.
2. Check the Rind: The rind should be hard and difficult to pierce with your fingernail.
3. Inspect the Stem: The stem should be dry and brown.
4. Harvest Carefully: Use a sharp knife to cut the squash from the vine, leaving about 2-3 inches of stem attached. This helps prevent rot.
5. Curing: Cure winter squash by placing it in a warm, dry place for 1-2 weeks. This will help harden the rind and improve its storage life.
6. Storage: Store cured winter squash in a cool, dry place. Properly stored winter squash can last for several months.
Hand-Pollinating Squash (If Needed)
Sometimes, the bees just aren’t doing their job, and you might need to lend a hand with pollination. Don’t worry, it’s easier than it sounds!
1. Identify Male and Female Flowers: Male flowers have a long, thin stem, while female flowers have a small, immature squash at the base.
2. Timing is Key: Pollinate in the early morning, when the flowers are fully open.
3. Gather Pollen: Gently remove a male flower. Peel back the petals to expose the pollen-covered stamen.
4. Transfer Pollen: Gently rub the stamen of the male flower onto the stigma (the center part) of the female flower.
5. Repeat: Repeat this process for all the female flowers you want to pollinate.
Enjoying Your Harvest
Now comes the best part – enjoying the fruits (or rather, vegetables!) of your labor. Squash is incredibly versatile and can be used in a wide variety of dishes.
* Summer Squash: Grill it, sauté it, bake it, or shred it into fritters or bread.
* Winter Squash: Roast it, bake it, or puree it into soups, stews, or pies.
I hope this guide has inspired you to grow your own squash at home. It’s a rewarding experience that will provide you with delicious and nutritious food for months to come. Happy gardening!
Conclusion
So, there you have it! Growing squash at home, while it might seem daunting at first, is an incredibly rewarding experience that brings the bounty of the garden directly to your table. We’ve explored the key steps, from selecting the right varieties and preparing your soil to nurturing your plants and harvesting your delicious crop. But why is this DIY approach a must-try?
Firstly, the taste difference is undeniable. Store-bought squash simply can’t compare to the fresh, vibrant flavor of homegrown produce. You’ll be amazed at the sweetness and depth of flavor that comes from a squash that’s been allowed to ripen fully on the vine. Secondly, you have complete control over what goes into your food. No pesticides, no herbicides, just pure, natural goodness. This is especially important if you’re concerned about the health and well-being of your family. Thirdly, it’s a fantastic way to connect with nature and learn about the growing process. There’s something truly magical about watching a tiny seed transform into a sprawling plant laden with delicious fruit.
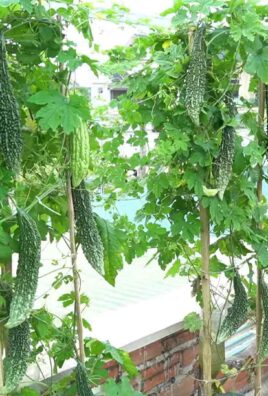
Beyond the basic techniques, there are countless ways to personalize your squash-growing experience. Consider experimenting with different varieties. Butternut squash is a classic choice, but don’t be afraid to try acorn squash, spaghetti squash, or even some of the more unusual heirloom varieties. Each has its own unique flavor and texture, offering endless culinary possibilities. You can also explore different growing methods. If you’re short on space, try growing vining squash varieties vertically on a trellis. This not only saves space but also improves air circulation, reducing the risk of disease. Another variation is to companion plant your squash with beneficial herbs and flowers. Marigolds, for example, are known to repel pests, while nasturtiums attract pollinators.
Growing squash at home is not just about producing food; it’s about creating a sustainable and healthy lifestyle. It’s about connecting with nature, learning new skills, and enjoying the satisfaction of harvesting your own delicious produce. It’s about knowing exactly where your food comes from and what went into growing it.
We encourage you to take the plunge and give it a try. Start small, be patient, and don’t be afraid to experiment. The rewards are well worth the effort. And most importantly, share your experience with us! We’d love to hear about your successes, your challenges, and any tips or tricks you’ve discovered along the way. Post photos of your squash plants, share your favorite recipes, and let’s create a community of passionate home gardeners. Together, we can all enjoy the delicious bounty of homegrown squash. So, grab your seeds, get your hands dirty, and start growing your own squash today! You won’t regret it.
Frequently Asked Questions (FAQ)
What is the best time to start growing squash?
The best time to start growing squash depends on your climate and the specific variety you’re planting. Generally, squash is a warm-season crop and should be planted after the last frost. For summer squash, you can start seeds indoors about 2-3 weeks before the last frost or direct sow them in the garden once the soil has warmed up to at least 60°F (15°C). For winter squash, which takes longer to mature, you’ll want to start seeds indoors about 4-6 weeks before the last frost or direct sow them in the garden a few weeks after the last frost. Check your local planting calendar for specific dates based on your region.
How much space does squash need to grow?
Squash plants can be quite large, especially vining varieties, so they need plenty of space to grow. Summer squash varieties like zucchini and yellow squash typically need about 2-3 feet of space between plants. Winter squash varieties like butternut and acorn squash, which tend to vine more extensively, need at least 3-4 feet of space between plants, and sometimes even more. Consider the mature size of the specific variety you’re planting and adjust spacing accordingly. If you’re growing vining squash on a trellis, you can reduce the horizontal spacing somewhat, but make sure the trellis is sturdy enough to support the weight of the mature plants and fruits.
What kind of soil is best for growing squash?
Squash plants thrive in well-drained, fertile soil that is rich in organic matter. Before planting, amend your soil with compost, aged manure, or other organic amendments to improve its structure, fertility, and water-holding capacity. Squash prefers a slightly acidic to neutral soil pH, ideally between 6.0 and 7.0. You can test your soil pH with a soil testing kit and amend it accordingly if necessary. Good drainage is essential to prevent root rot, so avoid planting squash in heavy clay soils that retain too much moisture.
How often should I water my squash plants?
Squash plants need consistent moisture, especially during hot, dry weather. Water deeply and regularly, aiming to keep the soil consistently moist but not waterlogged. Water at the base of the plants to avoid wetting the foliage, which can increase the risk of fungal diseases. A good rule of thumb is to water when the top inch of soil feels dry to the touch. Mulching around the plants with straw, wood chips, or other organic mulch can help retain moisture and suppress weeds. During periods of heavy rain, you may need to reduce watering to prevent overwatering.
What are some common pests and diseases that affect squash plants?
Squash plants are susceptible to a variety of pests and diseases, including squash bugs, squash vine borers, aphids, powdery mildew, and squash mosaic virus. Regularly inspect your plants for signs of pests or diseases and take action promptly to prevent them from spreading. Handpicking pests, using insecticidal soap, and applying neem oil can help control many common pests. To prevent diseases, ensure good air circulation, avoid overhead watering, and choose disease-resistant varieties. Crop rotation can also help reduce the buildup of soilborne pathogens.
How do I know when my squash is ready to harvest?
The timing of harvest depends on the specific variety of squash you’re growing. Summer squash is typically harvested when it’s young and tender, usually about 50-60 days after planting. The skin should be smooth and easily punctured with a fingernail. Winter squash, on the other hand, is harvested when it’s fully mature, usually about 90-100 days after planting. The skin should be hard and difficult to puncture with a fingernail. The stem should also be dry and hardened. For specific harvest times, consult the seed packet or plant tag for the variety you’re growing.
Can I save seeds from my homegrown squash?
Yes, you can save seeds from your homegrown squash, but there are a few things to keep in mind. If you’re growing hybrid varieties, the seeds may not produce plants that are true to type. Open-pollinated varieties are more likely to produce plants that are similar to the parent plant. To save seeds, allow the squash to fully mature on the vine. Then, scoop out the seeds, rinse them thoroughly, and dry them completely before storing them in an airtight container in a cool, dark place.
What are some good companion plants for squash?
Companion planting can be a great way to improve the health and productivity of your squash plants. Some good companion plants for squash include:
* Marigolds: Repel pests like squash bugs and nematodes.
* Nasturtiums: Attract pollinators and repel aphids.
* Radishes: Deter squash vine borers.
* Beans: Fix nitrogen in the soil, benefiting squash plants.
* Corn: Provides shade and support for vining squash varieties.
* Herbs like oregano, thyme, and rosemary: Repel pests and attract beneficial insects.
How can I prevent squash vine borers from damaging my plants?
Squash vine borers are a common pest that can quickly kill squash plants. To prevent them, you can try the following:
* Wrap the base of the stems with aluminum foil or nylon stockings to prevent the borers from laying their eggs.
* Monitor your plants regularly for signs of infestation, such as wilting leaves and small holes in the stems.
* If you find borers, you can try to remove them manually by slitting the stem open and extracting the larvae.
* Use row covers to protect your plants from the borers during their egg-laying period.
* Plant squash varieties that are less susceptible to squash vine borers, such as butternut squash.
How do I deal with powdery mildew on my squash plants?
Powdery mildew is a fungal disease that can affect squash plants, especially in humid conditions. To prevent or treat powdery mildew:
* Ensure good air circulation around your plants by spacing them properly and pruning away crowded foliage.
* Avoid overhead watering, which can create a humid environment that favors the disease.
* Apply a fungicide specifically formulated for powdery mildew, following the instructions on the label.
* Use a homemade remedy, such as a mixture of baking soda and water, to control the disease.
* Choose squash varieties that are resistant to powdery mildew.

Leave a Comment