

Grow Ginger Backyard: Imagine stepping into your backyard and harvesting fresh, zesty ginger whenever you need it! No more last-minute grocery store runs or settling for dried-out roots. This isn’t just a dream; it’s an achievable reality with a few simple DIY tricks. For centuries, ginger has been revered in various cultures, not only for its culinary prowess but also for its medicinal properties. From ancient Chinese remedies to Indian Ayurvedic practices, ginger has been a staple ingredient, believed to possess healing powers and enhance overall well-being.
But why should you bother growing your own ginger? Well, store-bought ginger can sometimes lack the vibrant flavor and freshness of homegrown varieties. Plus, let’s be honest, there’s something incredibly satisfying about nurturing a plant from rhizome to harvest. In this article, I’m going to share some easy-to-follow DIY hacks that will empower you to grow ginger backyard successfully, even if you have limited space or gardening experience. Get ready to unlock the secrets to a thriving ginger patch right outside your door!
Growing Ginger in Your Backyard: A DIY Guide
Hey there, fellow gardening enthusiasts! I’m so excited to share my experience with growing ginger right in my backyard. It’s surprisingly easy and incredibly rewarding. Imagine having fresh, homegrown ginger whenever you need it for cooking, teas, or even just a little boost of flavor. Let’s dive in!
Choosing Your Ginger Rhizome
Before we get our hands dirty, we need to select the right ginger rhizome. This is the underground stem that we’ll be planting.
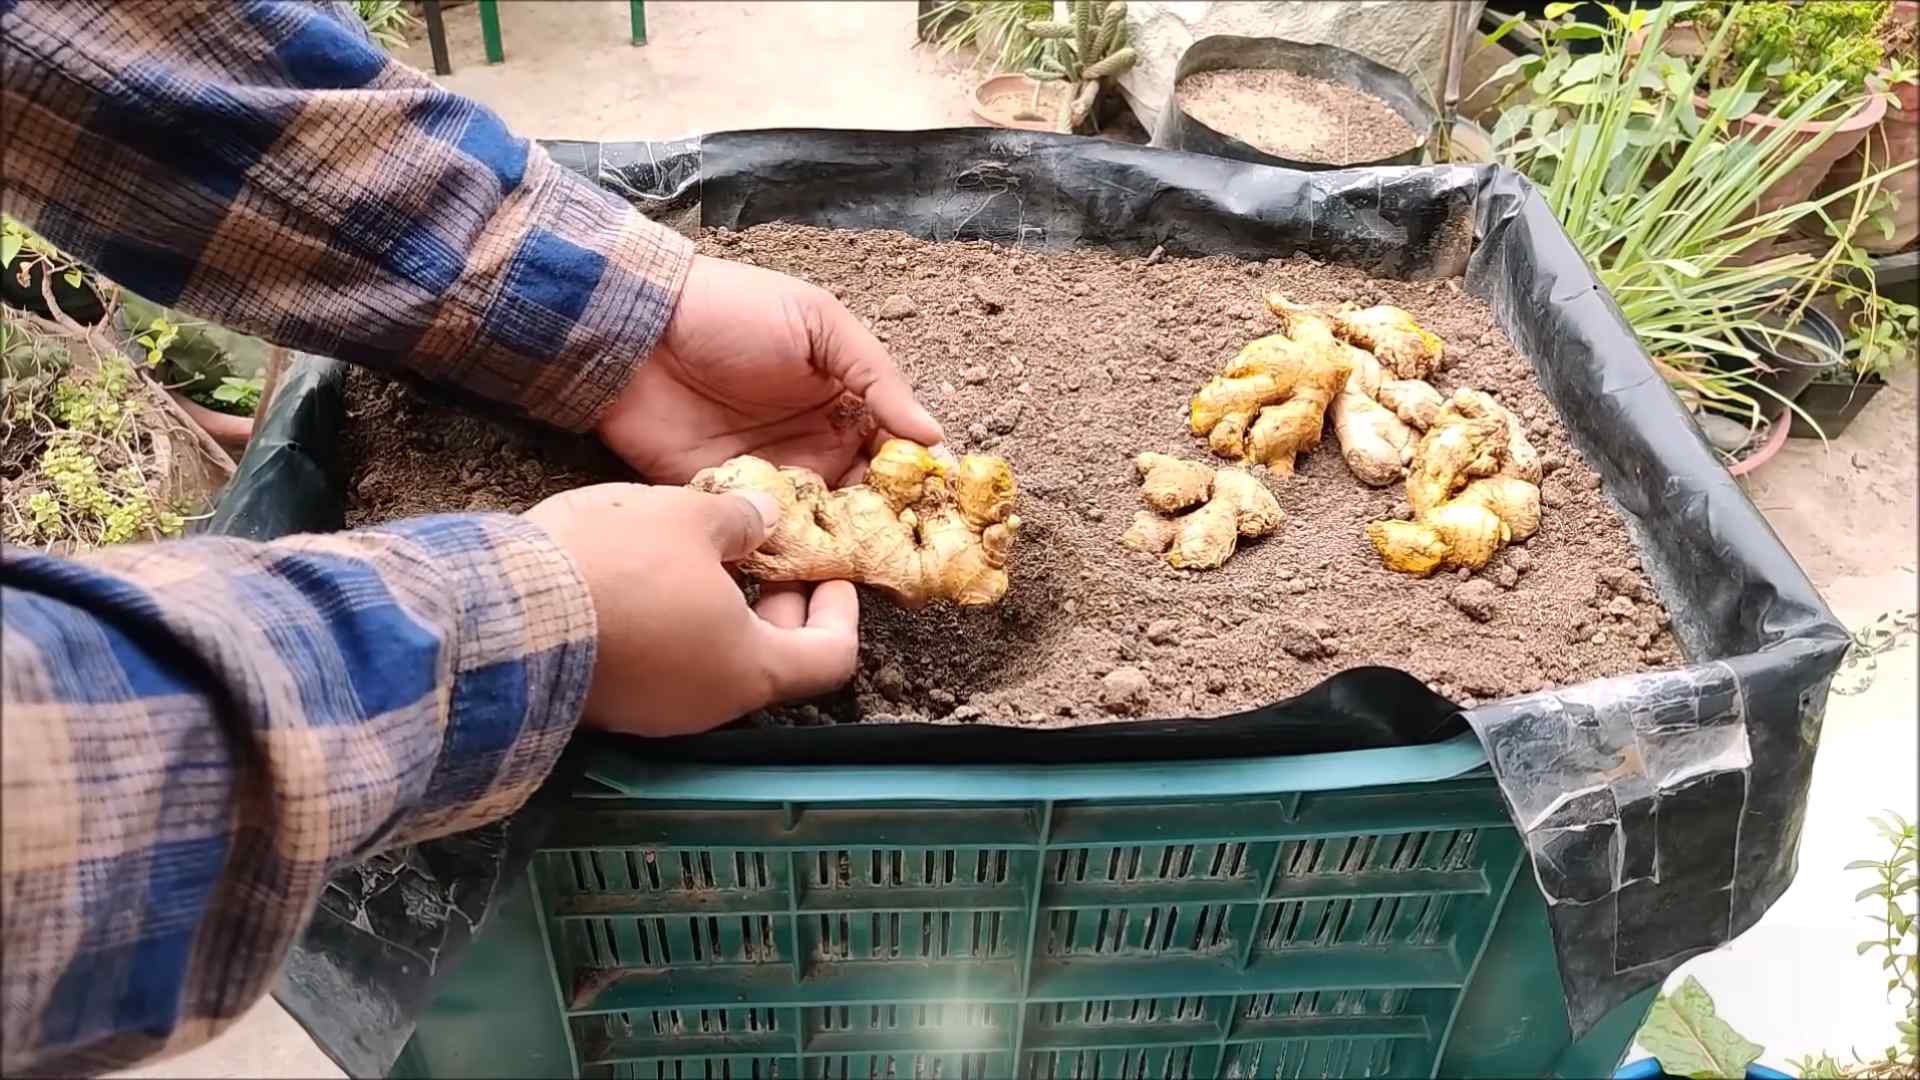
* Look for Healthy Rhizomes: Head to your local grocery store or nursery and find ginger rhizomes that are plump, firm, and have visible “eyes” or buds. These are the little bumps that will sprout into new shoots.
* Organic is Best: Opt for organic ginger if possible. Non-organic ginger may have been treated with growth inhibitors to prevent sprouting during shipping.
* Avoid Wrinkled or Soft Rhizomes: Steer clear of rhizomes that are wrinkled, shriveled, or feel soft to the touch. These are likely old or damaged and won’t sprout well.
* Consider Size: Choose a rhizome that’s a decent size, maybe 2-3 inches long. You can even break a larger rhizome into smaller pieces, ensuring each piece has at least one or two buds.
Preparing Your Ginger for Planting
Now that you have your ginger rhizome, let’s get it ready for planting. This step is crucial for successful germination.
* Soaking the Rhizome (Optional): Some gardeners recommend soaking the ginger rhizome in lukewarm water for 12-24 hours before planting. This can help rehydrate it and encourage sprouting. I’ve had success both with and without soaking, so it’s really up to you.
* Cutting the Rhizome (If Necessary): If you have a large rhizome, you can cut it into smaller pieces, as mentioned earlier. Make sure each piece has at least one or two visible buds.
* Callousing the Cut Ends (Important!): After cutting, allow the cut ends to callous over for a day or two. This helps prevent rot when you plant it. Just leave the pieces in a dry, well-ventilated place.
Preparing the Planting Location
Ginger loves warm, humid conditions and well-draining soil. Let’s create the perfect environment for it to thrive.
* Choose the Right Location: Select a spot in your backyard that receives partial shade. Ginger can tolerate some morning sun, but it needs protection from the harsh afternoon rays. Too much sun can scorch the leaves.
* Soil Preparation is Key: Ginger needs rich, well-draining soil. Amend your soil with plenty of organic matter, such as compost, well-rotted manure, or peat moss. This will improve drainage and provide essential nutrients.
* Test Your Soil (Optional): If you’re unsure about your soil’s pH, consider doing a soil test. Ginger prefers a slightly acidic to neutral pH (around 6.0-6.5). You can purchase a soil testing kit at most garden centers.
* Consider Container Gardening: If you don’t have suitable soil in your backyard, or if you live in a colder climate, you can easily grow ginger in containers. Use a large pot (at least 12 inches in diameter) with drainage holes and fill it with a high-quality potting mix.
Planting Your Ginger
Alright, the moment we’ve been waiting for! Let’s get that ginger in the ground (or pot!).
1. Dig a Shallow Hole: Dig a hole that’s about 2-4 inches deep.
2. Place the Rhizome: Place the ginger rhizome horizontally in the hole, with the buds facing upwards.
3. Cover with Soil: Gently cover the rhizome with soil.
4. Water Thoroughly: Water the soil thoroughly after planting.
5. Mulch (Optional): Add a layer of mulch around the plant to help retain moisture and suppress weeds. I like to use straw or shredded leaves.
Caring for Your Ginger Plant
Now that your ginger is planted, it’s time to provide it with the care it needs to flourish.
* Watering: Ginger needs consistent moisture, but it doesn’t like to be waterlogged. Water regularly, especially during dry spells. Check the soil moisture by sticking your finger into the soil. If the top inch feels dry, it’s time to water.
* Fertilizing: Ginger is a heavy feeder, so it benefits from regular fertilization. Use a balanced organic fertilizer every 4-6 weeks during the growing season. You can also use compost tea or fish emulsion.
* Weeding: Keep the area around your ginger plant free of weeds. Weeds can compete with your ginger for nutrients and water.
* Pest and Disease Control: Ginger is relatively pest-resistant, but it can occasionally be affected by aphids or spider mites. If you notice any pests, you can try spraying them with insecticidal soap or neem oil. Root rot can be a problem if the soil is not well-draining.
* Temperature and Humidity: Ginger thrives in warm, humid conditions. If you live in a cooler climate, you may need to bring your container-grown ginger indoors during the winter months. You can also increase humidity by misting the leaves regularly.
Harvesting Your Ginger
The best part! Harvesting your own homegrown ginger is incredibly satisfying.
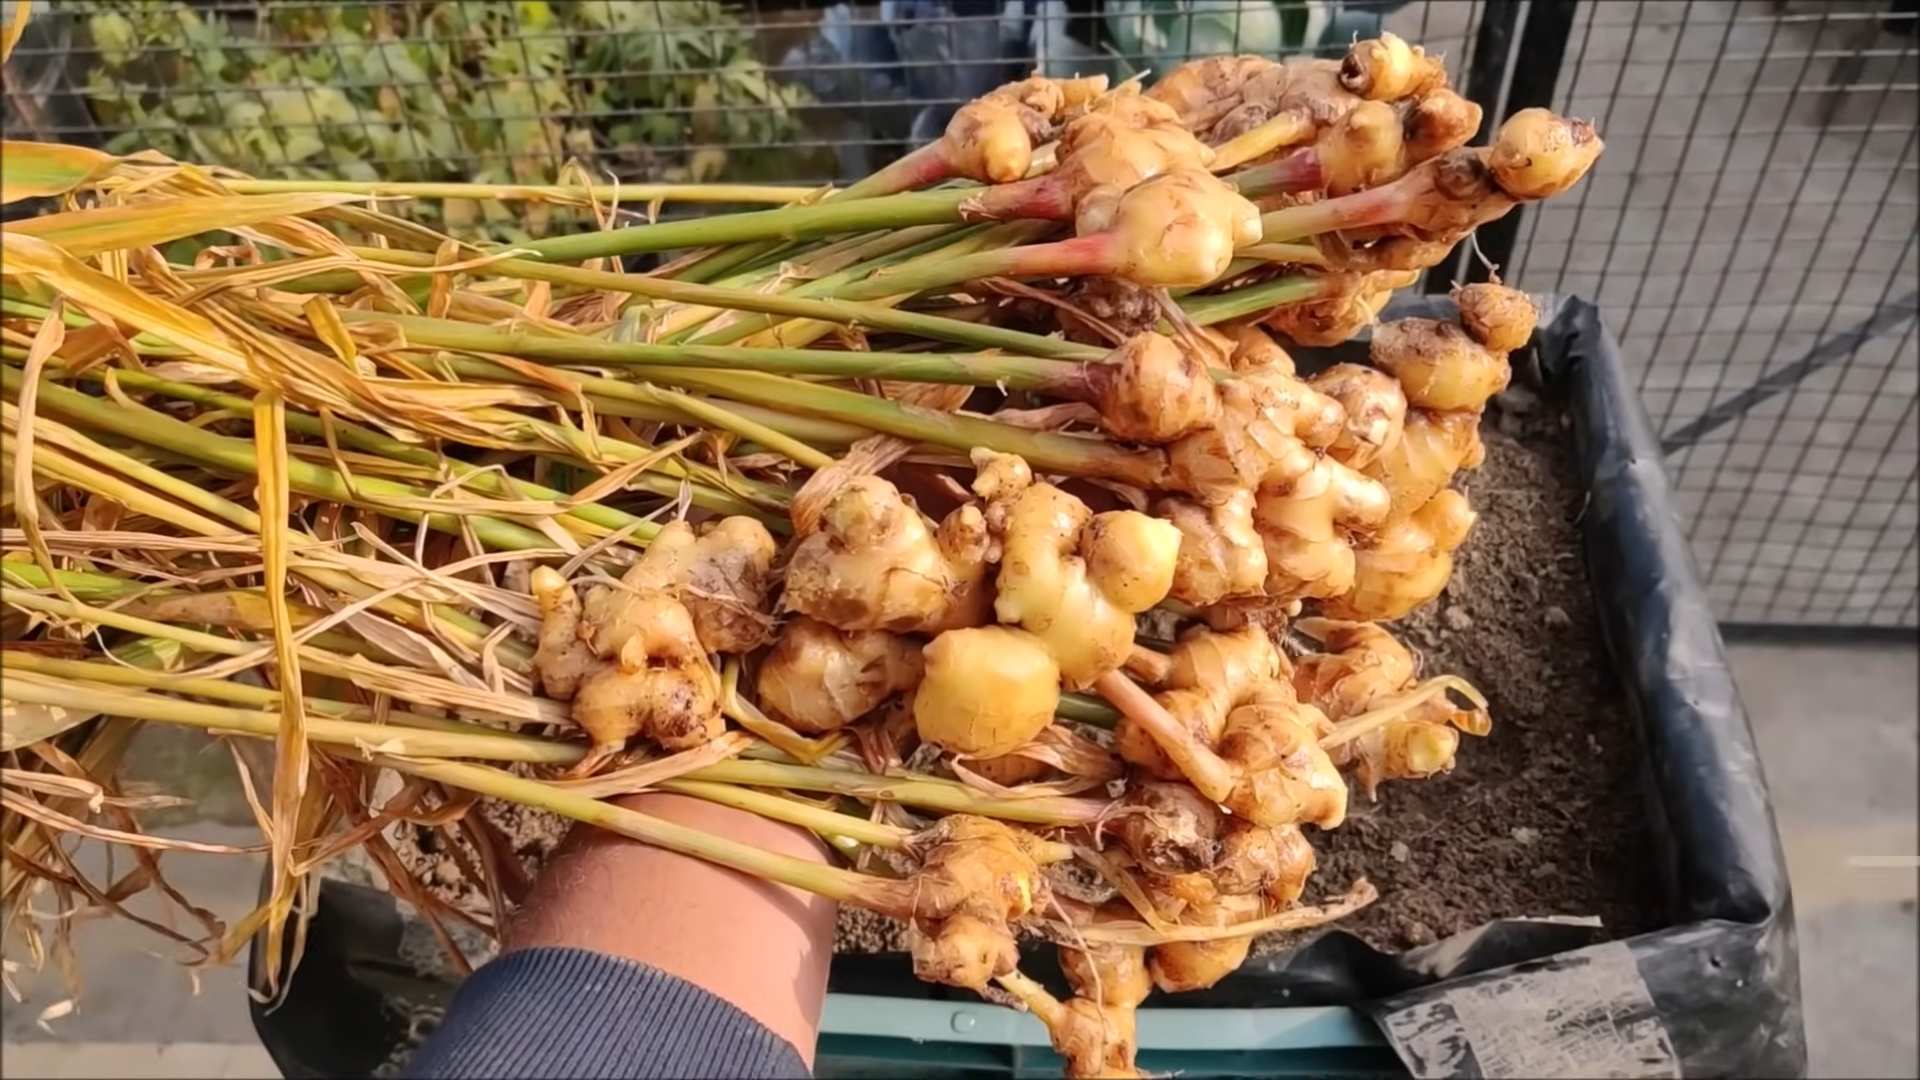
* When to Harvest: You can start harvesting ginger about 8-10 months after planting. The leaves will start to turn yellow and die back when the ginger is ready to harvest.
* How to Harvest: Gently dig around the plant and lift the rhizomes out of the soil. You can harvest the entire plant or just take a few rhizomes as needed. If you only harvest a few, the plant will continue to grow.
* Washing and Storing: Wash the harvested ginger rhizomes thoroughly to remove any dirt. You can store fresh ginger in the refrigerator for several weeks. Wrap it in a paper towel and place it in a plastic bag. You can also freeze ginger for longer storage.
Troubleshooting
Even with the best care, sometimes things don’t go as planned. Here are a few common problems and how to address them:
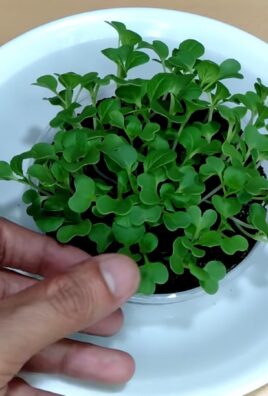
* Ginger Not Sprouting: If your ginger isn’t sprouting, make sure the rhizome was healthy to begin with. Also, ensure the soil is warm enough and that you’re not overwatering. Be patient; sometimes it takes a few weeks for ginger to sprout.
* Yellowing Leaves: Yellowing leaves can be a sign of overwatering, underwatering, or nutrient deficiency. Check the soil moisture and adjust your watering accordingly. Fertilize the plant with a balanced organic fertilizer.
* Root Rot: Root rot is caused by poorly draining soil. Make sure your soil is well-draining and avoid overwatering. If you suspect root rot, you may need to repot the plant in fresh soil.
* Pests: Keep an eye out for pests like aphids and spider mites. Treat them with insecticidal soap or neem oil.
Enjoying Your Homegrown Ginger
Now that you’ve harvested your ginger, it’s time to enjoy the fruits (or rather, rhizomes!) of your labor.
* Cooking: Fresh ginger adds a wonderful flavor to stir-fries, soups, curries, and other dishes.
* Tea: Ginger tea is a soothing and warming beverage. Simply steep a few slices of fresh ginger in hot water.
* Juicing: Add a small piece of ginger to your juices for a spicy kick and added health benefits.
* Candied Ginger: Candied ginger is a delicious treat that’s easy to make at home.
* Ginger Ale: Make your own homemade ginger ale using fresh ginger, sugar, and sparkling water.
Growing ginger in your backyard is a fun and rewarding experience. With a little bit of care and attention, you can enjoy fresh, homegrown ginger all year round. Happy gardening!
Conclusion
So, there you have it! Growing ginger in your backyard isn’t just a whimsical gardening project; it’s a gateway to fresher, more flavorful meals, a healthier lifestyle, and a deeper connection with the natural world. We’ve walked you through the simple steps, from selecting the perfect rhizome to harvesting your very own homegrown ginger.
Why is this DIY trick a must-try? Because store-bought ginger, while convenient, simply can’t compare to the vibrant, zesty flavor of freshly harvested ginger. Imagine adding a generous grating of your own backyard-grown ginger to your morning smoothie, a stir-fry, or even a soothing cup of tea. The difference is remarkable. Plus, you’ll know exactly where your ginger came from and how it was grown, free from the pesticides and chemicals that can sometimes be found in commercially produced ginger.
But the benefits extend beyond just flavor. Growing your own ginger is a rewarding experience in itself. It’s a chance to get your hands dirty, connect with nature, and witness the miracle of growth firsthand. It’s also a sustainable practice that reduces your reliance on imported produce and minimizes your carbon footprint.
Ready to take your ginger game to the next level? Consider these variations:
* **Container Gardening:** If you’re short on space or live in a colder climate, growing ginger in containers is a fantastic option. Choose a large pot with good drainage and follow the same planting and care instructions as you would for growing ginger in the ground. You can even bring the container indoors during the winter months to extend your growing season.
* **Experiment with Varieties:** Did you know that there are different varieties of ginger, each with its own unique flavor profile? Try growing different types of ginger, such as yellow ginger, white ginger, or even ornamental ginger, to add variety to your garden and your culinary creations.
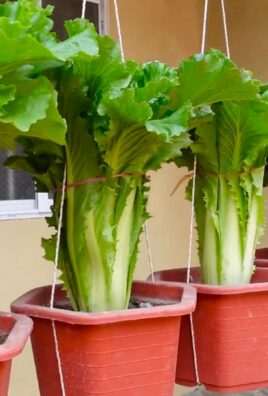
* **Ginger Companion Planting:** Enhance your garden’s ecosystem by planting ginger alongside companion plants like peppers, tomatoes, and leafy greens. These plants can help deter pests and improve soil health, creating a thriving environment for your ginger to flourish.
We’re confident that you’ll find growing ginger in your backyard to be a fun, rewarding, and ultimately delicious experience. Don’t be intimidated by the process; it’s easier than you might think. With a little patience and care, you’ll be harvesting your own homegrown ginger in no time.
So, what are you waiting for? Grab a ginger rhizome, find a sunny spot in your backyard, and get planting! We can’t wait to hear about your experiences. Share your photos, tips, and stories with us in the comments below. Let’s create a community of backyard ginger growers and inspire others to embrace the joys of homegrown goodness. Let us know how your **grow ginger backyard** project went!
Frequently Asked Questions (FAQ)
Q: What is the best time of year to plant ginger?
A: The ideal time to plant ginger is in the early spring, after the last frost has passed. Ginger thrives in warm weather, so planting it when the soil has warmed up will give it the best chance to establish itself and grow vigorously. If you live in a colder climate, you can start your ginger indoors in pots a few weeks before the last frost and then transplant it outdoors once the weather warms up.
Q: How much sunlight does ginger need?
A: Ginger prefers partial shade, especially in hotter climates. While it needs sunlight to grow, too much direct sunlight can scorch the leaves. Aim for a location that receives morning sun and afternoon shade, or dappled sunlight throughout the day. If you’re growing ginger in a container, you can easily move it to a more suitable location as needed.
Q: What kind of soil is best for growing ginger?
A: Ginger needs well-draining soil that is rich in organic matter. Amend your soil with compost, aged manure, or other organic materials before planting to improve its fertility and drainage. A slightly acidic soil pH of around 6.0 to 6.5 is ideal. Avoid heavy clay soils, as they can retain too much moisture and lead to root rot.
Q: How often should I water my ginger plant?
A: Ginger needs consistent moisture, but it doesn’t like to be waterlogged. Water your ginger plant regularly, especially during dry periods, but allow the soil to dry out slightly between waterings. Check the soil moisture by sticking your finger into the soil; if it feels dry to the touch, it’s time to water. Avoid overwatering, as this can lead to root rot.
Q: How long does it take for ginger to grow?
A: It typically takes around 8 to 10 months for ginger to mature and be ready for harvest. You can start harvesting small pieces of ginger after about 4 months, but the flavor will be milder. For the most potent flavor, wait until the plant has matured fully. The leaves will start to turn yellow and die back when the ginger is ready to harvest.
Q: How do I harvest ginger?
A: To harvest ginger, gently dig around the plant and lift the rhizomes out of the soil. You can harvest the entire plant at once, or you can harvest individual rhizomes as needed. To harvest individual rhizomes, carefully dig around the plant and cut off a piece of the rhizome with a sharp knife. Be sure to leave the rest of the plant undisturbed so it can continue to grow.
Q: How do I store ginger?
A: Freshly harvested ginger can be stored in the refrigerator for several weeks. Wrap the ginger in a paper towel and place it in a plastic bag to prevent it from drying out. You can also freeze ginger for longer storage. To freeze ginger, peel it and slice it into small pieces or grate it. Place the ginger in a freezer bag and freeze it for up to six months.
Q: Can I grow ginger indoors?
A: Yes, you can grow ginger indoors, especially if you live in a colder climate. Choose a large pot with good drainage and fill it with well-draining potting mix. Place the pot in a sunny location that receives at least 6 hours of sunlight per day. Water the ginger plant regularly and fertilize it every few weeks with a balanced fertilizer.
Q: What are some common problems when growing ginger?
A: Some common problems when growing ginger include root rot, pests, and nutrient deficiencies. Root rot can be prevented by planting ginger in well-draining soil and avoiding overwatering. Pests, such as aphids and spider mites, can be controlled with insecticidal soap or neem oil. Nutrient deficiencies can be addressed by fertilizing the ginger plant regularly with a balanced fertilizer.
Q: Can I grow ginger from store-bought ginger?
A: Yes, you can grow ginger from store-bought ginger, but it’s important to choose a rhizome that is healthy and plump. Look for ginger that is firm, with no signs of shriveling or mold. Soak the ginger in water overnight before planting to encourage sprouting. Keep in mind that store-bought ginger may have been treated to prevent sprouting, so it may take longer to sprout than ginger that is specifically sold for planting.
Leave a Comment