

Clean Silver with Baking Soda: Is your once-gleaming silverware looking a little dull? Don’t despair! Before you rush out to buy expensive silver cleaners, I’m going to share a simple, effective, and surprisingly fun DIY trick that will restore your silver’s shine using something you probably already have in your pantry: baking soda!
The practice of polishing silver has been around for centuries. Silverware, passed down through generations, often holds sentimental value, representing family history and cherished memories. But tarnish, that pesky dark coating, can obscure its beauty and make it seem neglected.
Let’s face it, nobody enjoys using tarnished silverware. It just doesn’t feel quite right, does it? And while commercial silver cleaners work, they can be harsh, expensive, and sometimes even harmful to the environment. That’s where this clean silver with baking soda hack comes in. It’s a gentle, natural, and incredibly cost-effective way to bring back the luster to your treasured silver pieces. I’ve used this method for years, and I’m always amazed at the results. So, ditch the harsh chemicals and let’s get started on this easy DIY project that will have your silver sparkling in no time!

DIY Silver Cleaning with Baking Soda: A Sparkly Transformation!
Hey there, fellow DIY enthusiasts! Are you tired of looking at your tarnished silver jewelry, silverware, or decorative items? Don’t despair! You don’t need harsh chemicals or expensive cleaning solutions to bring back their shine. I’m going to show you a super easy and effective way to clean your silver using baking soda – a pantry staple! This method is gentle, affordable, and yields amazing results. Let’s get started!
What You’ll Need: The Silver Cleaning Arsenal
Before we dive in, let’s gather our supplies. This is a pretty simple setup, so you probably have most of these items already.
* Baking Soda: The star of the show! This acts as a mild abrasive and helps to lift the tarnish.
* Aluminum Foil: This is crucial for the chemical reaction that removes the tarnish.
* Boiling Water: The hot water speeds up the cleaning process.
* A Glass or Plastic Container: Avoid using metal containers, as they can interfere with the cleaning process. A baking dish, bowl, or even a plastic storage container will work.
* Soft Cloth or Sponge: For gently wiping and polishing the silver after cleaning. Microfiber cloths are excellent for this.
* Tongs or Kitchen Utensils: To safely handle the hot silver items.
* Optional: Dish Soap: For pre-cleaning heavily soiled items.
The Science Behind the Sparkle: How it Works
Okay, so how does this baking soda and aluminum foil trick actually work? It’s all about a chemical reaction called “ion exchange.” Tarnish on silver is silver sulfide, formed when silver reacts with sulfur in the air.
The aluminum foil is more reactive than silver. When you combine it with baking soda and hot water, the aluminum steals the sulfur from the silver sulfide, effectively reversing the tarnishing process. The sulfur then bonds with the aluminum foil instead, leaving your silver shiny and clean! Pretty cool, right?
Step-by-Step Guide: Let’s Get Cleaning!
Now for the fun part! Follow these steps carefully, and you’ll be amazed at the transformation.
1. Prepare Your Cleaning Station: Lay down some newspaper or a towel to protect your work surface. Gather all your supplies within easy reach.
2. Line the Container with Aluminum Foil: Make sure the shiny side of the aluminum foil is facing up, towards where you’ll place the silver. The foil should completely cover the bottom and sides of the container. This ensures maximum contact between the silver and the aluminum.
3. Pre-Clean Heavily Soiled Items (Optional): If your silver is particularly dirty or greasy, you might want to give it a quick wash with warm water and mild dish soap. Rinse thoroughly and pat dry before proceeding. This will help the baking soda solution work more effectively.
4. Add Baking Soda: Pour about 1 tablespoon of baking soda per cup of boiling water into the container. The amount you need will depend on the size of your container and the amount of silver you’re cleaning. A good rule of thumb is to use enough solution to completely submerge the silver items.
5. Pour in the Boiling Water: Carefully pour the boiling water into the container, over the baking soda and aluminum foil. Be cautious, as the mixture may fizz and bubble a bit.
6. Submerge the Silver: Using tongs or kitchen utensils, carefully place the silver items into the solution, making sure they are touching the aluminum foil. The more contact the silver has with the foil, the better the cleaning will be. If you have a lot of items, you might need to do this in batches.
7. Wait and Watch the Magic Happen: Let the silver soak in the solution for 5-10 minutes, or longer if the tarnish is particularly stubborn. You should start to see the tarnish disappearing almost immediately. Keep an eye on the process. For heavily tarnished items, you might need to flip them over to ensure all surfaces are exposed to the aluminum foil.
8. Remove and Rinse: Once the tarnish is gone (or significantly reduced), carefully remove the silver items from the solution using tongs. Rinse them thoroughly under warm running water to remove any remaining baking soda residue.
9. Dry and Polish: Pat the silver items dry with a soft cloth. Then, use a clean, dry cloth (preferably microfiber) to gently polish them to a brilliant shine. This will remove any water spots and bring out the silver’s natural luster.
Dealing with Stubborn Tarnish: Troubleshooting Tips
Sometimes, the tarnish is just too tough for a single treatment. Here are a few tips for dealing with stubborn tarnish:
* Repeat the Process: If the tarnish isn’t completely gone after the first soak, simply repeat the process. You might need to use fresh aluminum foil and baking soda solution for the best results.
* Increase the Baking Soda Concentration: For particularly stubborn tarnish, you can try increasing the amount of baking soda you use. Just be careful not to use too much, as it could potentially damage delicate items.
* Longer Soaking Time: Allow the silver to soak in the solution for a longer period of time, up to 30 minutes. Just keep a close eye on it to make sure it doesn’t get damaged.
* Gentle Scrubbing: For small areas of stubborn tarnish, you can try gently scrubbing with a soft toothbrush and a paste made from baking soda and water. Be very careful not to scratch the silver.
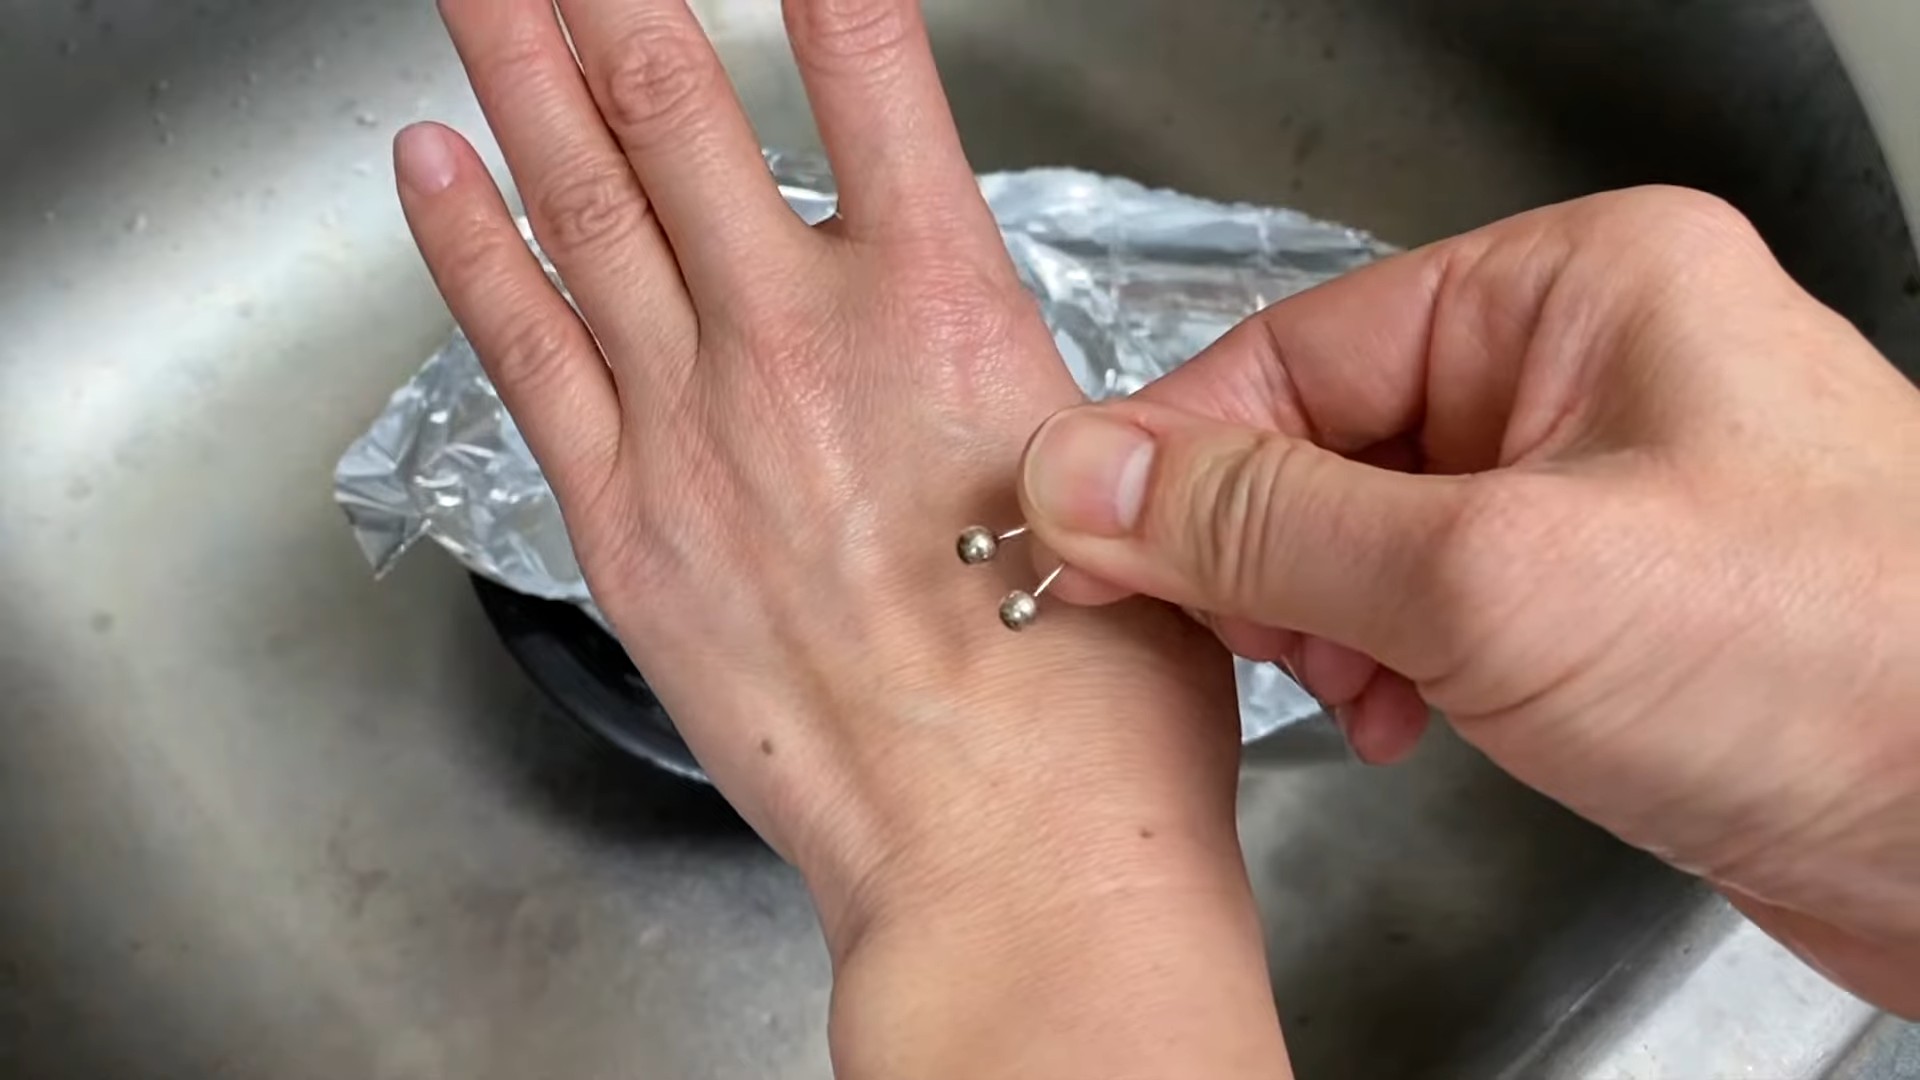
Cleaning Silver Jewelry: Extra Care Required
Cleaning silver jewelry requires a bit more care, especially if it contains gemstones or delicate details. Here are some tips for cleaning your precious pieces:
* Avoid Harsh Abrasives: Never use harsh abrasives or scouring pads on silver jewelry, as they can scratch the surface and damage gemstones.
* Gentle Soaking: When soaking jewelry in the baking soda solution, be extra careful not to let it soak for too long. Check it frequently to make sure the gemstones aren’t being affected.
* Use a Soft Brush: Use a soft-bristled brush (like a baby toothbrush) to gently clean around gemstones and intricate details.
* Rinse Thoroughly: Rinse the jewelry thoroughly under warm running water to remove all traces of baking soda.
* Dry Carefully: Pat the jewelry dry with a soft cloth, and make sure to dry any crevices or settings where water might get trapped.
Preventing Tarnish: Keeping Your Silver Sparkling
Once you’ve cleaned your silver, you’ll want to keep it looking its best. Here are a few tips for preventing tarnish:
* Store Silver Properly: Store your silver in airtight containers or tarnish-resistant bags. This will help to protect it from exposure to air and moisture, which can cause tarnish.
* Use Tarnish Strips: Place tarnish strips in your silver storage containers. These strips absorb sulfur in the air, helping to prevent tarnish.
* Avoid Contact with Sulfur: Avoid exposing your silver to sulfur-containing substances, such as rubber bands, wool, and certain foods.
* Regular Cleaning: Clean your silver regularly, even if it doesn’t look tarnished. This will help to prevent tarnish from building up.
* Wear Your Jewelry: Believe it or not, wearing your silver jewelry can actually help to prevent tarnish! The friction from your skin can help to keep the silver clean and shiny.
Important Considerations: Safety First!
While this baking soda cleaning method is generally safe, it’s important to take a few precautions:
* Use Boiling Water Carefully: Be extremely careful when handling boiling water to avoid burns.
* Avoid Contact with Eyes: Avoid getting the baking soda solution in your eyes. If you do, rinse immediately with plenty of water.
* Test on a Small Area First: If you’re unsure about cleaning a particular item, test the solution on a small, inconspicuous area first to make sure it doesn’t cause any damage.
* Not Suitable for All Silver: This method is generally safe for most sterling silver items, but it’s not recommended for antique silver or items with delicate finishes. Always consult with a professional before cleaning valuable or irreplaceable items.
Conclusion: Enjoy Your Sparkling Silver!
And there you have it! A simple, effective, and affordable way to clean your silver using baking soda. I hope you found this guide helpful. Now go forth and transform your tarnished treasures into sparkling beauties! Happy cleaning!
Conclusion
So, there you have it! A simple, effective, and surprisingly satisfying way to breathe new life into your tarnished silver using the power of baking soda. Forget expensive silver polishes laden with harsh chemicals. This DIY trick is not only gentler on your precious silverware and jewelry, but it’s also kinder to your wallet and the environment.
Why is this a must-try? Because it works! The chemical reaction between the baking soda, aluminum foil, and hot water gently lifts the tarnish away, leaving your silver sparkling and ready to shine. It’s a visual transformation that’s incredibly rewarding, and the process itself is almost therapeutic.
Beyond the basic method, there’s room for experimentation. For heavily tarnished items, you might want to increase the amount of baking soda slightly or let the silver soak for a longer period. You can also try adding a tablespoon of salt to the solution for an extra boost. For delicate pieces, consider lining the container with a soft cloth to prevent any scratching. Remember to always test a small, inconspicuous area first, especially with antique or intricately designed silver.
This method isn’t just for silverware. It works wonders on silver jewelry, serving trays, and even some silver-plated items. Just be sure to avoid using it on items with gemstones or other delicate materials that might be damaged by the heat or the chemical reaction.
We’re confident that once you try this clean silver with baking soda method, you’ll be amazed by the results. It’s a game-changer for anyone who wants to keep their silver looking its best without resorting to harsh chemicals or costly professional cleaning services.
Don’t let your tarnished silver languish in drawers any longer. Gather your supplies, follow our simple instructions, and prepare to be amazed. We encourage you to give this DIY trick a try and share your experience with us in the comments below. We’d love to hear your tips, variations, and before-and-after stories. Let’s bring the sparkle back to our silver, one baking soda bath at a time!
Frequently Asked Questions (FAQs)
1. What kind of baking soda should I use?
Plain, ordinary baking soda (sodium bicarbonate) is all you need. There’s no need to buy anything fancy or specialized. The baking soda you use for baking cakes and cookies will work perfectly for cleaning your silver. Make sure it hasn’t expired, though, as expired baking soda might not be as effective.
2. What kind of aluminum foil is best?
Regular aluminum foil works just fine. You don’t need heavy-duty foil. The key is to ensure that the foil is in direct contact with the silver and the baking soda solution. The aluminum foil acts as a sacrificial metal, attracting the sulfur that causes tarnish.
3. How hot should the water be?
The water should be hot, but not boiling. Ideally, aim for water that’s just below boiling point. This helps to speed up the chemical reaction and loosen the tarnish more effectively. Be careful when handling hot water to avoid burns.
4. How long should I soak the silver?
The soaking time will depend on the severity of the tarnish. For lightly tarnished items, a few minutes might be sufficient. For heavily tarnished items, you might need to soak them for up to 30 minutes, or even longer. Check the silver periodically and remove it when the tarnish has disappeared.
5. Can I reuse the baking soda solution?
It’s best to use a fresh batch of baking soda solution for each cleaning session. The solution becomes less effective as it’s used, as the aluminum foil becomes coated with the removed tarnish. Using a fresh solution ensures optimal cleaning results.
6. Is this method safe for all types of silver?
This method is generally safe for sterling silver and silver-plated items. However, it’s not recommended for items with gemstones, pearls, or other delicate materials, as the heat and chemical reaction could damage them. Also, avoid using it on oxidized silver, as it can remove the intentional darkening. Always test a small, inconspicuous area first to ensure that the method doesn’t damage the item.
7. What if the tarnish doesn’t come off completely?
If the tarnish is particularly stubborn, you can try a few things. First, make sure the aluminum foil is making good contact with the silver. You can also try increasing the amount of baking soda or adding a tablespoon of salt to the solution. If that doesn’t work, you might need to repeat the process with a fresh batch of solution. For very stubborn tarnish, a gentle polishing with a silver polishing cloth after the baking soda treatment can help to remove any remaining residue.
8. How do I prevent silver from tarnishing in the future?
To prevent silver from tarnishing, store it in a cool, dry place, preferably in airtight bags or containers. You can also place anti-tarnish strips or cloths in the storage container to absorb sulfur and other pollutants that cause tarnish. Avoid exposing silver to humidity, direct sunlight, and harsh chemicals. Regularly wiping your silver with a soft cloth can also help to remove any surface tarnish before it becomes more severe.
9. Can I use this method on silver jewelry with stones?
It’s generally not recommended to use this method on silver jewelry with stones, as the heat and chemical reaction could damage the stones or their settings. Instead, opt for a gentle silver polishing cloth or a specialized jewelry cleaner that’s safe for use on stones. If you’re unsure, consult a professional jeweler for advice.
10. What should I do after cleaning my silver with baking soda?
After cleaning your silver with baking soda, rinse it thoroughly with clean water to remove any remaining baking soda residue. Then, dry it completely with a soft cloth. This will help to prevent water spots and further tarnishing. You can also polish the silver with a silver polishing cloth to enhance its shine.

Leave a Comment