

Growing Cherry Trees can seem like a daunting task, conjuring images of sprawling orchards and years of patient waiting. But what if I told you that you could enjoy the sweet, juicy rewards of homegrown cherries sooner than you think, even in a smaller space? This isn’t just about planting a tree; it’s about unlocking a little piece of agricultural history right in your own backyard!
Cherries have been cultivated for centuries, with evidence suggesting their presence in ancient Rome and beyond. They’ve long been a symbol of abundance and good fortune, and now, you can bring that symbolism to life. This DIY guide is packed with simple yet effective tricks and hacks to help you successfully cultivate your own cherry trees, regardless of your gardening experience.
Let’s face it, store-bought cherries can be expensive and often lack the intense flavor of freshly picked fruit. Plus, there’s nothing quite like the satisfaction of harvesting something you’ve nurtured yourself. Growing Cherry Trees doesn’t have to be complicated. I’m here to share my favorite tips and tricks, from choosing the right variety for your climate to protecting your precious crop from pests. So, grab your gardening gloves, and let’s get started on this fruitful adventure together!
DIY: From Seed to Sweetness – Growing Your Own Cherry Tree!
Okay, so you want to grow your own cherry tree? Awesome! It’s a bit of a journey, but trust me, the reward of plucking your own juicy cherries straight from the branch is totally worth it. I’m going to walk you through the whole process, from sprouting a seed to (hopefully!) enjoying a bountiful harvest. Let’s get started!
Choosing Your Cherry Variety
Before we even think about seeds, let’s talk cherries! There are two main types: sweet cherries and sour cherries.
* **Sweet Cherries:** These are the ones you typically eat fresh. They need cross-pollination, meaning you’ll need to plant at least two different sweet cherry varieties that bloom at the same time to get fruit. Popular choices include Bing, Rainier, and Lambert.
* **Sour Cherries:** These are best for pies, jams, and preserves. They’re self-pollinating, so you only need one tree to get fruit. Montmorency is a very popular and reliable sour cherry variety.
Think about what you want to *do* with your cherries. Do you dream of snacking on them straight from the tree? Or are you envisioning delicious cherry pies? This will help you decide which type to grow. Also, consider your climate! Some varieties are better suited to certain regions than others. Do a little research to see which cherry trees thrive in your area.
Getting Your Cherry Seeds Ready
Now, for the fun part – getting those seeds ready to sprout! You can either buy cherry seeds online or, if you’re like me and love a good challenge, you can extract them from fresh cherries.
* **Extracting Seeds from Fresh Cherries:** This is my preferred method because, well, free cherries! Eat the cherries (yum!), and then carefully clean the pits. Remove any remaining flesh.
* **Stratification (The Cold Treatment):** Cherry seeds need a period of cold stratification to break their dormancy. This mimics winter and tells the seed it’s time to wake up and grow.
* **What you’ll need:** Cherry pits, a plastic bag, moist (not soaking wet!) paper towels or peat moss.
* **The Process:**
1. Place the cherry pits in the plastic bag with the moist paper towels or peat moss.
2. Seal the bag and label it with the date and the cherry variety (if you know it).
3. Place the bag in the refrigerator (not the freezer!) for 90-120 days. This is crucial! The cold temperature is what triggers germination.
4. Check the bag periodically to make sure the paper towels or peat moss are still moist. If they’re drying out, add a little water.
5. Keep an eye out for any mold. If you see any, gently rinse the pits and replace the paper towels or peat moss.
Planting Your Cherry Seeds
After the stratification period, it’s time to plant!
* **What you’ll need:** Small pots (4-inch pots are perfect), well-draining potting mix, a sunny location.
* **The Process:**
1. Fill the pots with potting mix.
2. Plant the stratified cherry pits about 1 inch deep.
3. Water gently until the soil is moist but not soggy.
4. Place the pots in a sunny location. A south-facing window is ideal.
5. Keep the soil consistently moist. Don’t let it dry out completely, but don’t overwater either.
6. Be patient! It can take several weeks or even months for the seeds to germinate.
Caring for Your Cherry Seedlings
Once your cherry seedlings emerge, it’s important to provide them with the right care to help them grow strong and healthy.
* **Light:** Cherry seedlings need plenty of light. If you don’t have a sunny window, you may need to supplement with a grow light.
* **Watering:** Water regularly, keeping the soil consistently moist but not soggy.
* **Fertilizing:** Once the seedlings have a few sets of true leaves, you can start fertilizing them with a diluted liquid fertilizer every two weeks. Follow the instructions on the fertilizer label.
* **Repotting:** As the seedlings grow, you’ll need to repot them into larger containers. Choose pots that are a few inches larger in diameter than the previous ones.
Hardening Off Your Cherry Seedlings
Before you can plant your cherry seedlings outdoors, you need to “harden them off.” This process gradually acclimates them to the outdoor environment, preventing shock.
* **The Process:**
1. Start by placing the seedlings outdoors in a sheltered location for a few hours each day.
2. Gradually increase the amount of time they spend outdoors each day, over a period of one to two weeks.
3. Protect them from direct sunlight and strong winds during the hardening-off process.
4. Once the seedlings have been hardened off, they’re ready to be planted in the ground.
Planting Your Cherry Tree Outdoors
Now for the big moment! Planting your cherry tree in its permanent home.
* **Choosing a Location:** Cherry trees need full sun (at least 6 hours of direct sunlight per day) and well-draining soil. Avoid planting them in low-lying areas where water tends to collect.
* **Preparing the Soil:** Dig a hole that is twice as wide as the root ball and just as deep. Amend the soil with compost or other organic matter to improve drainage and fertility.
* **Planting the Tree:**
1. Carefully remove the cherry tree from its container.
2. Gently loosen the roots.
3. Place the tree in the hole, making sure the top of the root ball is level with the ground.
4. Backfill the hole with soil, tamping it down gently.
5. Water thoroughly.
* **Mulching:** Apply a layer of mulch around the base of the tree to help retain moisture, suppress weeds, and regulate soil temperature.
* **Staking (Optional):** If your cherry tree is young and spindly, you may want to stake it to provide support.
Caring for Your Cherry Tree
Once your cherry tree is planted, it’s important to provide it with ongoing care to ensure its health and productivity.
* **Watering:** Water regularly, especially during dry periods. Cherry trees need consistent moisture, but avoid overwatering.
* **Fertilizing:** Fertilize your cherry tree in the spring with a balanced fertilizer. Follow the instructions on the fertilizer label.
* **Pruning:** Prune your cherry tree annually to remove dead, damaged, or crossing branches. Pruning helps to improve air circulation and sunlight penetration, which can increase fruit production.
* **Pest and Disease Control:** Monitor your cherry tree regularly for pests and diseases. Take action promptly to control any problems that arise. Common cherry tree pests include aphids, cherry fruit flies, and Japanese beetles. Common diseases include brown rot, cherry leaf spot, and powdery mildew.
* **Protecting from Birds:** Birds love cherries just as much as we do! If you want to protect your harvest, you may need to cover your tree with netting.
Pollination Considerations
Remember what we talked about earlier? Sweet cherries need cross-pollination. If you’re growing sweet cherries, make sure you have at least two different varieties planted near each other. Bees are the primary pollinators, so avoid using pesticides that could harm them.
Patience is Key!
Growing a cherry tree from seed takes time and patience. It can take several years for a cherry tree to start producing fruit. But trust me, the wait is worth it! There’s nothing quite like the taste of homegrown cherries.
Troubleshooting
* **Seedlings not germinating:** Make sure you properly stratified the seeds for the correct amount of time. Also, ensure the soil is consistently moist but not waterlogged.
* **Yellowing leaves:** This could indicate overwatering or a nutrient deficiency. Adjust your watering schedule and consider fertilizing.
* **Pests:** Identify the pest and use an appropriate treatment, whether it’s insecticidal soap, neem oil, or another organic solution.
* **Diseases:** Prune away affected branches and apply a fungicide if necessary.
Enjoying Your Harvest!
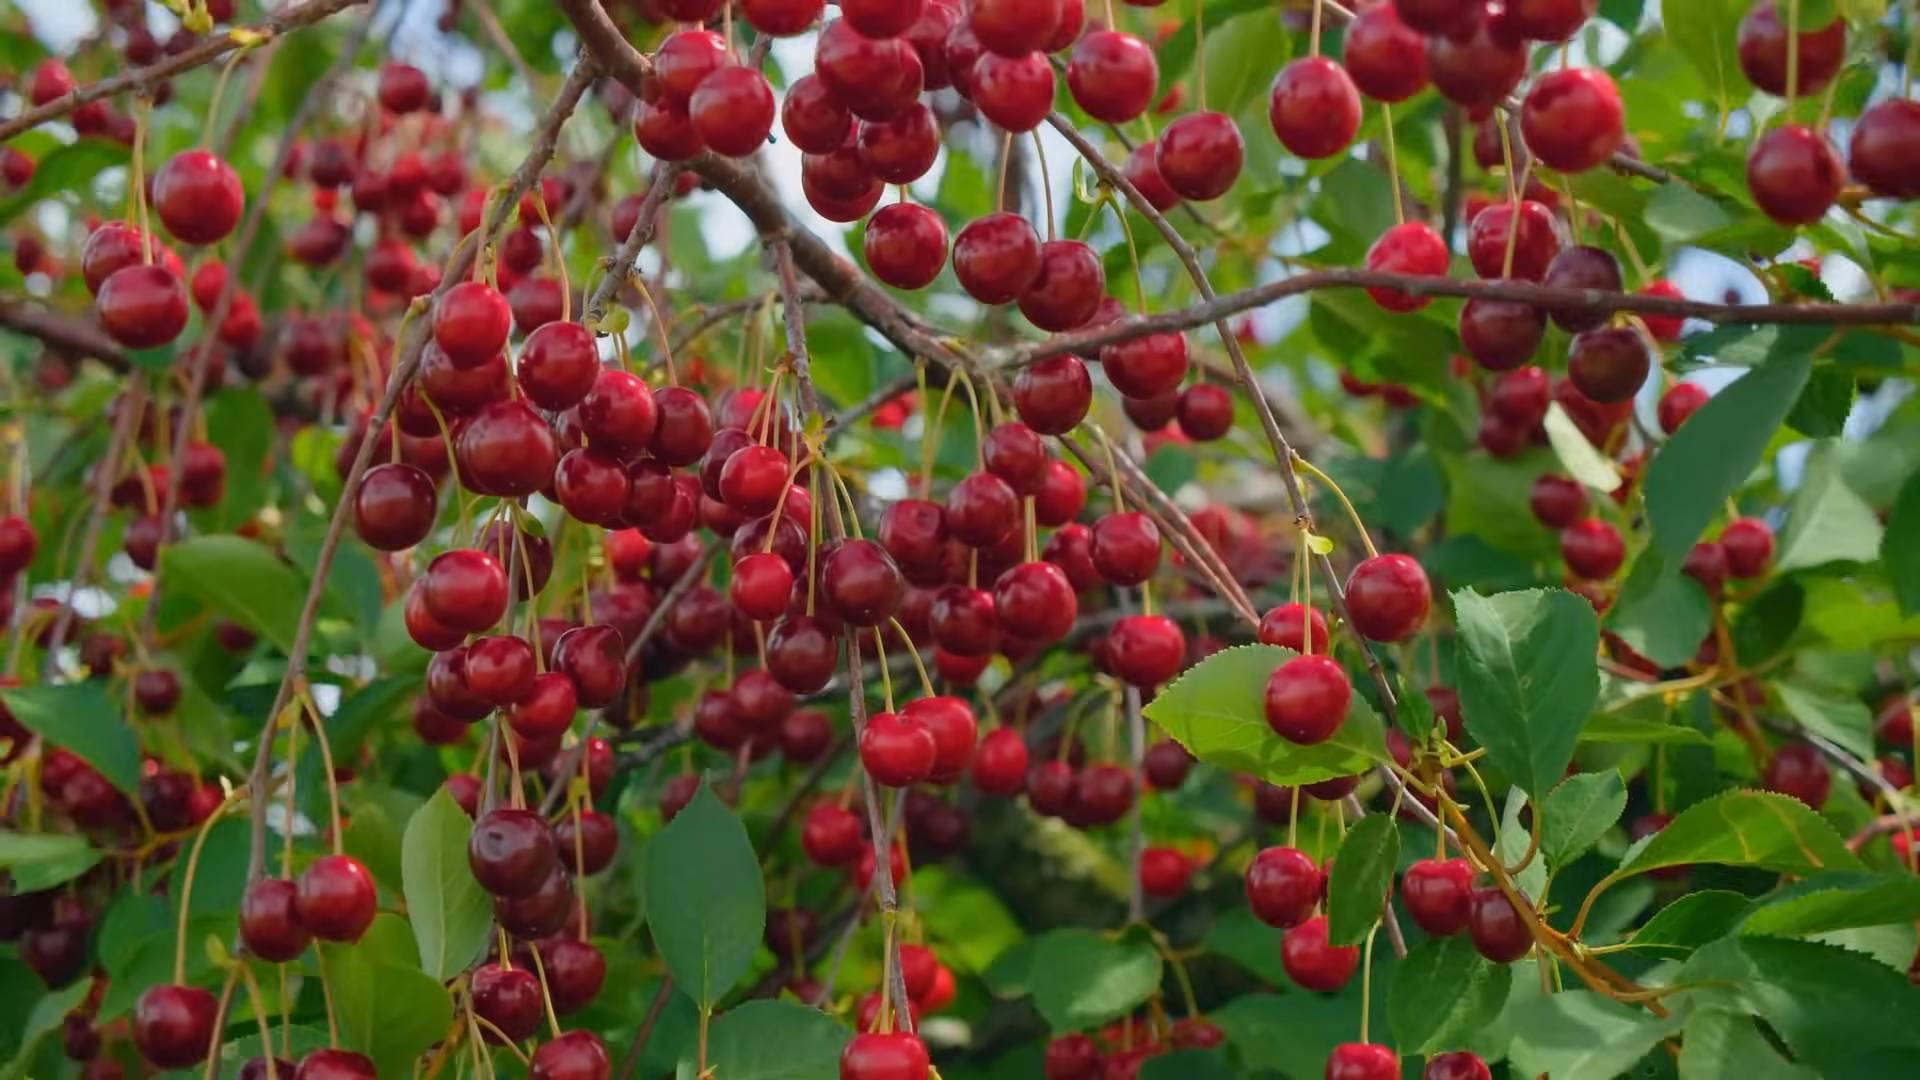
Finally, the moment you’ve been waiting for! When your cherries are ripe, they’ll be plump, juicy, and easily pull away from the stem. Pick them carefully to avoid damaging the tree. And then… enjoy! Eat them fresh, bake them into pies, make jam, or freeze them for later. The possibilities are endless!
Growing a cherry tree from seed is a rewarding experience. It takes time and effort, but the satisfaction of harvesting your own delicious cherries is well worth it. Good luck, and happy growing!

Conclusion
So, there you have it – a comprehensive guide to successfully growing cherry trees right in your own backyard! We’ve covered everything from selecting the right variety and preparing the soil to planting, pruning, and protecting your precious trees from pests and diseases. But why is this DIY endeavor a must-try?
Simply put, growing your own cherry trees offers a unique and rewarding experience that you just can’t replicate with store-bought fruit. Imagine biting into a perfectly ripe, sun-warmed cherry, bursting with flavor that far surpasses anything you’ve ever tasted. That’s the magic of homegrown cherries. Plus, you have complete control over the growing process, ensuring that your cherries are free from harmful pesticides and chemicals. You’re not just growing fruit; you’re cultivating a healthier lifestyle and connecting with nature in a meaningful way.
Beyond the unparalleled flavor and health benefits, growing cherry trees adds beauty and value to your property. In the spring, your trees will be adorned with stunning blossoms, attracting pollinators and creating a picturesque landscape. And as your trees mature, they’ll provide shade and a sense of tranquility, transforming your backyard into a peaceful oasis.
But the benefits don’t stop there. Growing your own cherries is also a sustainable and environmentally friendly practice. By reducing your reliance on commercially grown fruit, you’re minimizing your carbon footprint and supporting local biodiversity. You’re also contributing to a more resilient food system, one that is less vulnerable to disruptions and more responsive to the needs of your community.
Now, let’s talk about variations and suggestions. While we’ve focused on general guidelines, remember that the specific needs of your cherry trees may vary depending on your climate, soil type, and chosen variety. Don’t be afraid to experiment and adapt our recommendations to suit your unique circumstances.
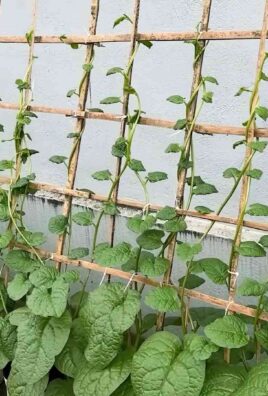
For example, if you live in a particularly cold climate, you might consider planting a self-pollinating variety of cherry tree to ensure fruit production. Or, if you have limited space, you could opt for a dwarf variety that can be grown in a container. You can also explore different training methods, such as espalier, to maximize fruit production in a small area.
Another suggestion is to consider companion planting. Certain plants, such as basil, marigolds, and nasturtiums, can help to deter pests and attract beneficial insects to your cherry trees. These plants can also improve soil health and enhance the overall beauty of your garden.
Finally, don’t forget to regularly monitor your cherry trees for signs of pests or diseases. Early detection is key to preventing serious problems and ensuring a healthy harvest. If you notice any issues, consult with a local arborist or gardening expert for advice on the best course of action.
We believe that anyone can successfully grow cherry trees with a little bit of knowledge, patience, and dedication. So, we encourage you to take the plunge and embark on this rewarding journey. Start small, learn as you go, and don’t be afraid to ask for help when you need it.
And most importantly, we want to hear about your experiences! Share your successes, your challenges, and your tips with us and other readers. Let’s create a community of cherry tree enthusiasts who can learn from each other and celebrate the joys of homegrown fruit. So, go ahead, get your hands dirty, and start growing your own delicious and nutritious cherries today! Remember, the key to success is consistent care and attention to detail. With a little effort, you’ll be enjoying the fruits of your labor for years to come. Growing cherry trees is an investment in your health, your happiness, and your connection to the natural world.
Frequently Asked Questions (FAQ)
Q: What is the best time of year to plant cherry trees?
A: The best time to plant cherry trees is generally in the early spring or late fall, when the trees are dormant. This allows the roots to establish themselves before the hot summer months or the harsh winter weather. However, if you live in a mild climate, you can plant cherry trees at any time of year, as long as the ground is not frozen.
Q: How much space do cherry trees need?
A: The amount of space that cherry trees need depends on the variety and the rootstock. Standard-sized cherry trees can grow to be 20-30 feet tall and wide, so they need plenty of space to spread out. Dwarf cherry trees, on the other hand, can be grown in containers or in smaller gardens. Be sure to check the specific requirements of your chosen variety before planting. Generally, allow at least 15-20 feet between standard-sized trees.
Q: What kind of soil do cherry trees prefer?
A: Cherry trees prefer well-drained soil that is rich in organic matter. The soil should also have a slightly acidic pH, between 6.0 and 7.0. If your soil is heavy clay or sandy, you may need to amend it with compost or other organic matter to improve drainage and fertility. A soil test can help you determine the pH and nutrient levels of your soil.
Q: How often should I water my cherry trees?
A: Cherry trees need regular watering, especially during the first few years after planting. Water deeply and infrequently, allowing the soil to dry out slightly between waterings. During hot, dry weather, you may need to water more frequently. Mature cherry trees are more drought-tolerant, but they still benefit from occasional watering during extended dry periods.
Q: Do cherry trees need to be pruned?
A: Yes, cherry trees need to be pruned regularly to maintain their shape, promote fruit production, and remove dead or diseased branches. The best time to prune cherry trees is in the late winter or early spring, before the buds begin to swell. Pruning can seem daunting, but there are many resources available online and in libraries to guide you.
Q: How do I protect my cherry trees from pests and diseases?
A: There are several things you can do to protect your cherry trees from pests and diseases. First, choose disease-resistant varieties whenever possible. Second, keep your trees healthy and vigorous by providing them with adequate water, nutrients, and sunlight. Third, monitor your trees regularly for signs of pests or diseases and take action promptly if you notice any problems. Common pests of cherry trees include aphids, spider mites, and cherry fruit flies. Common diseases include brown rot, leaf spot, and powdery mildew. Organic pest control methods, such as insecticidal soap and neem oil, can be effective in controlling many pests and diseases.
Q: How long does it take for cherry trees to produce fruit?
A: The time it takes for cherry trees to produce fruit depends on the variety, the rootstock, and the growing conditions. Generally, it takes 3-5 years for standard-sized cherry trees to begin producing fruit. Dwarf cherry trees may start producing fruit sooner, sometimes within 2-3 years. Be patient and provide your trees with the care they need, and you’ll be rewarded with a bountiful harvest in due time.
Q: Do I need to fertilize my cherry trees?
A: Yes, cherry trees benefit from regular fertilization. Fertilize your trees in the early spring, before the buds begin to swell. Use a balanced fertilizer that is specifically formulated for fruit trees. Follow the instructions on the fertilizer label carefully to avoid over-fertilizing. You can also amend the soil with compost or other organic matter to improve its fertility.
Q: What are some common problems that affect cherry trees?
A: Some common problems that affect cherry trees include:
* **Pest infestations:** Aphids, spider mites, cherry fruit flies, and other pests can damage leaves, fruit, and branches.
* **Diseases:** Brown rot, leaf spot, powdery mildew, and other diseases can cause leaf drop, fruit rot, and branch dieback.
* **Cracking fruit:** This can be caused by uneven watering or excessive rainfall.
* **Bird damage:** Birds can eat the cherries before you have a chance to harvest them.
* **Poor pollination:** If your cherry trees are not properly pollinated, they may not produce fruit.
Q: How can I prevent birds from eating my cherries?
A: There are several things you can do to prevent birds from eating your cherries. One option is to cover your trees with netting. This will physically prevent the birds from reaching the fruit. Another option is to use bird repellents, such as shiny ribbons or scarecrows. You can also try planting decoy fruit trees nearby to distract the birds from your cherry trees.
Q: What are the different types of cherry trees?
A: There are two main types of cherry trees: sweet cherries and sour cherries. Sweet cherries are typically eaten fresh, while sour cherries are often used in pies, jams, and other baked goods. Some popular varieties of sweet cherries include Bing, Rainier, and Lambert. Some popular varieties of sour cherries include Montmorency and Morello.
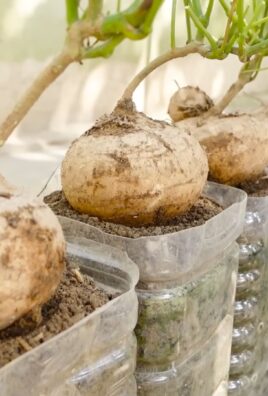
Q: Can I grow cherry trees in containers?
A: Yes, you can grow dwarf cherry trees in containers. Choose a large container that is at least 24 inches in diameter and 24 inches deep. Use a well-draining potting mix and water regularly. Container-grown cherry trees will need to be fertilized more frequently than trees grown in the ground.
Q: How do I know when my cherries are ripe?
A: Cherries are typically ripe when they are

Leave a Comment