

Clean grout with a toothbrush? Absolutely! I know, it sounds a little unconventional, but trust me, this simple DIY trick can work wonders. For generations, homeowners have battled the stubborn grime that accumulates in grout lines, turning pristine tile into a breeding ground for mildew and discoloration. From ancient Roman bathhouses to modern kitchens, the struggle to maintain sparkling grout is a timeless one.
But why a toothbrush? Well, its small size and firm bristles make it the perfect tool for getting into those narrow spaces and scrubbing away the dirt. Plus, you probably already have one lying around! In today’s busy world, who has time for complicated cleaning routines and expensive specialty products? We all crave quick, effective solutions that save us time and money. That’s where this clean grout with a toothbrush hack comes in. It’s a simple, affordable, and surprisingly effective way to restore your grout to its former glory, leaving your bathroom and kitchen looking fresh and revitalized. So, ditch the harsh chemicals and complicated methods, and let’s get scrubbing!
DIY Grout Cleaning: Revive Your Tiles with a Toothbrush!
Okay, let’s face it, grimy grout is the bane of every homeowner’s existence. It’s that unsightly stuff between your tiles that seems to attract dirt, mildew, and just plain grossness. And no matter how much you scrub your tiles, that dingy grout just ruins the whole look. But don’t despair! You don’t need to call in a professional (and spend a fortune!). I’m going to show you how to clean your grout effectively using a simple tool you probably already have: a toothbrush!
This method is perfect for tackling small areas, stubborn stains, or just general grout maintenance. It’s also a great, eco-friendly alternative to harsh chemicals. So, grab your supplies, and let’s get started!
What You’ll Need:
Here’s a quick rundown of everything you’ll need for this grout-cleaning adventure:
* **An Old Toothbrush:** This is the star of the show! Make sure it’s one you’re willing to dedicate to cleaning – you won’t want to use it on your teeth afterward! An electric toothbrush with a small head can also work wonders.
* **Baking Soda:** This is a natural cleaner and deodorizer that’s gentle yet effective.
* **White Vinegar:** Vinegar is a fantastic disinfectant and helps to break down grime.
* **Spray Bottle:** For easy application of your cleaning solution.
* **Warm Water:** To rinse away the cleaning solution.
* **Small Bowl:** To mix your cleaning paste.
* **Gloves:** To protect your hands from the cleaning solution.
* **Eye Protection (Optional):** Just in case of splashes, especially when using vinegar.
* **Paper Towels or a Clean Cloth:** For wiping up excess water and drying the grout.
* **Grout Sealer (Optional):** To protect your freshly cleaned grout and prevent future staining.
Preparing Your Cleaning Solution
Before we dive into the scrubbing, let’s get our cleaning solution ready. I’m going to share a couple of my favorite methods, so you can choose the one that works best for you and your grout.
Method 1: Baking Soda Paste
This is my go-to for general grout cleaning. It’s simple, effective, and uses ingredients you probably already have in your pantry.
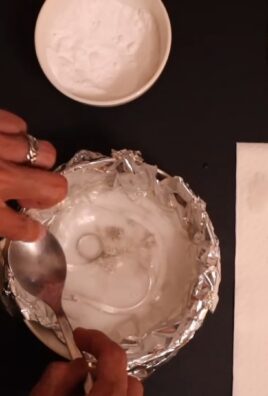
1. **Mix the Paste:** In your small bowl, combine baking soda and a small amount of water. Add the water gradually until you form a thick paste. You want it to be thick enough to stick to the grout lines.
2. **Test the Paste:** Before applying the paste to all your grout, test it on a small, inconspicuous area to make sure it doesn’t damage your tiles.
3. **Apply the Paste:** Using your finger or a small spatula, apply the baking soda paste generously to the grout lines you want to clean. Make sure to cover the entire area.
4. **Let it Sit:** Allow the paste to sit on the grout for at least 15-20 minutes. This gives the baking soda time to work its magic and loosen the dirt and grime. For really stubborn stains, you can let it sit for up to an hour.
Method 2: Vinegar and Baking Soda Power Duo
This method is a bit more aggressive and is great for tackling tougher stains and mildew. Be careful when using this method on colored grout, as vinegar can sometimes cause fading. Always test in an inconspicuous area first!
1. **Sprinkle Baking Soda:** Sprinkle a generous amount of baking soda directly onto the grout lines.
2. **Spray with Vinegar:** Fill your spray bottle with white vinegar and spray it directly onto the baking soda-covered grout. You’ll see it start to fizz – that’s the chemical reaction working to break down the grime.
3. **Let it Fizz:** Allow the vinegar and baking soda mixture to fizz and sit for about 5-10 minutes.
4. **Prepare for Scrubbing:** Now that your cleaning solution is ready, it’s time to get scrubbing!
The Scrubbing Process
Okay, this is where the toothbrush comes in! Get ready to put in a little elbow grease, but trust me, the results are worth it.
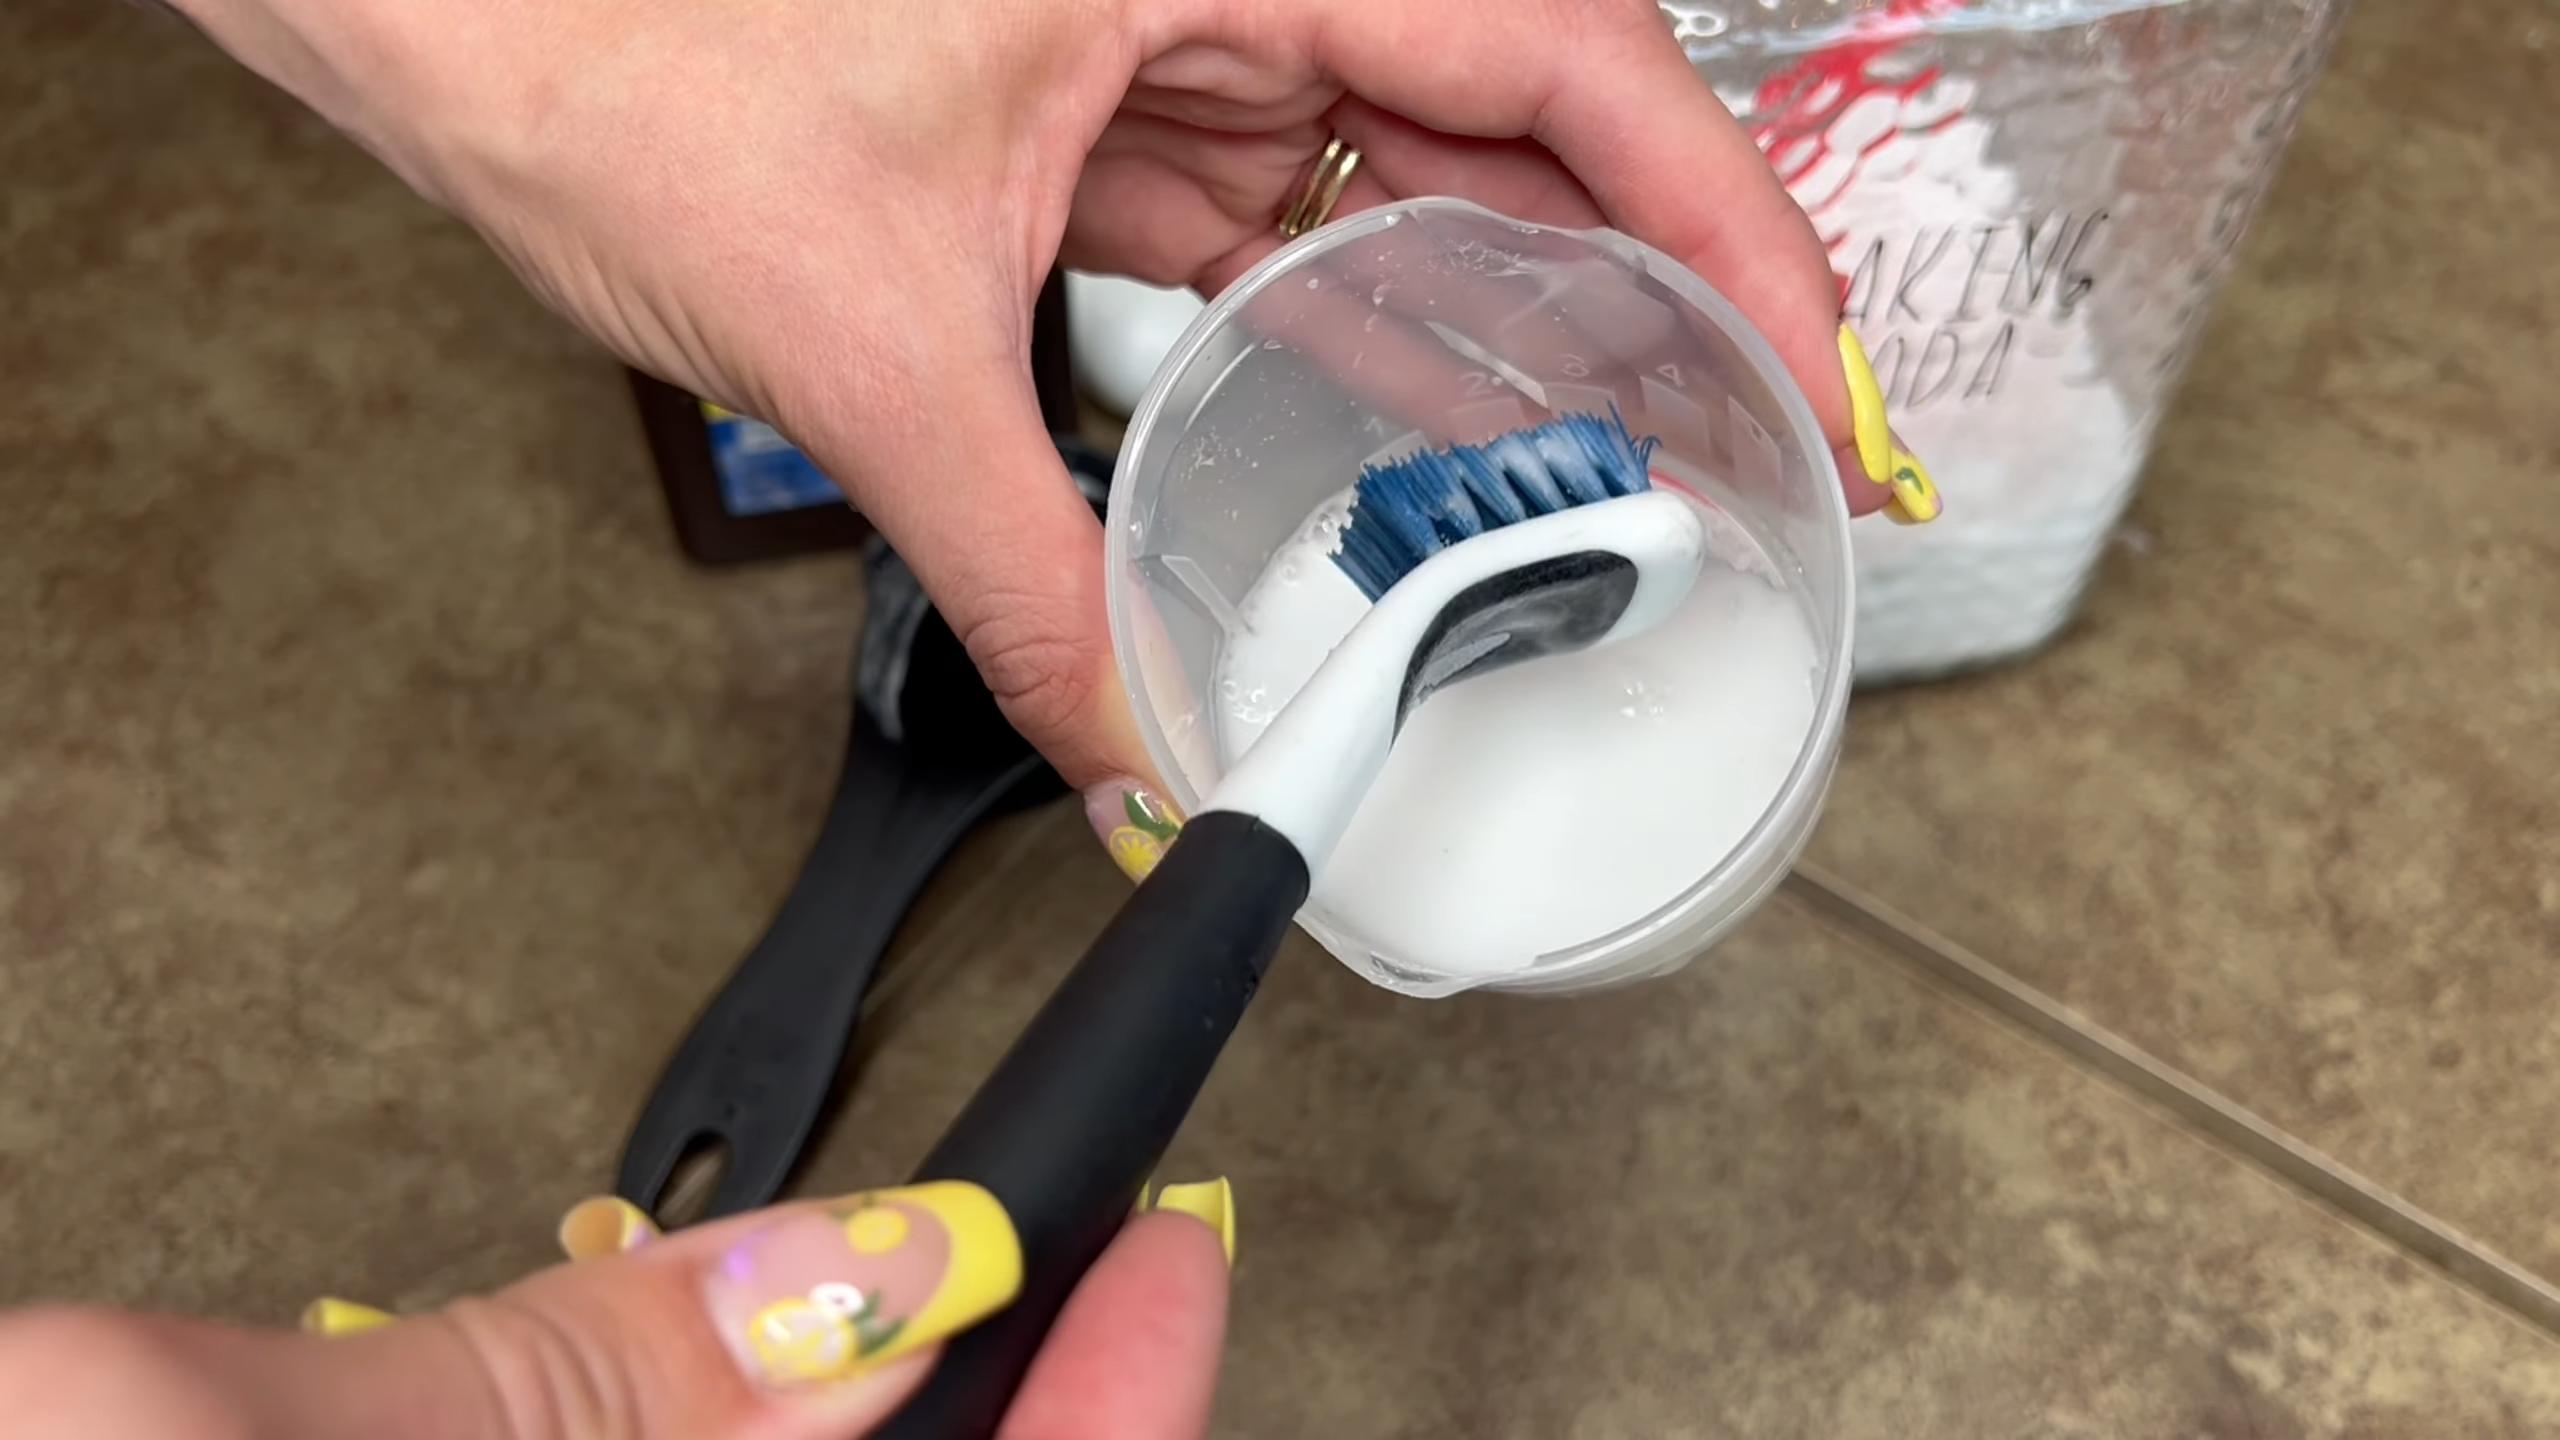
1. **Dip Your Toothbrush:** Dip your toothbrush in warm water to dampen it slightly. This will help the toothbrush glide more easily over the grout and prevent it from scratching the tiles.
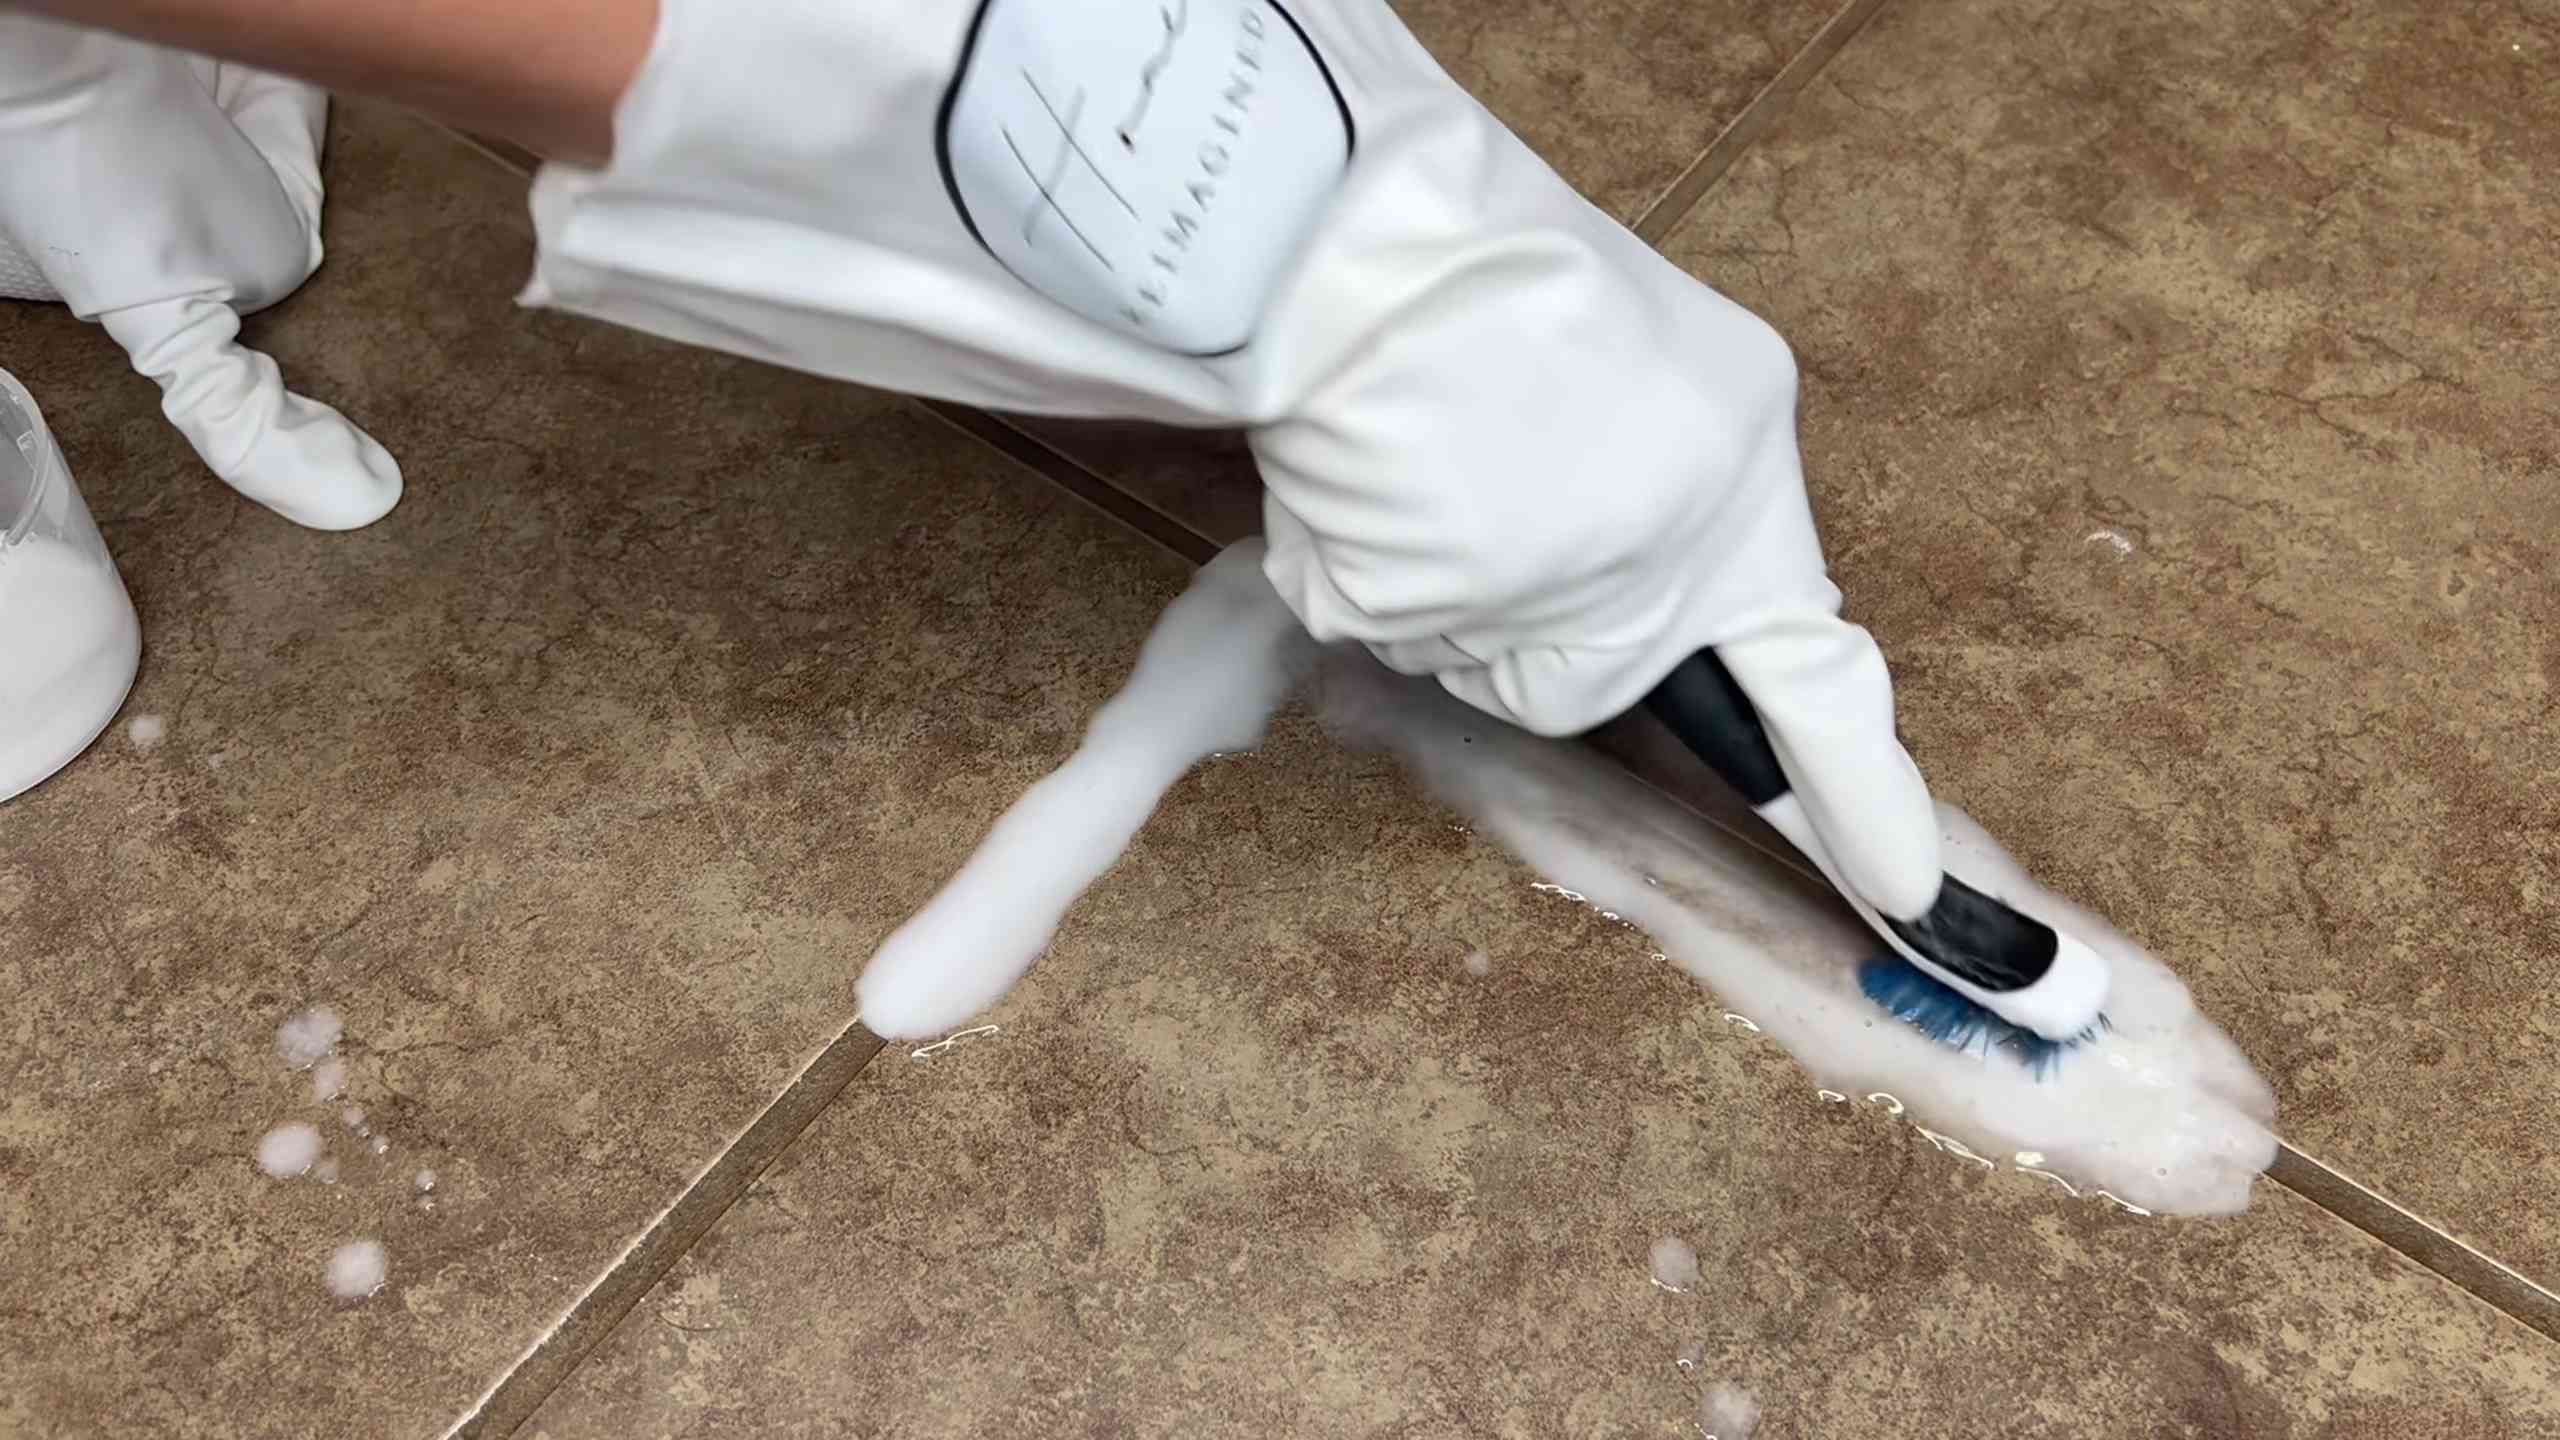
2. **Scrub the Grout:** Using firm, circular motions, scrub the grout lines with your toothbrush. Focus on one small area at a time, and don’t be afraid to apply some pressure. You should start to see the dirt and grime lifting away.
3. **Rinse Frequently:** As you scrub, rinse your toothbrush frequently in warm water to remove the dirt and grime. This will prevent you from just spreading the dirt around.
4. **Repeat as Needed:** For really stubborn stains, you may need to repeat the scrubbing process several times. Don’t give up!
5. **Tackle Corners and Edges:** Pay special attention to corners and edges, as these areas tend to accumulate more dirt and mildew. Use the tip of the toothbrush to get into those hard-to-reach spots.
6. **Take Breaks:** Cleaning grout can be tiring, so don’t be afraid to take breaks as needed.
Rinsing and Drying
Once you’ve finished scrubbing, it’s time to rinse away the cleaning solution and reveal your sparkling clean grout!
1. **Rinse Thoroughly:** Use warm water to rinse the grout lines thoroughly. You can use a sponge, a cloth, or even a spray bottle to rinse away the cleaning solution. Make sure to remove all traces of baking soda or vinegar.
2. **Dry the Grout:** Use paper towels or a clean cloth to dry the grout lines. This will help prevent water spots and mildew growth.
3. **Inspect Your Work:** Take a close look at your grout to make sure you’ve removed all the dirt and grime. If you see any remaining stains, you can repeat the scrubbing process.
Sealing Your Grout (Optional but Recommended)
Once your grout is clean and dry, I highly recommend sealing it. Grout sealer helps to protect your grout from future stains and makes it easier to clean.
1. **Choose a Grout Sealer:** There are many different types of grout sealers available at your local hardware store. Choose one that is appropriate for your type of grout and tiles.
2. **Apply the Sealer:** Follow the instructions on the grout sealer label to apply it to your grout lines. Typically, you’ll apply the sealer with a small brush or applicator.
3. **Wipe Away Excess:** After applying the sealer, wipe away any excess with a clean cloth.
4. **Allow to Dry:** Allow the sealer to dry completely according to the manufacturer’s instructions. This may take several hours or even overnight.
Tips and Tricks for Grout Cleaning Success
Here are a few extra tips and tricks to help you achieve the best possible results:
* **Ventilation is Key:** Make sure to ventilate the area you’re cleaning by opening windows or turning on a fan. This will help to prevent the buildup of fumes and moisture.
* **Work in Sections:** If you’re cleaning a large area, work in small sections to prevent the cleaning solution from drying out.
* **Use an Electric Toothbrush:** An electric toothbrush with a small head can make the scrubbing process much easier and more efficient.
* **Steam Cleaning:** For a deeper clean, you can use a steam cleaner to loosen dirt and grime before scrubbing.
* **Preventative Measures:** To prevent grout from getting dirty in the first place, wipe up spills immediately and clean your grout regularly.
* Test any cleaning solution in an inconspicuous area first! This is crucial to avoid damaging your tiles or grout.
* Consider using a grout pen to touch up areas with stubborn stains or discoloration. These pens are available in a variety of colors to match your grout.
* For heavily soiled grout, you might need to repeat the cleaning process several times. Don’t get discouraged if you don’t see results immediately.
* Always wear gloves to protect your hands from harsh cleaning solutions.
* If you’re using vinegar, be careful not to get it on natural stone tiles, as it can etch the surface.
Alternative Cleaning Solutions
While baking soda and vinegar are my go-to choices, here are a few other cleaning solutions you can try:
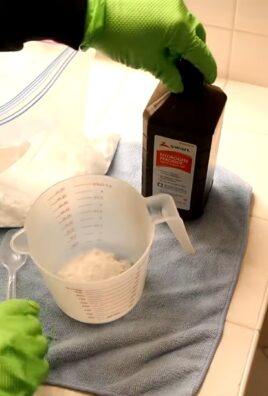
* **Hydrogen Peroxide:** This is a great option for removing mildew and mold. Apply it directly to the grout and let it sit for a few minutes before scrubbing.
* **Lemon Juice:** Lemon juice is a natural cleaner and brightener. Apply it to the grout and let it sit for a few minutes before scrubbing.
* **Commercial Grout Cleaners:** There are many commercial grout cleaners available on the market. Be sure to follow the instructions on the label carefully.
Maintaining Your Clean Grout
Now that you’ve put in the effort to clean your grout, you’ll want to keep it
Conclusion
So, there you have it! No more battling grimy grout lines with harsh chemicals or expensive professional cleaners. This simple, effective, and surprisingly satisfying DIY trick using a toothbrush is a game-changer for anyone looking to revitalize their tile surfaces. We’ve shown you how easy it is to achieve sparkling clean grout with minimal effort and maximum impact.
Why is this a must-try? Because it’s cost-effective, readily accessible, and environmentally friendlier than many commercial alternatives. You likely already have the necessary tools – a toothbrush (preferably an old one!), baking soda, and white vinegar. The combination of the gentle abrasion from the toothbrush bristles and the powerful cleaning action of baking soda and vinegar creates a dynamic duo that lifts dirt, grime, and mildew without damaging your grout.
But the beauty of this DIY grout cleaning method lies in its adaptability. Feel free to experiment with variations to suit your specific needs and preferences. For instance, if you’re dealing with particularly stubborn stains, consider adding a few drops of lemon juice to the baking soda paste for an extra boost of citric acid. Alternatively, for colored grout, test the mixture in an inconspicuous area first to ensure it doesn’t affect the color. You could also try using a grout brush instead of a toothbrush for larger areas, although a toothbrush provides more precision for intricate tile patterns.
Don’t underestimate the power of prevention! Once you’ve achieved that pristine grout, consider sealing it to protect it from future stains and make cleaning even easier. Regular wiping after showers and baths can also significantly reduce the buildup of grime and mildew.
We are confident that this DIY grout cleaning trick will become a staple in your cleaning routine. It’s a simple, effective, and rewarding way to maintain the beauty and hygiene of your tiled surfaces.
Now, it’s your turn! We wholeheartedly encourage you to try this DIY trick and experience the satisfaction of sparkling clean grout firsthand. Share your results with us! We’d love to hear about your experience, any variations you tried, and any tips you discovered along the way. Post your before-and-after photos and cleaning stories in the comments section below. Let’s build a community of clean grout enthusiasts! Remember, achieving a sparkling clean home doesn’t have to be a chore; it can be a rewarding and empowering experience. So, grab that toothbrush and get ready to transform your grout!
Frequently Asked Questions (FAQ)
1. What kind of toothbrush should I use?
An old toothbrush is ideal for cleaning grout. You don’t want to use your everyday toothbrush, as the baking soda and vinegar can be abrasive. Look for a toothbrush with firm bristles for optimal scrubbing power. A smaller toothbrush head can also be helpful for reaching tight corners and intricate tile patterns. If you have multiple bathrooms or large tiled areas, consider designating a specific toothbrush solely for grout cleaning. This will prevent cross-contamination and ensure you always have a dedicated tool on hand.
2. Can I use this method on all types of grout?
This method is generally safe for most types of grout, including cementitious and epoxy grout. However, it’s always a good idea to test the mixture in an inconspicuous area first, especially if you have colored grout. Some colored grouts may be more susceptible to fading or discoloration from the vinegar. If you notice any adverse effects, dilute the vinegar with water or discontinue use. For particularly delicate or antique tiles, consult with a professional cleaning service before attempting any DIY cleaning methods.
3. How often should I clean my grout using this method?
The frequency of grout cleaning depends on several factors, including the location of the tile, the amount of foot traffic, and your personal preferences. In high-traffic areas like bathrooms and kitchens, you may need to clean your grout every few weeks. In less frequently used areas, you can clean it less often. Regular wiping after showers and spills can also help prevent the buildup of grime and mildew, reducing the need for frequent deep cleaning. A good rule of thumb is to clean your grout whenever you notice it starting to look dirty or discolored.
4. What if the baking soda and vinegar mixture doesn’t work?
If the baking soda and vinegar mixture isn’t effectively cleaning your grout, there are a few things you can try. First, make sure you’re using enough baking soda and vinegar. The paste should be thick enough to adhere to the grout lines. Second, let the paste sit on the grout for a longer period of time, up to 30 minutes, to allow the cleaning agents to penetrate the grime. Third, try using a more abrasive scrubbing motion with the toothbrush. If these steps don’t work, you can try adding a few drops of lemon juice to the baking soda paste for an extra boost of citric acid. For extremely stubborn stains, you may need to consider using a commercial grout cleaner specifically designed for your type of grout. Always follow the manufacturer’s instructions carefully when using commercial cleaners.
5. Is vinegar safe to use on grout?
Vinegar is generally safe to use on grout, but it’s important to use it properly. Vinegar is an acid, and prolonged exposure to acidic substances can potentially damage grout over time. That’s why it’s important to dilute the vinegar with water or use it in combination with baking soda, which is an alkaline substance. The baking soda helps to neutralize the acidity of the vinegar and prevent damage to the grout. Always test the mixture in an inconspicuous area first to ensure it doesn’t affect the color or integrity of the grout. Avoid using vinegar on natural stone tiles, as it can etch the surface.
6. Can I use bleach to clean my grout instead?
While bleach can be effective at cleaning grout, it’s not the most environmentally friendly or safest option. Bleach can release harmful fumes and can be irritating to the skin and eyes. It can also damage some types of grout and tile. If you choose to use bleach, be sure to wear gloves and eye protection, and work in a well-ventilated area. Dilute the bleach with water according to the manufacturer’s instructions, and never mix bleach with ammonia, as this can create toxic fumes. The baking soda and vinegar method is a safer and more sustainable alternative to bleach for cleaning grout.
7. How do I prevent grout from getting dirty in the first place?
Prevention is key to keeping your grout clean and minimizing the need for frequent deep cleaning. Here are a few tips to prevent grout from getting dirty:
* Wipe up spills immediately: Don’t let spills sit on the grout, as they can stain and attract dirt.
* Ventilate bathrooms: Proper ventilation can help prevent the growth of mildew and mold in grout.
* Use a squeegee after showering: A squeegee can help remove excess water from the tile and grout, preventing water stains and mildew.
* Seal your grout: Sealing your grout can help protect it from stains and make it easier to clean.
* Use mats and rugs: Place mats and rugs in high-traffic areas to protect the tile and grout from dirt and wear.
8. Can I use a power scrubber to clean my grout?
While power scrubbers can be effective at cleaning grout, it’s important to use them with caution. Power scrubbers can be abrasive and can potentially damage grout if used improperly. Use a soft-bristled brush attachment and avoid applying too much pressure. Test the power scrubber in an inconspicuous area first to ensure it doesn’t damage the grout. The toothbrush method provides more control and precision, making it a safer option for cleaning grout, especially in delicate areas.

Leave a Comment