

Clean Pillows At Home: Who doesn’t love sinking into a fluffy, clean pillow after a long day? But let’s be honest, pillows are magnets for dust mites, sweat, and all sorts of icky things we’d rather not think about. You might be surprised to learn that pillows, often overlooked in our cleaning routines, can harbor more bacteria than a toilet seat! Yikes!
Historically, pillows have been symbols of comfort and luxury, dating back to ancient civilizations like Mesopotamia and Egypt, where they were often made of stone or wood! Thankfully, we’ve come a long way since then, but the need for maintaining their cleanliness remains the same.
I know what you’re thinking: “Cleaning pillows? Sounds like a chore!” But trust me, it’s easier than you think, and the benefits are HUGE. Not only will clean pillows at home improve your sleep quality by reducing allergens and irritants, but it can also extend the life of your favorite headrests. Plus, who doesn’t love the feeling of fresh, clean bedding? In this article, I’m going to share some simple, DIY tricks and hacks to get your pillows sparkling clean without breaking the bank. Get ready to say goodbye to dust mites and hello to sweet dreams!
DIY Pillow Cleaning: A Comprehensive Guide to Fresh, Fluffy Pillows
Okay, let’s face it, we all love a good night’s sleep, and our pillows are a crucial part of that equation. But pillows, like anything else we use regularly, get dirty. Think about it: sweat, drool (yes, we all do it!), dust mites, and even leftover makeup can accumulate over time. Yuck! That’s why cleaning your pillows regularly is super important, not just for hygiene, but also for extending their lifespan and keeping them fluffy.
I’m going to walk you through a detailed guide on how to clean your pillows at home, covering different types of pillows and cleaning methods. Trust me, it’s easier than you think, and the results are totally worth it!
Understanding Your Pillow Type
Before we dive into the cleaning process, it’s crucial to know what kind of pillow you have. Different materials require different cleaning approaches. Here’s a quick rundown:
* Down and Feather Pillows: These are usually machine washable, but require extra care to ensure they dry properly and don’t clump.
* Polyester Fiberfill Pillows: These are generally the easiest to clean and can be machine washed and dried.
* Memory Foam Pillows: These are *not* machine washable. You’ll need to spot clean them and air dry them.
* Buckwheat Pillows: The filling of these pillows cannot be washed. You’ll need to empty the buckwheat hulls and wash the pillowcase separately.
General Supplies You’ll Need
No matter what type of pillow you have, you’ll need some basic supplies:
* Laundry Detergent: Use a mild, gentle detergent. I prefer fragrance-free and dye-free options, especially if you have sensitive skin.
* Washing Machine: A front-loading washing machine is ideal, as it’s gentler on pillows than a top-loading machine with an agitator. If you only have a top-loader, try to find one without an agitator or use a mesh laundry bag to protect the pillows.
* Dryer: A dryer is essential for drying down and feather pillows properly.
* Tennis Balls or Dryer Balls: These help to fluff the pillows and prevent clumping during the drying process.
* Clean Towels: These can be added to the dryer to help absorb moisture.
* Vacuum Cleaner with Upholstery Attachment: For spot cleaning and refreshing pillows.
* Spray Bottle: For spot cleaning solutions.
* Baking Soda: For deodorizing.
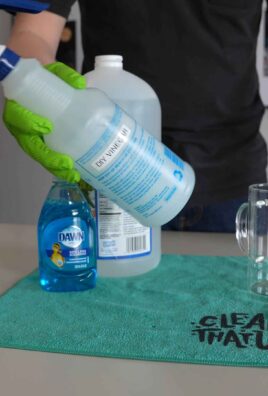
* White Vinegar: A natural cleaning agent and fabric softener.
Cleaning Down and Feather Pillows
These pillows are luxurious, but they require a bit more TLC.
1. Check for Tears: Before washing, carefully inspect your pillows for any tears or holes. Feathers can escape during the wash cycle, making a huge mess! If you find any, repair them before proceeding.
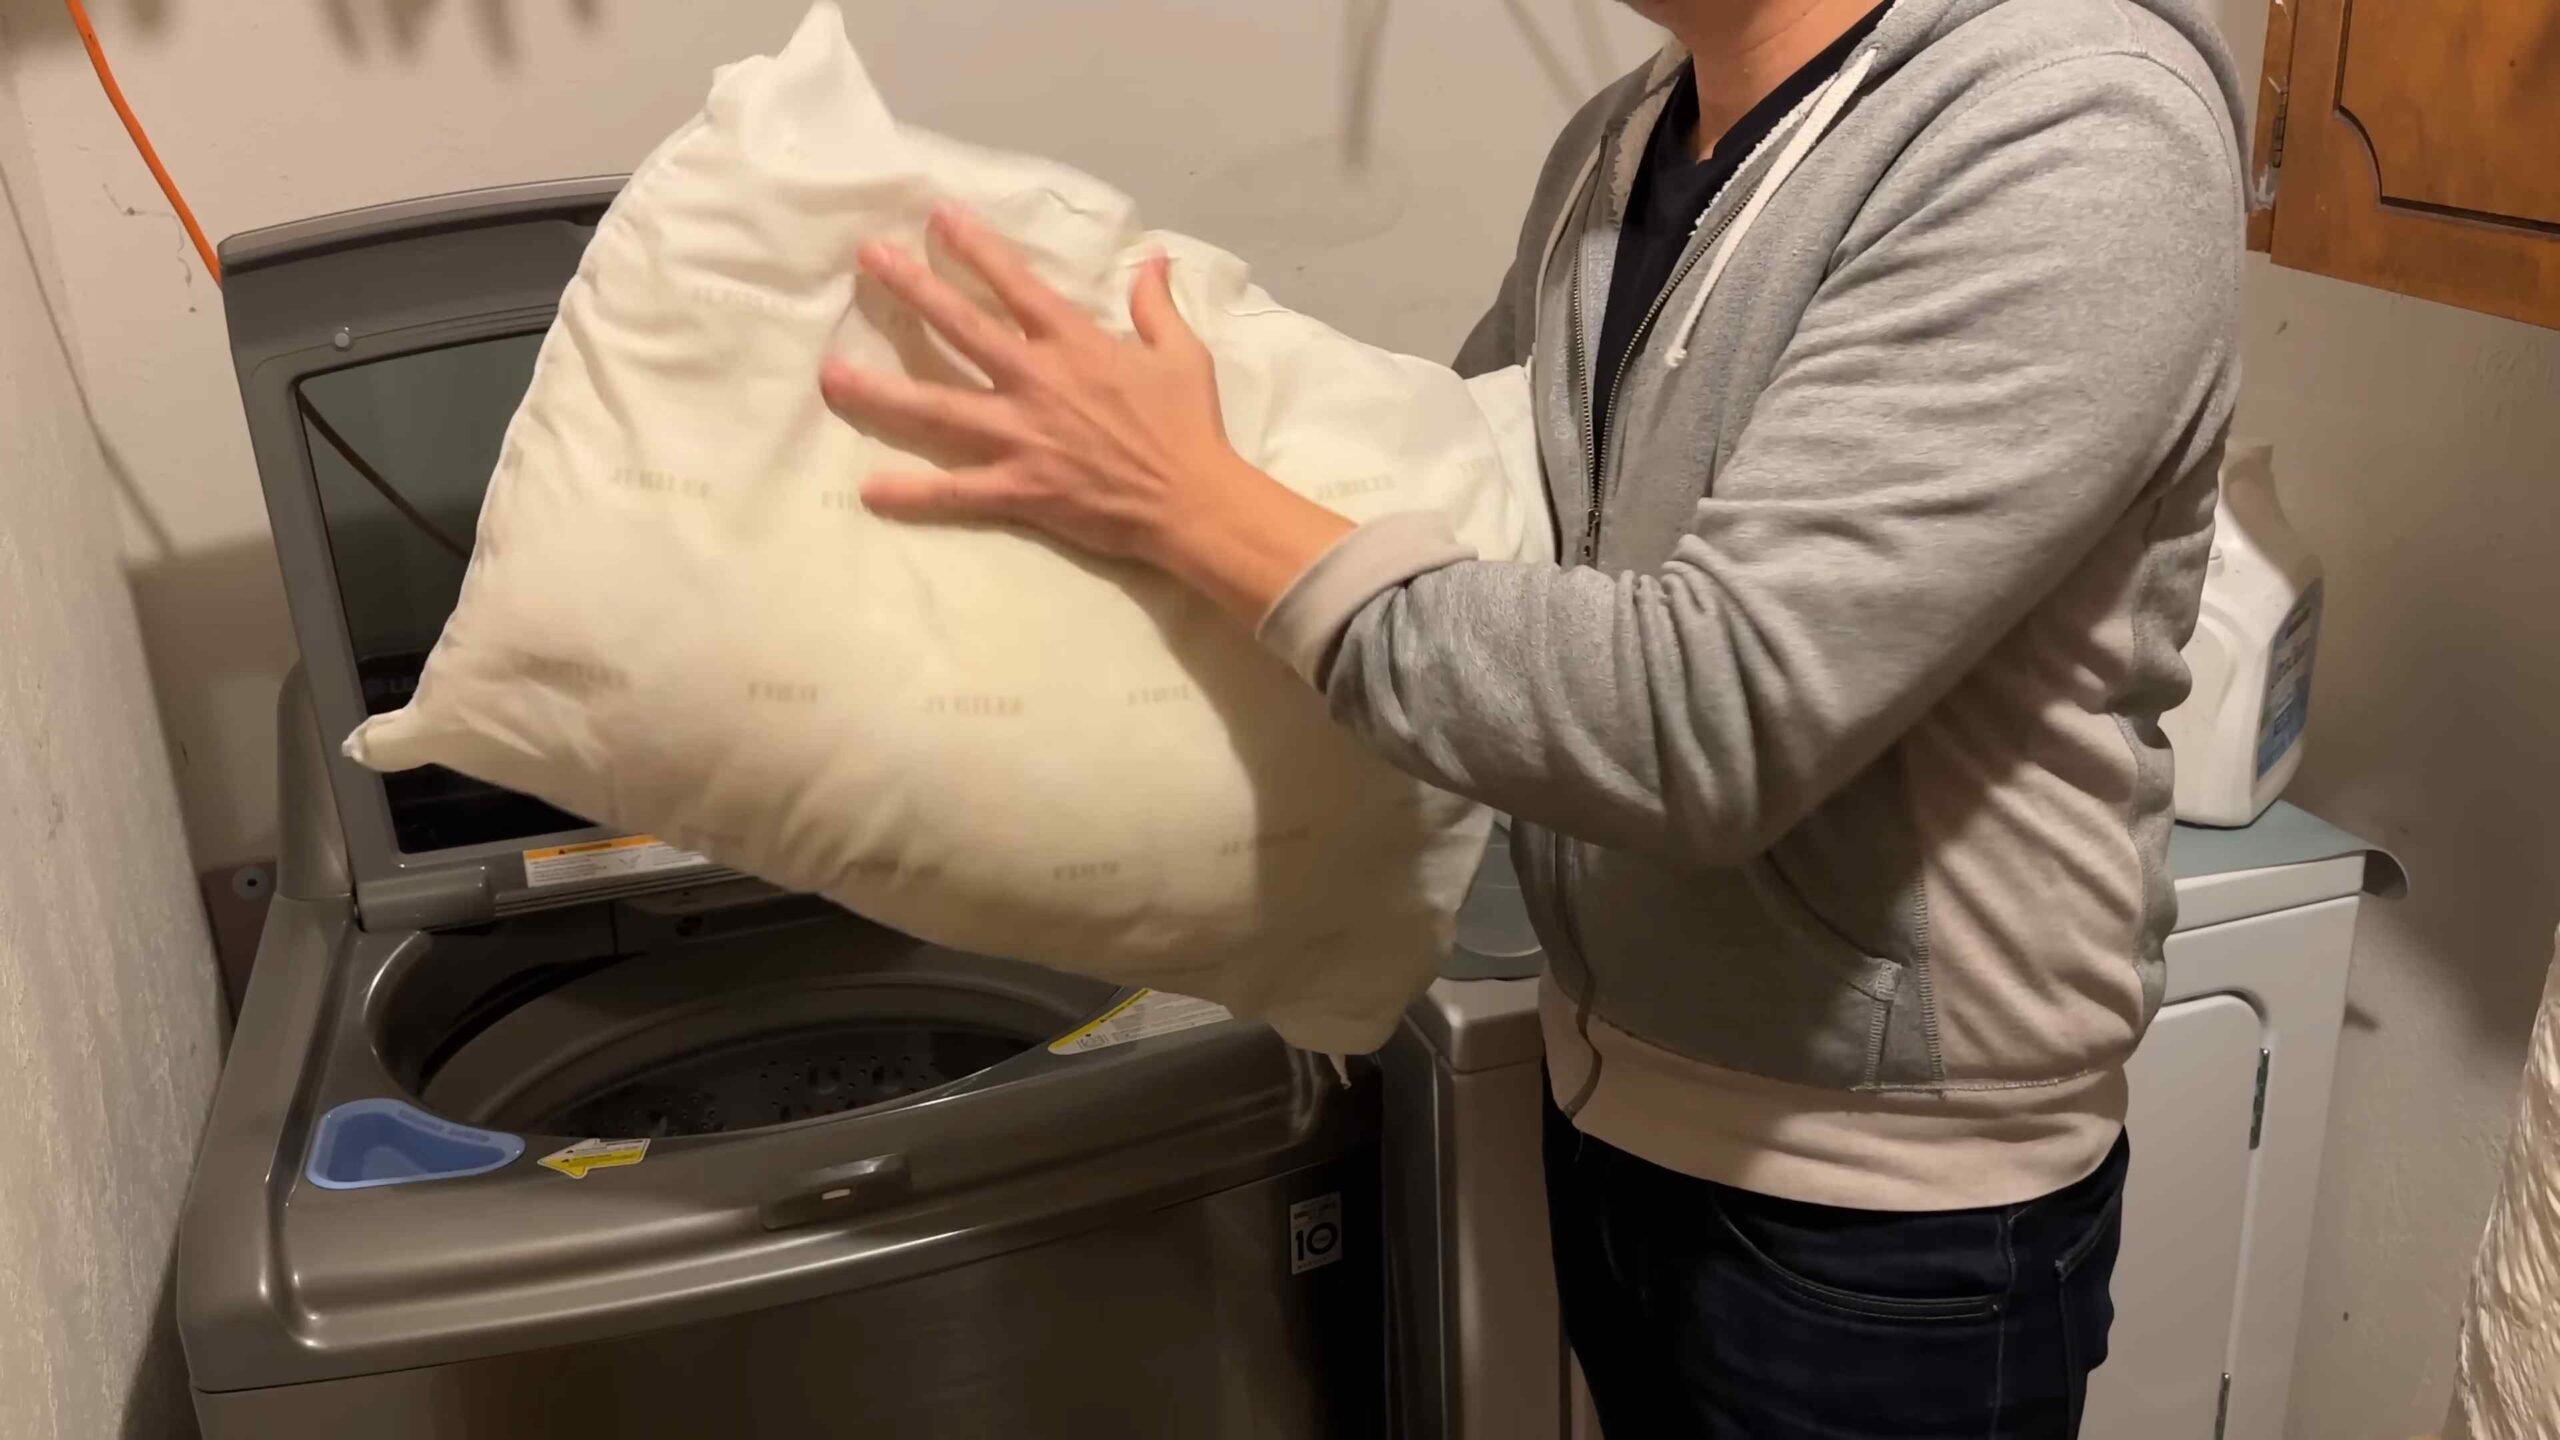
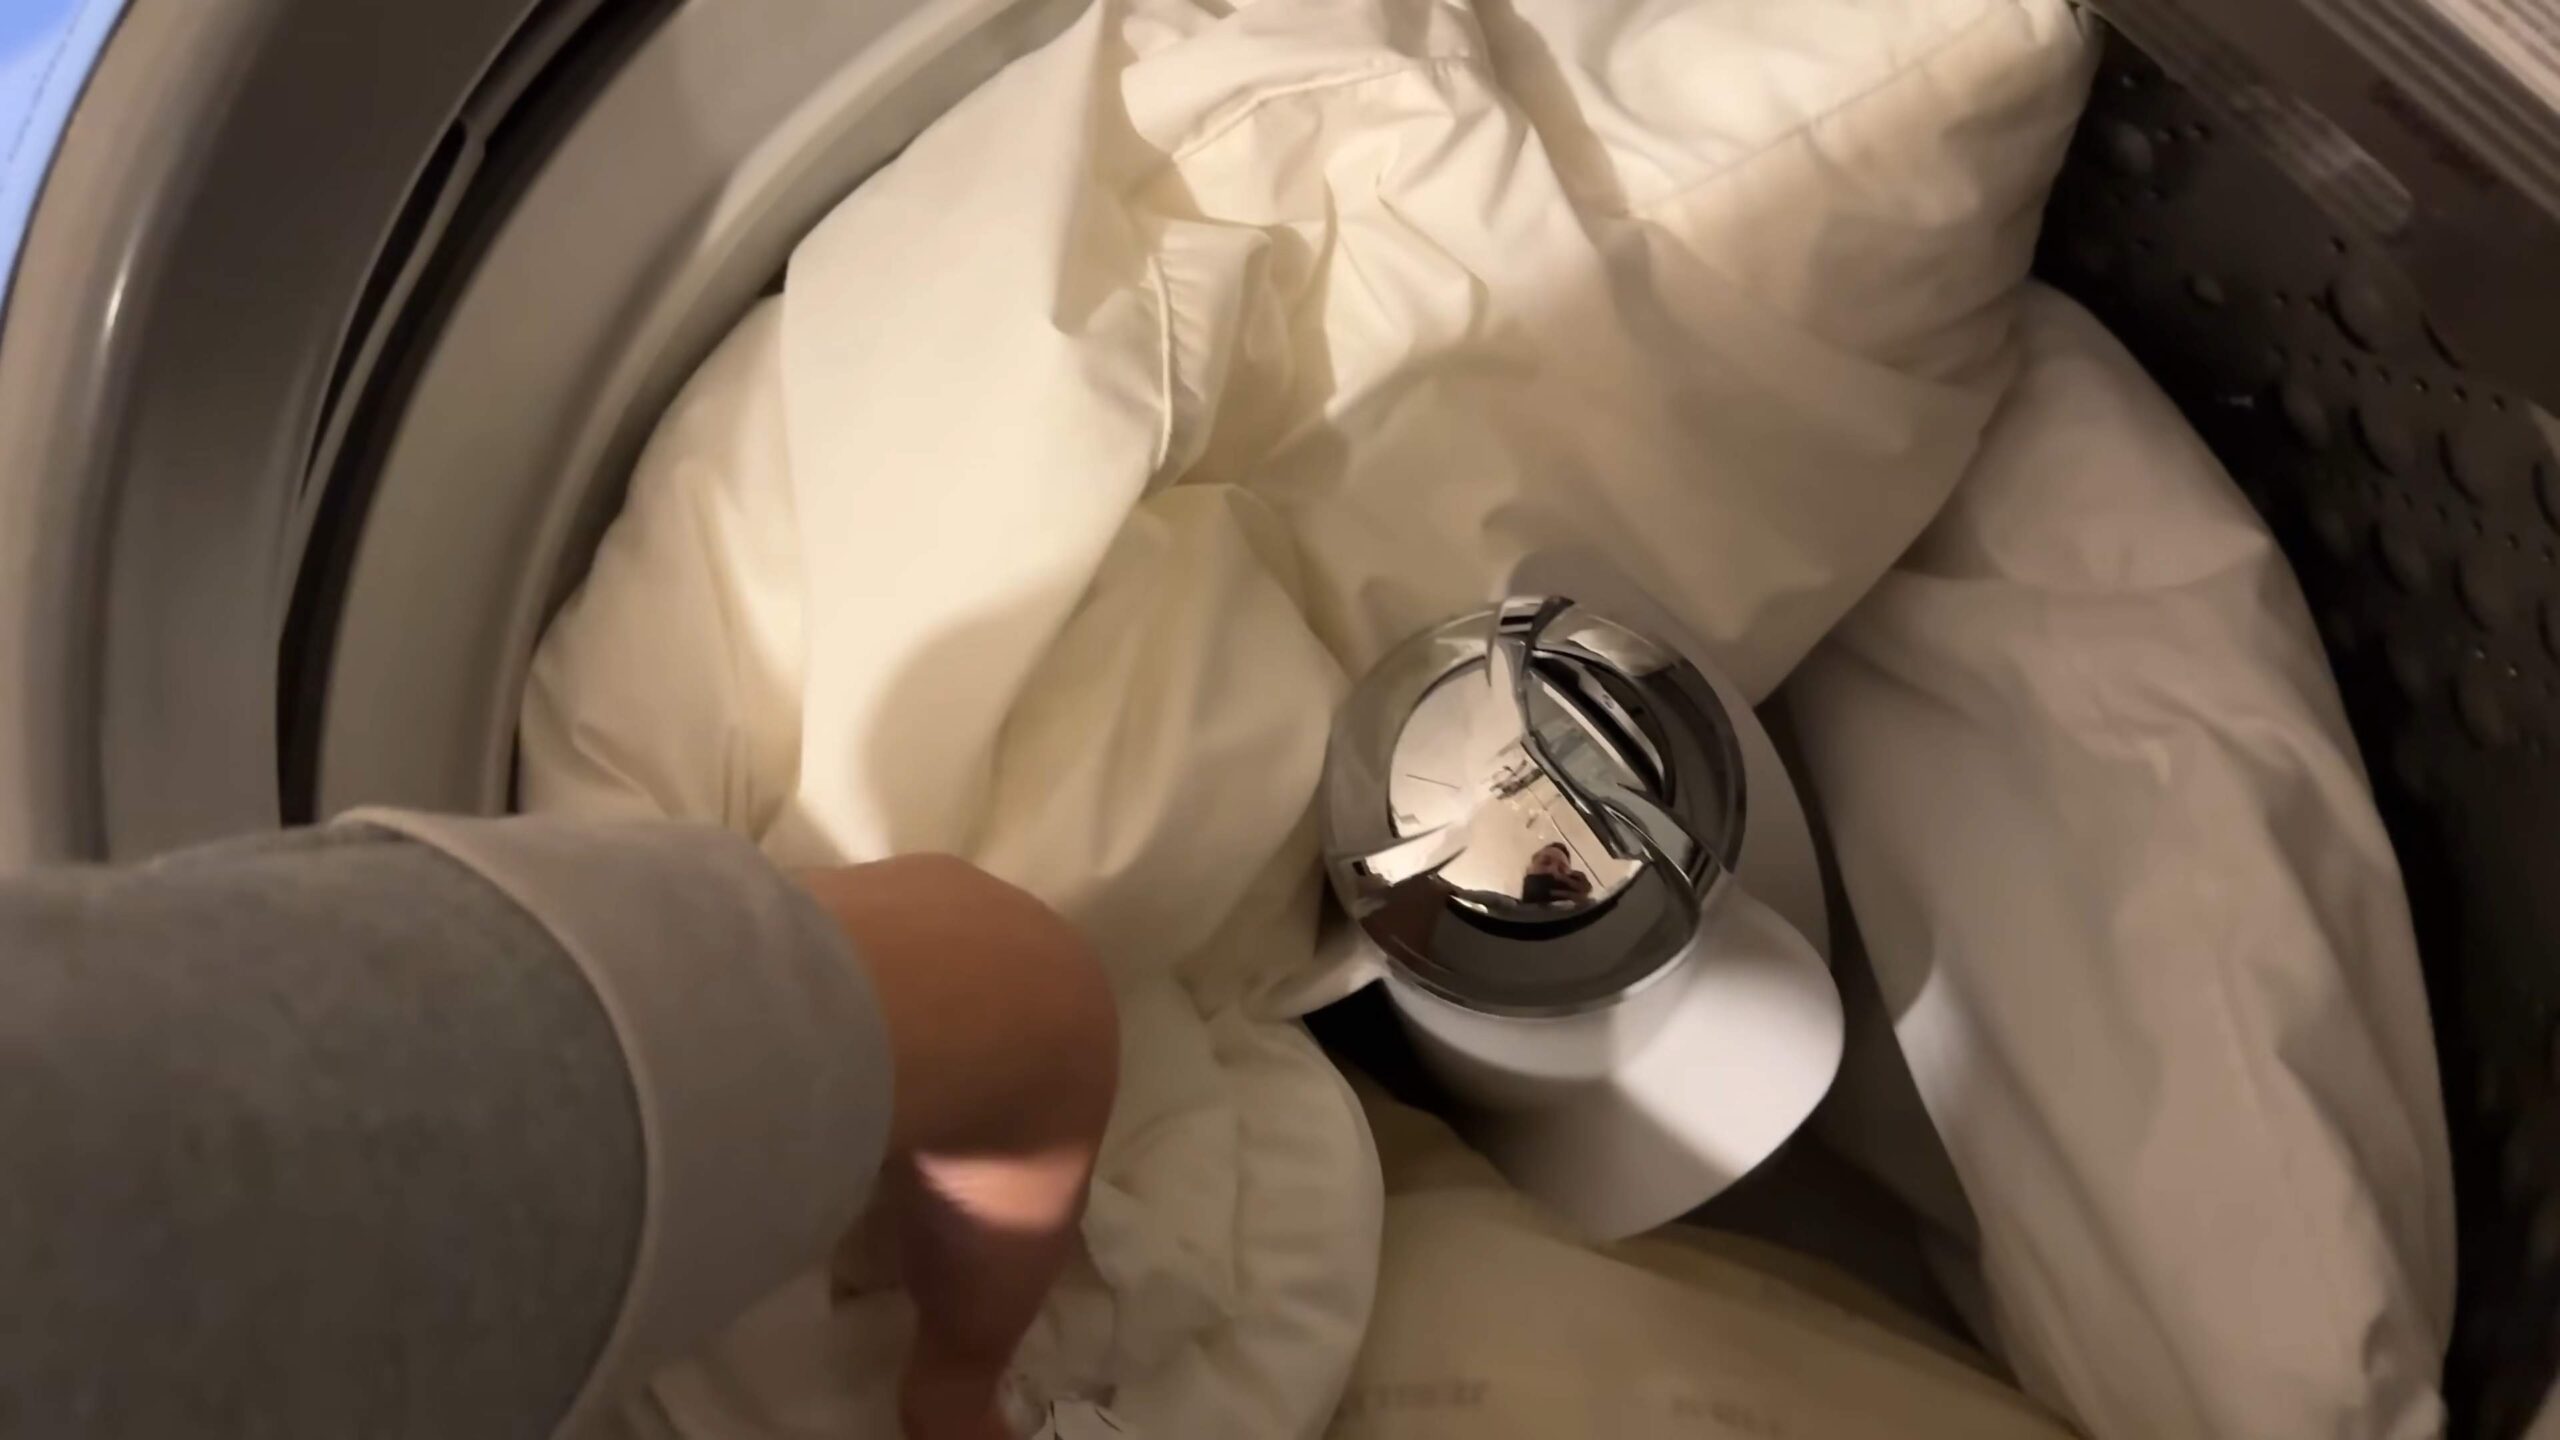
2. Load the Washing Machine: Place two pillows in the washing machine to balance the load. This will help prevent the machine from becoming unbalanced during the spin cycle.
3. Add Detergent: Use a small amount of mild detergent (about 1-2 tablespoons). Too much detergent can leave residue on the feathers.
4. Wash on Gentle Cycle: Select the gentle or delicate cycle and use cold or lukewarm water.
5. Rinse Thoroughly: Run an extra rinse cycle to ensure all the detergent is removed.
6. Dry on Low Heat: This is the most important step! Dry the pillows on low heat with tennis balls or dryer balls. The tennis balls will help to break up any clumps of feathers.
7. Check for Dampness: Every 30 minutes or so, take the pillows out of the dryer and fluff them by hand. Check for any dampness. It may take several cycles to dry them completely.
8. Air Dry (Optional): Once the pillows are mostly dry, you can air dry them outside on a sunny day to ensure they are completely dry and to freshen them up.
9. Repeat if Necessary: If the pillows still smell musty or feel damp, repeat the drying process.
Cleaning Polyester Fiberfill Pillows
These are the easiest to clean!
1. Check for Tears: As with down pillows, inspect for any tears or holes.
2. Load the Washing Machine: Place two pillows in the washing machine to balance the load.
3. Add Detergent: Use a small amount of mild detergent (about 1-2 tablespoons).
4. Wash on Gentle Cycle: Select the gentle or delicate cycle and use cold or lukewarm water.
5. Rinse Thoroughly: Run an extra rinse cycle to ensure all the detergent is removed.
6. Dry on Low Heat: Dry the pillows on low heat with tennis balls or dryer balls.
7. Check for Dampness: Check the pillows periodically to ensure they are drying evenly.
8. Air Dry (Optional): You can also air dry these pillows outside to freshen them up.
Cleaning Memory Foam Pillows
Memory foam is a bit more delicate and can be damaged by machine washing.
1. Remove the Pillowcase: Take off the pillowcase and wash it separately according to the care instructions.
2. Vacuum the Pillow: Use the upholstery attachment on your vacuum cleaner to remove dust and debris from the surface of the pillow.
3. Spot Clean Stains: For stains, mix a small amount of mild detergent with water. Dip a clean cloth into the solution and gently blot the stain. Avoid rubbing, as this can damage the foam.
4. Rinse with a Damp Cloth: Use a clean, damp cloth to rinse away any detergent residue.
5. Press Out Excess Water: Gently press the pillow between two clean towels to remove excess water. Do not wring or twist the pillow.
6. Air Dry Completely: Place the pillow in a well-ventilated area to air dry completely. Avoid direct sunlight, as this can damage the foam. It may take several days for the pillow to dry completely.
7. Deodorize (Optional): Sprinkle baking soda over the pillow and let it sit for a few hours to absorb odors. Then, vacuum off the baking soda.
Cleaning Buckwheat Pillows
These are unique and require a different approach.
1. Empty the Pillow: Carefully unzip the pillowcase and pour the buckwheat hulls into a clean container. You can store them in a pillowcase or a large plastic bag.
2. Wash the Pillowcase: Wash the pillowcase according to the care instructions.
3. Air Out the Buckwheat Hulls (Optional): If the buckwheat hulls smell musty, you can spread them out on a clean surface in the sun to air them out.
4. Refill the Pillowcase: Once the pillowcase is clean and dry, refill it with the buckwheat hulls.
Extra Tips and Tricks
* Use Pillow Protectors: Pillow protectors are a great way to keep your pillows clean and extend their lifespan. They act as a barrier against dust mites, sweat, and other allergens.
* Wash Pillows Regularly: Aim to wash your pillows every 3-6 months, depending on how often you use them.
* Replace Pillows When Necessary: Even with regular cleaning, pillows eventually wear out. Replace your pillows every 1-2 years, or sooner if they are no longer supportive or comfortable.
* Vinegar Power: Adding 1/2 cup of white vinegar to your wash cycle can help brighten whites, remove odors, and soften fabrics.
* Sunlight is Your Friend: Whenever possible, air dry your pillows outside in the sun. Sunlight is a natural disinfectant and can help to kill bacteria and freshen up your pillows.
* Don’t Overload the Washer: Overloading the washing machine can prevent the pillows from getting properly cleaned and can also damage the machine.
* Read the Care Label: Always check the care label on your pillows before washing them. The care label will provide specific instructions for cleaning and drying.
* Consider Professional Cleaning: For delicate or expensive pillows, you may want to consider professional cleaning.
Troubleshooting Common Issues
* Pillows Smell Musty After Washing: This usually means the pillows weren’t dried completely. Repeat the drying process, making sure to fluff the pillows regularly.
* Down Pillows are Clumped Together: This is common with down pillows. Use tennis balls or dryer balls in the dryer to help break up the clumps. You can also try gently fluffing the pillows by hand.
* Stains Won’t Come Out: For stubborn stains, try pre-treating them with a stain remover before washing. You can also try soaking the pillows in a solution of water and baking soda before washing.
Cleaning your pillows is a simple but essential task that can improve
Conclusion
So, there you have it! A simple, effective, and budget-friendly way to breathe new life into your pillows right in the comfort of your own home. Forget expensive dry cleaning or prematurely replacing your pillows. This DIY method for cleaning pillows at home is a game-changer, offering a practical solution to a common household problem.
Why is this a must-try? Because clean pillows are more than just aesthetically pleasing; they’re essential for your health and well-being. Think about it: you spend approximately one-third of your life with your face pressed against these cushions. Over time, they accumulate dust mites, dead skin cells, oils, and even mold spores. These unwelcome guests can trigger allergies, exacerbate asthma, and generally disrupt your sleep. This DIY cleaning method tackles these issues head-on, leaving you with pillows that are not only clean but also healthier and more conducive to restful sleep.
Beyond the basic method, there are several variations you can explore to customize the cleaning process to your specific needs and preferences. For instance, if you’re dealing with particularly stubborn stains, consider pre-treating them with a paste of baking soda and water before washing. For an extra boost of freshness, add a few drops of your favorite essential oil, like lavender or eucalyptus, to the washing machine’s detergent dispenser. Just be sure to use essential oils that are safe for fabrics and won’t cause any allergic reactions.
Another variation involves the drying process. While air-drying is generally recommended, you can also use a dryer on a low heat setting, especially if you live in a humid environment. To prevent clumping, toss in a few clean tennis balls or dryer balls along with your pillows. These will help to fluff the filling and ensure even drying. If your pillows are feather or down-filled, make absolutely sure they are completely dry before using them again to prevent mold growth.
Furthermore, consider the type of detergent you use. Opt for a mild, hypoallergenic detergent to minimize the risk of skin irritation. Avoid using harsh chemicals or bleach, as these can damage the pillow’s filling and potentially release harmful fumes. A gentle, plant-based detergent is often the best choice for cleaning pillows at home.
This DIY trick isn’t just about saving money; it’s about taking control of your home environment and prioritizing your health. It’s about knowing exactly what’s going into your pillows and ensuring that they’re free from harmful chemicals and allergens. It’s a simple yet powerful way to create a cleaner, healthier, and more comfortable sleep space.
So, what are you waiting for? Gather your supplies, follow the steps outlined in this article, and experience the satisfaction of sleeping on freshly cleaned pillows. We’re confident that you’ll be amazed by the results.
We encourage you to try this DIY method for cleaning pillows at home and share your experience with us! Let us know in the comments section below how it worked for you, what variations you tried, and any tips or tricks you discovered along the way. Your feedback will not only help us improve this guide but also inspire others to take control of their pillow hygiene. Share your before-and-after photos on social media using #CleanPillowsAtHome and let’s spread the word about this simple yet transformative DIY trick! We can’t wait to hear from you!
Frequently Asked Questions (FAQ)
1. How often should I clean my pillows?
Ideally, you should aim to wash your pillows at least twice a year, or even more frequently if you suffer from allergies or asthma. If you notice your pillows are stained, discolored, or have an unpleasant odor, it’s definitely time for a wash. Regular cleaning helps to remove dust mites, allergens, and other debris that can accumulate over time.
2. Can I wash all types of pillows using this method?
This method is generally safe for most types of pillows, including those filled with cotton, down, feathers, or synthetic materials. However, it’s always a good idea to check the care label on your pillow before washing. Some pillows may require special cleaning instructions or may not be suitable for machine washing. For example, memory foam pillows often require spot cleaning only. If you’re unsure, consult the manufacturer’s instructions or consider taking your pillows to a professional cleaner.
3. What type of detergent should I use?
It’s best to use a mild, hypoallergenic detergent when washing your pillows. Avoid using harsh chemicals, bleach, or fabric softeners, as these can damage the pillow’s filling and potentially irritate your skin. A gentle, plant-based detergent is often a good choice. Look for detergents that are specifically designed for sensitive skin or for washing delicate items.
4. Can I use bleach to clean my pillows?
While bleach can be effective at removing stains and killing bacteria, it’s generally not recommended for cleaning pillows. Bleach can damage the pillow’s filling, weaken the fabric, and potentially release harmful fumes. If you’re dealing with stubborn stains, consider pre-treating them with a paste of baking soda and water or using a stain remover specifically designed for fabrics.
5. How do I dry my pillows after washing?
The best way to dry your pillows is to air dry them in a well-ventilated area. You can hang them on a clothesline or lay them flat on a clean surface. If you’re using a dryer, set it to a low heat setting and toss in a few clean tennis balls or dryer balls to help fluff the filling and prevent clumping. Make sure your pillows are completely dry before using them again, especially if they’re feather or down-filled, to prevent mold growth.
6. How do I prevent my pillows from clumping during washing and drying?
To prevent clumping, try to distribute the filling evenly before washing. You can also add a few clean tennis balls or dryer balls to the washing machine and dryer. These will help to fluff the filling and prevent it from sticking together. After washing, gently fluff your pillows by hand and reshape them as needed.
7. What if my pillows have a musty smell after washing?
A musty smell after washing usually indicates that the pillows weren’t completely dry. If this happens, re-wash your pillows and make sure to dry them thoroughly, either by air-drying or using a dryer on a low heat setting. You can also try adding a cup of white vinegar to the washing machine to help eliminate odors.
8. How do I clean memory foam pillows?
Memory foam pillows should generally not be machine washed, as this can damage the foam. Instead, spot clean them with a mild detergent and water. Gently blot the stained area with a clean cloth and allow it to air dry completely. You can also sprinkle baking soda on the pillow to absorb odors and then vacuum it off.
9. Can I dry clean my pillows?
Dry cleaning is an option for some types of pillows, but it’s important to check the care label first. Some dry cleaning solvents can be harsh and may damage the pillow’s filling. If you’re unsure, consult a professional cleaner.
10. How do I know when it’s time to replace my pillows?
Even with regular cleaning, pillows eventually wear out and need to be replaced. A good rule of thumb is to replace your pillows every one to two years. If your pillows are flat, lumpy, or no longer provide adequate support, it’s time for a new set. You can also perform the “fold test”: fold your pillow in half and see if it stays folded. If it does, it’s likely lost its support and needs to be replaced. Investing in new pillows is an investment in your sleep and overall health.

Leave a Comment