

Clean Gas Stove: Is your gas stove looking less like a culinary command center and more like a Jackson Pollock painting gone wrong? I get it! We’ve all been there, battling burnt-on food and greasy splatters. But fear not, fellow home chefs, because I’m about to share some game-changing DIY tricks that will have your gas stove sparkling like new in no time!
For generations, the heart of the home has been the kitchen, and the gas stove has often been its fiery centerpiece. From grandma’s secret sauce simmering for hours to quick weeknight meals, the stove has witnessed countless culinary creations. But with all that action comes inevitable mess. And while modern self-cleaning ovens get all the glory, our trusty gas stoves often get neglected.
Let’s face it, nobody enjoys scrubbing away at stubborn stains. It’s time-consuming, frustrating, and often requires harsh chemicals. But what if I told you there’s a better way? These DIY cleaning hacks are not only effective but also use ingredients you probably already have in your pantry. So, ditch the elbow grease and embrace these simple, yet powerful techniques to clean gas stove components and surfaces. You’ll save time, money, and your sanity, all while keeping your kitchen looking its best. Get ready to transform your cooking space with these easy-to-follow tips!
DIY Deep Clean: Revive Your Grimy Gas Stove Like a Pro!
Okay, let’s face it, gas stoves are amazing for cooking, but keeping them clean? Not so much. Burnt-on food, greasy splatters, and general grime can build up quickly, making your stove look less than appealing. But don’t worry! I’m going to walk you through a super effective DIY deep clean that will have your gas stove sparkling like new. This isn’t just a surface wipe-down; we’re going to get into all the nooks and crannies.
What You’ll Need: Your Cleaning Arsenal
Before we dive in, let’s gather our supplies. Having everything ready beforehand will make the whole process much smoother.
* **Dish Soap:** A good quality dish soap is essential for cutting through grease.
* **Baking Soda:** This is our secret weapon for tackling stubborn stains and burnt-on food.
* **White Vinegar:** Vinegar helps to dissolve mineral deposits and adds extra cleaning power.
* **Spray Bottle:** For easy application of our cleaning solutions.
* **Microfiber Cloths:** These are great for wiping surfaces without leaving streaks.
* **Non-Scratch Scrub Sponge:** For gently scrubbing away grime.
* **Old Toothbrush:** Perfect for cleaning tight spaces and burner caps.
* **Paper Towels:** For soaking up excess liquid and drying surfaces.
* **Safety Gloves:** To protect your hands from harsh chemicals and grime.
* **Large Bowl or Sink:** For soaking removable parts.
* **Small Wire or Needle:** For unclogging burner ports (if needed).
* **Optional: Razor Blade Scraper:** For extremely stubborn, baked-on messes (use with extreme caution!).
Disassembling Your Stove: Getting Ready for the Deep Clean
The first step is to disassemble the stove. This allows us to clean each part individually and reach those hard-to-get areas.
1. **Turn Off the Gas:** This is absolutely crucial for safety! Make sure the gas supply to your stove is turned off. You can usually find the shut-off valve behind the stove or in the basement.
2. **Remove the Grates:** Carefully lift off the grates and set them aside.
3. **Remove the Burner Caps:** These are the small, removable pieces that sit on top of the burners.
4. **Remove the Burner Heads (if possible):** Some burner heads are removable, while others are fixed. If yours are removable, gently lift them off. If they seem stuck, don’t force them.
5. **Remove Knobs:** Most knobs can be pulled straight off. If they’re stubborn, try gently wiggling them back and forth while pulling.
6. **Protect the Igniters:** Be careful around the igniters (the spark-producing devices). Avoid getting them wet or scrubbing them too hard.
Cleaning the Removable Parts: Soaking and Scrubbing
Now that we’ve disassembled the stove, let’s tackle the removable parts.
1. **Soak the Grates, Burner Caps, and Burner Heads:** Fill your large bowl or sink with hot, soapy water. Add a generous squirt of dish soap and a cup of white vinegar. Place the grates, burner caps, and burner heads into the water and let them soak for at least 30 minutes. The longer they soak, the easier it will be to remove the grime.
2. **Scrub the Grates:** After soaking, use your non-scratch scrub sponge to scrub the grates. Pay close attention to areas with burnt-on food. For stubborn spots, make a paste of baking soda and water and apply it to the area. Let it sit for a few minutes before scrubbing. Rinse thoroughly with clean water.
3. **Clean the Burner Caps and Burner Heads:** Use the old toothbrush to scrub the burner caps and burner heads. The toothbrush is perfect for getting into the small crevices. Again, use the baking soda paste for stubborn spots. Rinse thoroughly with clean water.
4. **Unclog Burner Ports (if needed):** Over time, the small ports on the burner heads can become clogged with debris, affecting the flame. Use a small wire or needle to gently clear any blockages. Be careful not to damage the ports.
5. **Dry the Removable Parts:** Thoroughly dry all the removable parts with a clean microfiber cloth or paper towels before reassembling. This will prevent rust and ensure proper functioning.
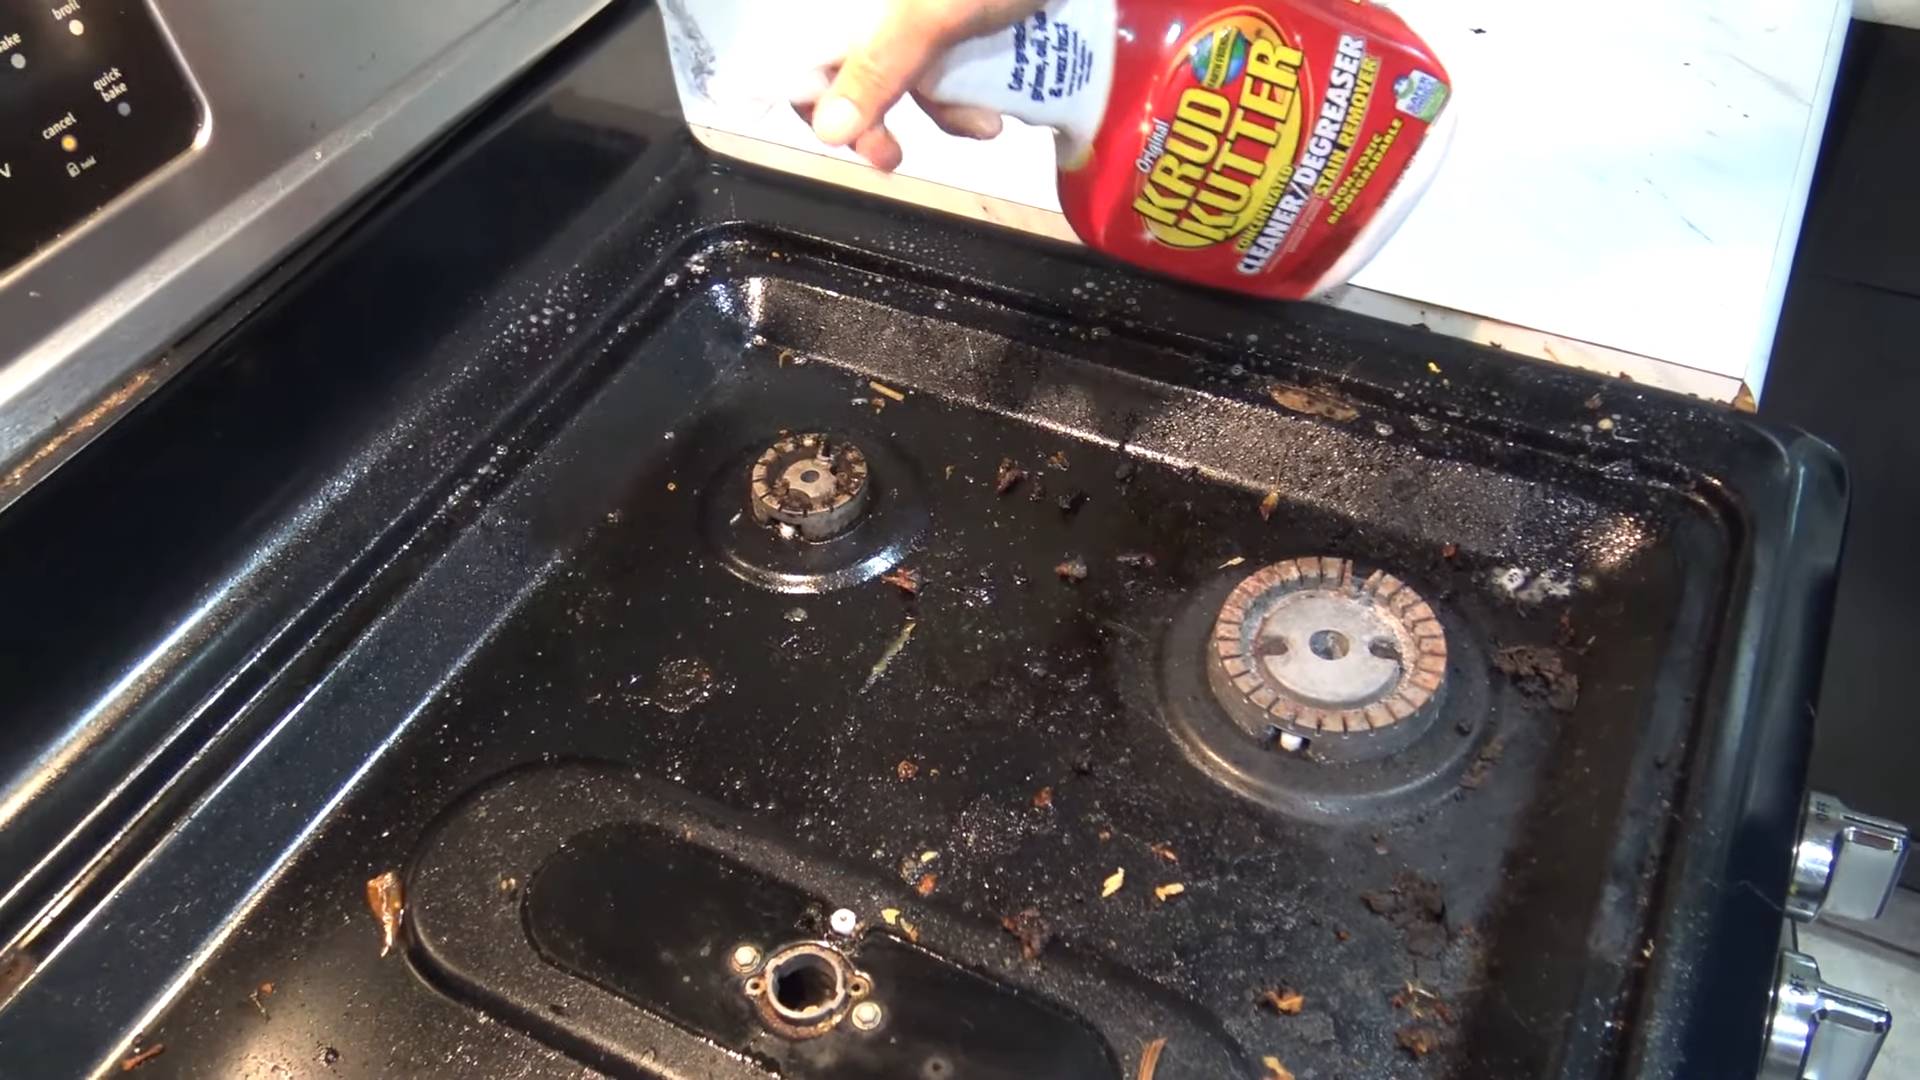
Cleaning the Stovetop: The Main Event
Now for the stovetop itself! This is where the real elbow grease comes in.
1. **Remove Loose Debris:** Use a dry paper towel or cloth to wipe away any loose crumbs or debris from the stovetop.
2. **Apply Baking Soda Paste:** Make a thick paste of baking soda and water. Apply the paste generously to the entire stovetop, focusing on areas with burnt-on food or grease.
3. **Let the Paste Sit:** Allow the baking soda paste to sit for at least 15-20 minutes. This will give it time to loosen the grime. For really stubborn messes, you can let it sit for even longer, up to an hour.
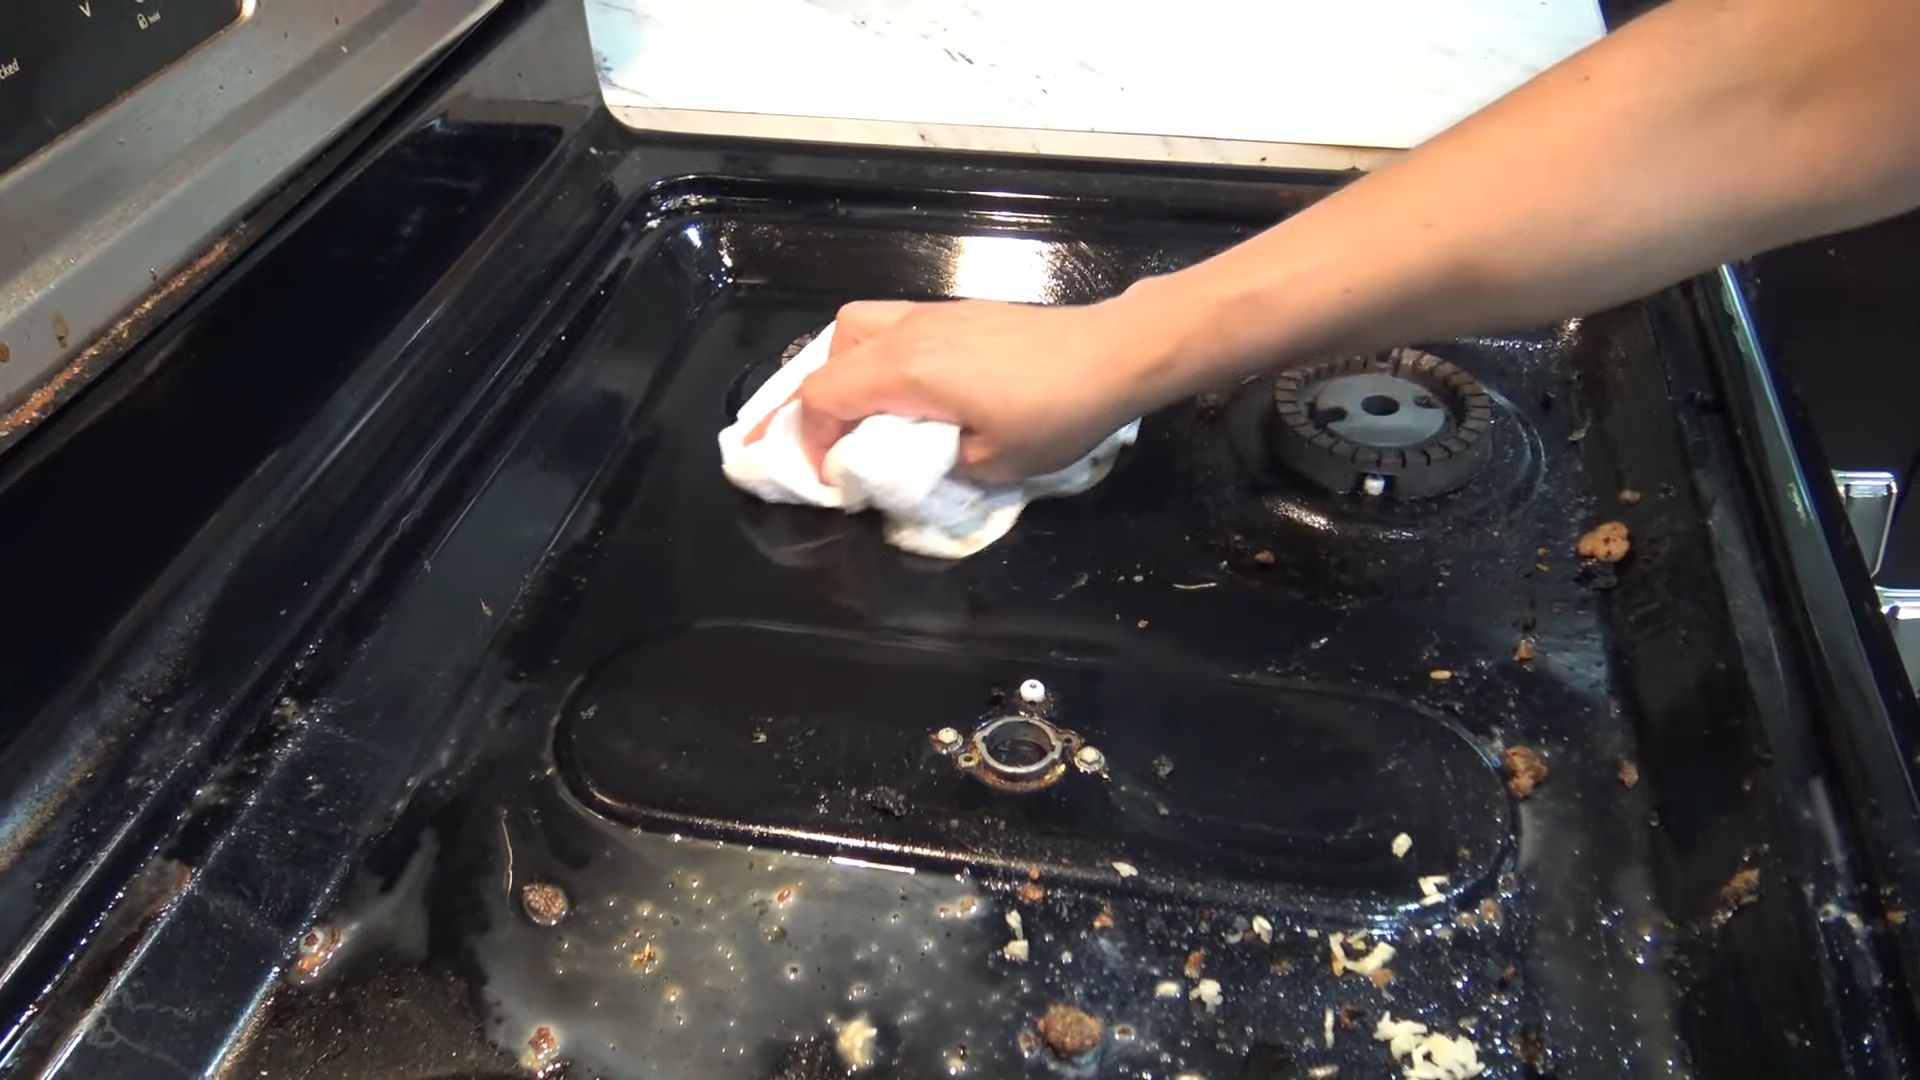
4. **Scrub the Stovetop:** Using your non-scratch scrub sponge, scrub the stovetop in a circular motion. Apply firm pressure to remove the loosened grime.
5. **Wipe Away the Paste:** Use a damp microfiber cloth to wipe away the baking soda paste. Rinse the cloth frequently to remove the grime.
6. **Spray with Vinegar:** Fill your spray bottle with white vinegar and spray the entire stovetop. The vinegar will react with any remaining baking soda, creating a fizzing action that helps to further clean the surface.
7. **Wipe Clean:** Use a clean, damp microfiber cloth to wipe away the vinegar.
8. **Tackle Stubborn Spots (if needed):** If you still have stubborn spots, you can try using a razor blade scraper. However, use this with extreme caution! Hold the scraper at a low angle and gently scrape the surface. Be careful not to scratch the stovetop. You can also try reapplying the baking soda paste and letting it sit for a longer period.
9. **Clean Around the Igniters:** Be extra careful when cleaning around the igniters. Use a damp cloth to gently wipe away any grime. Avoid getting them too wet.
10. **Dry the Stovetop:** Thoroughly dry the stovetop with a clean microfiber cloth or paper towels.
Cleaning the Control Knobs: Don’t Forget These!
The control knobs can also accumulate grease and grime.
1. **Soak the Knobs:** Place the knobs in a bowl of warm, soapy water. Let them soak for about 15 minutes.
2. **Scrub the Knobs:** Use a soft brush or cloth to scrub the knobs. Pay attention to any crevices or textured areas.
3. **Rinse and Dry:** Rinse the knobs thoroughly with clean water and dry them with a clean cloth.
Reassembling Your Stove: The Grand Finale
Now that everything is clean and dry, it’s time to reassemble your stove.
1. **Replace the Burner Heads:** If you removed the burner heads, carefully place them back onto the stovetop. Make sure they are properly aligned.
2. **Replace the Burner Caps:** Place the burner caps on top of the burner heads.
3. **Replace the Grates:** Carefully place the grates back onto the stovetop.
4. **Replace the Knobs:** Push the knobs back onto their posts.
5. **Turn On the Gas:** Turn the gas supply back on.
6. **Test the Burners:** Light each burner to make sure it is working properly. If a burner doesn’t light, check to make sure the burner ports are not clogged.
Extra Tips and Tricks: Keeping Your Stove Sparkling
* **Clean Up Spills Immediately:** The best way to prevent burnt-on food is to clean up spills as soon as they happen.
* **Regular Wipe-Downs:** Give your stovetop a quick wipe-down after each use to prevent grime from building up.
* **Use a Stovetop Protector:** Consider using a stovetop protector to catch spills and splatters.
* **Deep Clean Regularly:** Aim to deep clean your gas stove every few months to keep it in top condition.
* Always prioritize safety by turning off the gas supply before cleaning.
* Be gentle when cleaning around the igniters to avoid damage.
* Use non-abrasive cleaning tools to prevent scratching the stovetop.
And there you have it! A sparkling clean gas stove that you can be proud of. It might take a little time and effort, but the results are definitely worth it. Happy cleaning!
Conclusion
So, there you have it! Mastering the art of cleaning your gas stove doesn’t require expensive cleaners or hours of scrubbing. This simple, DIY trick, using readily available household ingredients, is a game-changer for anyone who wants a sparkling clean cooking surface without the harsh chemicals. We’ve shown you how to banish grease, grime, and burnt-on food with minimal effort, leaving your gas stove looking brand new.
Why is this DIY method a must-try? Because it’s effective, economical, and eco-friendly. Commercial cleaners often contain harsh chemicals that can be harmful to your health and the environment. This method utilizes the power of natural ingredients like baking soda, vinegar, and dish soap, which are gentle yet powerful cleaning agents. Plus, you’ll save money by avoiding the need to constantly repurchase expensive cleaning products.
But the benefits don’t stop there. This DIY approach is also incredibly versatile. For particularly stubborn stains, you can create a paste of baking soda and water and let it sit on the affected area for a longer period before scrubbing. You can also add a few drops of essential oils, like lemon or tea tree oil, to your cleaning solution for a fresh, clean scent and added antibacterial properties. Another variation involves using a soft toothbrush to get into those hard-to-reach crevices around the burners. Experiment and find what works best for your specific stove and cleaning needs.
Don’t be intimidated by the thought of cleaning your gas stove. This DIY trick is designed to be simple and straightforward, even for those who aren’t particularly fond of cleaning. The key is to be consistent and tackle spills and splatters as soon as they happen. A quick wipe-down after each use will prevent buildup and make your regular cleaning sessions much easier.
We’re confident that once you try this DIY method, you’ll be amazed by the results. A clean gas stove not only looks great but also functions more efficiently, ensuring even heat distribution and optimal cooking performance. It’s a win-win situation!
So, ditch the harsh chemicals and embrace the power of DIY cleaning. Give this trick a try and see the difference it makes. We encourage you to share your experiences with us! Let us know in the comments below how this method worked for you, any variations you tried, and any tips you have to share with other readers. Your feedback is invaluable and helps us create even better content. Happy cleaning!
Frequently Asked Questions (FAQs)
Q: How often should I clean my gas stove?
A: Ideally, you should wipe down your gas stove after each use to prevent food and grease from building up. A more thorough cleaning, using the DIY method described above, should be done at least once a week, or more frequently if you cook often or tend to make a mess. Regular cleaning will prevent stubborn stains and make your cleaning sessions much easier in the long run.
Q: What if I have really stubborn, burnt-on food on my gas stove?
A: For particularly stubborn, burnt-on food, try creating a paste of baking soda and water. Apply the paste to the affected area and let it sit for at least 30 minutes, or even overnight for extremely tough stains. The baking soda will help to loosen the grime, making it easier to scrub away. You can also try using a plastic scraper to gently lift the burnt-on food before scrubbing. Avoid using metal scrapers, as they can scratch the surface of your stove.
Q: Can I use this DIY cleaning method on all types of gas stoves?
A: Yes, this DIY cleaning method is generally safe for most types of gas stoves, including those with stainless steel, enamel, or glass cooktops. However, it’s always a good idea to test the cleaning solution on a small, inconspicuous area first to ensure that it doesn’t damage the surface. Also, be sure to consult your stove’s manufacturer’s instructions for any specific cleaning recommendations or warnings.
Q: Is it safe to use vinegar on my gas stove?
A: Yes, vinegar is generally safe to use on gas stoves, but it’s important to dilute it with water. Undiluted vinegar can be too acidic and may damage certain surfaces, especially those made of natural stone. The diluted vinegar solution described in this DIY method is gentle yet effective at cutting through grease and grime.
Q: How do I clean the gas stove burners?
A: The gas stove burners can be cleaned using the same DIY cleaning solution described above. Remove the burners from the stove and soak them in a solution of warm water, dish soap, and vinegar for about 30 minutes. Then, use a scrub brush or sponge to remove any remaining grime. For stubborn buildup, you can use a small wire brush or a toothpick to clean out the burner ports. Make sure the burners are completely dry before placing them back on the stove.
Q: What if my gas stove has a pilot light?
A: If your gas stove has a pilot light, be extremely careful when cleaning around it. Avoid getting any cleaning solution on the pilot light, as this could extinguish it. If the pilot light does go out, consult your stove’s manufacturer’s instructions for how to relight it safely. If you’re not comfortable relighting the pilot light yourself, contact a qualified technician.
Q: Can I use bleach to clean my gas stove?
A: No, it is generally not recommended to use bleach to clean your gas stove. Bleach is a harsh chemical that can damage the surface of your stove and release harmful fumes. The DIY cleaning method described above is a much safer and more effective alternative.
Q: How do I prevent my gas stove from getting so dirty in the first place?
A: The best way to keep your gas stove clean is to prevent spills and splatters from happening in the first place. Use splatter screens when frying or sautéing food, and wipe up any spills immediately. You can also place a sheet of aluminum foil under the burners to catch drips and spills. Replace the foil regularly to keep your stove looking clean.
Q: What are some other natural cleaning alternatives I can use?
A: Besides baking soda and vinegar, there are several other natural cleaning alternatives you can use to clean your gas stove. Lemon juice is a great degreaser and can also help to remove stains. Borax is a natural mineral that can be used as a scrubbing agent. And essential oils, like lemon, tea tree, and lavender, can add a fresh scent and antibacterial properties to your cleaning solution.
Q: Where can I find the ingredients for this DIY cleaning method?
A: The ingredients for this DIY cleaning method – baking soda, vinegar, dish soap, and water – are readily available at most grocery stores and supermarkets. You may even already have them in your pantry!


Leave a Comment