

Java Plum Home Garden: Ever dreamed of picking juicy, dark purple Java plums right from your own backyard? I know I have! There’s something incredibly satisfying about growing your own food, and the Java plum, also known as Jambolan, is no exception. This often-overlooked fruit tree can be a fantastic addition to your home garden, offering not only delicious fruit but also beautiful foliage and shade.
Java plums have a rich history, deeply rooted in traditional medicine and culinary practices across Asia and beyond. For centuries, different cultures have used various parts of the tree for their health benefits. But beyond its historical uses, the Java plum is simply a delicious and versatile fruit.
But let’s be honest, getting a Java plum tree to thrive in your home garden can sometimes feel like a challenge. That’s where these DIY tricks and hacks come in! I’m going to share some simple, effective methods to help you cultivate a healthy and productive Java Plum Home Garden. Whether you’re dealing with poor soil, pesky pests, or just unsure where to start, these tips will empower you to enjoy the sweet rewards of homegrown Java plums. Get ready to roll up your sleeves and transform your backyard into a Java plum paradise!
Growing Your Own Java Plum Tree: A DIY Guide
Hey there, fellow gardening enthusiast! Ever dreamt of plucking juicy, sweet-tart Java plums straight from your own backyard? Well, you’re in the right place! I’m going to walk you through everything you need to know to successfully grow your own Java plum tree (also known as Jambolan or Syzygium cumini). It’s a rewarding experience, and trust me, those homegrown plums taste way better than anything you’ll find in a store.
Choosing Your Java Plum Tree
Before we get our hands dirty, let’s talk about selecting the right tree. This is a crucial step, as it will impact your success in the long run.
* Seedling vs. Grafted Tree: You have two main options: growing from seed or purchasing a grafted tree.
* Seedlings: Growing from seed is definitely the more patient route. It can take 7-10 years for a seedling to bear fruit, and the fruit quality might not be as predictable as the parent tree. However, it’s a fun experiment if you’re up for the challenge!
* Grafted Trees: Grafted trees are the way to go if you want fruit sooner (usually within 3-5 years) and want to ensure you’re getting a tree with desirable fruit characteristics. Look for a grafted tree from a reputable nursery.
* Variety Selection: While Java plums are generally similar, some varieties are known for larger fruit, sweeter taste, or better disease resistance. Ask your local nursery about the best varieties for your region.
* Health Check: Regardless of whether you choose a seedling or a grafted tree, make sure it looks healthy. Look for vibrant green leaves, a strong trunk, and no signs of pests or diseases. Avoid trees with yellowing leaves, spots, or unusual growths.
Preparing the Planting Site
Okay, you’ve got your tree! Now, let’s get the planting site ready. Java plums are pretty adaptable, but they’ll thrive with a little preparation.
* Sunlight: Java plums love sunshine! Choose a location that receives at least 6-8 hours of direct sunlight per day.
* Soil: Well-draining soil is essential. Java plums don’t like soggy roots. If your soil is heavy clay, amend it with plenty of organic matter like compost, well-rotted manure, or peat moss. This will improve drainage and aeration.
* Space: Java plum trees can grow quite large (up to 50-80 feet tall and wide!), so give them plenty of space. Consider the mature size of the tree when choosing a location, and make sure it won’t interfere with power lines, buildings, or other plants. A minimum of 25-30 feet between trees is recommended.
* Soil pH: Java plums prefer slightly acidic to neutral soil (pH 6.0-7.0). You can test your soil pH with a soil testing kit from your local garden center. If your soil is too alkaline, you can amend it with sulfur or acidic compost.
Planting Your Java Plum Tree
Alright, the moment we’ve been waiting for! Let’s get that tree in the ground.
1. Dig the Hole: Dig a hole that’s twice as wide as the root ball and just as deep. This will give the roots plenty of room to spread out.
2. Amend the Soil (Optional): If your soil is poor, mix some compost or other organic matter into the soil you removed from the hole.
3. Remove the Tree from the Container: Gently remove the tree from its container. If the roots are circling the pot (root-bound), gently loosen them with your fingers or a small trowel. This will encourage them to grow outward into the surrounding soil.
4. Place the Tree in the Hole: Position the tree in the center of the hole, making sure the top of the root ball is level with the surrounding soil.
5. Backfill the Hole: Backfill the hole with the amended soil, gently tamping it down as you go. Avoid compacting the soil too much, as this can restrict root growth.
6. Water Thoroughly: Water the newly planted tree thoroughly to settle the soil and remove any air pockets.
7. Mulch: Apply a layer of mulch (such as wood chips, straw, or shredded bark) around the base of the tree, keeping it a few inches away from the trunk. Mulch helps retain moisture, suppress weeds, and regulate soil temperature.
8. Stake (Optional): If your tree is young or in a windy location, you may want to stake it for support. Use soft ties to attach the tree to the stake, making sure not to damage the bark.
Caring for Your Java Plum Tree
Now that your tree is planted, it’s time to provide it with the care it needs to thrive.
* Watering: Water your Java plum tree regularly, especially during the first year after planting. Water deeply and less frequently, allowing the soil to dry out slightly between waterings. Established trees are relatively drought-tolerant, but they’ll still benefit from regular watering during dry spells.
* Fertilizing: Fertilize your Java plum tree in the spring and fall with a balanced fertilizer (e.g., 10-10-10). Follow the instructions on the fertilizer package. You can also use organic fertilizers like compost or well-rotted manure.
* Pruning: Prune your Java plum tree in late winter or early spring to remove any dead, damaged, or crossing branches. Pruning helps to maintain the tree’s shape, improve air circulation, and encourage fruit production.
* Pest and Disease Control: Java plum trees are generally resistant to pests and diseases, but they can occasionally be affected by aphids, scale, or fungal diseases. Inspect your tree regularly for any signs of problems, and take action promptly if you notice anything unusual. You can use insecticidal soap or horticultural oil to control aphids and scale. For fungal diseases, use a fungicide specifically labeled for use on fruit trees. Always follow the instructions on the product label.
* Weed Control: Keep the area around your Java plum tree free of weeds. Weeds compete with the tree for water and nutrients. You can hand-pull weeds or use a hoe to remove them. Be careful not to damage the tree’s roots.
* Protecting from Frost: Young Java plum trees are susceptible to frost damage. If you live in an area with cold winters, protect your tree by wrapping the trunk with burlap or blankets. You can also cover the entire tree with a frost blanket.
Harvesting Your Java Plums
After all your hard work, it’s time to enjoy the fruits of your labor!
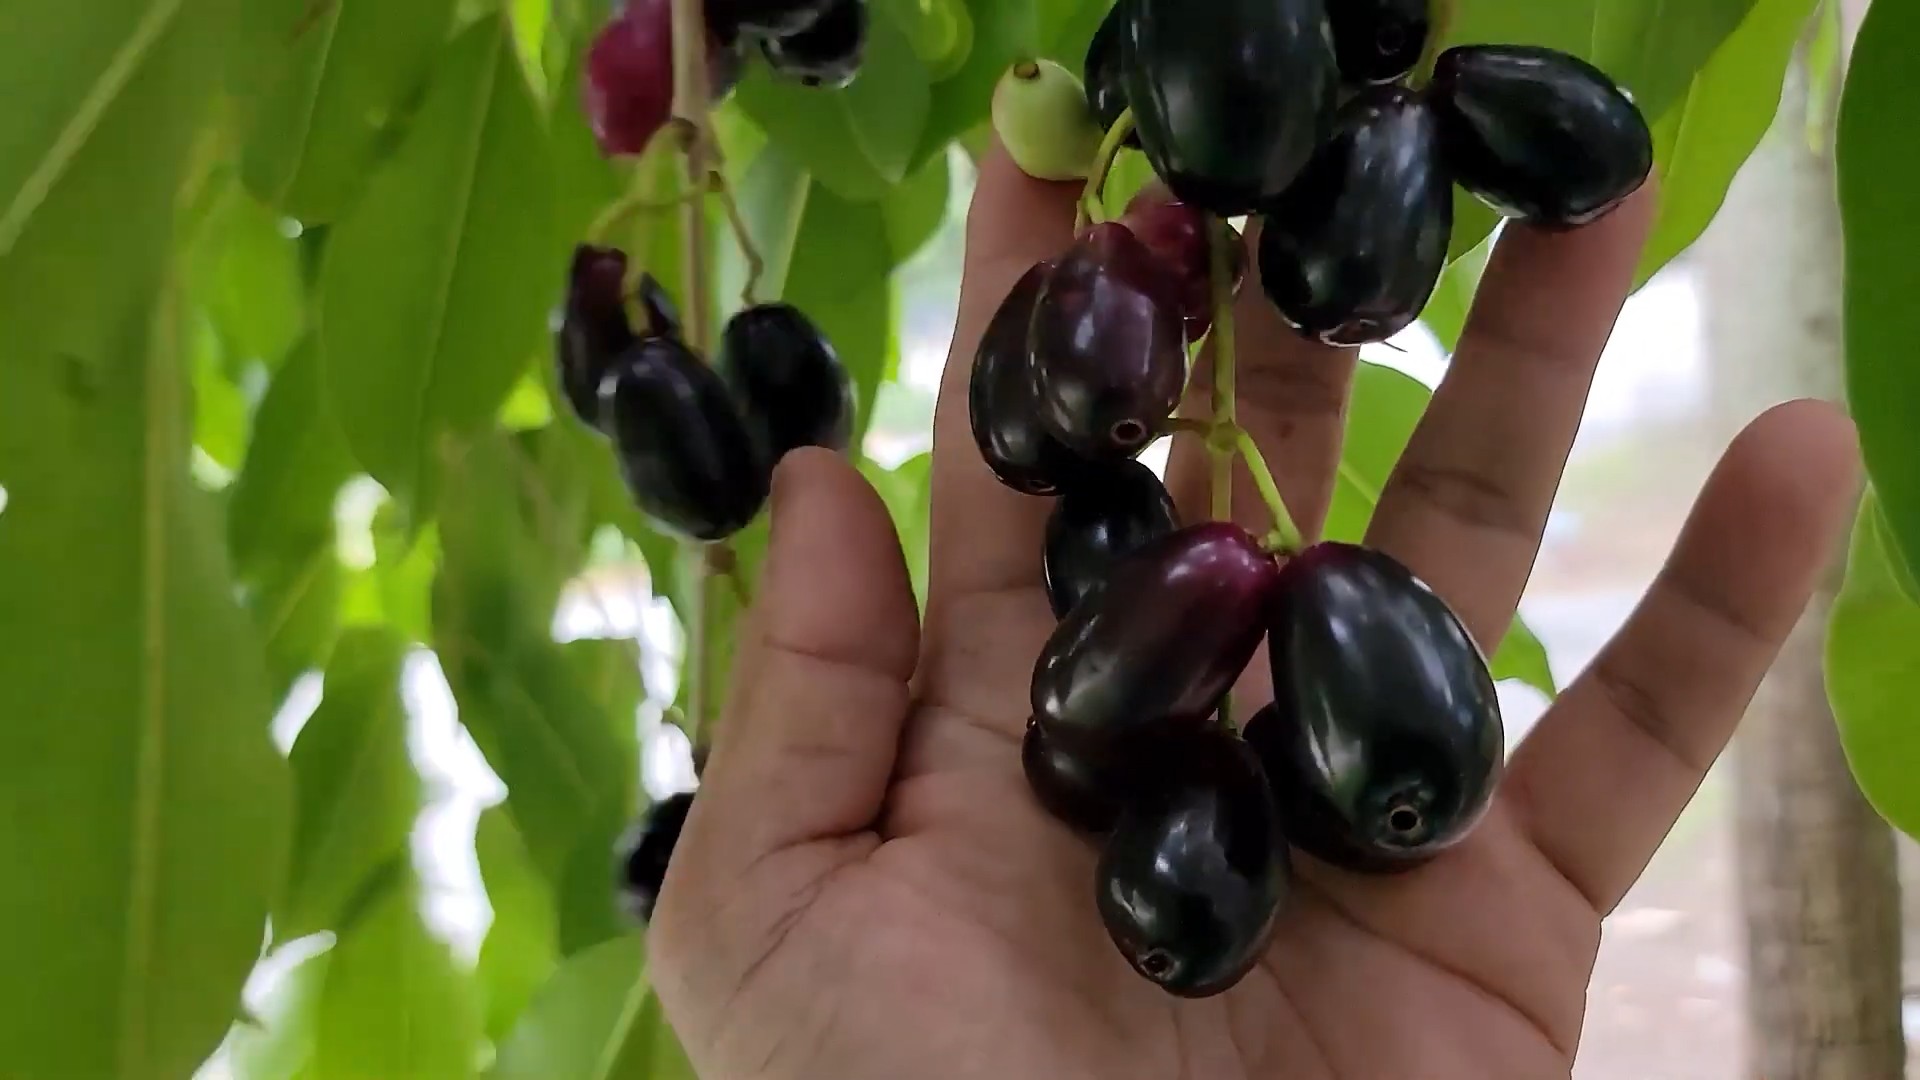
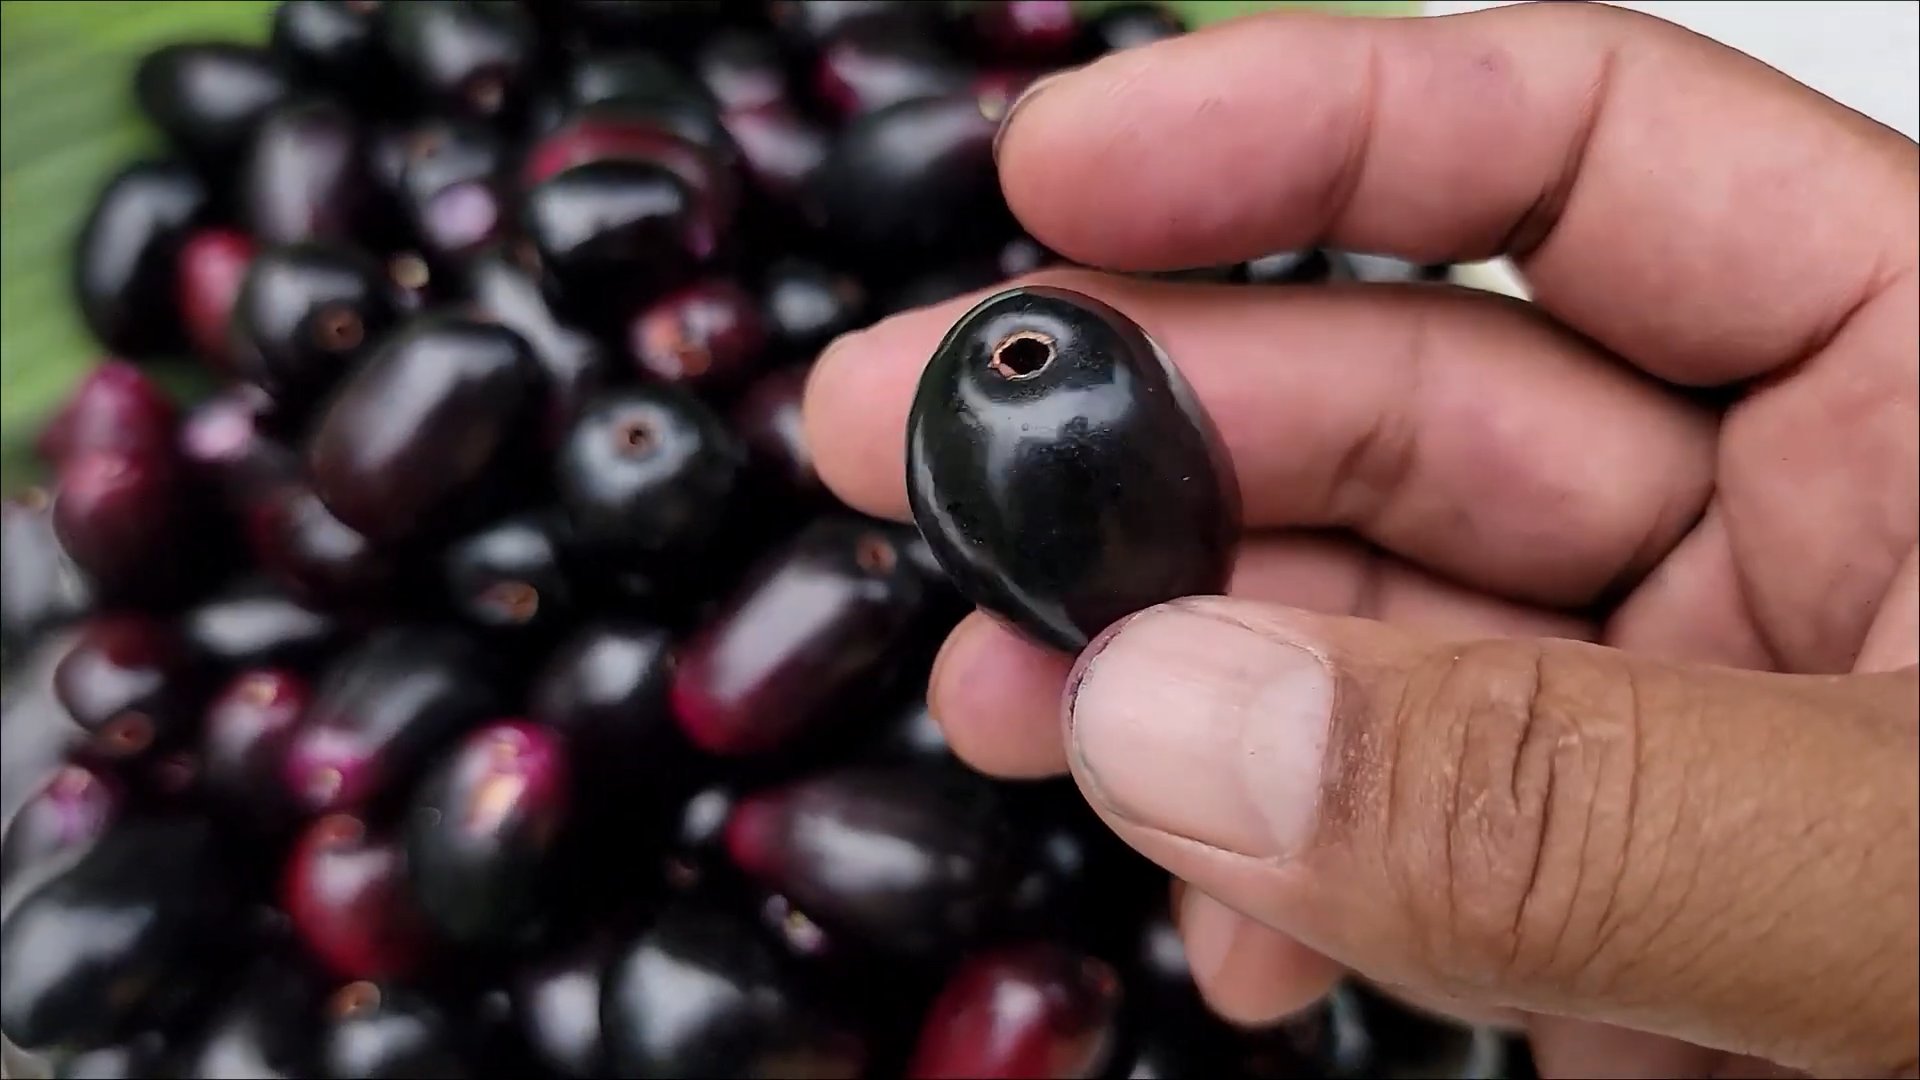
* When to Harvest: Java plums are typically ready to harvest in late summer or early fall. The fruits will turn a deep purple or black color when ripe.
* How to Harvest: Gently pick the ripe plums from the tree. They should come off easily when they’re ready. You can also shake the branches to dislodge the ripe plums.
* Storing Your Harvest: Java plums are best eaten fresh, but they can also be stored in the refrigerator for a few days. You can also freeze them for longer storage.
Troubleshooting
Even with the best care, you might encounter some challenges along the way. Here are a few common problems and how to address them:
* No Fruit: If your Java plum tree isn’t producing fruit, it could be due to several factors:
* Age: Seedlings can take 7-10 years to bear fruit. Grafted trees usually produce fruit within 3-5 years.
* Pollination: Java plums are self-pollinating, but they may benefit from cross-pollination. Planting another Java plum tree nearby can improve fruit set.
* Fertilizer: Too much nitrogen fertilizer can promote vegetative growth at the expense of fruit production. Use a balanced fertilizer or one that’s lower in nitrogen.
* Pruning: Improper pruning can remove fruiting wood. Prune your tree in late winter or early spring, and avoid removing too much of the current year’s growth.
* Yellowing Leaves: Yellowing leaves can be a sign of nutrient deficiency, overwatering, or underwatering. Check the soil moisture and adjust your watering accordingly. Fertilize your tree with a balanced fertilizer.
* Pests and Diseases: Inspect your tree regularly for signs of pests or diseases, and take action promptly if you notice anything unusual.
Enjoying Your Java Plums
Now that you’ve harvested your Java plums, it’s time to enjoy them! You can eat them fresh, make jam, jelly, juice, or even wine. They have a unique sweet-tart flavor that’s sure to tantalize your taste buds.
Growing your own Java plum tree is a rewarding experience that will provide you with years of delicious fruit. With a little patience and care, you can enjoy the taste of homegrown
Conclusion
So, there you have it! Transforming your backyard into a Java Plum paradise is not only achievable but also incredibly rewarding. We’ve walked you through the essential steps, from selecting the perfect location and preparing the soil to nurturing your young sapling and protecting it from potential threats. This isn’t just about planting a tree; it’s about cultivating a sustainable source of delicious, antioxidant-rich fruit right outside your door.
Why is this DIY trick a must-try? Because it empowers you to take control of your food source, reduce your carbon footprint, and enjoy the unparalleled satisfaction of harvesting your own homegrown Java Plums. Store-bought fruit simply can’t compare to the vibrant flavor and nutritional benefits of fruit picked fresh from your own tree. Plus, imagine the joy of sharing your bounty with friends and family, knowing that you nurtured it from the very beginning.
But the journey doesn’t end with the basic planting process. Feel free to experiment with different soil amendments to optimize growth in your specific climate. Consider companion planting with herbs like basil or rosemary to deter pests naturally. You could even explore different pruning techniques to shape your tree and maximize fruit production. For those in colder climates, consider growing your Java Plum in a large container that can be brought indoors during the winter months. This allows you to enjoy the benefits of a Java Plum tree even if you don’t live in a tropical or subtropical region.
The possibilities are endless! The key is to be patient, observant, and willing to learn as you go. Remember, every garden is unique, and what works for one person may not work for another. Don’t be afraid to experiment and adapt your approach based on your own experiences.
We wholeheartedly encourage you to embark on this exciting adventure of creating your own Java Plum home garden. It’s an investment in your health, your environment, and your overall well-being. And once you’ve tasted the sweet, tangy flavor of your own homegrown Java Plums, you’ll never look back.
So, grab your gardening gloves, gather your supplies, and get ready to transform your backyard into a thriving Java Plum oasis. And most importantly, don’t forget to share your experiences with us! We’d love to hear about your successes, your challenges, and any tips or tricks you discover along the way. Share your photos, your stories, and your questions in the comments below. Let’s build a community of Java Plum enthusiasts and learn from each other’s experiences. Happy gardening!
Frequently Asked Questions (FAQs)
Q: What is the best time of year to plant a Java Plum tree?
A: The ideal time to plant a Java Plum tree is during the late spring or early summer, after the last frost has passed. This gives the young sapling ample time to establish its roots before the onset of winter. However, in warmer climates with mild winters, you can plant a Java Plum tree at almost any time of year, as long as you provide adequate water and protection from extreme temperatures. Avoid planting during the hottest months of summer, as this can stress the young tree and hinder its growth.
Q: How long does it take for a Java Plum tree to bear fruit?
A: Java Plum trees typically start bearing fruit within 3 to 5 years after planting. However, this can vary depending on the variety of Java Plum, the growing conditions, and the overall health of the tree. Providing optimal care, including proper watering, fertilization, and pruning, can help accelerate the fruiting process. Grafted trees often bear fruit sooner than those grown from seed.
Q: What kind of soil is best for Java Plum trees?
A: Java Plum trees thrive in well-drained soil that is rich in organic matter. They prefer slightly acidic to neutral soil pH (between 6.0 and 7.0). Before planting, amend the soil with compost, well-rotted manure, or other organic materials to improve drainage and fertility. Avoid planting in heavy clay soil, as this can lead to root rot. If you have clay soil, consider planting your Java Plum tree in a raised bed or container.
Q: How often should I water my Java Plum tree?
A: Young Java Plum trees need regular watering, especially during the first year after planting. Water deeply and frequently, especially during dry periods. As the tree matures, you can reduce the frequency of watering, but still ensure that the soil remains consistently moist. Avoid overwatering, as this can lead to root rot. A good rule of thumb is to water when the top inch of soil feels dry to the touch.
Q: Do Java Plum trees need fertilizer?
A: Yes, Java Plum trees benefit from regular fertilization. Apply a balanced fertilizer (such as 10-10-10) in the spring, just before the growing season begins. Follow the instructions on the fertilizer package for application rates. You can also supplement with organic fertilizers, such as compost tea or fish emulsion. Avoid over-fertilizing, as this can damage the tree.
Q: How do I prune a Java Plum tree?
A: Pruning is essential for maintaining the health and productivity of your Java Plum tree. Prune in late winter or early spring, before new growth begins. Remove any dead, damaged, or diseased branches. Thin out the canopy to improve air circulation and sunlight penetration. Shape the tree to encourage a strong, well-balanced structure. You can also prune to control the size and shape of the tree.
Q: What are some common pests and diseases that affect Java Plum trees?
A: Java Plum trees are generally resistant to pests and diseases, but they can be susceptible to certain problems, such as aphids, scale, and fruit flies. Monitor your tree regularly for signs of infestation or disease. Treat any problems promptly with appropriate insecticides or fungicides. Good cultural practices, such as proper watering, fertilization, and pruning, can help prevent pest and disease problems.
Q: Can I grow a Java Plum tree in a container?
A: Yes, you can grow a Java Plum tree in a container, especially if you live in a colder climate. Choose a large container with good drainage holes. Use a well-draining potting mix that is rich in organic matter. Water regularly and fertilize as needed. Bring the container indoors during the winter months to protect the tree from frost. Keep in mind that container-grown trees may not grow as large or produce as much fruit as those grown in the ground.
Q: Are Java Plums safe to eat?
A: Yes, Java Plums are safe to eat when ripe. They have a sweet and tangy flavor and are rich in antioxidants and other nutrients. However, unripe Java Plums can be sour and astringent. Avoid eating large quantities of unripe fruit. Some people may be allergic to Java Plums, so it’s always a good idea to start with a small amount to see how your body reacts.
Q: How can I use Java Plums?
A: Java Plums can be eaten fresh, or they can be used to make jams, jellies, juices, and wines. They can also be used in desserts, such as pies and tarts. Java Plums are a versatile fruit that can be enjoyed in many different ways. Experiment with different recipes and find your favorite way to enjoy this delicious fruit.


Leave a Comment