

Clean window tracks easily? Absolutely! Let’s be honest, window tracks are the forgotten corners of our homes, silently collecting dust, grime, and the occasional rogue insect. We often overlook them during our regular cleaning routines, but those grimy tracks can actually impact your home’s air quality and even make it harder to open and close your windows smoothly.
For generations, keeping a clean and tidy home has been a sign of pride and well-being. Think about your grandmother’s meticulously kept house – sparkling windows were always a key feature! While she might have spent hours scrubbing, we’re here to offer you some clever DIY tricks and hacks to make the process much easier and faster.
Why do you need these DIY tricks? Because nobody wants to spend their precious weekend wrestling with stubborn dirt and grime! Plus, a clean window track not only looks better, but it also helps prevent damage to your windows and ensures they function properly. I’m going to show you how to clean window tracks easily with simple household items you probably already have. Get ready to say goodbye to grimy tracks and hello to sparkling clean windows!
DIY Window Track Cleaning: A Sparkling Solution!
Okay, let’s face it, window tracks are the bane of every homeowner’s existence. They’re those little crevices that seem to attract dust, dirt, bugs, and who-knows-what-else. And cleaning them? Ugh, a real chore. But fear not! I’m here to share my tried-and-true method for getting those tracks sparkling clean with minimal effort and maximum satisfaction. Trust me, once you see the results, you’ll be hooked!
What You’ll Need: Your Cleaning Arsenal
Before we dive in, let’s gather our supplies. This is a pretty simple project, so you probably already have most of these items lying around the house.
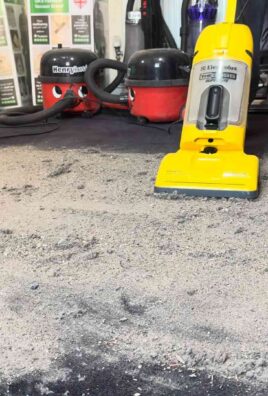
* Vacuum Cleaner with a Hose Attachment: This is crucial for sucking up all the loose debris. A crevice tool is ideal, but any narrow attachment will work.
* Old Toothbrush or Small Scrub Brush: For getting into those tight corners and scrubbing away stubborn grime.
* Baking Soda: Our natural cleaning powerhouse! It’s abrasive enough to loosen dirt but gentle enough not to scratch.
* White Vinegar: The magic ingredient that reacts with baking soda to create a fizzing, cleaning action.
* Dish Soap: A little bit goes a long way in cutting through grease and grime.
* Paper Towels or Cleaning Rags: For wiping up the mess and drying the tracks.
* Cotton Swabs: Perfect for those super-narrow spots and detail work.
* Putty Knife or Small Spatula (Optional): For scraping away stubborn, caked-on dirt. Be careful not to scratch the window track!
* Spray Bottle: To easily apply the vinegar.
* Safety Glasses (Optional): To protect your eyes from splashes, especially when using vinegar.
* Gloves (Optional): If you have sensitive skin, gloves are always a good idea.
Step-by-Step: From Grimy to Gleaming
Alright, let’s get down to business! Here’s the step-by-step guide to cleaning your window tracks like a pro:
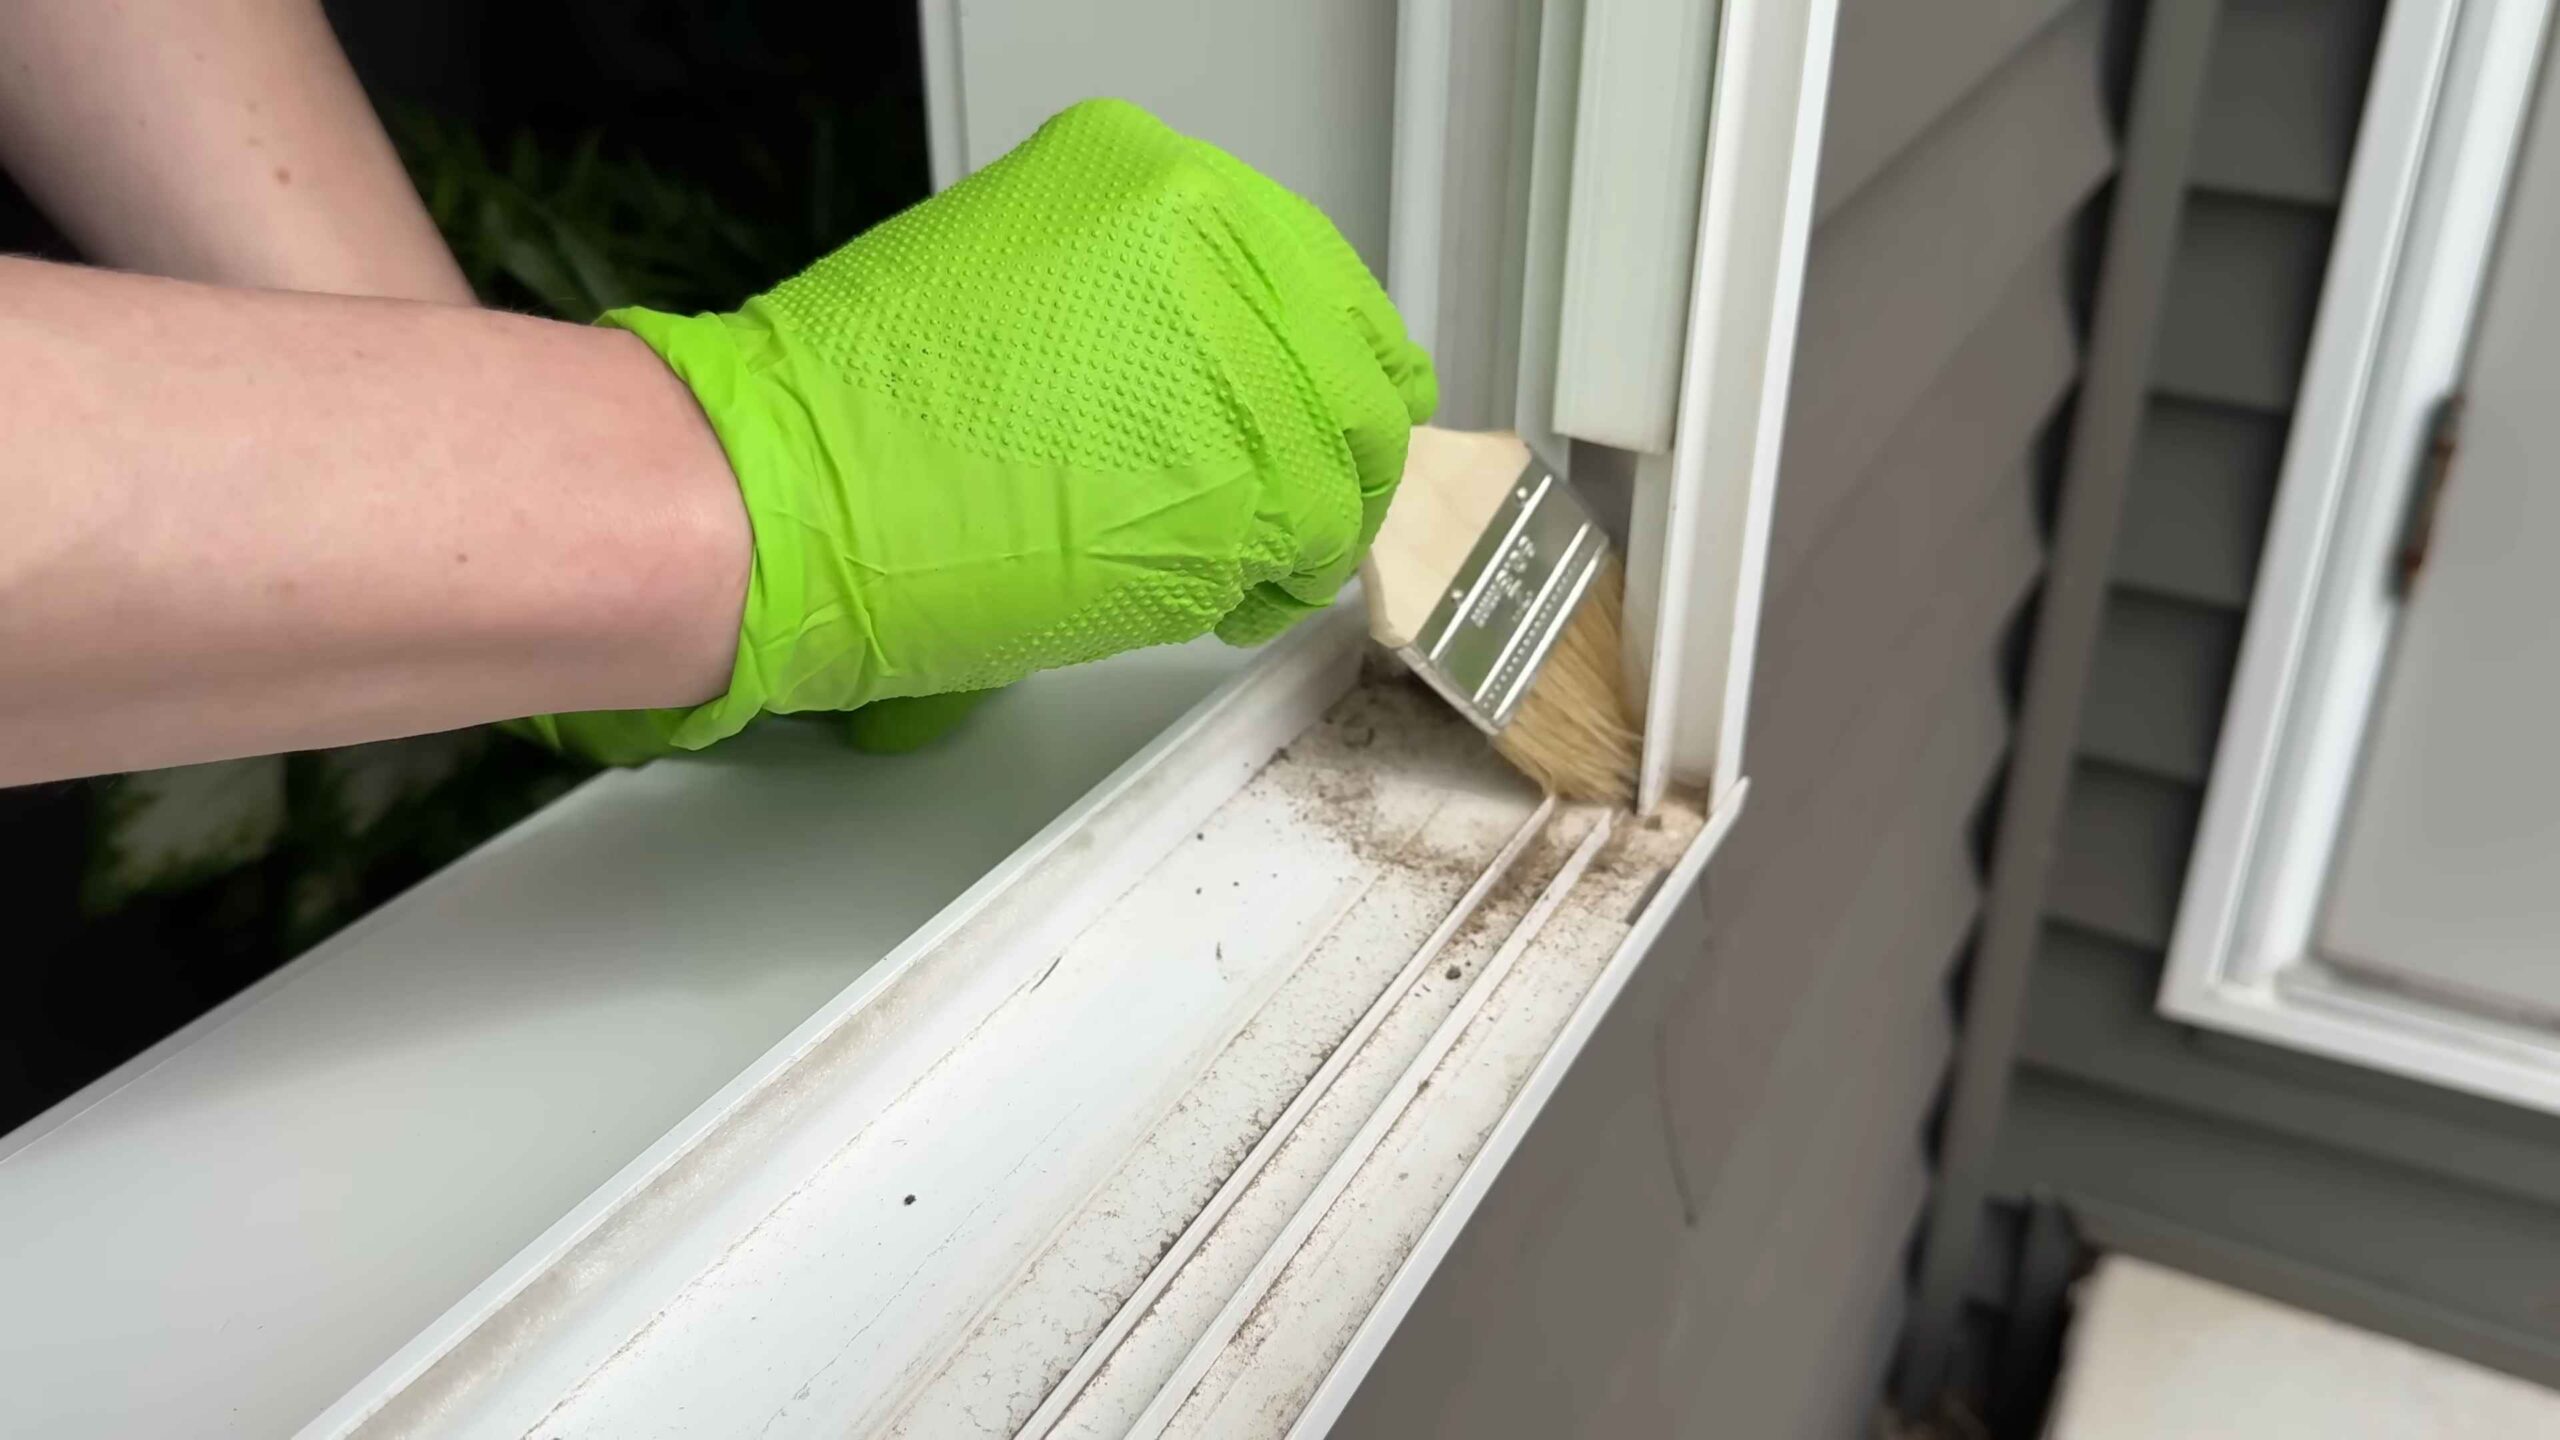
1. Vacuum Away the Loose Debris: This is the first and most important step. Use your vacuum cleaner with the hose attachment to thoroughly vacuum out all the loose dirt, dust, leaves, and dead bugs from the window tracks. Pay close attention to the corners and edges. This will make the rest of the cleaning process much easier.
2. Sprinkle Baking Soda: Generously sprinkle baking soda along the entire length of the window tracks. Don’t be shy! You want a good layer of baking soda to cover all the grime.
3. Drizzle with Vinegar: Now for the fun part! Slowly drizzle white vinegar over the baking soda. You’ll see it start to fizz and bubble – that’s the chemical reaction working its magic to loosen the dirt and grime. Let the mixture sit for about 5-10 minutes to really penetrate the gunk.
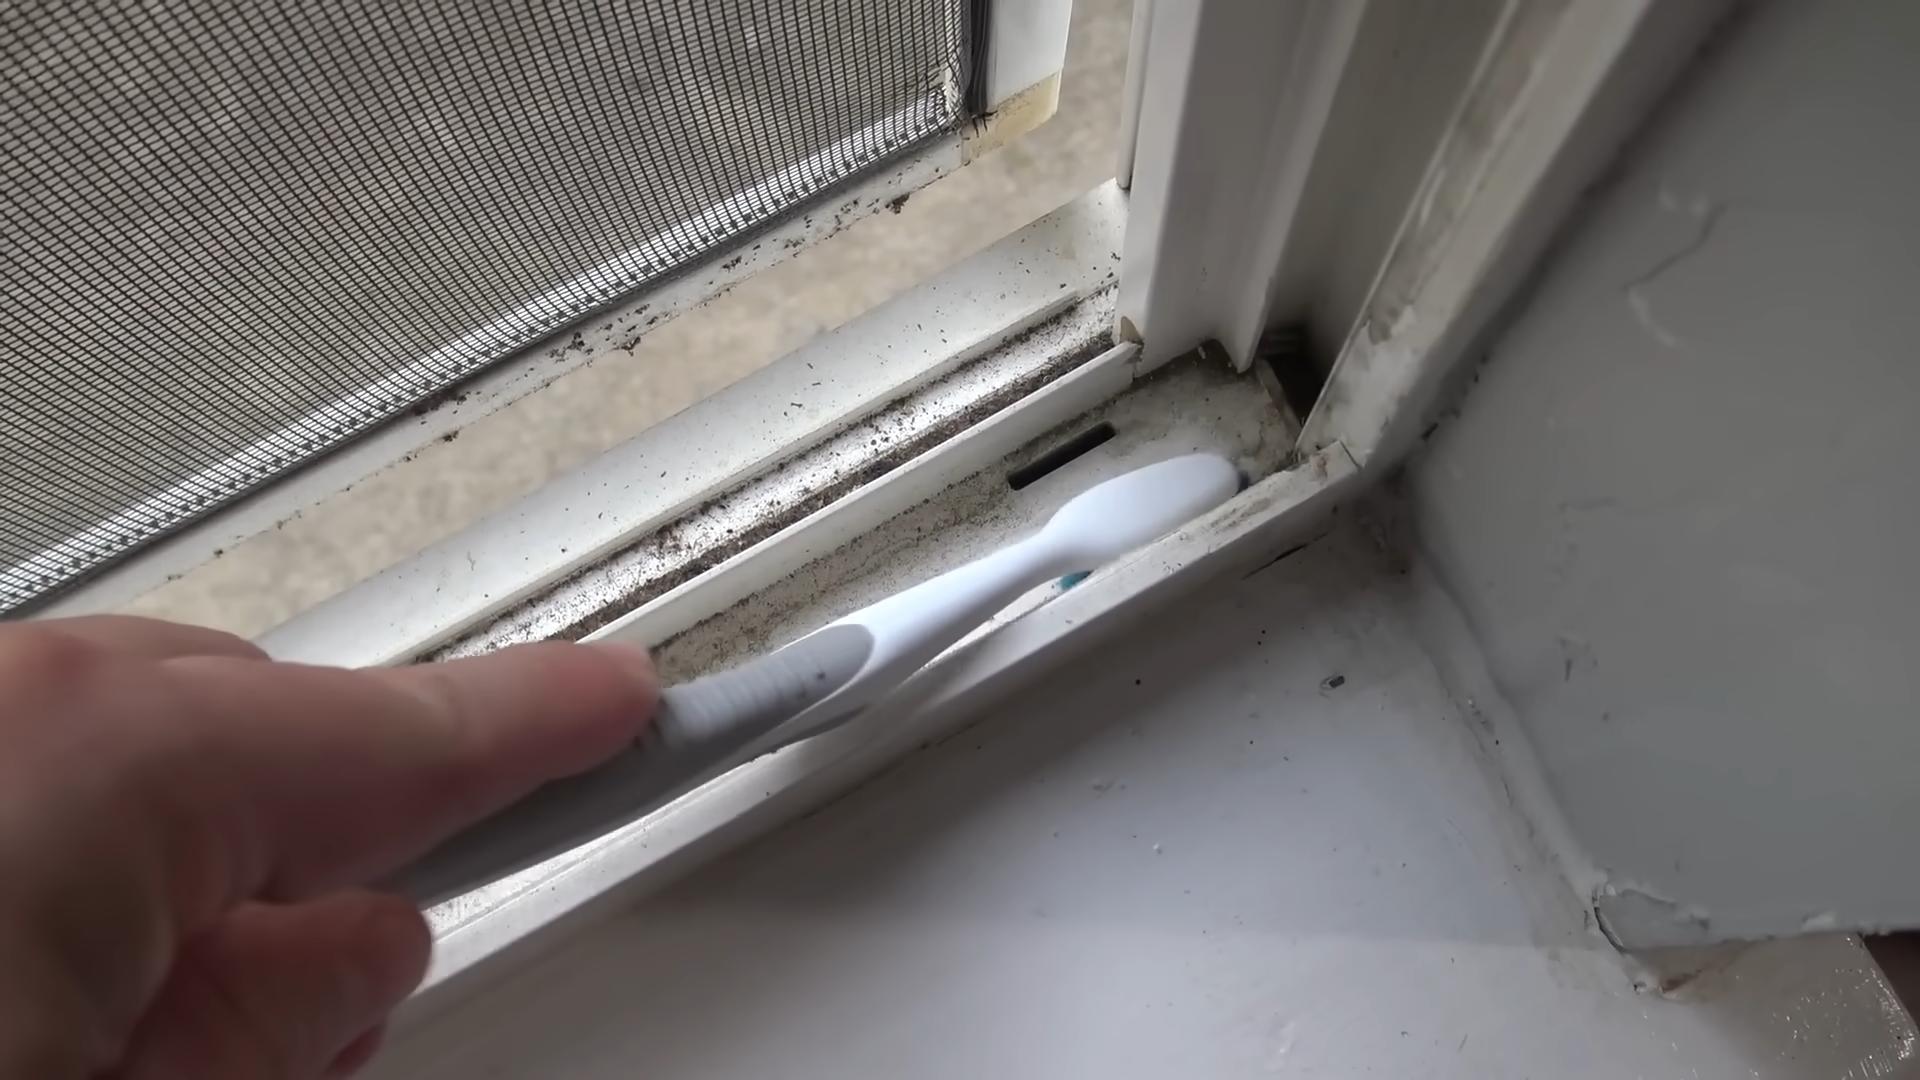
4. Scrub-a-Dub-Dub: Grab your old toothbrush or small scrub brush and start scrubbing the window tracks. Focus on the areas with the most buildup. The baking soda and vinegar mixture should have loosened the dirt, making it easier to scrub away. For really stubborn spots, you might need to apply a little extra pressure or let the mixture sit for a bit longer.
5. Add a Touch of Dish Soap (Optional): If your window tracks are particularly greasy or grimy, add a drop or two of dish soap to your scrub brush. This will help cut through the grease and leave your tracks sparkling clean.
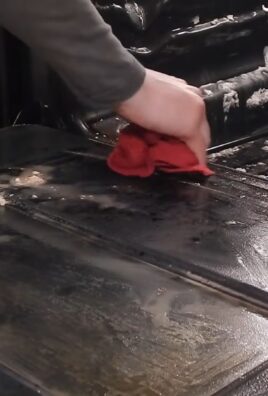
6. Wipe Away the Mess: Use paper towels or cleaning rags to wipe away the baking soda, vinegar, and dirt mixture. You might need to use several paper towels or rags to get everything completely clean.
7. Detail Work with Cotton Swabs: For those super-narrow spots and hard-to-reach corners, use cotton swabs dipped in vinegar or a cleaning solution. This will help you get into all the nooks and crannies and remove any remaining dirt.
8. Rinse (If Necessary): If you’re using a lot of dish soap, you might want to rinse the window tracks with a damp cloth or sponge to remove any soap residue.
9. Dry Thoroughly: Use a clean, dry cloth or paper towel to thoroughly dry the window tracks. This will help prevent mold and mildew from growing.
10. Admire Your Work! Step back and admire your sparkling clean window tracks! You deserve it.
Tackling Stubborn Stains and Grime
Sometimes, you’ll encounter window tracks that are just plain stubborn. Here are a few extra tips for dealing with those particularly challenging spots:
* The Putty Knife Trick: If you have caked-on dirt that just won’t budge, carefully use a putty knife or small spatula to scrape it away. Be extremely careful not to scratch the window track. Work slowly and gently.
* Baking Soda Paste: For really tough stains, make a paste of baking soda and water. Apply the paste to the stain, let it sit for 15-20 minutes, and then scrub it away with a toothbrush.
* Steam Cleaning: If you have a steam cleaner, you can use it to blast away stubborn dirt and grime. Be sure to use a narrow nozzle attachment to focus the steam on the window tracks.
* Commercial Cleaners: If all else fails, you can try using a commercial window track cleaner. Be sure to follow the manufacturer’s instructions carefully. Always test the cleaner in an inconspicuous area first to make sure it doesn’t damage the window track.
Maintaining Your Sparkling Window Tracks
Now that you’ve put in all that effort to clean your window tracks, you’ll want to keep them looking their best. Here are a few tips for maintaining your sparkling window tracks:
* Regular Vacuuming: Vacuum your window tracks regularly (at least once a month) to remove loose dirt and debris. This will prevent buildup and make cleaning much easier in the long run.
* Wipe Up Spills Immediately: If you spill anything in your window tracks, wipe it up immediately to prevent staining.
* Lubricate the Tracks: After cleaning, you can lubricate the window tracks with a silicone-based lubricant. This will help the windows slide smoothly and prevent them from sticking.
* Consider Weather Stripping: Adding or replacing weather stripping around your windows can help prevent dirt and debris from entering the tracks in the first place.
Why This Works: The Science Behind the Sparkle
So, why does this method work so well? It’s all about the chemistry!
* Baking Soda: Baking soda is a mild abrasive that helps to loosen dirt and grime. It’s also alkaline, which means it can neutralize acids and help to remove stains.
* White Vinegar: White vinegar is a mild acid that helps to dissolve mineral deposits and cut through grease. When it’s combined with baking soda, it creates a chemical reaction that produces carbon dioxide gas, which helps to lift dirt and grime away from the surface.
* Dish Soap: Dish soap is a surfactant, which means it helps to break down the surface tension of water and allows it to penetrate dirt and grime more easily.
By combining these three ingredients, you create a powerful cleaning solution that can tackle even the most stubborn window track grime.
Beyond the Tracks: Cleaning the Entire Window
While you’re at it, why not give your entire window a good cleaning? Here’s a quick and easy recipe for homemade window cleaner:
* 1/4 cup white vinegar
* 1/2 teaspoon dish soap
* 2 cups water
Combine all ingredients in a spray bottle and shake well. Spray the window with the cleaner and wipe it clean with a microfiber cloth or paper towel. For streak-free results, dry the window with a clean, dry cloth.
Final Thoughts: Enjoy Your Clean Windows!
Cleaning window tracks might not be the most glamorous task, but it’s definitely worth the effort. Clean window tracks not only look better, but they also help your windows operate more smoothly and efficiently. Plus, it’s just a good feeling to have a clean and tidy home. So, grab your supplies, put on some music, and get ready to transform those grimy window tracks into sparkling clean masterpieces! You’ll be amazed at the difference it makes. Happy cleaning!
Conclusion
So, there you have it! Cleaning window tracks doesn’t have to be a dreaded chore. This simple, DIY trick transforms a grimy, dust-filled space into a sparkling clean one with minimal effort and maximum impact. Forget expensive cleaning solutions and hours of scrubbing; this method is not only cost-effective but also incredibly efficient, saving you both time and money.
Why is this a must-try? Because it works! It tackles the stubborn dirt and grime that accumulates in window tracks, often overlooked but contributing significantly to the overall cleanliness and aesthetic of your home. A clean window track not only looks better but also allows your windows to function smoothly, preventing sticking and prolonging their lifespan. Think of it as a small investment in the longevity of your windows and the overall comfort of your living space.
But the beauty of this DIY trick lies in its adaptability. Feel free to experiment with variations to suit your specific needs and preferences. For instance, if you’re dealing with particularly stubborn grime, consider adding a few drops of dish soap to your vinegar solution for extra cleaning power. Alternatively, for a more natural approach, you can substitute lemon juice for vinegar, harnessing its natural acidity to break down dirt and leave a fresh, citrusy scent. If you have narrow window tracks, try using a smaller brush or even a cotton swab to reach those hard-to-get areas.
Don’t be afraid to get creative and personalize this method to fit your unique circumstances. The key is to find what works best for you and your windows. Remember, the goal is to make cleaning window tracks a manageable and even enjoyable task.
We wholeheartedly encourage you to give this DIY trick a try. You’ll be amazed at the difference it makes. Not only will your windows look cleaner and brighter, but you’ll also experience the satisfaction of knowing you’ve tackled a challenging chore with ease and efficiency.
And most importantly, we want to hear about your experience! Share your results, tips, and variations in the comments below. Let us know what worked for you, what challenges you encountered, and any improvements you made to the method. Your feedback is invaluable and will help others discover the joy of effortlessly clean window tracks. Together, we can transform this often-dreaded chore into a simple and satisfying part of our home cleaning routine. So go ahead, give it a try, and let us know what you think! Let’s make cleaning window tracks a breeze, one sparkling track at a time.
Frequently Asked Questions (FAQ)
What exactly makes this DIY window track cleaning method so effective?
The effectiveness of this method lies in its simplicity and the power of the ingredients used. Vinegar, a common household staple, is a natural cleaning agent that effectively breaks down dirt, grime, and mildew. The baking soda acts as a gentle abrasive, helping to scrub away stubborn residue without scratching the window tracks. The combination of these two ingredients creates a fizzing action that loosens dirt and makes it easier to remove. Furthermore, the targeted application using a brush or similar tool allows you to reach deep into the crevices of the window tracks, ensuring a thorough clean. The method is also effective because it avoids harsh chemicals, making it a safer and more environmentally friendly option compared to many commercial cleaning products.
Is this cleaning method safe for all types of window tracks?
Generally, this method is safe for most common types of window tracks, including those made of aluminum, vinyl, and wood. However, it’s always a good idea to test a small, inconspicuous area first, especially if you have older or more delicate window tracks. Avoid using excessive pressure when scrubbing, as this could potentially damage the surface. If you have painted window tracks, be extra cautious, as vinegar can sometimes soften or discolor paint. In such cases, you might want to dilute the vinegar with water or use a gentler cleaning solution altogether. If you are unsure about the material of your window tracks, consult the window manufacturer’s instructions or contact a professional cleaner for advice.
How often should I clean my window tracks using this method?
The frequency of cleaning depends on several factors, including your location, the amount of dust and pollen in the air, and how often you open your windows. As a general guideline, cleaning your window tracks every 3-6 months is a good starting point. If you live in a dusty or polluted area, or if you frequently open your windows, you may need to clean them more often. Regularly inspecting your window tracks will help you determine when they need cleaning. If you notice a buildup of dirt, grime, or mildew, it’s time to give them a good cleaning. Regular cleaning not only improves the appearance of your windows but also helps to maintain their functionality and prevent damage.
What if I don’t have vinegar or baking soda? Are there any alternatives?
Yes, there are several alternatives you can use if you don’t have vinegar or baking soda on hand. For vinegar, you can substitute lemon juice, which has similar acidic properties. For baking soda, you can try using a mild dish soap or a paste made from water and cream of tartar. Another option is to use a commercial all-purpose cleaner, but be sure to choose one that is safe for the material of your window tracks. Always test any alternative cleaning solution in a small, inconspicuous area first to ensure it doesn’t damage the surface.
The grime in my window tracks is really stubborn. What can I do?
For particularly stubborn grime, you can try a few different approaches. First, let the vinegar and baking soda mixture sit for a longer period of time, allowing it to penetrate and loosen the dirt. You can also try using a stiffer brush or a scrub pad to scrub the grime more aggressively. If that doesn’t work, you can try making a paste of baking soda and water and applying it directly to the grime. Let the paste dry completely, then scrub it away with a brush. For extremely stubborn grime, you may need to repeat the cleaning process several times. As a last resort, you can consider using a commercial grime remover, but be sure to follow the manufacturer’s instructions carefully and test it in a small area first.
How can I prevent my window tracks from getting so dirty in the first place?
Preventing dirt buildup is key to minimizing the need for frequent cleaning. Regularly vacuuming or sweeping around your windows can help to remove loose dust and debris before it settles in the tracks. You can also use a damp cloth to wipe down the window tracks periodically. Consider applying a sealant or lubricant to the window tracks to help repel dirt and make them easier to clean. Keeping your windows closed during periods of high dust or pollen can also help to prevent dirt buildup. Finally, regularly inspecting your window tracks and addressing any minor dirt buildup promptly can prevent it from becoming a major cleaning project.
Can I use a power washer to clean my window tracks?
While a power washer might seem like a quick and easy solution, it’s generally not recommended for cleaning window tracks. The high pressure of the water can damage the window tracks, especially if they are made of delicate materials like vinyl or wood. Furthermore, the water can get into the walls and cause moisture damage. If you do decide to use a power washer, be sure to use a low-pressure setting and keep the nozzle at a safe distance from the window tracks. It’s also important to protect the surrounding areas from water damage. However, for most situations, the DIY method described above is a safer and more effective option.

Leave a Comment