

Deep cleaning hacks are your secret weapon to a sparkling home without spending hours scrubbing! Let’s face it, nobody *loves* cleaning, but the feeling of a fresh, clean space? Absolutely priceless. I’m here to share some of my favorite DIY tricks that will transform your cleaning routine from a chore into a breeze.
Throughout history, cultures have developed unique cleaning methods using natural resources. From ancient Egyptians using natron (a natural salt mixture) to clean their homes to our grandmothers relying on vinegar and baking soda, the quest for effective cleaning solutions is timeless. These time-tested methods often prove to be just as effective, if not more so, than modern chemical-laden products.
In today’s busy world, who has time for endless scrubbing? That’s where these deep cleaning hacks come in. They’re designed to save you time, money, and effort, allowing you to enjoy a cleaner, healthier home without sacrificing your precious free time. I’ll show you how to tackle those often-overlooked areas and stubborn messes with simple, readily available ingredients. Get ready to unlock the secrets to a truly clean and refreshed home!
DIY Deep Cleaning Hacks to Transform Your Home!
Okay, let’s get real. Deep cleaning isn’t exactly anyone’s favorite pastime, but the feeling of a sparkling clean home? Totally worth it! I’m going to share some of my go-to DIY deep cleaning hacks that are not only effective but also budget-friendly. Get ready to roll up your sleeves and transform your space!
Hack 1: Reviving Your Grout
Grimey grout can make even the cleanest tiles look dingy. Here’s how to bring it back to life:
* **The Power Duo:** Baking soda and vinegar are your best friends here.
* **Gentle Scrubbing:** An old toothbrush is perfect for getting into those tight spaces.
* **Patience is Key:** Let the solution sit for a bit to really work its magic.
**Step-by-Step Instructions:**
1. **Prepare the Paste:** In a small bowl, mix baking soda and water to form a thick paste. You want it to be spreadable but not too runny.
2. **Apply the Paste:** Using your fingers (or a small spatula), generously apply the baking soda paste to the grout lines. Make sure you cover all the dirty areas.
3. **Vinegar Power:** Pour white vinegar into a spray bottle. Gently spray the vinegar onto the baking soda-covered grout. You’ll see it fizz – that’s a good sign! It means the baking soda and vinegar are reacting and breaking down the grime.
4. **Let it Sit:** Allow the mixture to sit for at least 30 minutes. For really stubborn stains, you can let it sit for an hour or even longer.
5. **Scrub-a-dub-dub:** Grab an old toothbrush (or a grout brush if you have one) and start scrubbing the grout lines. Apply some elbow grease and focus on areas with heavy staining.
6. **Rinse Thoroughly:** Once you’ve scrubbed all the grout lines, rinse the area thoroughly with clean water. You can use a sponge or a damp cloth to wipe away any remaining residue.
7. **Dry and Admire:** Dry the area with a clean towel. Step back and admire your sparkling clean grout!
Hack 2: Sparkling Showerhead
A clogged showerhead can significantly reduce water pressure and make your showers less enjoyable. Mineral buildup is usually the culprit. Here’s how to fix it:
* **Vinegar Soak:** A simple vinegar soak can dissolve mineral deposits.
* **Bag It Up:** Use a plastic bag to contain the vinegar and ensure the showerhead is fully submerged.
* **Gentle Cleaning:** A pin or needle can help clear any stubborn blockages.
**Step-by-Step Instructions:**
1. **Gather Your Supplies:** You’ll need a plastic bag (a Ziploc bag works great), white vinegar, a rubber band or twist tie, and a pin or needle.
2. **Fill the Bag:** Pour enough white vinegar into the plastic bag to completely submerge the showerhead.
3. **Secure the Bag:** Carefully position the bag over the showerhead, ensuring the showerhead is fully immersed in the vinegar. Use a rubber band or twist tie to secure the bag to the shower arm.
4. **Soak Overnight:** Let the showerhead soak in the vinegar overnight (or for at least 8 hours). This will give the vinegar enough time to dissolve the mineral deposits.
5. **Remove and Rinse:** Remove the bag and discard the vinegar. Turn on the shower and let the water run for a few minutes to flush out any remaining vinegar and loosened debris.
6. **Clear Blockages:** If you still notice any clogged nozzles, use a pin or needle to gently poke through the holes and dislodge any stubborn mineral deposits.
7. **Shine On:** Wipe down the showerhead with a clean cloth to remove any lingering residue. Enjoy your revitalized shower!
Hack 3: Oven Cleaning Made Easy
Oven cleaning is often dreaded, but it doesn’t have to be a nightmare. This DIY method uses natural ingredients and requires minimal scrubbing.
* **Baking Soda Paste:** Again, baking soda is the star of the show.
* **Overnight Soak:** Letting the paste sit overnight makes the cleaning process much easier.
* **Vinegar Activation:** A final spritz of vinegar helps loosen any remaining grime.
**Step-by-Step Instructions:**
1. **Empty the Oven:** Remove all racks, baking sheets, and any other items from your oven.
2. **Create the Paste:** In a bowl, mix 1/2 cup of baking soda with enough water to form a spreadable paste.
3. **Coat the Oven:** Using your hands (wear gloves if you prefer), spread the baking soda paste all over the interior surfaces of your oven, avoiding the heating elements. Be generous with the application, especially on areas with baked-on grease and food residue.
4. **Overnight Soak:** Let the baking soda paste sit in the oven overnight (or for at least 12 hours). This allows the baking soda to penetrate and loosen the grime.
5. **Wipe Away the Paste:** The next day, use a damp cloth or sponge to wipe away as much of the baking soda paste as possible. You may need to use a scraper for stubborn areas.
6. **Vinegar Spritz:** Fill a spray bottle with white vinegar. Spritz the interior of the oven with vinegar. The vinegar will react with any remaining baking soda, creating a fizzing action that helps to further loosen the grime.
7. **Final Wipe Down:** Wipe down the oven again with a clean, damp cloth to remove any remaining residue.
8. **Replace the Racks:** Replace the oven racks and you’re done! Your oven should be significantly cleaner and ready for your next culinary adventure.
Hack 4: De-Stinking Your Dishwasher
A smelly dishwasher is a sign that food particles and grime are building up. Here’s how to freshen it up:
* **Vinegar Power Wash:** A vinegar-filled cup in the top rack helps dissolve grease and odors.
* **Baking Soda Freshener:** A sprinkle of baking soda on the bottom of the dishwasher absorbs lingering smells.
* **Clean the Filter:** A clogged filter is a major source of dishwasher odor.
**Step-by-Step Instructions:**
1. **Empty the Dishwasher:** Make sure your dishwasher is completely empty.
2. **Vinegar Wash:** Place a dishwasher-safe cup or bowl filled with white vinegar on the top rack of the dishwasher.
3. **Run a Hot Cycle:** Run the dishwasher on a hot water cycle. The vinegar will help to dissolve grease, food particles, and mineral buildup.
4. **Baking Soda Freshener:** Once the cycle is complete, sprinkle a cup of baking soda on the bottom of the dishwasher.
5. **Overnight Soak:** Let the baking soda sit overnight. This will help to absorb any lingering odors.
6. **Short Hot Cycle:** The next morning, run a short hot water cycle to rinse away the baking soda.
7. **Clean the Filter:** Locate the dishwasher filter (usually at the bottom of the dishwasher). Remove the filter and rinse it thoroughly under running water. Use a brush to scrub away any stubborn food particles.
8. **Reassemble and Enjoy:** Replace the clean filter and enjoy your fresh-smelling dishwasher!
Hack 5: Mattress Refresh
Mattresses can accumulate dust mites, dead skin cells, and odors over time. Here’s how to give yours a refresh:
* **Vacuum Thoroughly:** A good vacuuming removes surface dust and debris.
* **Baking Soda Deodorizer:** Baking soda absorbs odors and moisture.
* **Essential Oil Boost:** Adding a few drops of essential oil to the baking soda adds a pleasant scent.
**Step-by-Step Instructions:**
1. **Strip the Bed:** Remove all bedding, including sheets, blankets, and mattress protectors.
2. **Vacuum the Mattress:** Use the upholstery attachment of your vacuum cleaner to thoroughly vacuum the entire surface of the mattress, including the sides. Pay special attention to seams and crevices where dust mites tend to accumulate.
3. **Baking Soda Application:** In a bowl, mix 1 cup of baking soda with a few drops of your favorite essential oil (lavender, eucalyptus, or tea tree oil are good choices).
4. **Sprinkle and Wait:** Sprinkle the baking soda mixture evenly over the entire surface of the mattress.
5. **Let it Sit:** Let the baking soda sit on the mattress for at least 30 minutes, or even better, for a few hours. This allows the baking soda to absorb odors and moisture.
6. **Vacuum Again:** Vacuum the mattress again to remove the baking soda.
7. **Flip and Repeat:** Flip the mattress over and repeat steps 2-6 on the other side.
8. **Fresh Bedding:** Put on fresh, clean bedding and enjoy your refreshed mattress!
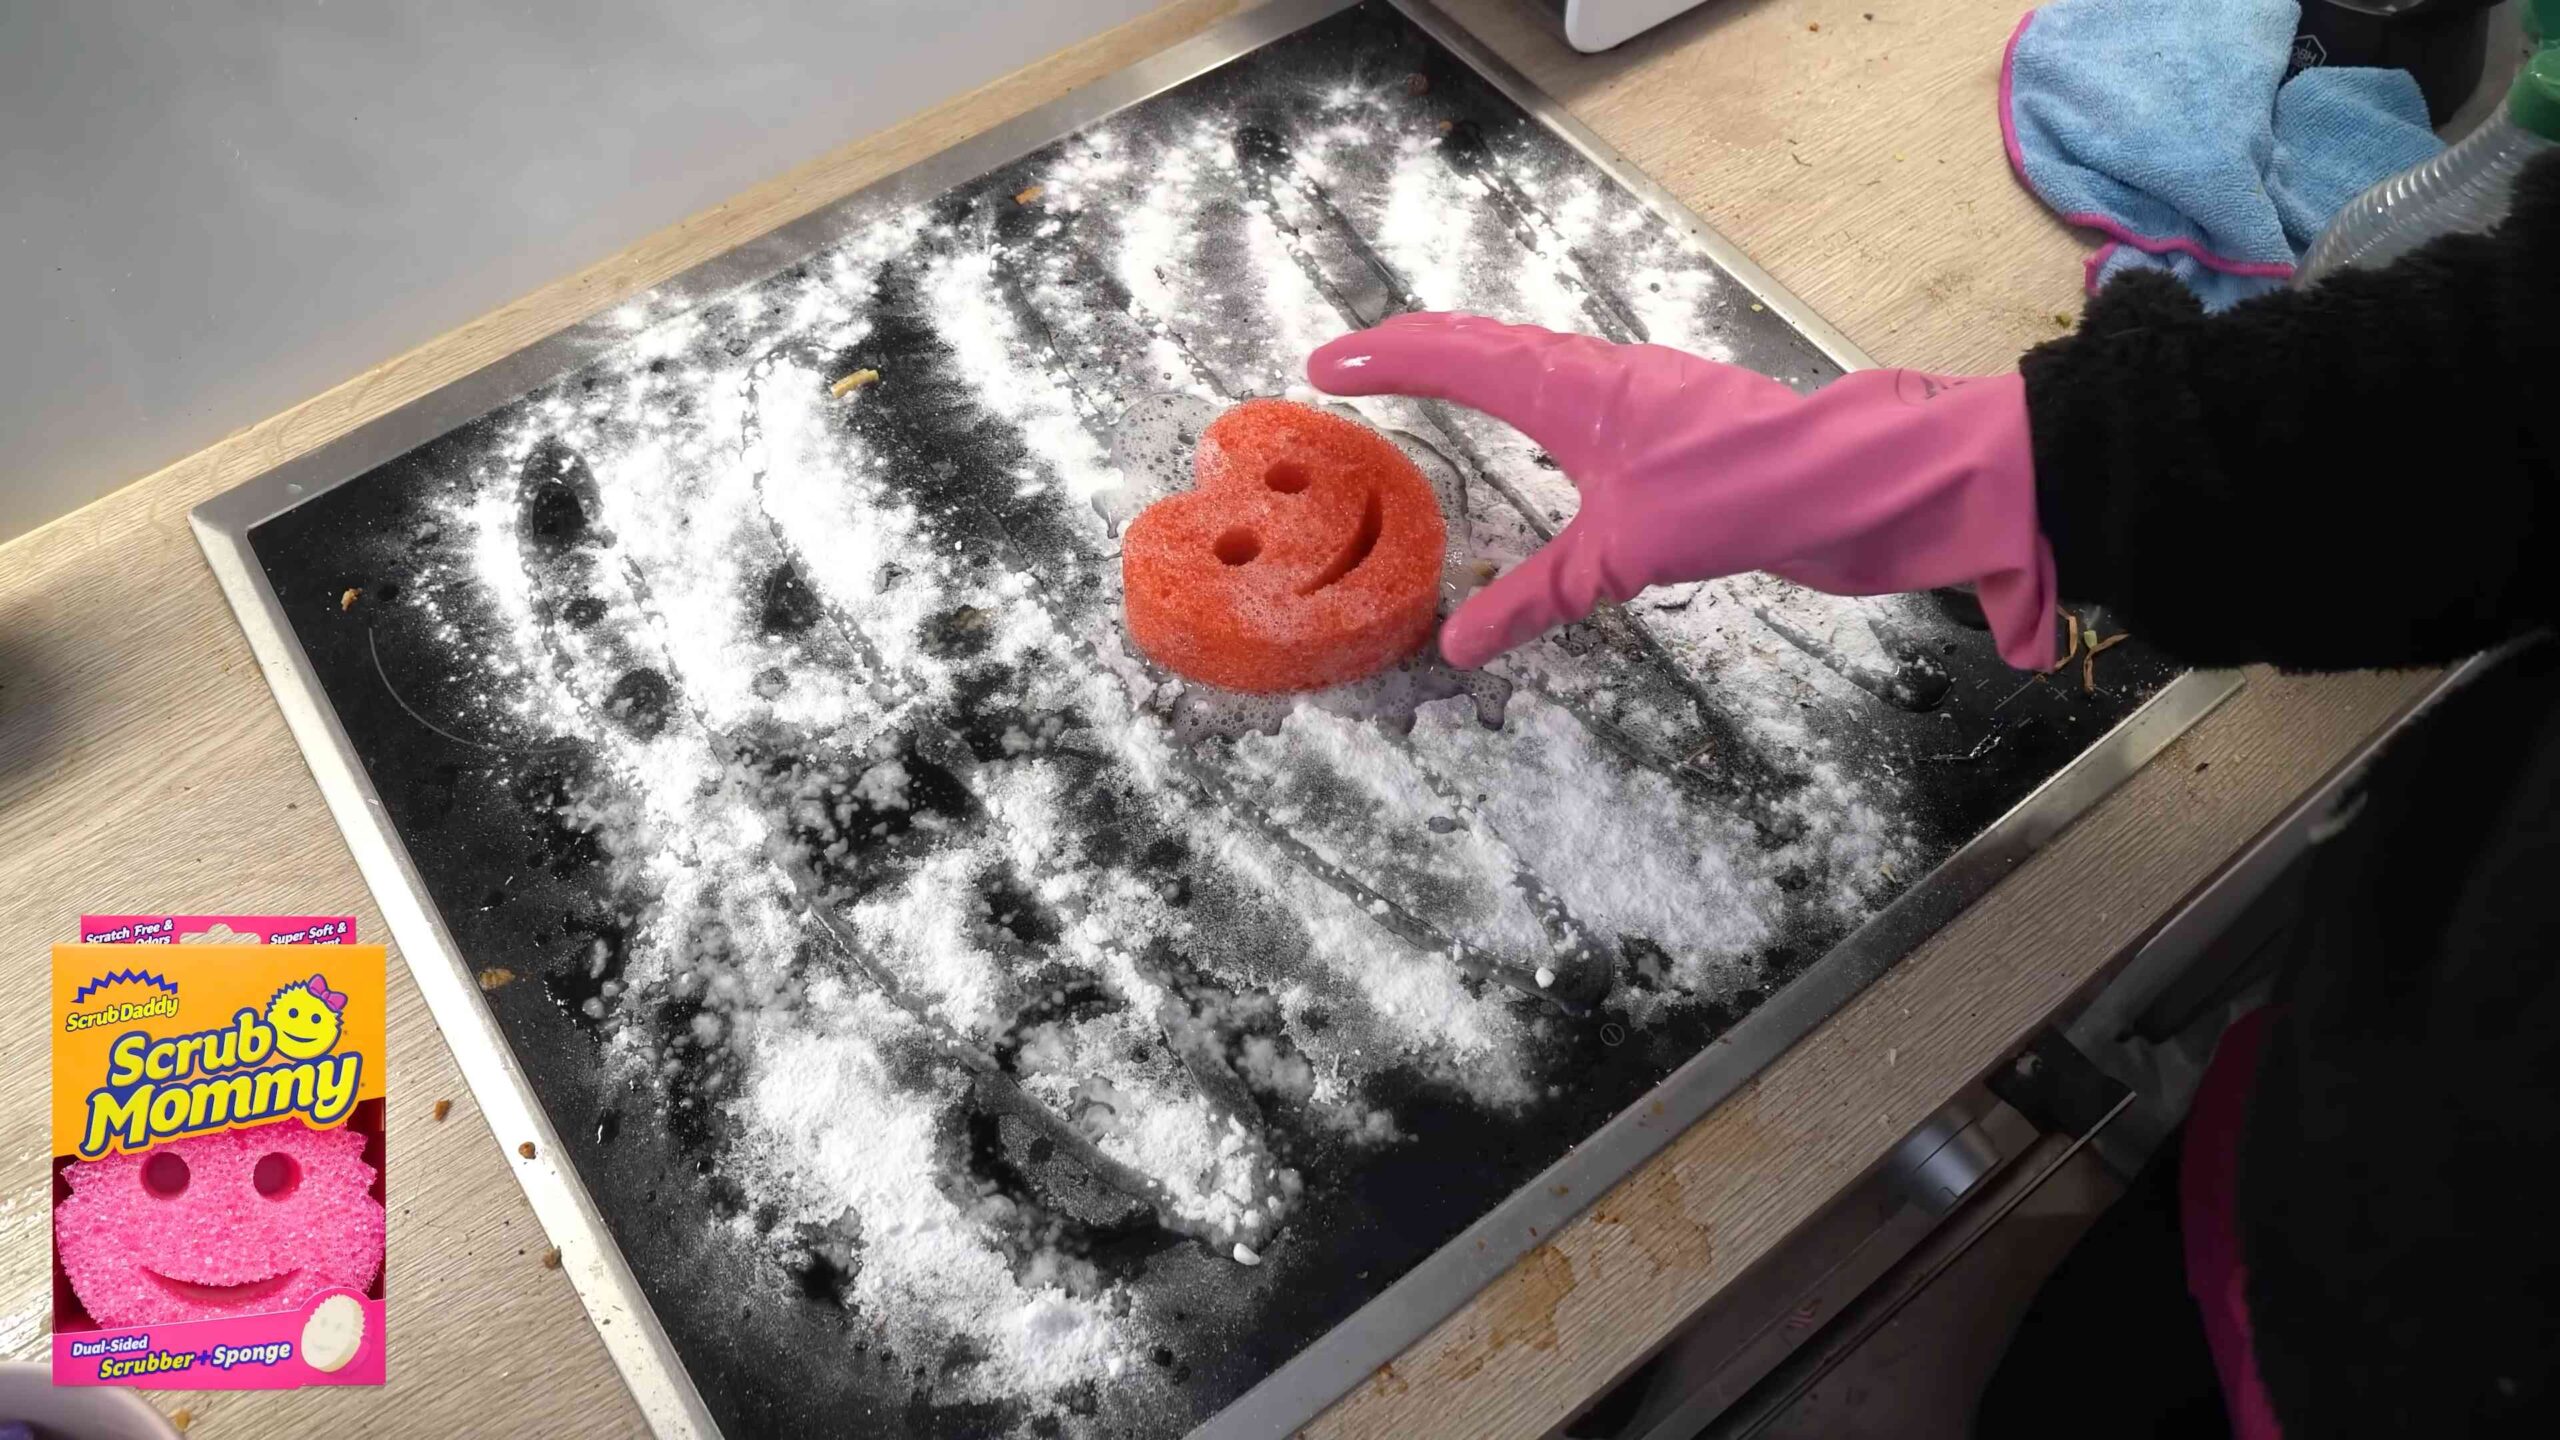
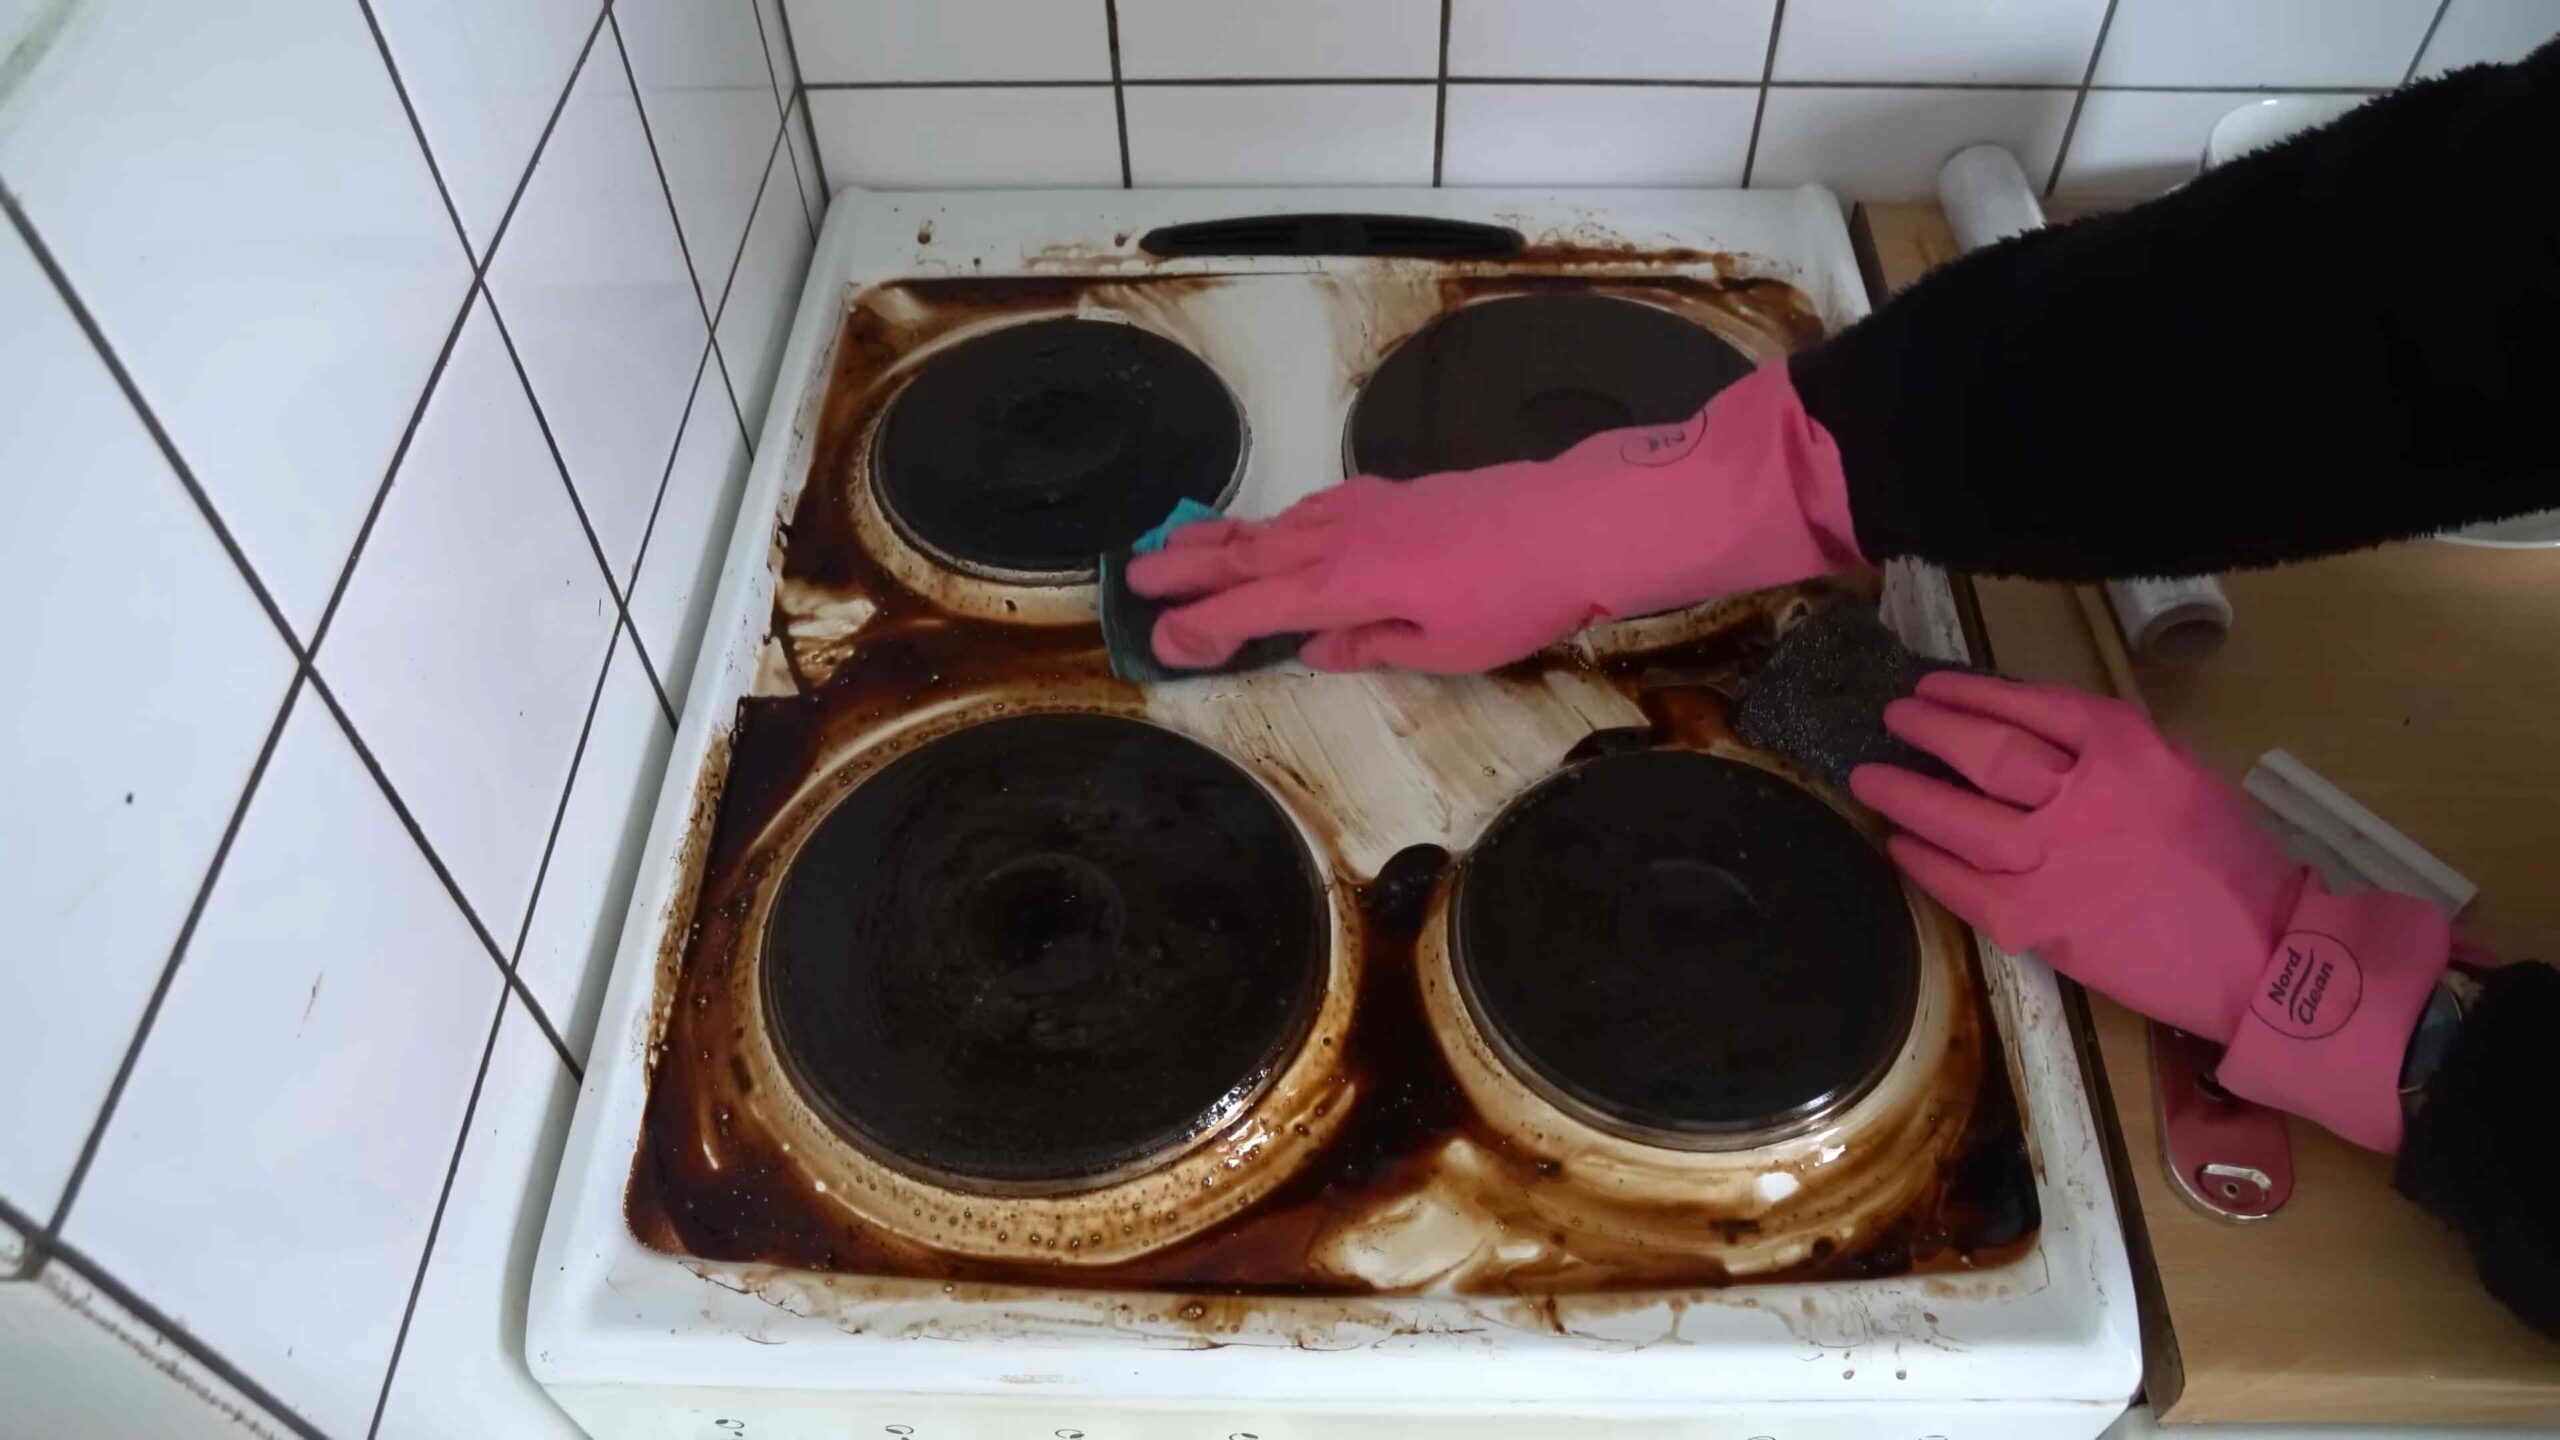
Hack 6: Cleaning Burnt Pots and Pans
Burnt food stuck to the bottom of your pots and pans? Don’t throw them
Conclusion
So, there you have it! This deep cleaning hack isn’t just another chore; it’s a game-changer for maintaining a sparkling and healthy home. We’ve walked you through a simple, effective method that tackles grime and dirt head-on, leaving your living spaces refreshed and revitalized. The beauty of this approach lies in its accessibility – using readily available ingredients and straightforward techniques, anyone can achieve professional-level cleaning results without breaking the bank or relying on harsh chemicals.
But why is this deep cleaning hack a must-try? Because it goes beyond surface-level cleaning. It penetrates deep into the crevices and hidden corners where dirt and bacteria accumulate, ensuring a truly thorough cleanse. Think about it: how often do you really get down and scrub those grout lines, or tackle the build-up in your showerhead? This hack empowers you to address these often-overlooked areas, contributing to a healthier and more hygienic environment for you and your family.
Beyond the basic method, there’s plenty of room for customization. For instance, if you’re dealing with particularly stubborn stains, consider adding a bit of baking soda to your cleaning solution for extra scrubbing power. Or, if you prefer a more natural scent, infuse your mixture with a few drops of your favorite essential oil, like lemon or lavender. You can also adapt this deep cleaning hack to different surfaces and areas of your home. Use a smaller brush for intricate details, or a larger sponge for tackling expansive surfaces. The possibilities are endless!
This deep cleaning hack is a powerful tool in your arsenal for a cleaner, healthier home. It’s not just about aesthetics; it’s about creating a space that promotes well-being and peace of mind. Imagine the satisfaction of knowing that your home is not only visually appealing but also free from hidden dirt and grime.
We wholeheartedly encourage you to give this deep cleaning hack a try. Experiment with different variations, adapt it to your specific needs, and witness the transformative power of a truly thorough clean. And most importantly, we want to hear about your experience! Share your tips, tricks, and before-and-after photos with us. Let’s build a community of cleaning enthusiasts who are passionate about creating sparkling and healthy homes. Your insights could inspire others to embrace this simple yet effective method and unlock the secrets to a cleaner, happier life. So, grab your supplies, roll up your sleeves, and get ready to experience the joy of a truly deep-cleaned home! We are confident that you will find this deep cleaning hack to be an invaluable addition to your cleaning routine.
Frequently Asked Questions (FAQ)
What exactly is considered “deep cleaning” and why is it important?
Deep cleaning goes beyond your regular weekly or bi-weekly cleaning routine. It involves tackling those often-neglected areas and tasks that accumulate dirt, grime, and bacteria over time. This includes things like cleaning grout, scrubbing baseboards, washing curtains, cleaning inside appliances (oven, refrigerator, dishwasher), and dusting hard-to-reach places. It’s important because it removes built-up allergens, improves indoor air quality, and creates a healthier living environment. Regular deep cleaning can also extend the lifespan of your appliances and home furnishings.
How often should I perform a deep cleaning?
The frequency of deep cleaning depends on your lifestyle, the size of your home, and the number of occupants. However, a good rule of thumb is to aim for a deep clean at least twice a year, ideally in the spring and fall. If you have pets, allergies, or young children, you might consider deep cleaning more frequently, perhaps every quarter. You can also break down the tasks into smaller chunks and tackle one or two areas each month.
What are the essential supplies I need for a deep cleaning hack?
The specific supplies will vary depending on the areas you’re cleaning, but some essentials include:
* All-purpose cleaner (or ingredients to make your own, like vinegar, baking soda, and dish soap)
* Microfiber cloths
* Sponges
* Scrub brushes (various sizes)
* Vacuum cleaner with attachments
* Mop and bucket
* Rubber gloves
* Spray bottles
* Old toothbrush (for cleaning grout and tight spaces)
* Ladder or step stool (for reaching high areas)
Is it safe to use vinegar and baking soda together for deep cleaning?
While vinegar and baking soda are both effective cleaning agents, mixing them together in a closed container can create carbon dioxide gas, which can cause pressure to build up and potentially explode. However, it’s perfectly safe to use them sequentially. For example, you can sprinkle baking soda on a surface and then spray it with vinegar. The fizzing action can help loosen dirt and grime. Just be sure to rinse the surface thoroughly afterward.
Can I use this deep cleaning hack on all surfaces?
Not all cleaning solutions are suitable for all surfaces. Always test a small, inconspicuous area first to ensure that the cleaner doesn’t damage or discolor the material. For example, vinegar can be too acidic for some natural stone surfaces like marble or granite. Similarly, abrasive cleaners can scratch delicate surfaces. Research the best cleaning methods for specific materials before you begin.
How can I make deep cleaning less overwhelming?
Deep cleaning can seem daunting, but breaking it down into smaller, manageable tasks can make it less overwhelming. Create a checklist of all the areas you want to clean and then prioritize them based on their importance or the amount of dirt and grime. Set realistic goals for each cleaning session and don’t try to do everything at once. You can also enlist the help of family members or hire a professional cleaning service if needed.
What are some eco-friendly alternatives for deep cleaning products?
There are many eco-friendly alternatives to traditional cleaning products. Vinegar, baking soda, lemon juice, and essential oils are all natural and effective cleaning agents. You can also find commercially available eco-friendly cleaning products that are made with plant-based ingredients and are free of harsh chemicals. Look for products that are certified by organizations like the Environmental Protection Agency (EPA) or the Green Seal.
How can I prevent dirt and grime from building up in the first place?
Prevention is key to minimizing the need for frequent deep cleaning. Here are some tips:
* Wipe up spills immediately.
* Sweep or vacuum regularly.
* Use doormats to trap dirt and debris.
* Ventilate your home to reduce moisture buildup.
* Clean up after pets promptly.
* Declutter regularly to reduce dust accumulation.
* Establish a regular cleaning schedule and stick to it.
What if I encounter mold during my deep cleaning?
If you find mold during your deep cleaning, it’s important to address it promptly and safely. Small areas of mold can often be cleaned with a solution of bleach and water (always wear gloves and eye protection). However, for larger infestations, it’s best to consult with a professional mold remediation company. Mold can pose serious health risks, so it’s important to take it seriously.
How do I clean my showerhead effectively?
Mineral buildup can significantly reduce water pressure. A simple deep cleaning hack is to fill a plastic bag with white vinegar, secure it around the showerhead with a rubber band, and let it soak overnight. The vinegar will dissolve the mineral deposits. In the morning, remove the bag and run the shower to flush out any remaining debris. You can also use a toothbrush to scrub away any stubborn residue.

Leave a Comment