

Simple bathroom cleaning tips are what every homeowner needs in their arsenal! Let’s face it, the bathroom – a sanctuary of sorts – can quickly transform into a breeding ground for grime and mildew. But fear not, because I’m here to share some game-changing DIY tricks that will make your bathroom sparkle without breaking a sweat (or the bank!).
For centuries, maintaining hygiene in bathing spaces has been a concern. From ancient Roman bathhouses to modern-day homes, keeping these areas clean has always been crucial for health and well-being. But who has time for endless scrubbing? That’s where these clever hacks come in.
Imagine stepping into a bathroom that smells fresh, looks pristine, and feels inviting. No more cringing at soap scum or battling stubborn stains! These simple bathroom cleaning tips are designed to save you time, money, and effort. I’ll show you how to use everyday household items to tackle even the toughest bathroom cleaning challenges. Get ready to transform your bathroom into a sparkling oasis with these easy and effective DIY solutions!
DIY Bathroom Cleaning Hacks: Sparkling Clean Without Breaking a Sweat!
Okay, let’s be honest, cleaning the bathroom is nobody’s favorite chore. But a sparkling clean bathroom? That’s something we can all appreciate! I’m going to share some of my favorite DIY bathroom cleaning hacks that are not only effective but also use ingredients you probably already have in your pantry. Get ready to ditch those harsh chemicals and embrace a naturally clean and fresh bathroom!
Tackling Soap Scum and Grime
Soap scum is the bane of every bathroom cleaner’s existence. It’s stubborn, unsightly, and seems to multiply overnight. But fear not! I’ve got a few tricks up my sleeve to combat this bathroom beast.
* The Magic of Vinegar and Baking Soda: This dynamic duo is a powerhouse when it comes to dissolving soap scum and grime.
* Lemon Power: Lemons aren’t just for lemonade! Their acidity makes them a fantastic natural cleaner.
* Dish Soap Wonder: Good old dish soap can cut through grease and grime like a champ.
Step-by-Step: Vinegar and Baking Soda Soap Scum Remover
1. Prepare the Area: First, give the affected area a quick rinse with warm water. This will loosen up some of the surface grime and prepare it for the cleaning solution.
2. Apply the Baking Soda: Sprinkle a generous amount of baking soda onto the soap scum. Don’t be shy! You want a good layer to work with.
3. Vinegar Time! Now, slowly pour white vinegar onto the baking soda. Get ready for some fizzing action! This is the chemical reaction that helps break down the soap scum.
4. Let it Sit: Allow the mixture to sit for at least 15-20 minutes. For really stubborn soap scum, you can let it sit for up to an hour. The longer it sits, the easier it will be to scrub away.
5. Scrub-a-dub-dub: Using a non-abrasive sponge or scrub brush, scrub the area thoroughly. You should see the soap scum starting to lift away.
6. Rinse and Repeat (if necessary): Rinse the area with warm water. If there’s still some soap scum remaining, repeat the process.
7. Dry and Admire: Once you’re satisfied with the results, dry the area with a clean towel. Step back and admire your sparkling clean surface!
Step-by-Step: Lemon Power Soap Scum Remover
1. Cut a Lemon in Half: Grab a lemon from your fridge and cut it in half.
2. Sprinkle with Salt (Optional): For extra scrubbing power, sprinkle some coarse salt onto the cut side of the lemon. The salt acts as a gentle abrasive.
3. Scrub Away: Use the lemon half to scrub the soap scum. The lemon juice will help dissolve the grime, and the salt (if you used it) will help scrub it away.
4. Let it Sit (Briefly): Allow the lemon juice to sit on the soap scum for a few minutes.
5. Rinse and Dry: Rinse the area with warm water and dry with a clean towel.
Step-by-Step: Dish Soap Soap Scum Remover
1. Mix Your Solution: In a spray bottle, mix a few drops of dish soap with warm water. You don’t need a lot of soap – a little goes a long way.
2. Spray and Soak: Spray the solution onto the soap scum and let it soak for about 10-15 minutes.
3. Scrub and Rinse: Scrub the area with a non-abrasive sponge or scrub brush. Rinse thoroughly with warm water.
4. Dry: Dry the area with a clean towel.
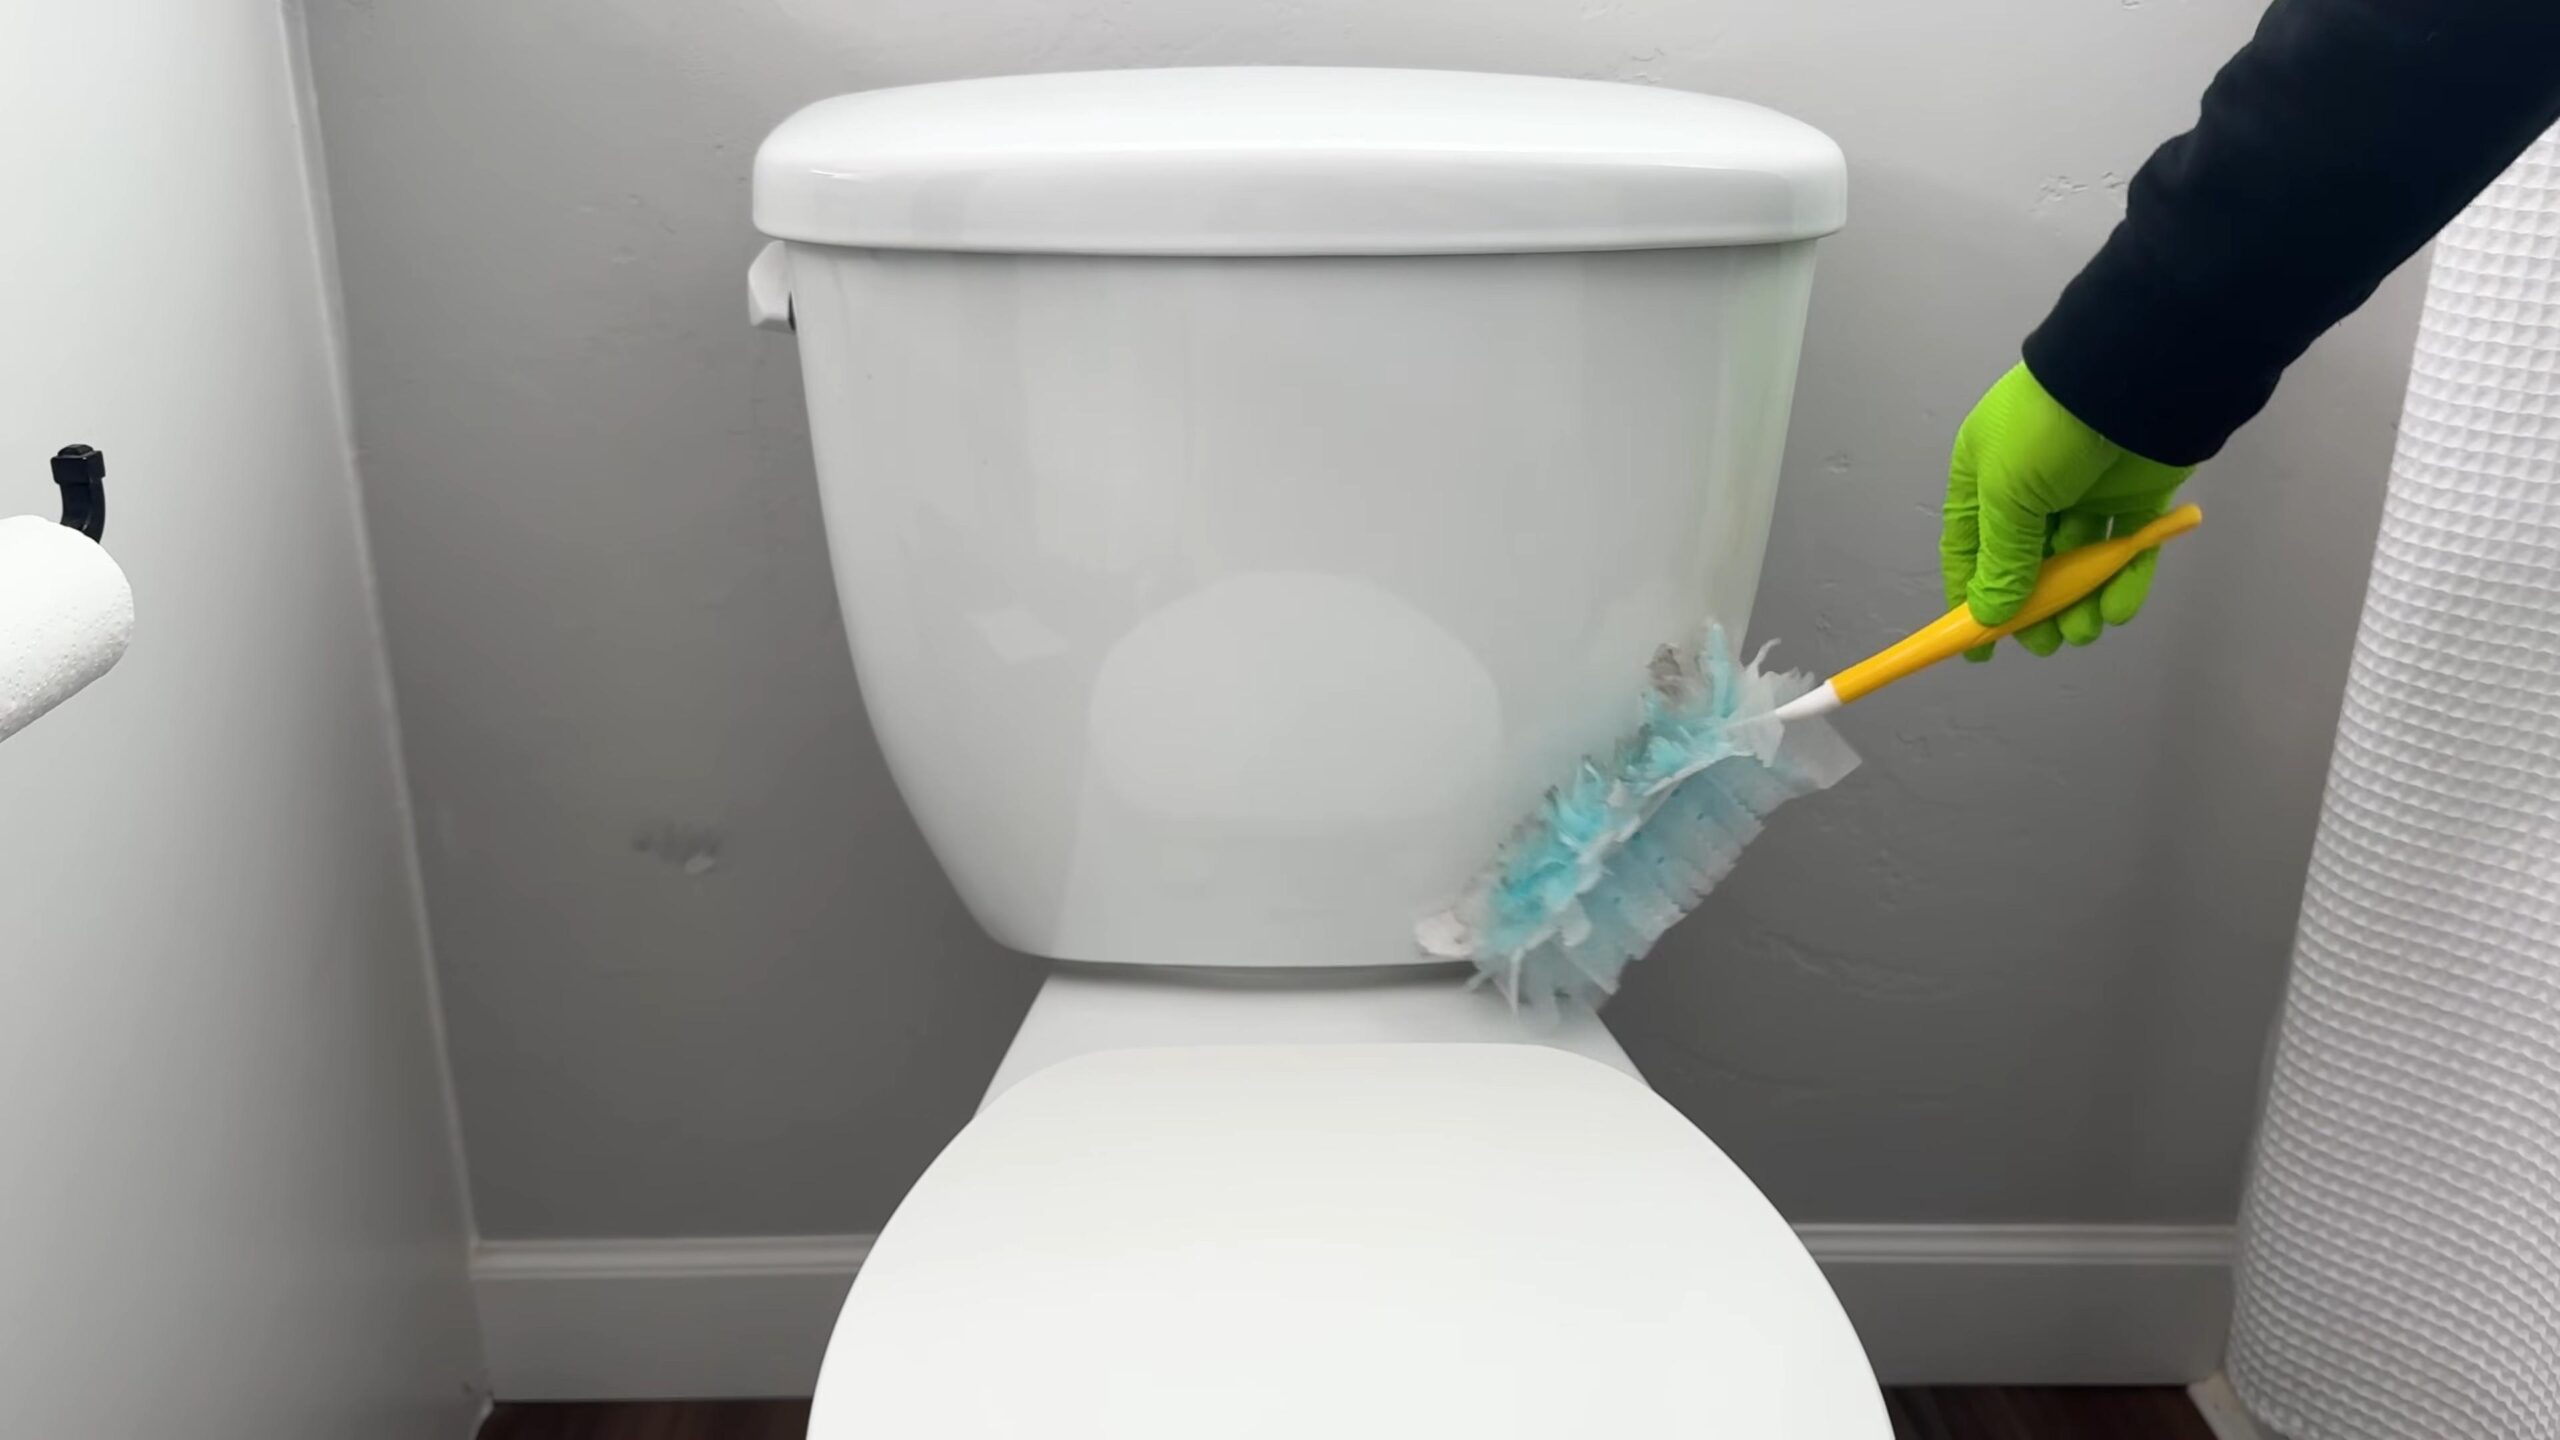
Cleaning the Toilet Like a Pro
The toilet. Another bathroom cleaning challenge. But with the right approach, you can conquer this task with ease.
* Baking Soda and Vinegar Toilet Bowl Cleaner: This is a classic for a reason! It’s effective, natural, and affordable.
* Borax Power: Borax is a natural mineral that’s great for cleaning and disinfecting.
* Toilet Bombs: Make your own fizzing toilet bombs for a quick and easy clean.
Step-by-Step: Baking Soda and Vinegar Toilet Bowl Cleaner
1. Pour in the Baking Soda: Pour one cup of baking soda into the toilet bowl.
2. Add the Vinegar: Slowly pour two cups of white vinegar into the bowl. Get ready for the fizzing action!
3. Let it Sit: Allow the mixture to sit for at least 30 minutes, or even overnight for a deeper clean.
4. Scrub and Flush: Scrub the bowl thoroughly with a toilet brush, paying attention to any stains or buildup. Flush the toilet to rinse.
Step-by-Step: Borax Toilet Bowl Cleaner
1. Sprinkle Borax: Sprinkle about 1/2 cup of borax into the toilet bowl.
2. Let it Sit: Allow the borax to sit for at least an hour, or overnight for a deeper clean.
3. Scrub and Flush: Scrub the bowl thoroughly with a toilet brush and flush the toilet.
Step-by-Step: DIY Toilet Bombs
This requires some prep time, but it’s worth it for the convenience!
What You’ll Need:
* 1 cup baking soda
* 1/2 cup citric acid (you can find this online or in some health food stores)
* 1/2 cup cornstarch
* A few drops of essential oil (optional, for fragrance – I like tea tree or lavender)
* Water in a spray bottle
* Silicone molds (like ice cube trays or candy molds)
Instructions:
1. Combine Dry Ingredients: In a large bowl, whisk together the baking soda, citric acid, and cornstarch.
2. Add Essential Oil (Optional): If you’re using essential oil, add a few drops to the dry ingredients and mix well.
3. Slowly Add Water: Using a spray bottle, lightly spritz the dry ingredients with water, mixing as you go. Be careful not to add too much water at once, or the mixture will start to fizz prematurely. You want the mixture to be just damp enough to hold its shape when you squeeze it in your hand.
4. Pack into Molds: Press the mixture firmly into your silicone molds.
5. Let Dry: Allow the toilet bombs to dry completely, which can take several hours or even overnight.
6. Remove from Molds: Once the toilet bombs are dry, gently remove them from the molds.
7. Store: Store the toilet bombs in an airtight container.
To Use: Simply drop one toilet bomb into the toilet bowl and let it fizz. Once the fizzing stops, scrub the bowl with a toilet brush and flush.
Shining Up Shower Doors and Walls
Shower doors and walls can quickly become covered in water spots and soap scum. Here’s how to get them sparkling clean.
* Vinegar Spray: A simple vinegar spray can work wonders on shower doors and walls.
* Squeegee Power: Prevent buildup by using a squeegee after each shower.
Step-by-Step: Vinegar Spray for Shower Doors and Walls
1. Mix Your Solution: In a spray bottle, mix equal parts white vinegar and water.
2. Spray and Soak: Spray the solution onto the shower doors and walls, making sure to cover all areas affected by water spots and soap scum. Let it soak for about 15-20 minutes.
3. Scrub (if needed): If there’s stubborn buildup, scrub the area with a non-abrasive sponge or scrub brush.
4. Rinse and Dry: Rinse the area thoroughly with warm water and dry with a clean towel or squeegee.
Step-by-Step: Squeegee After Each Shower
1. Keep a Squeegee Handy: Store a squeegee in your shower for easy access.
2. Squeegee After Each Shower: After each shower, use the squeegee to remove excess water from the shower doors and walls. This will help prevent water spots and soap scum from building up.
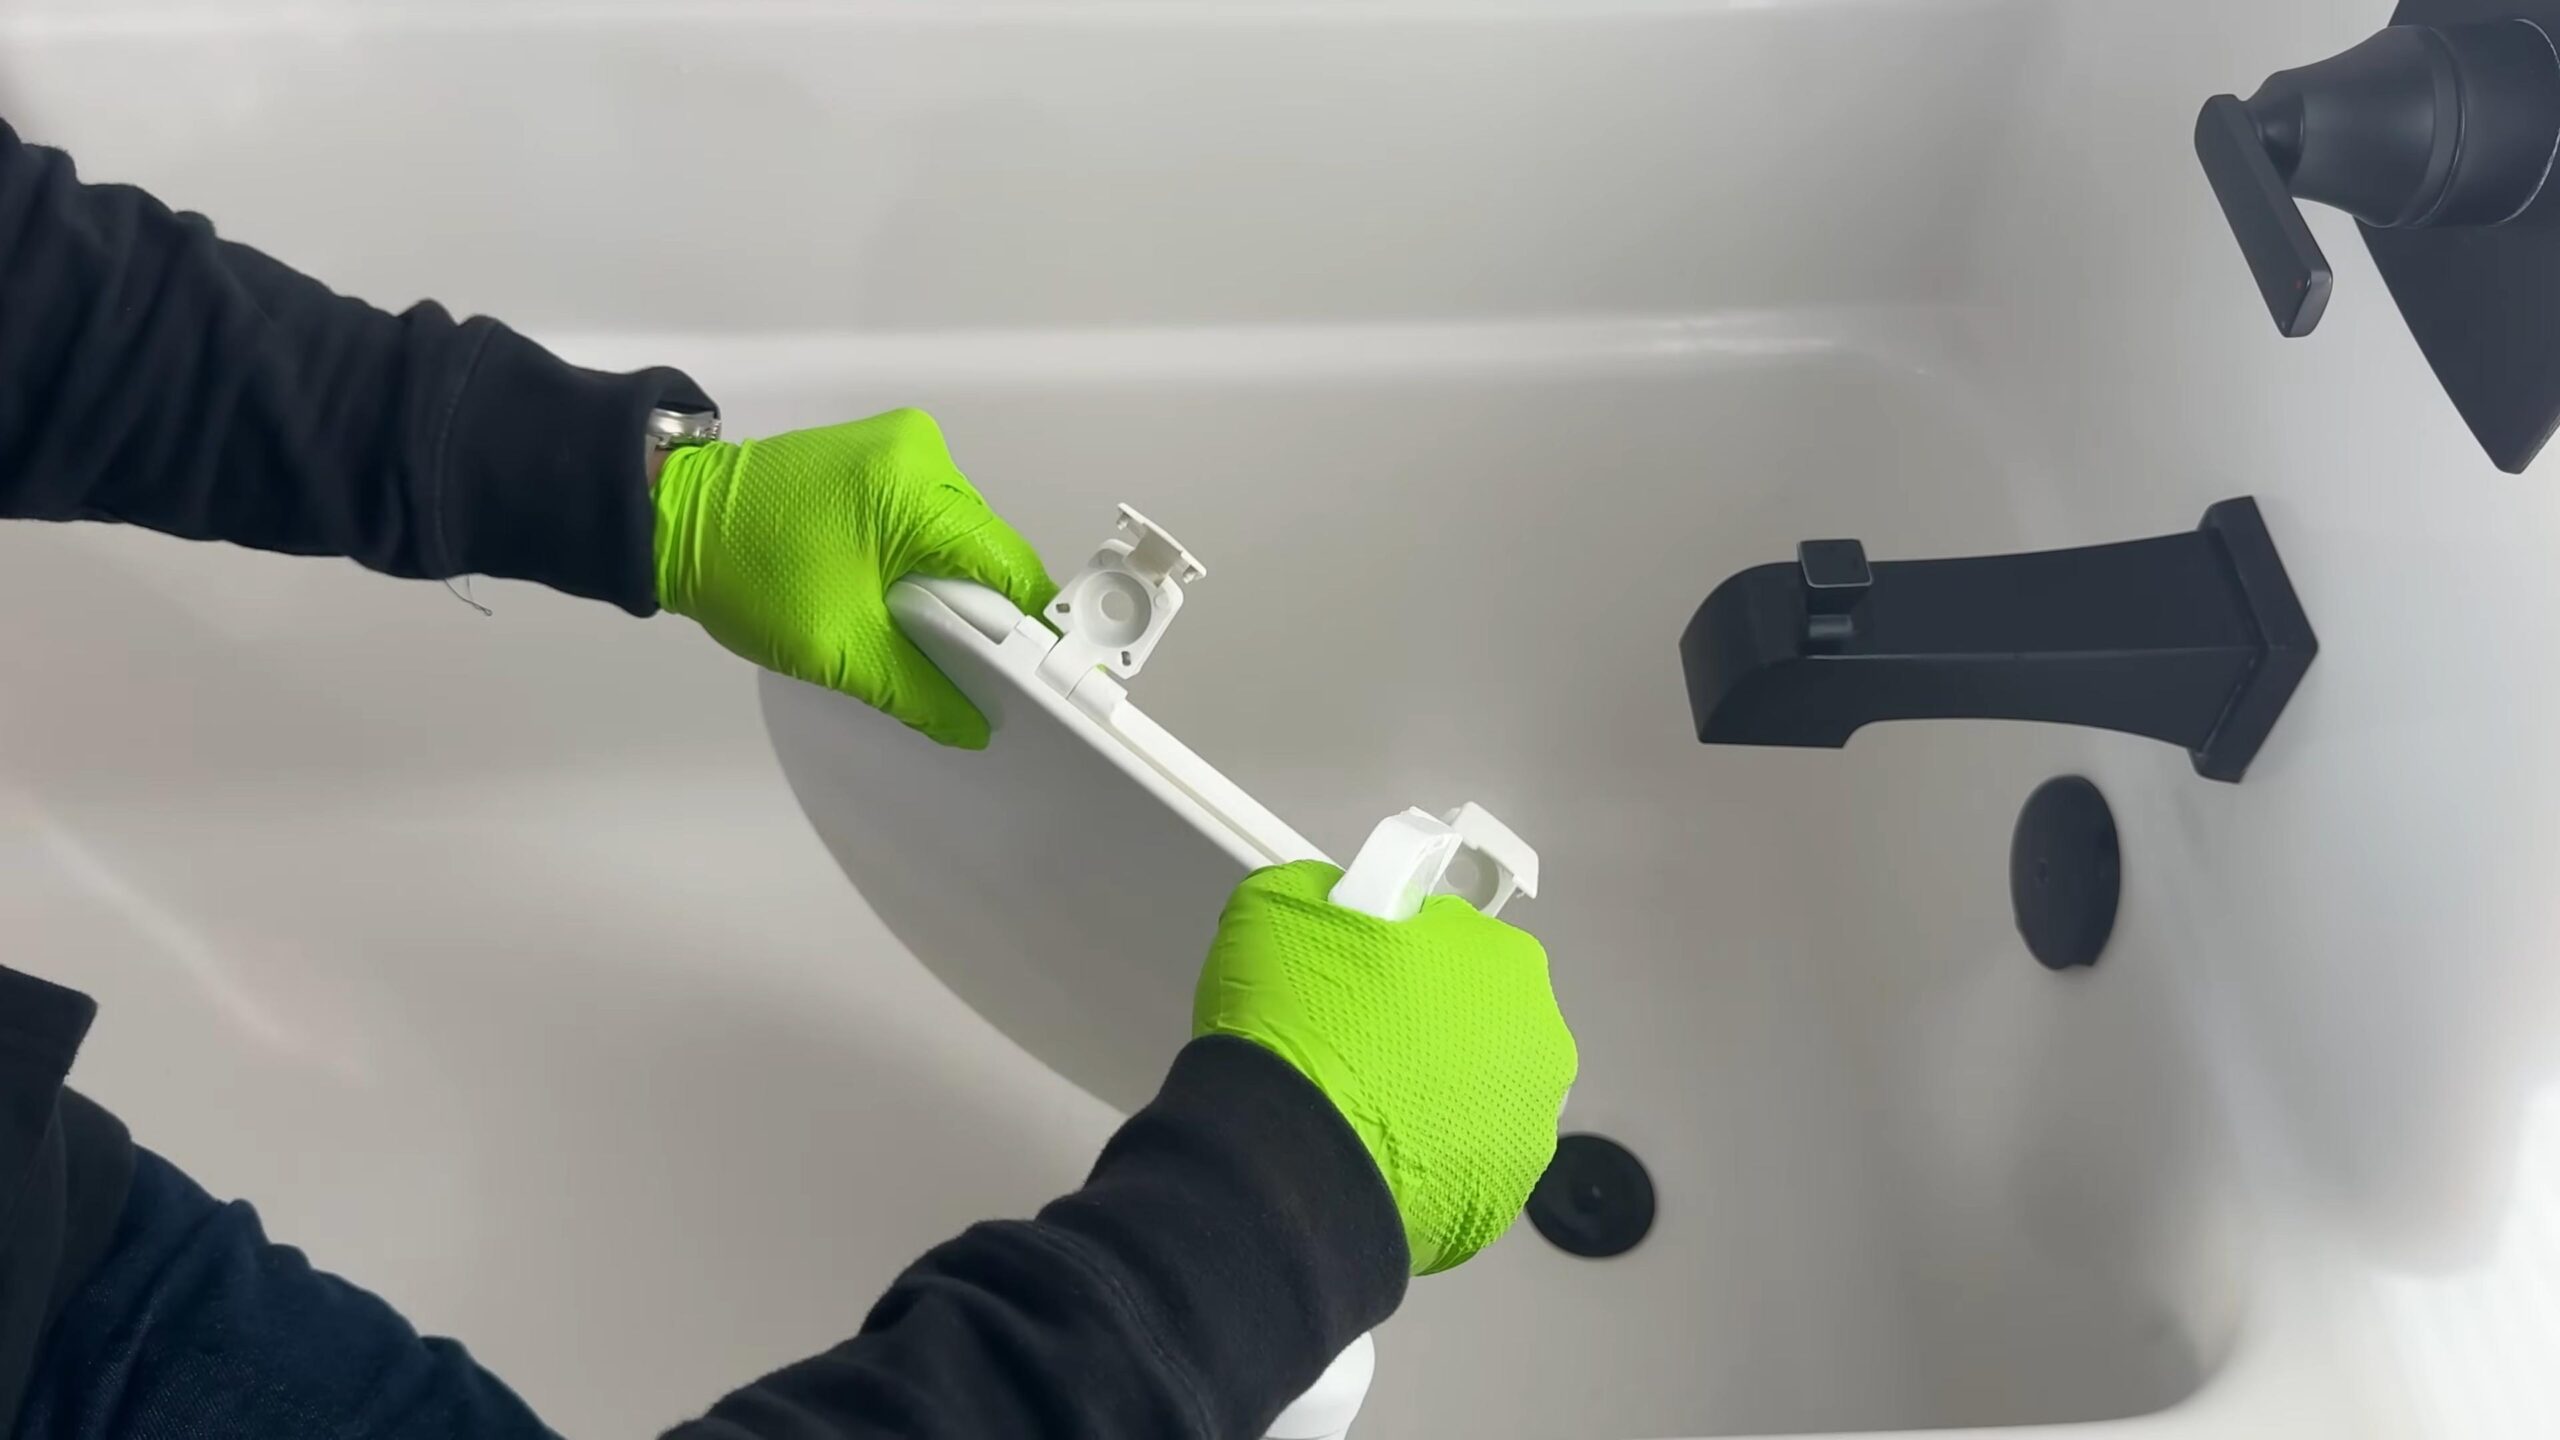
Cleaning Faucets and Fixtures
Faucets and fixtures can lose their shine over time due to water spots and mineral deposits. Here’s how to restore their sparkle.
* Vinegar Soak: Vinegar can dissolve mineral deposits and restore shine.
* Baking Soda Paste: A baking soda paste can gently scrub away stubborn stains.
Step-by-Step: Vinegar Soak for Faucets and Fixtures
1. Soak a Cloth in Vinegar: Soak a clean cloth in white vinegar.
Conclusion
So, there you have it! Transforming your bathroom cleaning routine doesn’t require expensive products or hours of scrubbing. This simple, yet effective DIY trick for bathroom cleaning is a game-changer for anyone seeking a sparkling clean space without the harsh chemicals or back-breaking labor. We’ve shown you how to harness the power of readily available ingredients to create a cleaning solution that’s both powerful and gentle on your surfaces.
Why is this DIY approach a must-try? Because it’s not just about cleaning; it’s about creating a healthier home environment. By ditching the commercial cleaners laden with potentially harmful chemicals, you’re reducing your exposure to irritants and contributing to better air quality within your home. Plus, it’s incredibly cost-effective! You’ll be amazed at how much money you can save by making your own cleaning solutions.
But the benefits don’t stop there. This DIY bathroom cleaning method is also incredibly versatile. Feel free to experiment with variations to suit your specific needs and preferences. For instance, if you’re dealing with particularly stubborn hard water stains, consider adding a bit more vinegar to your solution. Or, if you prefer a more fragrant cleaning experience, a few drops of your favorite essential oil, like lavender or tea tree, can add a refreshing scent to your bathroom. Remember to always test any new solution in an inconspicuous area first to ensure it doesn’t damage the surface.
Don’t be afraid to get creative! You can even customize the solution for specific areas of your bathroom. For example, a slightly stronger vinegar solution might be ideal for cleaning the toilet bowl, while a gentler solution with more water might be better suited for cleaning delicate surfaces like mirrors or glass shower doors.
We understand that switching to a DIY cleaning routine might seem daunting at first, but we promise you, it’s easier than you think. The simple steps outlined in this article will guide you through the process, and you’ll be amazed at the results. You’ll not only have a sparkling clean bathroom, but you’ll also have the satisfaction of knowing that you’re using a safe, effective, and environmentally friendly cleaning solution.
So, what are you waiting for? Give this DIY bathroom cleaning trick a try and experience the difference for yourself. We’re confident that you’ll be impressed with the results. And more importantly, we encourage you to share your experience with us! Let us know how this DIY method worked for you, what variations you tried, and any tips or tricks you discovered along the way. Your feedback will help us refine and improve this method, and it will also inspire others to embrace the power of DIY cleaning. Share your before and after photos, your favorite essential oil combinations, or any other insights you have. Together, we can create a community of DIY cleaning enthusiasts who are committed to creating healthier and more sustainable homes. Let’s revolutionize our bathroom cleaning routines, one DIY solution at a time!
Frequently Asked Questions (FAQ)
What exactly makes this DIY bathroom cleaning method so effective?
The effectiveness of this DIY bathroom cleaning method lies in the synergistic action of its ingredients. Vinegar, a natural acid, is excellent at dissolving hard water stains, soap scum, and mildew. Baking soda, a mild abrasive, helps to scrub away grime and deodorize surfaces. The combination of these two ingredients creates a powerful cleaning solution that’s tough on dirt but gentle on your bathroom surfaces. Furthermore, the absence of harsh chemicals means you’re not exposing yourself or your family to potentially harmful fumes or residues. This makes it a safer and healthier alternative to many commercial cleaners.
Can I use this DIY cleaner on all bathroom surfaces?
While this DIY cleaner is generally safe for most bathroom surfaces, it’s always a good idea to test it in an inconspicuous area first, especially on delicate or porous materials like natural stone (marble, granite) or certain types of grout. The acidity of vinegar can potentially etch or damage these surfaces over time. For these surfaces, consider using a diluted solution or a different cleaning method altogether. For most other surfaces, such as ceramic tile, porcelain, glass, and stainless steel, this DIY cleaner should be perfectly safe and effective.
How often should I use this DIY bathroom cleaning method?
The frequency of cleaning depends on how often your bathroom is used and how quickly it gets dirty. For most households, a weekly cleaning with this DIY solution should be sufficient to keep your bathroom sparkling clean. However, if you have a busy household or if your bathroom is prone to getting dirty quickly, you may need to clean it more frequently. You can also use this DIY cleaner for spot cleaning as needed to address spills or messes as they occur.
What essential oils are best to use in this DIY bathroom cleaner?
The best essential oils to use in this DIY bathroom cleaner are those that have antibacterial, antifungal, and antiviral properties, as well as a pleasant scent. Some popular choices include:
* Tea tree oil: Known for its powerful antibacterial and antifungal properties.
* Lavender oil: Has a calming scent and also possesses antibacterial properties.
* Lemon oil: A natural degreaser and disinfectant with a refreshing citrus scent.
* Eucalyptus oil: Has a strong, invigorating scent and is known for its antiseptic properties.
* Peppermint oil: Has a refreshing scent and can help to deter pests.
When using essential oils, be sure to use them sparingly, as they can be quite potent. A few drops should be sufficient to add a pleasant scent and boost the cleaning power of your DIY solution.
How should I store the leftover DIY bathroom cleaner?
Store any leftover DIY bathroom cleaner in a clean, airtight spray bottle or container. Be sure to label the container clearly so that you don’t accidentally mistake it for something else. Store the cleaner in a cool, dark place away from direct sunlight and heat. The shelf life of this DIY cleaner is typically several weeks, but it’s best to use it within a month or two for optimal effectiveness. If you notice any changes in the color, smell, or consistency of the cleaner, discard it and make a fresh batch.
Can I use this DIY cleaner to clean my shower?
Absolutely! This DIY cleaner is excellent for cleaning showers. The vinegar helps to dissolve soap scum and hard water stains, while the baking soda helps to scrub away grime. You can spray the solution onto the shower walls, floor, and door, let it sit for a few minutes, and then scrub with a sponge or brush. Rinse thoroughly with water. For stubborn stains, you may need to repeat the process or use a slightly stronger solution.
Is this DIY cleaner safe for septic systems?
Yes, this DIY cleaner is generally safe for septic systems. The ingredients are natural and biodegradable, so they won’t harm the beneficial bacteria in your septic tank. However, it’s always a good idea to use any cleaning product sparingly, even natural ones, to avoid overloading your septic system.
What if I don’t have vinegar or baking soda? Are there any alternatives?
While vinegar and baking soda are the key ingredients in this DIY cleaner, there are some alternatives you can use if you don’t have them on hand. For example, you can use lemon juice instead of vinegar, as it also contains citric acid. You can also use borax instead of baking soda, as it has similar cleaning and deodorizing properties. However, keep in mind that these alternatives may not be as effective as vinegar and baking soda.
My bathroom has a strong mildew smell. Will this DIY cleaner help?
Yes, this DIY cleaner can help to eliminate mildew and its associated odor. Vinegar is a natural antifungal agent that can kill mildew and prevent it from returning. To treat mildew, spray the affected area with the DIY cleaner, let it sit for several minutes, and then scrub with a brush or sponge. Rinse thoroughly with water. For severe mildew infestations, you may need to repeat the process or use a stronger vinegar solution. Ensure proper ventilation in your bathroom to prevent mildew from recurring.

Leave a Comment