

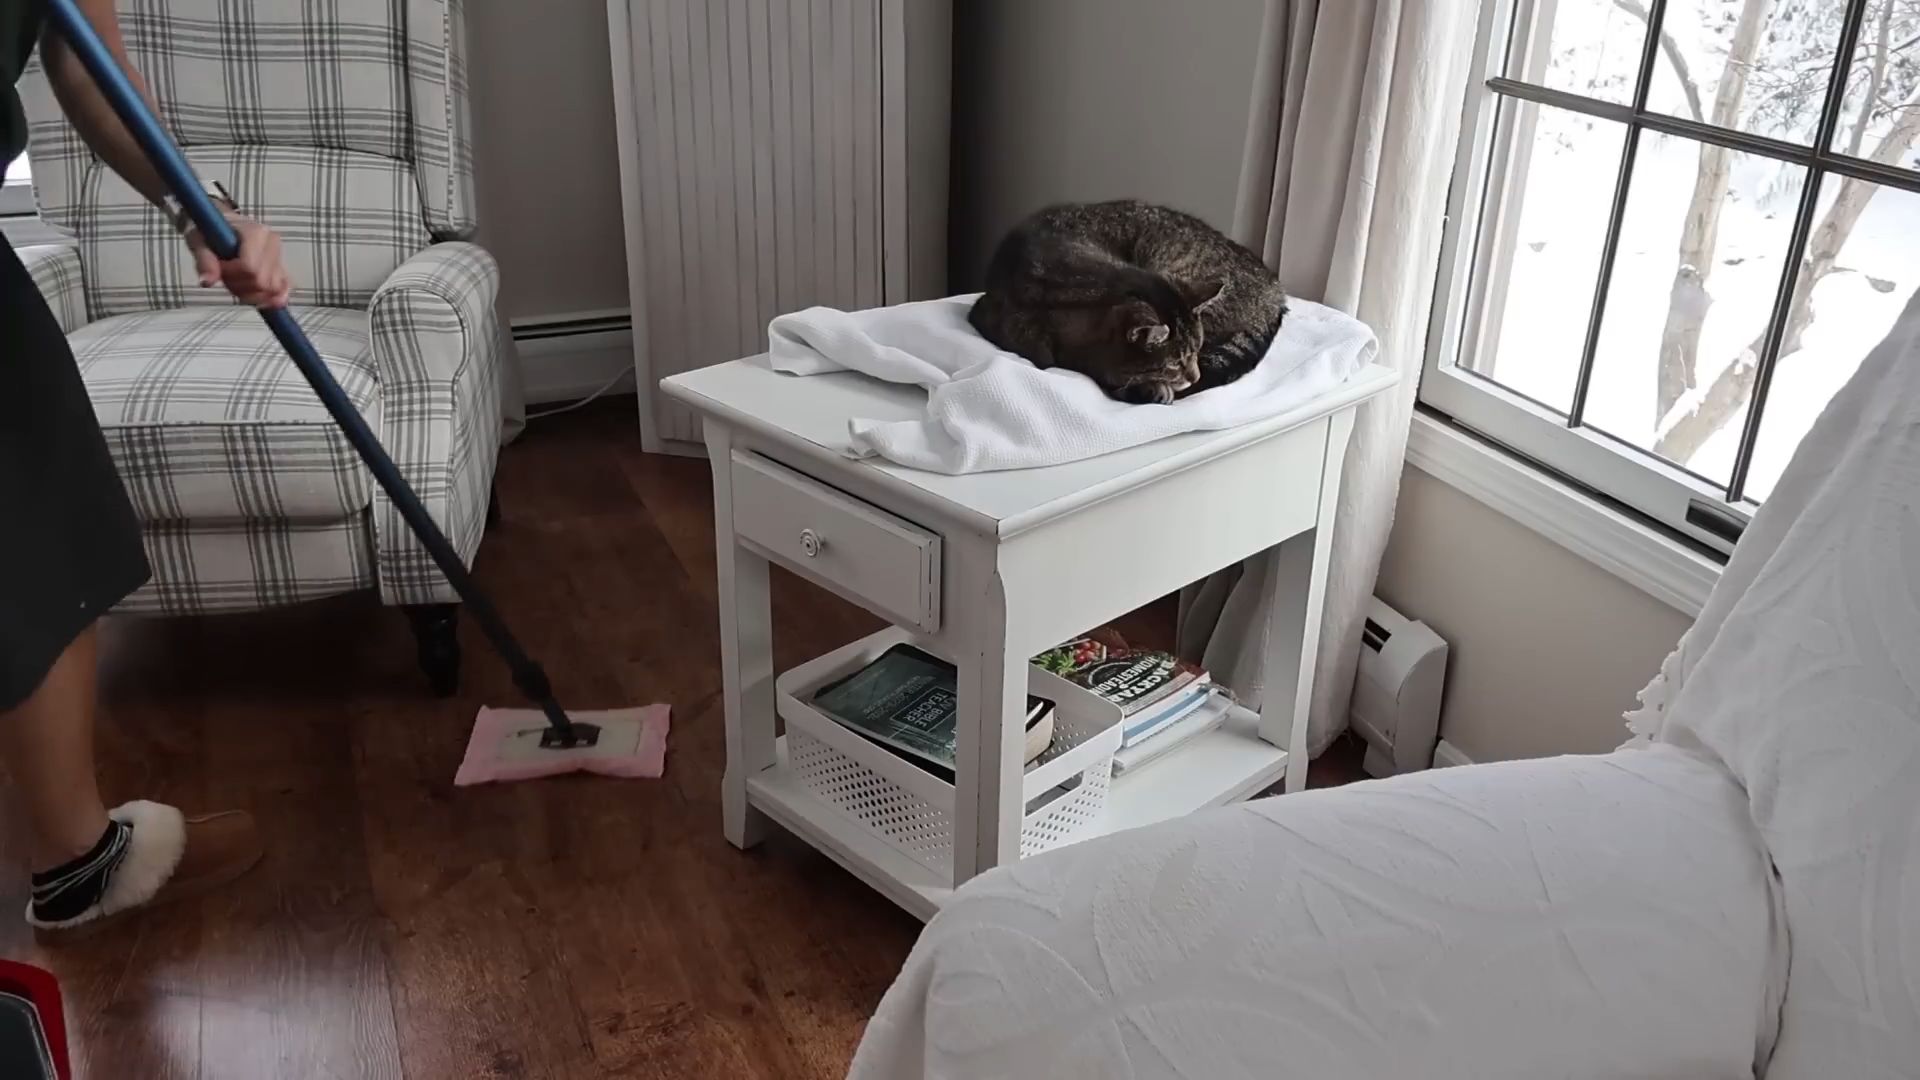
Spring cleaning tips are more than just a chore; they’re a refreshing ritual, a chance to breathe new life into your home after the long winter months! Have you ever walked into a sparkling clean space and felt an instant lift in your mood? That’s the magic of spring cleaning, and I’m here to share some amazing DIY tricks to make it easier and more enjoyable than ever before.
The tradition of spring cleaning dates back centuries, with roots in various cultures. For example, in Iranian culture, “Khaneh Tekani” involves a thorough house cleaning before Nowruz, the Persian New Year, symbolizing a fresh start. Similarly, in Judaism, homes are meticulously cleaned before Passover to remove any traces of leavened bread. These practices highlight the deep-seated human desire to cleanse and renew our living spaces.
But let’s be honest, spring cleaning can feel overwhelming! That’s where these DIY hacks come in. I’m going to show you how to tackle those tough cleaning tasks with simple, affordable solutions you can whip up yourself. From natural cleaning solutions that are gentle on your home and the environment to clever organizational tips that will keep clutter at bay, these spring cleaning tips will transform your home and your mindset. Get ready to say goodbye to winter grime and hello to a brighter, fresher space!

DIY Closet Organization: From Chaos to Calm
Okay, friends, let’s be honest. We’ve all got that one closet (or maybe more!) that’s a black hole of clothes, shoes, and forgotten treasures. Spring cleaning is the perfect time to tackle the beast and transform it into an organized oasis. I’m going to walk you through my favorite DIY closet organization hacks that will not only maximize space but also make getting dressed each morning a joy, not a chore.
Phase 1: The Great Purge
Before we even think about organizing, we need to declutter. This is the most crucial step, so don’t skip it! Be ruthless!
* Set aside ample time: Don’t try to squeeze this into a spare hour. Dedicate a whole afternoon or even a weekend day. Trust me, you’ll need it.
* Gather your supplies: You’ll need trash bags (for donations and actual trash), boxes or bins for sorting, and a full-length mirror.
* Empty the entire closet: Yes, everything. Take it all out and pile it on your bed or floor. This is essential to see what you’re really working with.
* Clean the closet: Now that it’s empty, give it a good cleaning. Dust the shelves, vacuum the floor, and wipe down the walls. A clean slate is a happy slate!
Now, for the hard part: sorting. As you go through each item, ask yourself these questions:
1. Have I worn this in the past year? If not, it’s probably time to say goodbye.
2. Does it fit properly? Be honest with yourself. Holding onto clothes that are too small or too big just creates clutter and makes you feel bad.
3. Is it in good condition? Are there stains, rips, or tears that can’t be easily fixed? If so, it’s probably not worth keeping.
4. Do I love it? This is the most important question. If you don’t absolutely love it, it’s taking up valuable space.
Create four piles:
* Keep: These are the clothes you wear regularly, that fit well, and that you love.
* Donate: These are clothes that are in good condition but you no longer wear.
* Sell: If you have designer items or clothes that are in excellent condition, you might be able to sell them online or at a consignment shop.
* Trash: These are clothes that are stained, ripped, or otherwise unwearable.
Once you’ve sorted everything, immediately bag up the donations and trash. Don’t let them sit around and tempt you to change your mind! If you’re planning to sell items, research the best platforms and get them listed right away.
Phase 2: Planning Your Organization Strategy
Now that you’ve decluttered, it’s time to plan your organization strategy. This is where you’ll figure out how to maximize your closet space and create a system that works for you.
* Assess your space: Take a good look at your closet. How much hanging space do you have? How many shelves? Are there any awkward corners or unused areas?
* Consider your wardrobe: What types of clothes do you have the most of? Do you have a lot of dresses, pants, or sweaters? This will help you determine what kind of storage solutions you need.
* Think about your lifestyle: How often do you wear certain items? Do you need easy access to your work clothes, or are you mostly wearing casual clothes these days?
* Choose your storage solutions: Based on your space, wardrobe, and lifestyle, choose the storage solutions that will work best for you. Here are some ideas:
* Adjustable shelving: These are great for maximizing vertical space and can be customized to fit your needs.
* Hanging organizers: These are perfect for storing shoes, sweaters, and other items that don’t need to be hung.
* Drawer dividers: These help keep drawers organized and prevent clothes from getting jumbled.
* Storage bins: These are great for storing seasonal items or clothes that you don’t wear often.
* Matching hangers: This is a simple but effective way to create a more streamlined and organized look. I prefer slim velvet hangers because they save space and prevent clothes from slipping.
* Over-the-door organizers: These are great for small closets or for storing accessories like scarves and belts.
* Hooks: Perfect for hanging bags, hats, or frequently worn items.
Phase 3: Implementing the Organization Hacks
Alright, let’s get down to the nitty-gritty and start implementing those organization hacks!
1. Install Adjustable Shelving (if needed): If you’re adding adjustable shelving, follow the manufacturer’s instructions carefully. Make sure the shelves are level and securely attached to the wall. I find a stud finder invaluable for this step.
2. Maximize Vertical Space: Use the full height of your closet by installing shelves or hanging rods as high as possible. Store less frequently used items on the top shelves.
3. Hang Clothes Strategically:
* Group similar items together: Hang all your shirts together, then your pants, skirts, dresses, etc.
* Color-code your clothes: This makes it easier to find what you’re looking for and creates a visually appealing closet.
* Hang lightweight items on the top rod and heavier items on the bottom rod: This helps distribute the weight evenly and prevents the rods from sagging.
* Face all hangers in the same direction: This creates a more uniform and organized look.
4. Fold Clothes Neatly:
* Use the KonMari method: This folding technique allows you to see all your clothes at a glance and saves space. You can find tutorials online.
* Store folded clothes vertically: This also saves space and makes it easier to see what you have.
* Use drawer dividers: These help keep drawers organized and prevent clothes from getting jumbled.
5. Utilize Hanging Organizers:
* Store shoes in hanging shoe organizers: This keeps them off the floor and prevents them from getting dusty.
* Use hanging sweater organizers: These are great for storing sweaters, scarves, and other bulky items.
* Hang accessories in over-the-door organizers: This is a great way to store scarves, belts, and jewelry.
6. Store Seasonal Items:
* Pack away out-of-season clothes in storage bins: Label the bins clearly so you know what’s inside.
* Store the bins on the top shelves or in another storage area: This frees up space in your closet for the clothes you’re currently wearing.
7. Add Hooks:
* Install hooks on the inside of the closet door: This is a great place to hang bags, hats, or frequently worn items.
* Use decorative hooks to add a touch of style: Choose hooks that complement your closet’s decor.
8. Don’t Forget the Details:
* Add a small lamp or string lights: This will make it easier to see your clothes and create a more inviting space.
* Hang a mirror: This is essential for getting dressed and checking your outfit.
* Add a scented sachet or diffuser: This will keep your closet smelling fresh and clean.
Phase 4: Maintaining Your Organized Closet
The key to keeping your closet organized is to maintain it regularly. Here are some tips:
* Put clothes away immediately after wearing them: Don’t let them pile up on your bed or floor.
* Declutter regularly: Go through your closet every few months and get rid of anything you no longer wear or need.
* Re-evaluate your storage solutions: As your wardrobe changes, you may need to adjust your storage solutions.
* Make it a habit: Spend a few minutes each day tidying up your closet. This will prevent it from becoming cluttered again.
Specific DIY Hacks to Elevate Your Closet Game
Here are a few extra DIY hacks that I swear by:
1. DIY Scarf Organizer: Grab a pack of shower curtain rings and loop them onto a hanger. Now you can easily hang your scarves without them taking up too much space.
2. Repurpose Old Ladders: An old wooden ladder can be transformed into a unique shoe rack or a place to hang blankets. Just lean it against the wall and arrange your items on the rungs.
3. Create a Jewelry Display: Use a corkboard and pushpins to create a custom jewelry display. This keeps your necklaces from tangling and makes it easy to see all your options. You can even paint the corkboard to match your closet’s decor.
Conclusion
So, there you have it! Mastering this simple yet incredibly effective DIY cleaning solution is a game-changer for your spring cleaning routine. Forget harsh chemicals and expensive store-bought products. This method is not only budget-friendly and eco-conscious, but it also delivers remarkable results, leaving your home sparkling and refreshed. The beauty of this DIY trick lies in its simplicity and adaptability. It’s a must-try for anyone looking to streamline their cleaning process and achieve a truly deep clean without breaking the bank or exposing themselves to potentially harmful substances.
Think about the satisfaction of knowing exactly what’s going into your cleaning products. No more deciphering complicated ingredient lists or worrying about hidden toxins. This DIY approach empowers you to take control of your home environment and create a healthier living space for yourself and your family.
Beyond the basic recipe, there’s ample room for customization. Experiment with different essential oils to create your signature scent. Lavender for a calming atmosphere, lemon for a zesty boost, or eucalyptus for its invigorating properties – the possibilities are endless! You can also adjust the proportions of ingredients to suit your specific cleaning needs. For tougher stains, increase the concentration of vinegar or baking soda. For delicate surfaces, dilute the solution further with water.
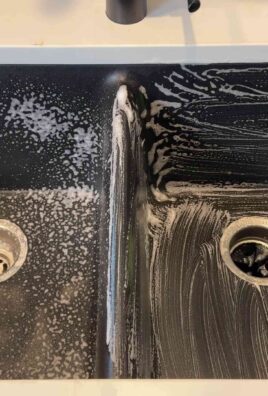
This DIY cleaning solution is truly versatile. Use it on countertops, sinks, bathtubs, floors, and even windows. It’s a one-stop shop for tackling a wide range of cleaning tasks throughout your home. Imagine the time and money you’ll save by replacing multiple cleaning products with this single, powerful solution.
But the real magic happens when you put this DIY trick into action. We wholeheartedly encourage you to give it a try and experience the difference for yourself. Don’t just take our word for it – see the results firsthand. We’re confident that you’ll be amazed by its effectiveness and simplicity.
Once you’ve tried it, we’d love to hear about your experience! Share your tips, variations, and success stories in the comments below. Let’s create a community of DIY cleaning enthusiasts and inspire others to embrace a more natural and sustainable approach to home cleaning. Your feedback is invaluable and will help us refine and improve this DIY cleaning solution for everyone. So, grab your ingredients, get cleaning, and let us know what you think! Happy spring cleaning!
Frequently Asked Questions (FAQ)
What exactly makes this DIY cleaning solution so effective?
The effectiveness of this DIY cleaning solution stems from the synergistic action of its ingredients. Vinegar, a natural acid, helps to dissolve grime, grease, and mineral deposits. Baking soda, a mild abrasive, gently scrubs away dirt and deodorizes surfaces. The combination of these two ingredients creates a powerful cleaning action that is both effective and safe for most surfaces. Furthermore, the addition of essential oils not only provides a pleasant scent but also contributes to the cleaning power with their antibacterial and antifungal properties. Unlike many commercial cleaners that rely on harsh chemicals, this DIY solution harnesses the power of natural ingredients to achieve a thorough and effective clean.
Can I use this DIY cleaning solution on all surfaces in my home?
While this DIY cleaning solution is generally safe for most surfaces, it’s always a good idea to test it on an inconspicuous area first, especially on delicate or sensitive materials. Avoid using it on natural stone surfaces like marble or granite, as the acidity of the vinegar can etch and damage them over time. Similarly, be cautious when using it on waxed wood floors, as it may strip the wax. For these surfaces, a milder cleaning solution or a specialized cleaner is recommended. Always dilute the solution with water for delicate surfaces and avoid prolonged contact. When in doubt, consult the manufacturer’s instructions for the specific surface you’re cleaning.
What are some alternative ingredients I can use in this DIY cleaning solution?
The beauty of this DIY cleaning solution is its versatility and adaptability. If you don’t have vinegar on hand, you can substitute it with lemon juice, which also contains citric acid and offers similar cleaning properties. For a stronger cleaning action, you can add a small amount of borax to the solution. However, be sure to handle borax with care and avoid contact with skin and eyes. Instead of baking soda, you can use washing soda, which is a stronger alkali and provides a more powerful cleaning action. When it comes to essential oils, the possibilities are endless. Experiment with different scents to find your favorite combination. Tea tree oil is a great addition for its antibacterial and antifungal properties, while peppermint oil can help to repel insects.
How long can I store this DIY cleaning solution?
This DIY cleaning solution is best used fresh, but it can be stored in an airtight container for up to a month. Over time, the effectiveness of the solution may diminish slightly, especially if it contains essential oils, as they can evaporate. To maximize its shelf life, store the solution in a cool, dark place away from direct sunlight. Before each use, give the container a gentle shake to ensure that the ingredients are well mixed. If you notice any changes in color, odor, or consistency, it’s best to discard the solution and make a fresh batch.
Is this DIY cleaning solution safe for pets and children?
This DIY cleaning solution is generally safer for pets and children than many commercial cleaners, as it doesn’t contain harsh chemicals or toxic ingredients. However, it’s still important to exercise caution and keep the solution out of reach of children and pets. Vinegar can be irritating if ingested, and essential oils can be toxic to pets in large quantities. When cleaning, ensure that the area is well-ventilated and allow surfaces to dry completely before allowing pets or children to access them. If you have any concerns about the safety of this solution for your pets or children, consult with your veterinarian or pediatrician.
Can I use this solution in a spray bottle?
Yes, this DIY cleaning solution works perfectly in a spray bottle. In fact, using a spray bottle makes it easier to apply the solution to surfaces and control the amount you’re using. Be sure to use a clean spray bottle that hasn’t been used for other cleaning products, as mixing different chemicals can be dangerous. Label the spray bottle clearly with the name of the solution and the date it was made. When spraying the solution, avoid spraying it directly into your eyes or face.
What if I don’t like the smell of vinegar?
The smell of vinegar can be off-putting to some people, but it dissipates quickly after cleaning. To mask the vinegar smell, you can add a few drops of your favorite essential oils to the solution. Lemon, lavender, and eucalyptus essential oils are all great options for neutralizing the vinegar smell and leaving a fresh, clean scent. You can also try using apple cider vinegar instead of white vinegar, as it has a milder scent. Another tip is to open windows and ventilate the area while cleaning to help the vinegar smell dissipate more quickly.
How does this DIY cleaning solution contribute to spring cleaning?
This DIY cleaning solution is an excellent addition to your spring cleaning arsenal because it’s versatile enough to tackle a wide range of cleaning tasks. From cleaning countertops and appliances to scrubbing bathrooms and mopping floors, this solution can handle it all. Its natural ingredients are effective at removing dirt, grime, and odors, leaving your home feeling fresh and revitalized. By using this DIY solution, you can reduce your reliance on harsh chemicals and create a healthier living environment for yourself and your family. Plus, it’s a cost-effective way to achieve a thorough and deep clean without breaking the bank. Incorporating this DIY trick into your spring cleaning routine will not only save you time and money but also contribute to a more sustainable and eco-friendly lifestyle.

Leave a Comment