

Growing Okra at Home can seem daunting, but trust me, with a few simple tricks, you’ll be harvesting delicious pods in no time! Forget those bland, slimy okra experiences – we’re about to unlock the secrets to tender, flavorful okra right in your own backyard.
Okra, also known as “lady’s fingers,” has a rich history, tracing back to ancient Ethiopia and Egypt. It then spread throughout North Africa, the Middle East, and eventually, the Americas. In many cultures, okra isn’t just a food source; it’s a symbol of good luck and prosperity. Think about that as you plant your seeds – you’re not just growing vegetables, you’re cultivating a little bit of history!
So, why do you need these DIY okra-growing hacks? Well, let’s face it, okra can be a bit finicky. It needs the right conditions to thrive, and without a little know-how, you might end up with stunted plants and disappointing yields. I’m here to share my tried-and-true methods for ensuring a bountiful harvest. From soil preparation to pest control, I’ll guide you through every step of the process. Get ready to impress your friends and family with your homegrown okra – they’ll be begging for your secret recipe!
Growing Okra at Home: A Beginner’s Guide to Bountiful Harvests
Hey there, fellow gardening enthusiasts! I’m so excited to share my experience with growing okra – that wonderfully versatile and slightly quirky vegetable – right in my own backyard. Okra, also known as “lady’s fingers,” is a warm-season crop that’s surprisingly easy to cultivate, even if you’re a beginner like I was not too long ago. Get ready to enjoy fresh, homegrown okra in your favorite gumbos, stews, or even fried!
Choosing the Right Okra Variety
Before we dive into the nitty-gritty, let’s talk about choosing the right okra variety for your garden. There are several options available, each with its own unique characteristics. Here are a few popular choices:
* Clemson Spineless: This is a classic and widely grown variety known for its smooth pods and spineless stems, making harvesting a breeze. It’s a reliable producer and a great choice for beginners.
* Emerald: As the name suggests, Emerald okra produces beautiful, dark green pods. It’s known for its excellent flavor and tenderness.
* Burgundy: If you’re looking for something a little different, Burgundy okra boasts stunning red pods that add a pop of color to your garden. The pods turn green when cooked.
* Dwarf Green Long Pod: Perfect for smaller gardens or container growing, this variety produces compact plants with long, slender pods.
Consider your local climate and growing conditions when making your selection. Check with your local nursery or agricultural extension office for recommendations on the best varieties for your area.
Preparing Your Garden for Okra
Okra thrives in warm weather and requires plenty of sunshine. Here’s how to prepare your garden for a successful okra crop:
* Sunlight: Choose a location that receives at least 6-8 hours of direct sunlight per day.
* Soil: Okra prefers well-drained soil that is rich in organic matter. Amend your soil with compost or aged manure to improve its fertility and drainage.
* Soil pH: Aim for a soil pH between 6.0 and 7.0. You can test your soil pH using a soil testing kit available at most garden centers.
* Spacing: Okra plants can grow quite tall, so provide adequate spacing between plants. Space plants 12-18 inches apart in rows that are 3-4 feet apart.
Planting Okra Seeds
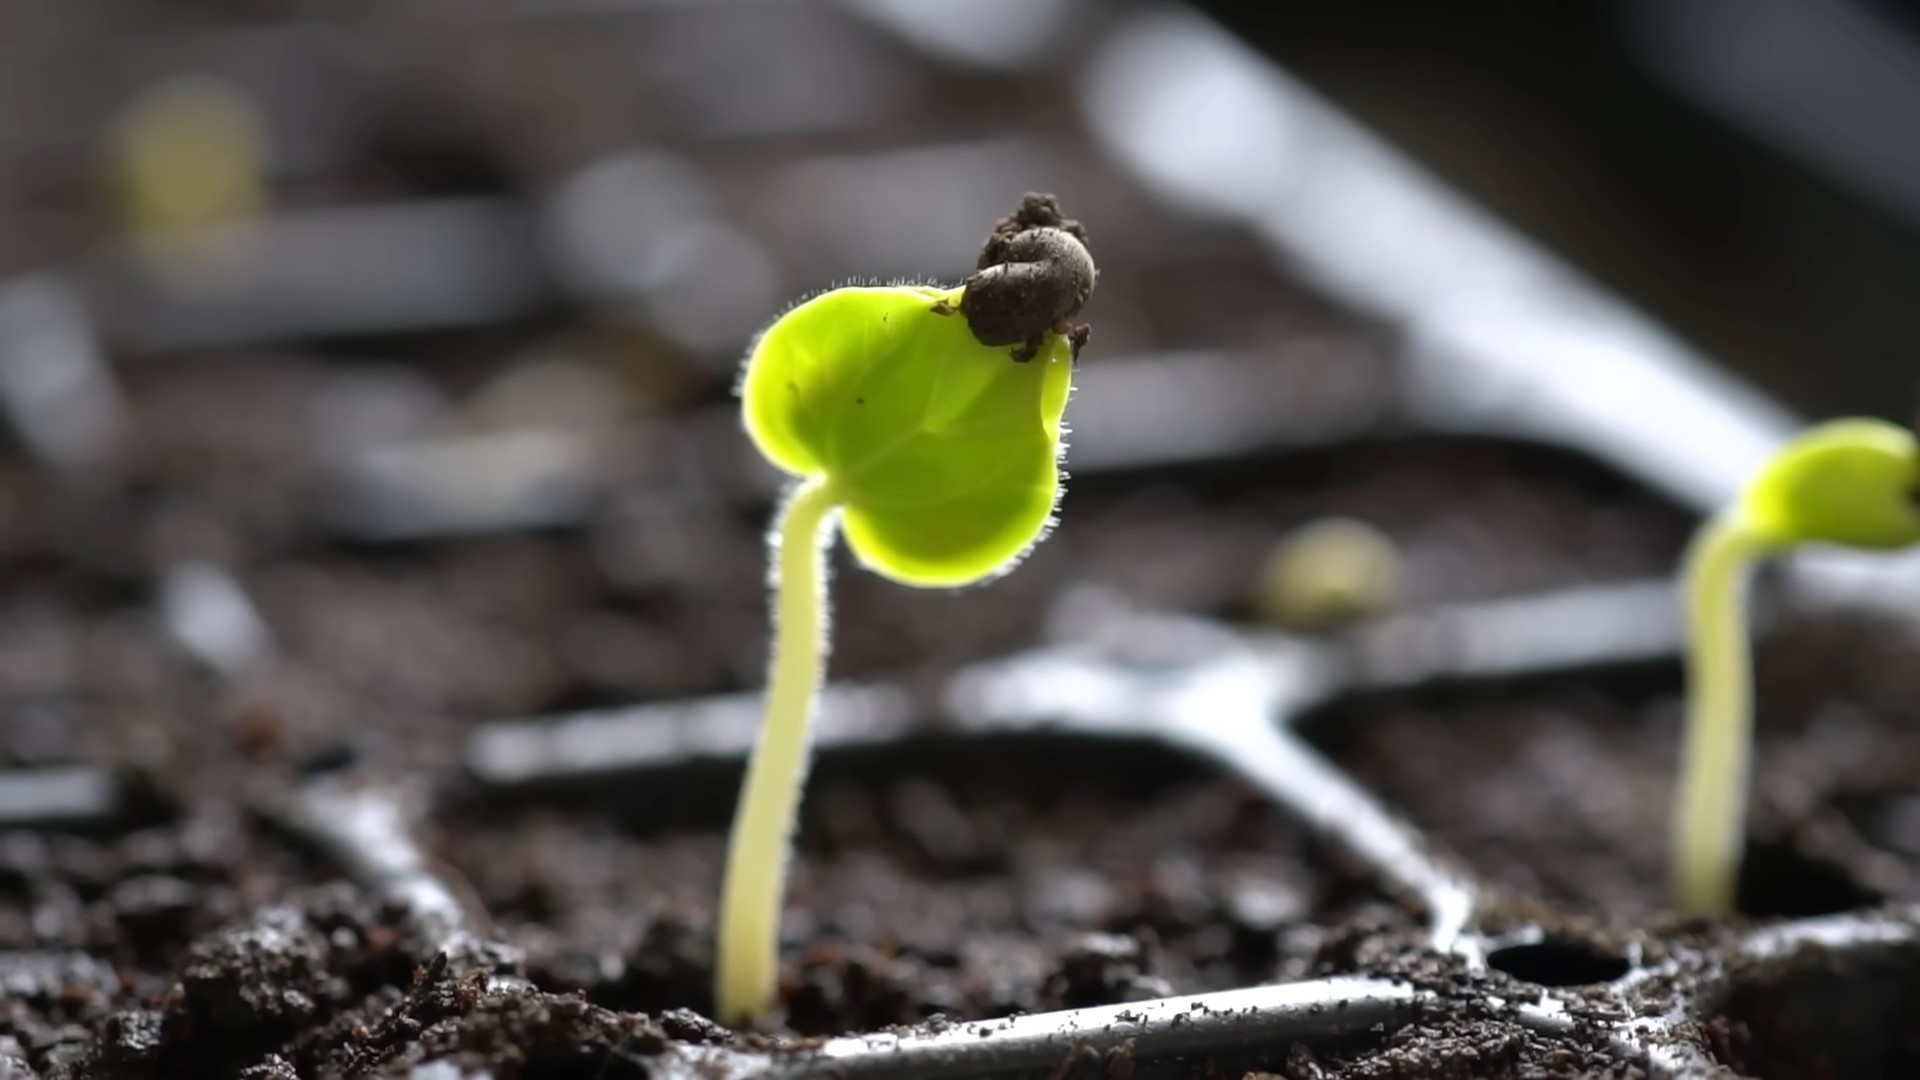
Okra is typically grown from seed, and it’s best to sow the seeds directly into the garden after the last frost. Here’s how to plant okra seeds:
1. Soak the Seeds: To improve germination, soak the okra seeds in water for 12-24 hours before planting. This will help soften the seed coat and speed up the sprouting process.
2. Prepare the Planting Holes: Dig small holes about 1 inch deep and spaced 12-18 inches apart.
3. Sow the Seeds: Place 2-3 seeds in each hole. This ensures that at least one seed will germinate.
4. Cover the Seeds: Gently cover the seeds with soil and pat it down lightly.
5. Water Thoroughly: Water the planting area thoroughly to moisten the soil.
Caring for Your Okra Plants
Once your okra seeds have sprouted, it’s important to provide them with proper care to ensure healthy growth and abundant harvests.
* Watering: Okra plants need consistent moisture, especially during hot, dry weather. Water deeply and regularly, aiming to keep the soil consistently moist but not waterlogged.
* Fertilizing: Okra is a heavy feeder, so fertilize your plants regularly with a balanced fertilizer. Apply fertilizer according to the package instructions. I like to use a slow-release fertilizer at planting time and then supplement with liquid fertilizer every few weeks.
* Weeding: Keep the area around your okra plants free of weeds. Weeds compete with okra for nutrients and water, so it’s important to remove them regularly.
* Mulching: Apply a layer of mulch around your okra plants to help retain moisture, suppress weeds, and regulate soil temperature. Organic mulches like straw, wood chips, or shredded leaves are excellent choices.
* Pest Control: Okra can be susceptible to certain pests, such as aphids, flea beetles, and corn earworms. Monitor your plants regularly for signs of infestation and take appropriate action if necessary. Insecticidal soap or neem oil can be effective for controlling many common okra pests.
* Pruning: While not strictly necessary, pruning can help improve air circulation and sunlight penetration, which can lead to healthier plants and better yields. Remove any yellowing or damaged leaves, as well as any suckers that grow from the base of the plant.
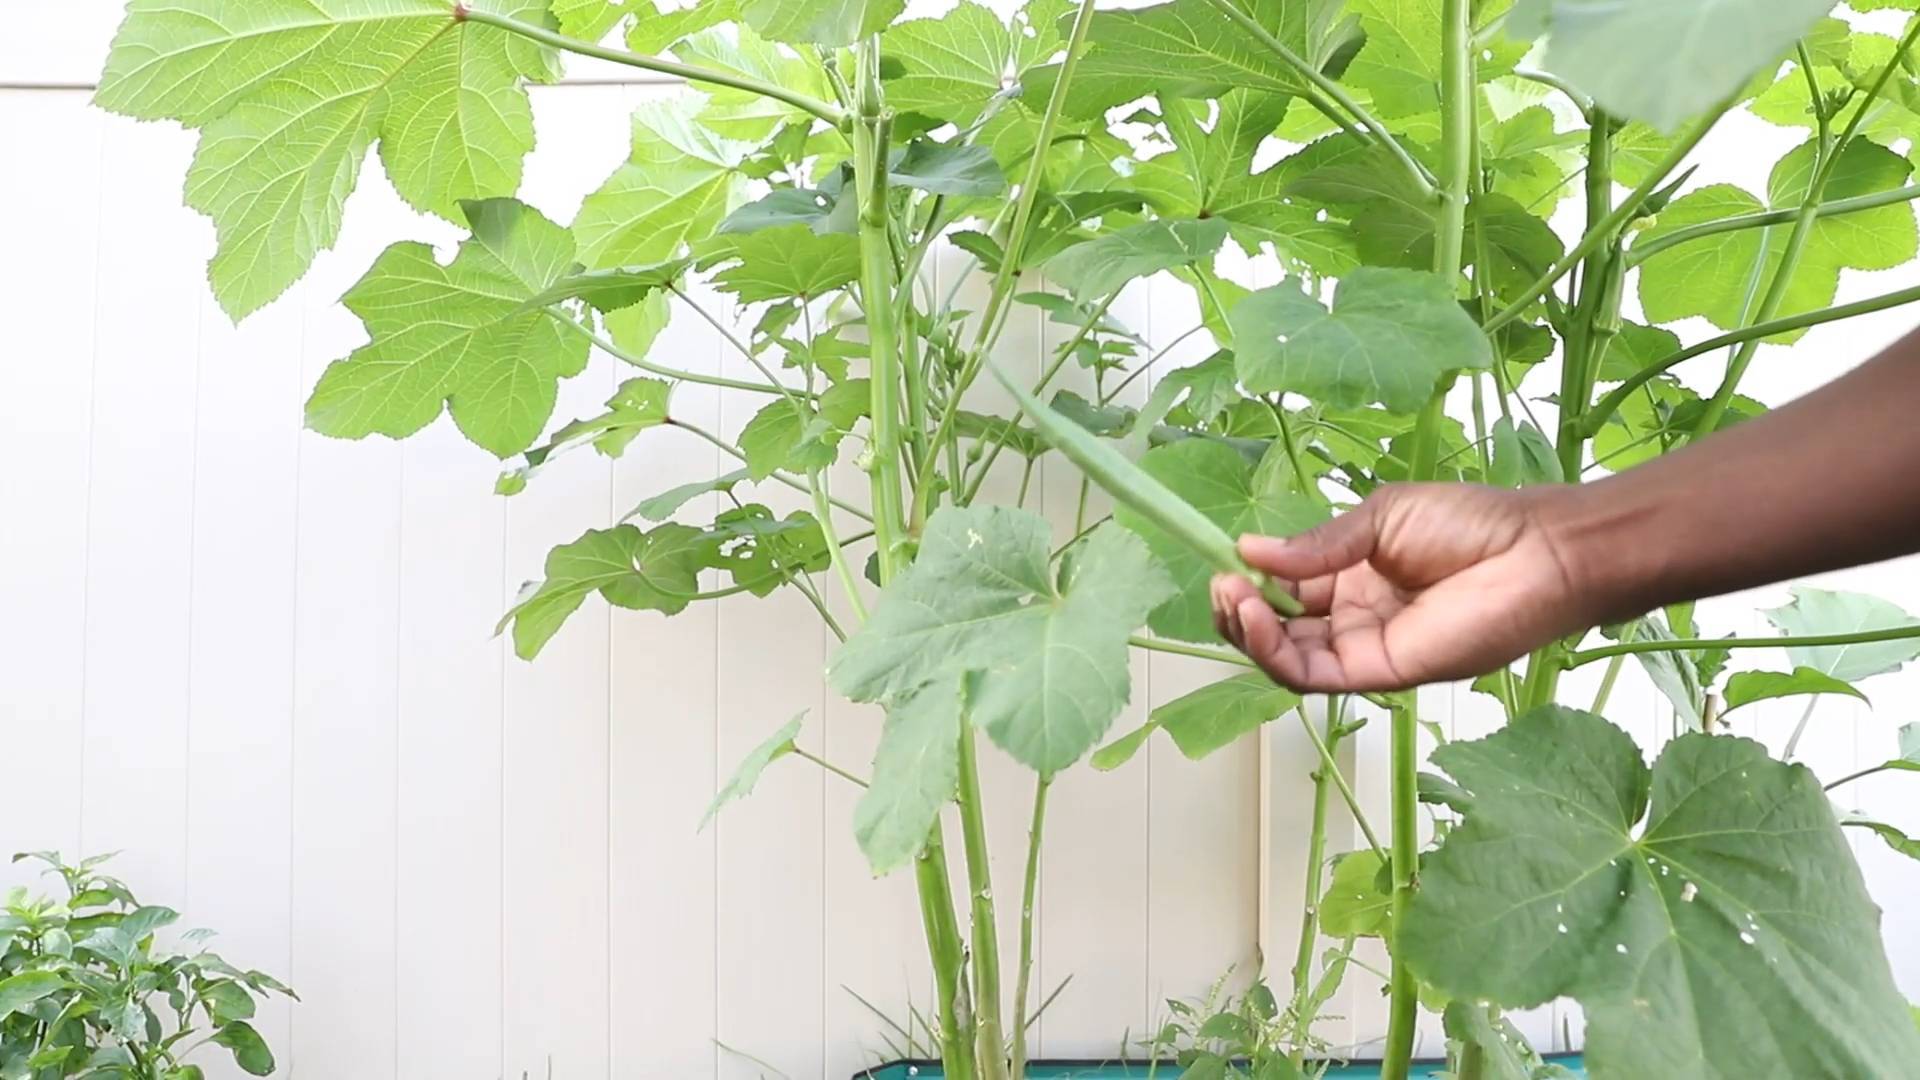
Harvesting Okra
Harvesting okra at the right time is crucial for ensuring tender and flavorful pods. Here’s what you need to know:
* Timing: Okra pods are typically ready for harvest 50-65 days after planting.
* Pod Size: Harvest okra pods when they are 2-4 inches long. Larger pods tend to be tough and fibrous.
* Harvesting Technique: Use a sharp knife or pruning shears to cut the pods from the plant. Be careful not to damage the plant.
* Frequency: Harvest okra pods every 1-2 days. Regular harvesting encourages the plant to produce more pods.
* Handling: Okra pods can be prickly, so wear gloves when harvesting to protect your hands.
Dealing with Common Okra Problems
Even with the best care, you may encounter some problems while growing okra. Here are a few common issues and how to address them:
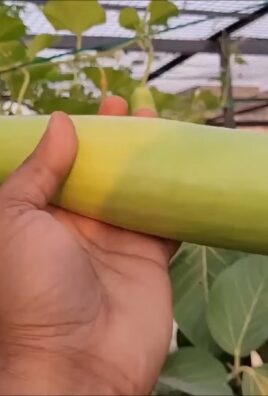
* Yellowing Leaves: Yellowing leaves can be a sign of nutrient deficiency, overwatering, or pest infestation. Check your soil pH and nutrient levels, adjust your watering schedule, and inspect your plants for pests.
* Stunted Growth: Stunted growth can be caused by poor soil, lack of sunlight, or pest infestation. Amend your soil with compost, ensure your plants are getting enough sunlight, and control any pests.
* Blossom Drop: Blossom drop, where the flowers fall off the plant without producing pods, can be caused by high temperatures, drought stress, or poor pollination. Provide adequate water, especially during hot weather, and consider hand-pollinating the flowers if necessary.
* Root Knot Nematodes: These microscopic worms can damage okra roots, leading to stunted growth and reduced yields. Rotate your crops regularly and consider using a soil amendment that is known to suppress nematodes.
Saving Okra Seeds
If you want to save seeds from your okra plants for future planting, here’s how:
1. Allow Pods to Mature: Allow a few pods to mature fully on the plant. The pods will turn brown and dry out.
2. Harvest the Pods: Once the pods are completely dry, harvest them from the plant.
3. Extract the Seeds: Break open the pods and remove the seeds.
4. Dry the Seeds: Spread the seeds out on a tray and allow them to dry completely for several days.
5. Store the Seeds: Store the dried seeds in an airtight container in a cool, dark, and dry place.
Okra in Containers
Don’t have a lot of garden space? No problem! Okra can also be grown successfully in containers. Here’s what you need to know:
* Container Size: Choose a large container that is at least 12 inches in diameter and 12 inches deep.
* Potting Mix: Use a high-quality potting mix that is well-draining.
* Sunlight: Place the container in a location that receives at least 6-8 hours of direct sunlight per day.
* Watering: Water regularly, especially during hot weather. Container plants tend to dry out more quickly than plants in the ground.
* Fertilizing: Fertilize regularly with a balanced fertilizer.
* Variety Selection: Choose a compact or dwarf okra variety that is well-suited for container growing.
Okra Recipes to Try
Now that you’ve harvested your homegrown okra, it’s time to enjoy the fruits (or rather, vegetables) of your labor! Here are a few delicious okra recipes to try:
* Fried Okra: A classic Southern dish that’s crispy, crunchy, and oh-so-delicious.
* Okra Gumbo: A hearty and flavorful stew that’s perfect for a chilly evening.
* Roasted Okra: A simple and healthy way to enjoy okra.
* Pickled Okra: A tangy and flavorful condiment that’s great on sandwiches or as a side dish.
* Okra Curry: A spicy and aromatic Indian dish that’s packed with flavor.
I hope this guide has inspired you to try growing okra at home. It’s a
Conclusion
So, there you have it! Growing okra at home is not only achievable, but it’s also incredibly rewarding. From the vibrant blooms to the crisp, delicious pods, every stage of the process offers a unique connection to your food. We’ve walked through the essential steps, from selecting the right variety and preparing your soil to nurturing your plants and harvesting your bounty.
But why should you take the plunge and dedicate a corner of your garden (or even a large container) to this Southern staple? The answer is multifaceted. Firstly, the taste of homegrown okra is simply unparalleled. Forget the tough, sometimes slimy okra you might find in the grocery store. Freshly picked okra, cooked within hours of harvesting, boasts a delicate flavor and a satisfying crunch. Secondly, you have complete control over the growing process. No pesticides, no herbicides, just pure, natural goodness. This is especially important for those concerned about the environmental impact of their food choices.
Beyond the taste and health benefits, growing okra at home is also a fantastic learning experience. It’s a chance to connect with nature, understand the cycles of growth, and appreciate the effort that goes into producing the food we eat. It’s also a surprisingly low-maintenance crop, making it ideal for beginner gardeners.
Don’t be afraid to experiment! Try different varieties of okra to find your favorite. Clemson Spineless is a classic choice, but Burgundy okra offers a beautiful visual contrast with its deep red pods. Consider companion planting to maximize your garden’s potential. Basil, thyme, and marigolds are all excellent companions for okra, helping to deter pests and attract beneficial insects.
And speaking of variations, think beyond the traditional fried okra. Grilled okra is a smoky delight, while pickled okra adds a tangy kick to salads and sandwiches. You can even roast okra with spices for a healthy and flavorful side dish. The possibilities are endless!
We strongly encourage you to give **growing okra at home** a try. It’s a fun, fulfilling, and delicious experience that will transform your relationship with food. Don’t be intimidated by the process. Start small, learn as you go, and most importantly, have fun!
Once you’ve harvested your first crop, we’d love to hear about your experience. Share your tips, tricks, and favorite okra recipes in the comments below. Let’s create a community of okra enthusiasts and inspire others to embrace the joy of homegrown goodness. Happy gardening!
Frequently Asked Questions (FAQ)
What is the best time of year to plant okra?
Okra thrives in warm weather, so the best time to plant it is after the last frost, when the soil has warmed up to at least 65 degrees Fahrenheit (around 18 degrees Celsius). This typically falls in late spring or early summer, depending on your climate. In warmer regions with longer growing seasons, you may even be able to plant a second crop in mid-summer for a fall harvest. Planting too early, when the soil is still cold, can stunt the growth of your okra plants and make them more susceptible to disease.
How much sun does okra need?
Okra needs at least 6-8 hours of direct sunlight per day to thrive. Choose a planting location that receives plenty of sunlight throughout the day. If you’re growing okra in containers, make sure to place them in a sunny spot. Insufficient sunlight can lead to leggy plants with poor pod production.
What kind of soil is best for growing okra?
Okra prefers well-drained soil that is rich in organic matter. Before planting, amend your soil with compost or well-rotted manure to improve its fertility and drainage. Okra can tolerate a slightly acidic to neutral soil pH (between 6.0 and 7.0). If your soil is heavy clay, consider adding sand or other amendments to improve drainage.
How often should I water my okra plants?
Okra needs consistent moisture, especially during hot, dry weather. Water deeply and regularly, aiming to keep the soil consistently moist but not waterlogged. A good rule of thumb is to water when the top inch of soil feels dry to the touch. Mulching around your okra plants can help to retain moisture and suppress weeds.
How do I fertilize my okra plants?
Okra is a relatively heavy feeder, so it benefits from regular fertilization. Before planting, incorporate a balanced fertilizer into the soil. During the growing season, side-dress your okra plants with a nitrogen-rich fertilizer every 4-6 weeks to promote healthy growth and pod production. Avoid over-fertilizing, as this can lead to excessive foliage growth at the expense of pod development.
When and how should I harvest okra?
Okra pods are typically ready to harvest 50-65 days after planting. Harvest the pods when they are young and tender, typically 2-4 inches long. Use a sharp knife or pruning shears to cut the pods from the plant, leaving a short stem attached. Harvest okra frequently, every 1-2 days, to encourage continued production. Overripe okra pods can become tough and fibrous.
Why is my okra plant not producing pods?
There are several reasons why your okra plant might not be producing pods. Common causes include insufficient sunlight, poor soil fertility, inadequate watering, and pest infestations. Make sure your okra plants are receiving at least 6-8 hours of direct sunlight per day, and that your soil is rich in organic matter and well-drained. Water deeply and regularly, and fertilize your plants as needed. Inspect your plants regularly for pests and diseases, and take appropriate action if necessary.
How do I deal with common okra pests and diseases?
Okra can be susceptible to a variety of pests and diseases, including aphids, flea beetles, nematodes, and fungal diseases. To prevent pest and disease problems, practice good garden hygiene, such as removing weeds and debris from around your plants. Inspect your plants regularly for signs of pests or diseases, and take action promptly if necessary. Organic pest control methods, such as insecticidal soap and neem oil, can be effective for controlling many common okra pests. For fungal diseases, ensure good air circulation around your plants and avoid overhead watering.
Can I grow okra in containers?
Yes, you can successfully grow okra in containers, provided you choose a large enough container (at least 10-15 gallons) and use a well-draining potting mix. Make sure your container has drainage holes to prevent waterlogging. Place your container in a sunny location that receives at least 6-8 hours of direct sunlight per day. Water and fertilize your container-grown okra plants regularly, as they will dry out and deplete nutrients more quickly than plants grown in the ground.
How do I save okra seeds for next year?
To save okra seeds, allow some of the pods to mature fully on the plant. The pods will become dry and brown, and the seeds inside will harden. Once the pods are completely dry, harvest them and remove the seeds. Store the seeds in a cool, dry place in an airtight container. Okra seeds can remain viable for several years if stored properly.
Leave a Comment