

Murphy’s Oil Soap Cleaning Tips: Unlock the Secret to Sparkling Clean with a Touch of Tradition!
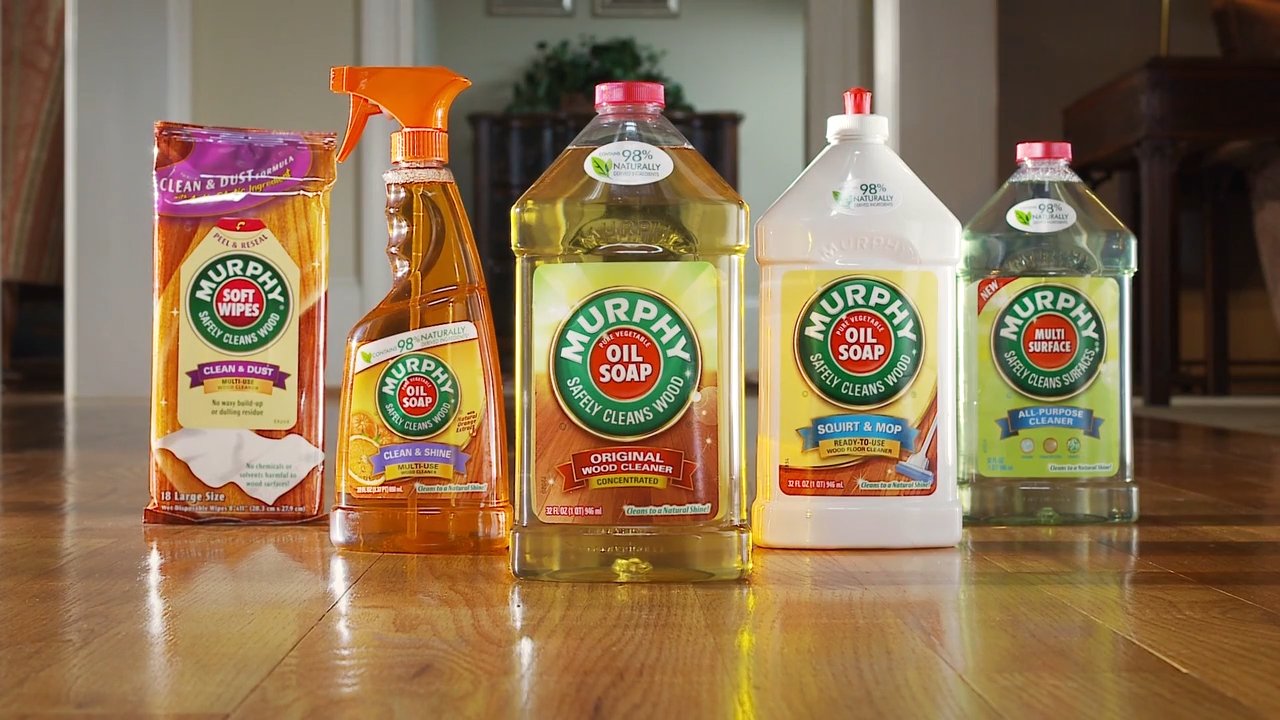
Ever wonder how your grandmother kept her furniture looking so pristine? Chances are, she had a bottle of Murphy’s Oil Soap tucked away! This iconic cleaner, with its rich history dating back to the late 19th century, isn’t just a cleaning product; it’s a legacy. For generations, it’s been the go-to solution for gently yet effectively cleaning wood surfaces, leaving behind a subtle, refreshing scent.
But here’s the thing: Murphy’s Oil Soap is more versatile than you might think! In this DIY article, I’m going to share some amazing Murphy’s Oil Soap cleaning tips and hacks that go beyond just your wooden furniture. From reviving dull floors to tackling stubborn grime, you’ll discover how this humble cleaner can become your secret weapon against household dirt.
Why do you need these DIY tricks? Because let’s face it, keeping a home clean can feel like a never-ending battle. But with the right tools and knowledge, it doesn’t have to be a chore. These tips will not only save you time and money but also help you achieve a level of clean that will make your home shine. So, grab your bottle of Murphy’s Oil Soap, and let’s get started!
DIY Cleaning Magic: Unleashing the Power of Murphy’s Oil Soap
Hey there, fellow cleaning enthusiasts! I’m so excited to share my favorite DIY cleaning hacks using a product that’s been a staple in my home for years: Murphy’s Oil Soap. It’s not just for wood anymore! Get ready to be amazed at how versatile this stuff is. I’m going to walk you through some incredible ways to use it, from tackling stubborn stains to giving your leather goods a new lease on life. Let’s dive in!
Understanding Murphy’s Oil Soap: A Gentle Giant
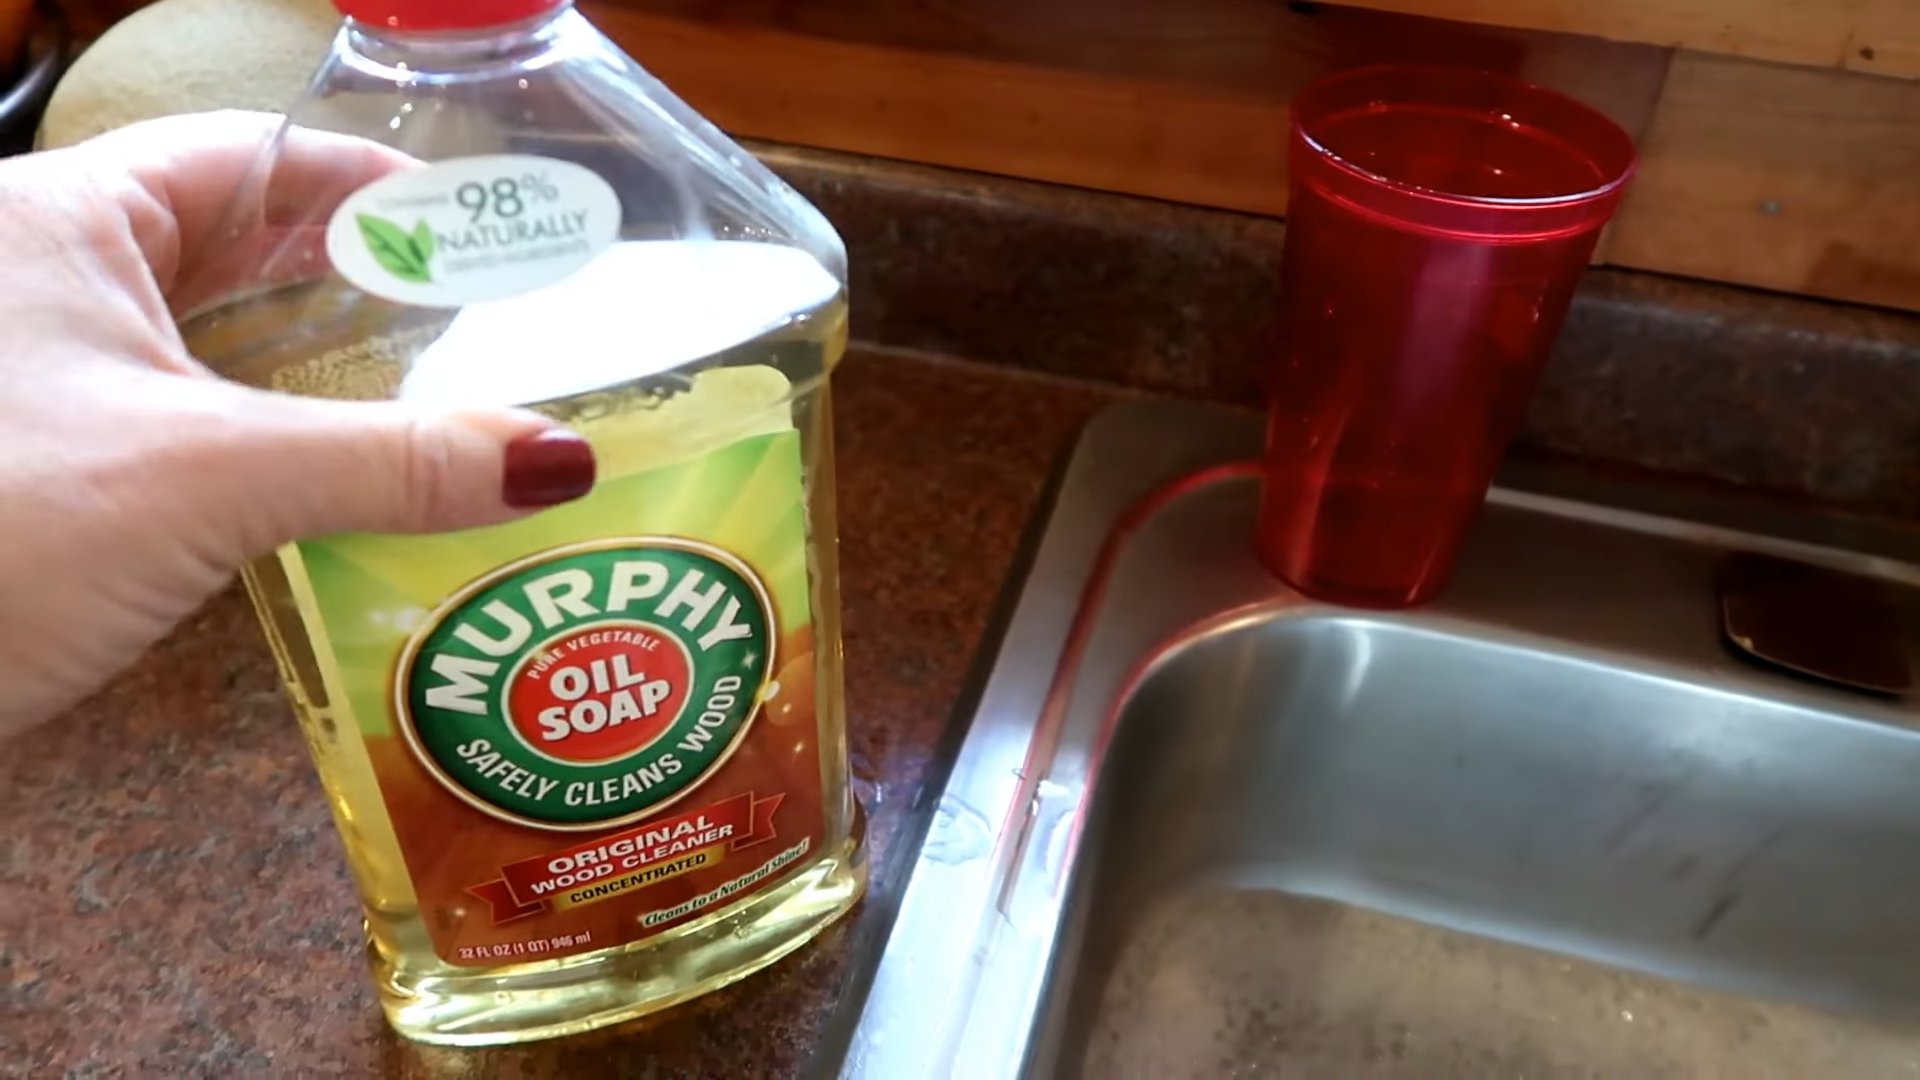
Before we get started, let’s talk a little about what makes Murphy’s Oil Soap so special. It’s a concentrated cleaner made with natural vegetable oils, primarily linseed oil. This gives it a gentle cleaning action that’s safe for most surfaces, especially wood. But don’t let the “oil” part scare you – it doesn’t leave a greasy residue when used properly. In fact, it helps to condition and protect surfaces while cleaning.
General Guidelines for Using Murphy’s Oil Soap
* Always dilute it! This is key. Using it full strength can leave a sticky residue.
* Test in an inconspicuous area first. Especially on delicate surfaces like painted walls or antique furniture.
* Use a soft cloth or sponge. Avoid abrasive scrubbers that can scratch surfaces.
* Rinse well with clean water. This is important to remove any soap residue.
* Dry thoroughly. This prevents water spots and helps to maintain the finish of your surfaces.
Cleaning Wood Floors Like a Pro
Okay, let’s start with the classic use: wood floors. I’ve tried so many floor cleaners over the years, and I always come back to Murphy’s. It leaves my floors clean, shiny, and smelling amazing.
Step-by-Step Instructions:
1. Sweep or vacuum thoroughly. Get rid of all the loose dirt, dust, and debris. This is crucial for preventing scratches during the cleaning process.
2. Prepare your cleaning solution. In a bucket, mix 1/4 cup of Murphy’s Oil Soap with 1 gallon of warm water. Don’t use hot water, as it can damage some wood finishes.
3. Dampen your mop. Wring it out really well! You want it to be damp, not soaking wet. Excess water can seep into the wood and cause damage.
4. Mop in the direction of the wood grain. This helps to lift dirt and grime more effectively.
5. Rinse your mop frequently. This prevents you from spreading dirty water around.
6. Rinse the floor with clean water (optional). If you feel like there’s still some soap residue, you can rinse the floor with a clean, damp mop.
7. Dry the floor with a clean, dry towel or microfiber cloth. This will prevent water spots and leave your floors sparkling.
Reviving Wood Furniture: A Gentle Touch
Murphy’s Oil Soap is also fantastic for cleaning and conditioning wood furniture. It helps to remove dust, dirt, and grime, while also nourishing the wood and restoring its natural shine.
Step-by-Step Instructions:
1. Dust the furniture thoroughly. Use a soft cloth or duster to remove any loose dust and debris.
2. Prepare your cleaning solution. In a bowl, mix 1/4 cup of Murphy’s Oil Soap with 1 quart of warm water.
3. Dampen a soft cloth with the cleaning solution. Wring it out well so it’s not dripping wet.
4. Wipe down the furniture in the direction of the wood grain. Pay attention to areas that are particularly dirty or stained.
5. Rinse the cloth frequently. This prevents you from spreading dirty water around.
6. Rinse the furniture with a clean, damp cloth. This is important to remove any soap residue.
7. Dry the furniture with a clean, dry cloth. This will prevent water spots and leave your furniture looking its best.
8. For extra shine, you can apply a furniture polish after cleaning. But honestly, I often find that Murphy’s Oil Soap alone is enough to restore the natural beauty of the wood.
Leather Care: Softening and Cleaning
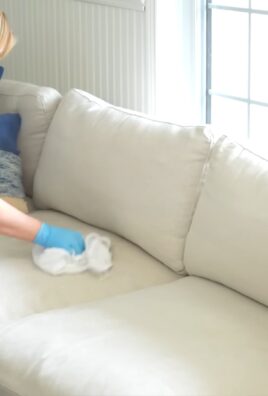
Did you know you can use Murphy’s Oil Soap on leather? It’s true! It’s a gentle way to clean and condition leather furniture, shoes, and accessories. Always test in an inconspicuous area first, as some leathers are more delicate than others.
Step-by-Step Instructions:
1. Dust the leather item. Use a soft cloth to remove any loose dust and debris.
2. Prepare your cleaning solution. In a bowl, mix 1 tablespoon of Murphy’s Oil Soap with 1 cup of warm water. Use even less soap than you would for wood.
3. Dampen a soft cloth with the cleaning solution. Wring it out very well! You want it to be barely damp.
4. Gently wipe down the leather item. Use circular motions and avoid rubbing too hard.
5. Rinse the cloth frequently. This prevents you from spreading dirty water around.
6. Wipe the leather item with a clean, damp cloth. This is important to remove any soap residue.
7. Dry the leather item with a clean, dry cloth.
8. Apply a leather conditioner. This will help to moisturize the leather and prevent it from cracking. I like to use a natural leather conditioner made with beeswax and essential oils.
Cleaning Painted Walls: A Gentle Approach
Cleaning painted walls can be tricky, but Murphy’s Oil Soap can be a great option, especially for removing scuff marks and fingerprints. Again, test in an inconspicuous area first!
Step-by-Step Instructions:
1. Dust the walls. Use a soft cloth or duster to remove any loose dust and debris.
2. Prepare your cleaning solution. In a bucket, mix 1/4 cup of Murphy’s Oil Soap with 1 gallon of warm water.
3. Dampen a sponge with the cleaning solution. Wring it out well so it’s not dripping wet.
4. Gently wipe down the walls. Use a light touch and avoid rubbing too hard.
5. Rinse the sponge frequently. This prevents you from spreading dirty water around.
6. Rinse the walls with a clean, damp sponge. This is important to remove any soap residue.
7. Dry the walls with a clean, dry towel.
Tackling Sticky Residue: A Secret Weapon
One of my favorite uses for Murphy’s Oil Soap is removing sticky residue from things like labels, tape, and glue. It’s much gentler than harsh chemicals and works like a charm.
Step-by-Step Instructions:
1. Apply a small amount of undiluted Murphy’s Oil Soap directly to the sticky residue.
2. Let it sit for a few minutes. This will help to soften the adhesive.
3. Gently rub the area with a soft cloth or sponge. The residue should start to lift away.
4. Rinse the area with clean water.
5. Dry with a clean cloth.
Cleaning Paint Brushes: Keeping Them in Tip-Top Shape
If you’re a DIY enthusiast like me, you probably have a collection of paint brushes. Murphy’s Oil Soap is excellent for cleaning paint brushes, especially those used with oil-based paints.
Step-by-Step Instructions:
1. Remove as much excess paint as possible. Use a rag or paper towel to wipe off any remaining paint.
2. Rinse the brush with mineral spirits or paint thinner. This will help to remove the bulk of the oil-based paint.
3. Prepare a cleaning solution. In a bowl, mix 1/4 cup of Murphy’s Oil Soap with 1 cup of warm water.
4. Soak the brush in the cleaning solution for a few minutes.
5. Gently massage the bristles with your fingers. This will help to loosen any remaining paint.
6. Rinse the brush thoroughly with warm water.
7. Reshape the bristles and allow the brush to air dry.
Cleaning Garden Tools: Keeping Them Sharp and Ready
Believe it or not, Murphy’s Oil Soap can even be used to clean garden tools! It helps to remove dirt, grime, and sap, keeping your tools in good working order.
Step-by-Step Instructions:
1. Remove any loose dirt and debris from the tools.
2. Prepare a cleaning solution. In a bucket, mix 1/4 cup of Murphy’
Conclusion
So, there you have it! Mastering the art of cleaning with Murphy’s Oil Soap is not just about cleaning; it’s about reviving the natural beauty of your wood surfaces and creating a healthier, more inviting home. We’ve explored the versatility of this time-tested cleaner, from gently polishing antique furniture to tackling stubborn grime on hardwood floors. The benefits are undeniable: a streak-free shine, a subtle, pleasant scent, and the satisfaction of knowing you’re using a product that’s both effective and relatively gentle on your cherished possessions.
But why is this DIY approach a must-try? Simply put, it empowers you to take control of your cleaning routine. You’re not relying on harsh chemicals or expensive specialty products. Instead, you’re harnessing the power of a simple, readily available solution that has been trusted for generations. This method is cost-effective, environmentally conscious, and, most importantly, it delivers exceptional results.
Don’t be afraid to experiment and adapt these techniques to suit your specific needs. For instance, if you’re dealing with particularly stubborn stains on your wood floors, consider adding a small amount of white vinegar to your Murphy’s Oil Soap solution for extra cleaning power. Always test in an inconspicuous area first, of course! Or, if you prefer a more concentrated cleaning solution for heavily soiled areas, reduce the amount of water you use. You can even infuse your cleaning solution with a few drops of your favorite essential oil, such as lavender or lemon, for an added aromatherapy boost.
Remember, the key to success with Murphy’s Oil Soap is to use it sparingly and to always follow up with a clean, damp cloth to remove any residue. This will prevent buildup and ensure a beautiful, long-lasting shine.
We wholeheartedly encourage you to try these DIY Murphy’s Oil Soap cleaning tips and discover the difference they can make in your home. From revitalizing your kitchen cabinets to restoring the luster of your dining room table, the possibilities are endless.
And now, we want to hear from you! Share your experiences, tips, and tricks in the comments below. What are your favorite ways to use Murphy’s Oil Soap? What challenges have you overcome, and what successes have you celebrated? Your insights will not only inspire others but also help us all learn and grow together as a community of DIY enthusiasts. Let’s unlock the full potential of this amazing cleaner and create homes that are both beautiful and healthy. So go ahead, give it a try, and let us know what you think! We are confident that you will be amazed by the results.
FAQ
What exactly is Murphy’s Oil Soap, and what makes it so special?
Murphy’s Oil Soap is a cleaning product formulated with vegetable oil, specifically designed for cleaning wood and other surfaces. Its unique composition allows it to gently clean while preserving the natural oils in wood, preventing it from drying out and cracking. Unlike many harsh chemical cleaners, Murphy’s Oil Soap is relatively gentle, making it suitable for delicate surfaces like antique furniture and hardwood floors. Its special formula helps to lift dirt and grime without stripping away the finish, leaving behind a clean, refreshed surface with a subtle, pleasant scent.
Can I use Murphy’s Oil Soap on all types of wood?
While Murphy’s Oil Soap is generally safe for most wood surfaces, it’s always a good idea to test it in an inconspicuous area first, especially on antique or delicate pieces. Avoid using it on unfinished wood, as it can soak into the wood and cause staining. For waxed wood, using Murphy’s Oil Soap might remove the wax, requiring re-waxing afterward. Always check the manufacturer’s recommendations for your specific wood furniture or flooring before using any cleaning product.
How do I properly dilute Murphy’s Oil Soap for cleaning?
The dilution ratio for Murphy’s Oil Soap depends on the cleaning task. For general cleaning, a common ratio is 1/4 cup of Murphy’s Oil Soap per gallon of water. For heavier cleaning, you can increase the concentration slightly, but avoid using it undiluted, as this can leave a residue. Always follow the instructions on the product label for the recommended dilution ratio for your specific cleaning needs.
Is Murphy’s Oil Soap safe for pets and children?
While Murphy’s Oil Soap is considered a relatively gentle cleaner, it’s still important to keep it out of reach of children and pets. Avoid allowing pets or children to come into contact with the cleaning solution or freshly cleaned surfaces until they are completely dry. If ingested, Murphy’s Oil Soap can cause gastrointestinal upset. If you have concerns about the safety of Murphy’s Oil Soap around your pets or children, consult with your veterinarian or pediatrician.
How often should I clean my wood floors with Murphy’s Oil Soap?
The frequency of cleaning your wood floors with Murphy’s Oil Soap depends on the amount of traffic and dirt they are exposed to. For most homes, cleaning once or twice a month is sufficient. Avoid over-cleaning, as this can lead to a buildup of residue. If your floors are heavily soiled, you may need to clean them more frequently, but always use the recommended dilution ratio and avoid using excessive amounts of the product.
Can I use Murphy’s Oil Soap on surfaces other than wood?
Yes, Murphy’s Oil Soap can be used on a variety of surfaces, including laminate, tile, and vinyl. However, it’s always a good idea to test it in an inconspicuous area first to ensure it doesn’t damage the surface. Avoid using it on porous surfaces like marble or granite, as it can soak into the stone and cause staining.
What are some common mistakes to avoid when using Murphy’s Oil Soap?
One common mistake is using too much Murphy’s Oil Soap, which can leave a sticky residue. Always use the recommended dilution ratio and avoid using excessive amounts of the product. Another mistake is not rinsing the surface thoroughly after cleaning, which can also lead to residue buildup. Always follow up with a clean, damp cloth to remove any remaining soap. Finally, avoid using Murphy’s Oil Soap on unfinished wood, as it can soak into the wood and cause staining.
How do I remove residue buildup from Murphy’s Oil Soap?
If you have residue buildup from Murphy’s Oil Soap, you can remove it by cleaning the surface with a solution of white vinegar and water. Mix equal parts white vinegar and water, and use a clean cloth to wipe down the affected area. Follow up with a clean, damp cloth to remove any remaining vinegar solution. You may need to repeat this process several times to completely remove the residue.
Can I use Murphy’s Oil Soap to clean leather furniture?
While some people have used Murphy’s Oil Soap on leather furniture with success, it’s generally not recommended. Leather is a delicate material that can be easily damaged by harsh cleaners. If you choose to use Murphy’s Oil Soap on leather, test it in an inconspicuous area first and use it sparingly. Follow up with a leather conditioner to help restore moisture to the leather. For best results, use a cleaning product specifically designed for leather furniture.
Where can I purchase Murphy’s Oil Soap?
Murphy’s Oil Soap is widely available at most grocery stores, drugstores, and home improvement stores. You can also purchase it online from various retailers.
Leave a Comment