

Grow Mint at Home – and unlock a world of fresh flavors and fragrant possibilities right outside your door! Have you ever dreamed of snipping fresh mint leaves for a refreshing mojito, a vibrant salad, or a soothing cup of tea, all without leaving your house? Well, dream no more! This DIY guide is your passport to a thriving mint patch, even if you think you have a “brown thumb.”
Mint, with its invigorating aroma and versatile uses, has been cherished for centuries. From ancient Egyptians using it for medicinal purposes to Romans crowning themselves with mint wreaths, this herb boasts a rich history and cultural significance. Today, mint continues to be a culinary staple and a popular ingredient in aromatherapy and natural remedies.
But why should *you* learn to grow mint at home? Simple! Store-bought mint can be expensive and often wilts quickly. Plus, growing your own ensures you have access to fresh, organic mint whenever you need it. Imagine the satisfaction of creating delicious dishes and drinks with ingredients you nurtured yourself. This DIY project is not only rewarding but also incredibly easy, saving you money and adding a touch of green to your life. Let’s get started and transform your space into a minty paradise!
Grow Mint at Home: A Beginner’s Guide to a Thriving Herb Garden
Hey there, fellow plant enthusiasts! Are you ready to dive into the wonderful world of home gardening? Today, I’m going to walk you through a super easy and rewarding project: growing your own mint! Mint is incredibly versatile – you can use it in teas, cocktails, salads, desserts, and so much more. Plus, it smells amazing! Trust me, having fresh mint on hand is a game-changer.
Why Grow Mint Yourself?
Before we get started, let’s talk about why growing your own mint is such a great idea:
* Freshness: Nothing beats the taste and aroma of freshly picked mint.
* Cost-effective: Buying mint from the store can get expensive, especially if you use it often. Growing your own is a much more economical option.
* Convenience: Having mint growing right outside your door (or on your windowsill!) means you always have it on hand when you need it.
* Therapeutic: Gardening is a fantastic stress reliever and a great way to connect with nature.
* Control: You know exactly what’s going into your mint – no pesticides or harmful chemicals!
What You’ll Need
Okay, let’s gather our supplies. Here’s what you’ll need to get started:
* Mint Seeds or Cuttings: You can start mint from seeds, but I find it much easier and faster to use cuttings from an existing plant. You can often find these at your local nursery or even from a friend who already grows mint.
* Pot or Container: Choose a pot that’s at least 6 inches in diameter and has drainage holes. Mint can be quite invasive, so growing it in a container is highly recommended to prevent it from taking over your garden.
* Potting Soil: Use a good-quality potting mix that’s well-draining.
* Watering Can or Hose: For watering your mint.
* Optional:
* Rooting hormone (if using cuttings)
* Gardening gloves
* Small trowel or shovel
Getting Started: From Cuttings
This is my preferred method because it’s quicker and more reliable than starting from seeds.
Step 1: Preparing the Cuttings
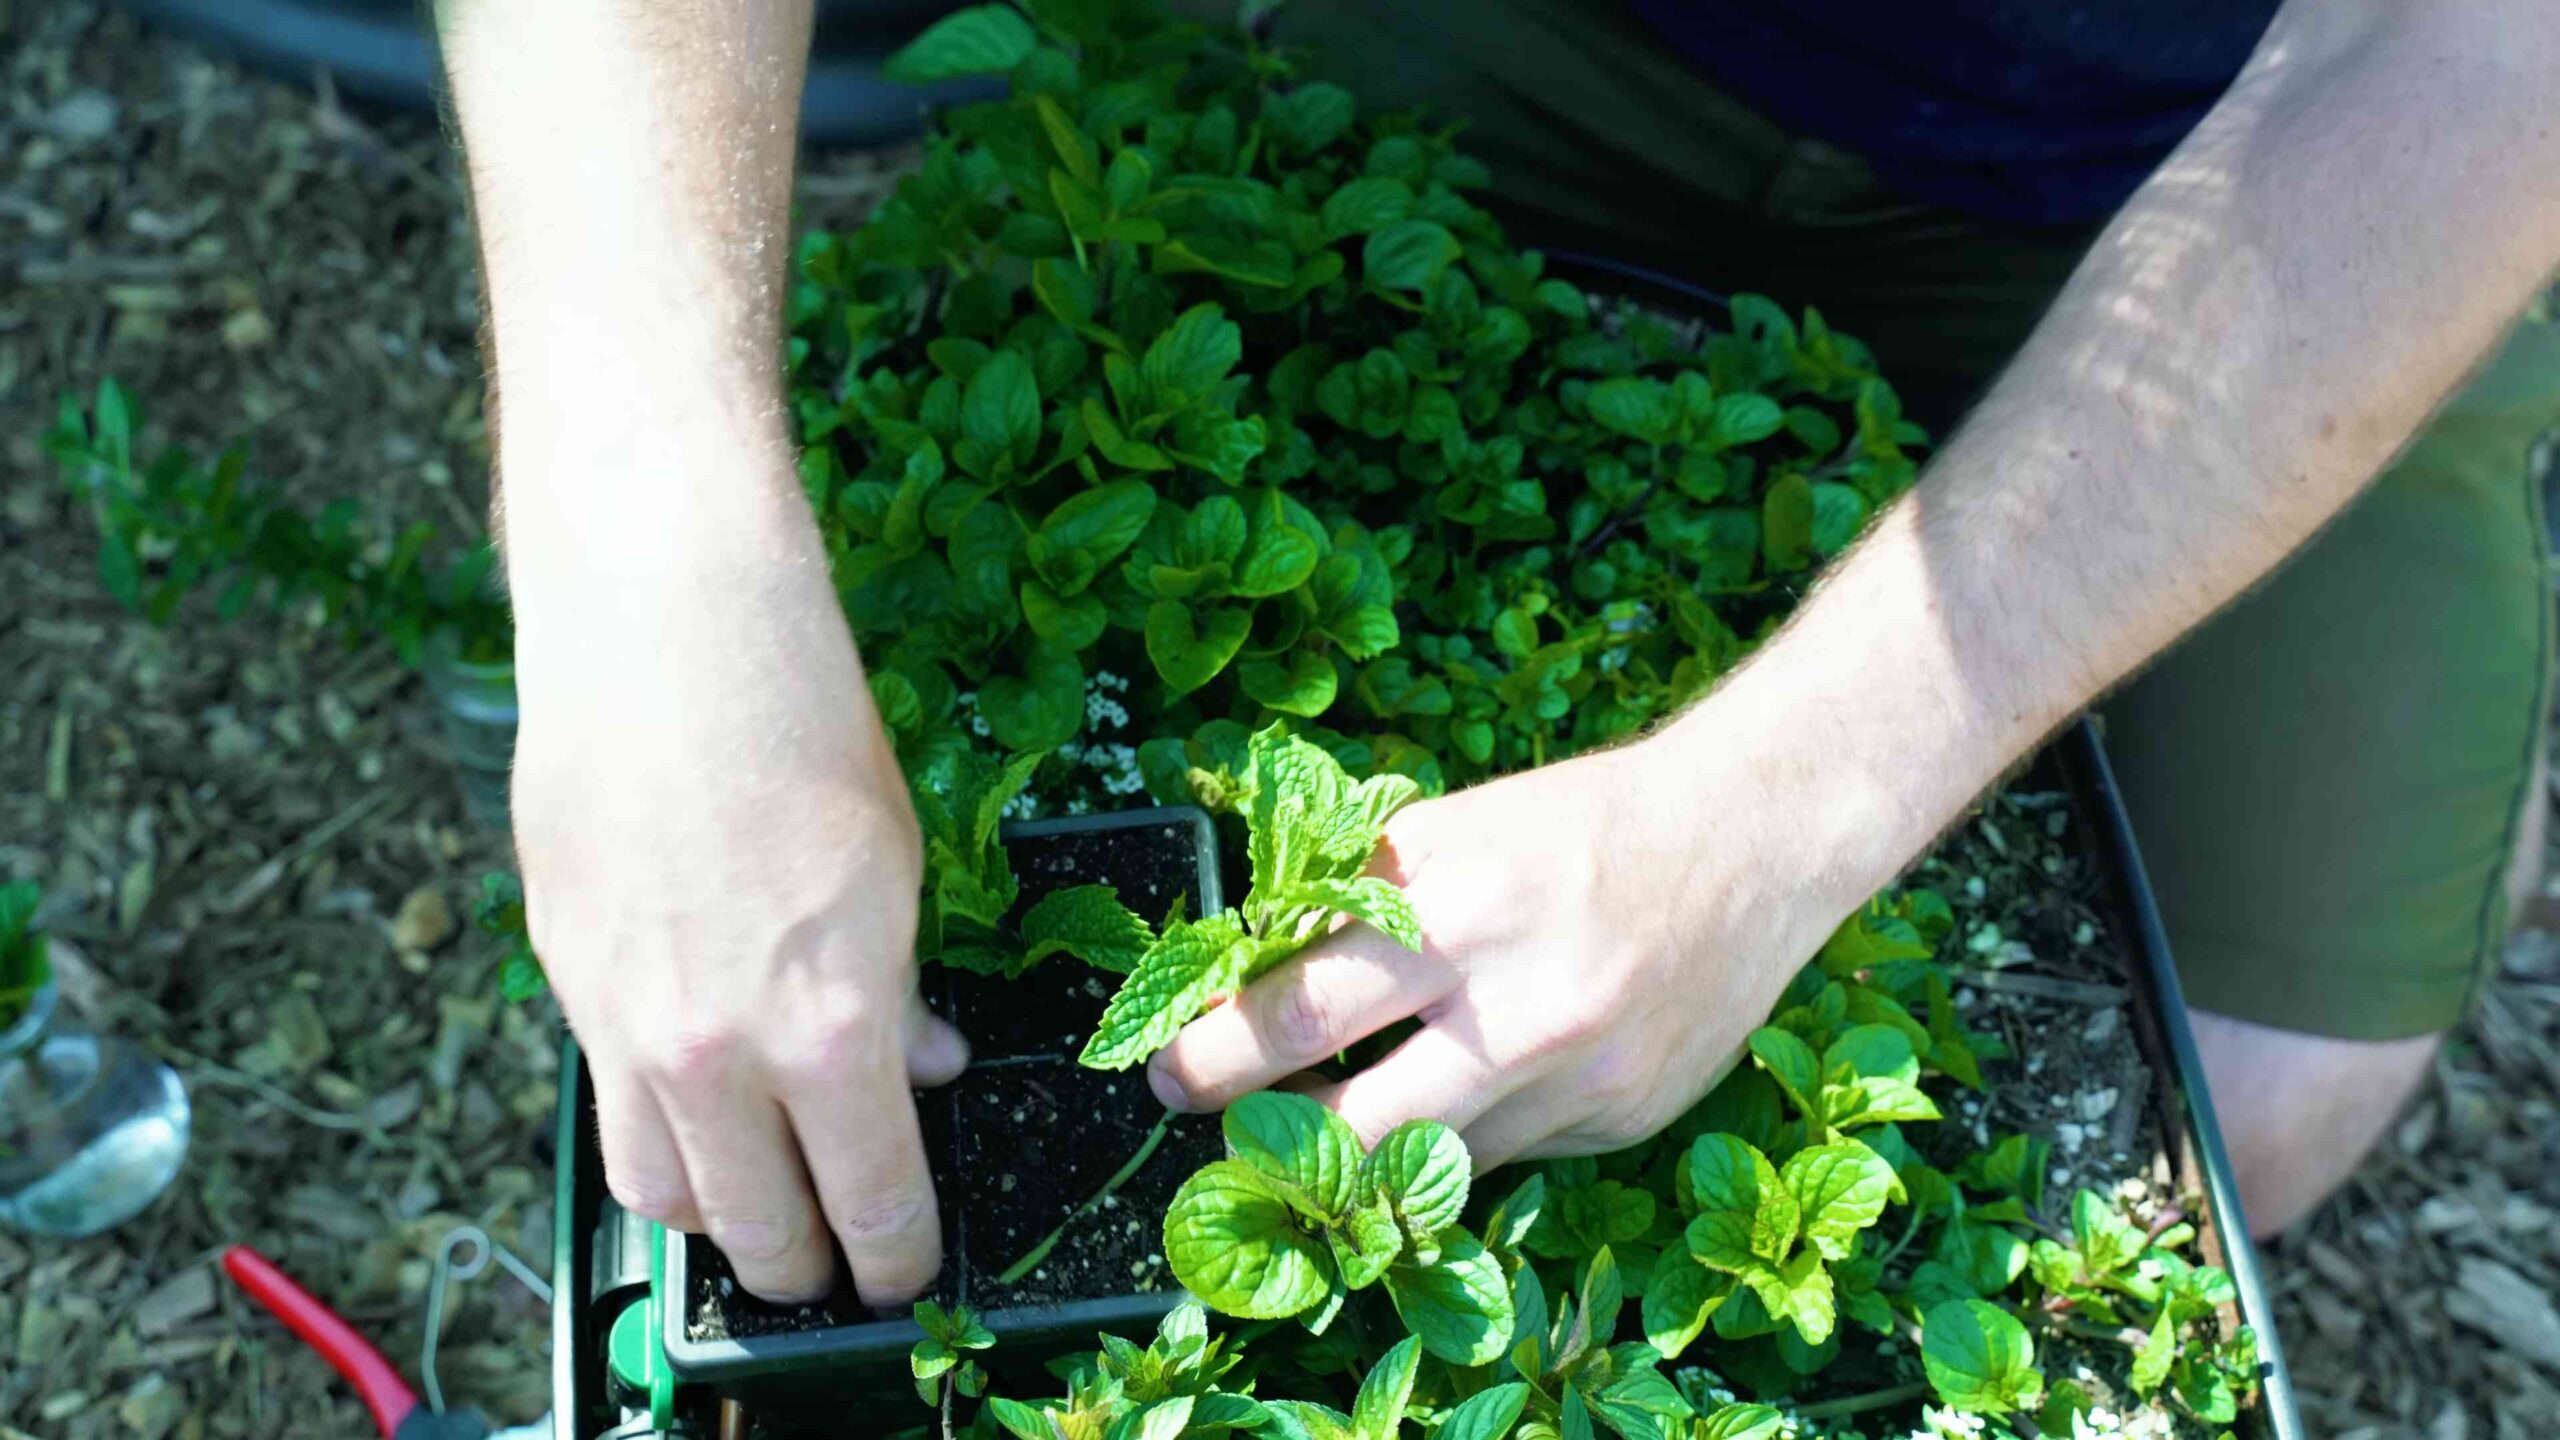
1. Select Healthy Stems: Look for healthy, vibrant green stems from a mature mint plant. Choose stems that are about 4-6 inches long.
2. Make the Cut: Using clean scissors or pruning shears, cut the stems just below a leaf node (the point where leaves grow from the stem).
3. Remove Lower Leaves: Gently remove the leaves from the bottom 1-2 inches of the stem. This is where the roots will grow.
4. Optional: Apply Rooting Hormone: Dip the cut end of the stem into rooting hormone powder or liquid. This will help stimulate root growth.
Step 2: Rooting the Cuttings
1. Choose Your Rooting Method: You have two main options for rooting mint cuttings:
* Water Rooting: Place the cuttings in a glass or jar filled with water, making sure the leaves are above the water line. Change the water every 1-2 days.
* Soil Rooting: Plant the cuttings directly into a small pot filled with moist potting mix.
2. Provide the Right Conditions: Place the cuttings in a bright, indirect light location. Avoid direct sunlight, which can scorch the leaves.
3. Be Patient: It usually takes about 1-2 weeks for roots to develop. You’ll know the cuttings have rooted when you see new growth or when you gently tug on the stem and feel resistance.
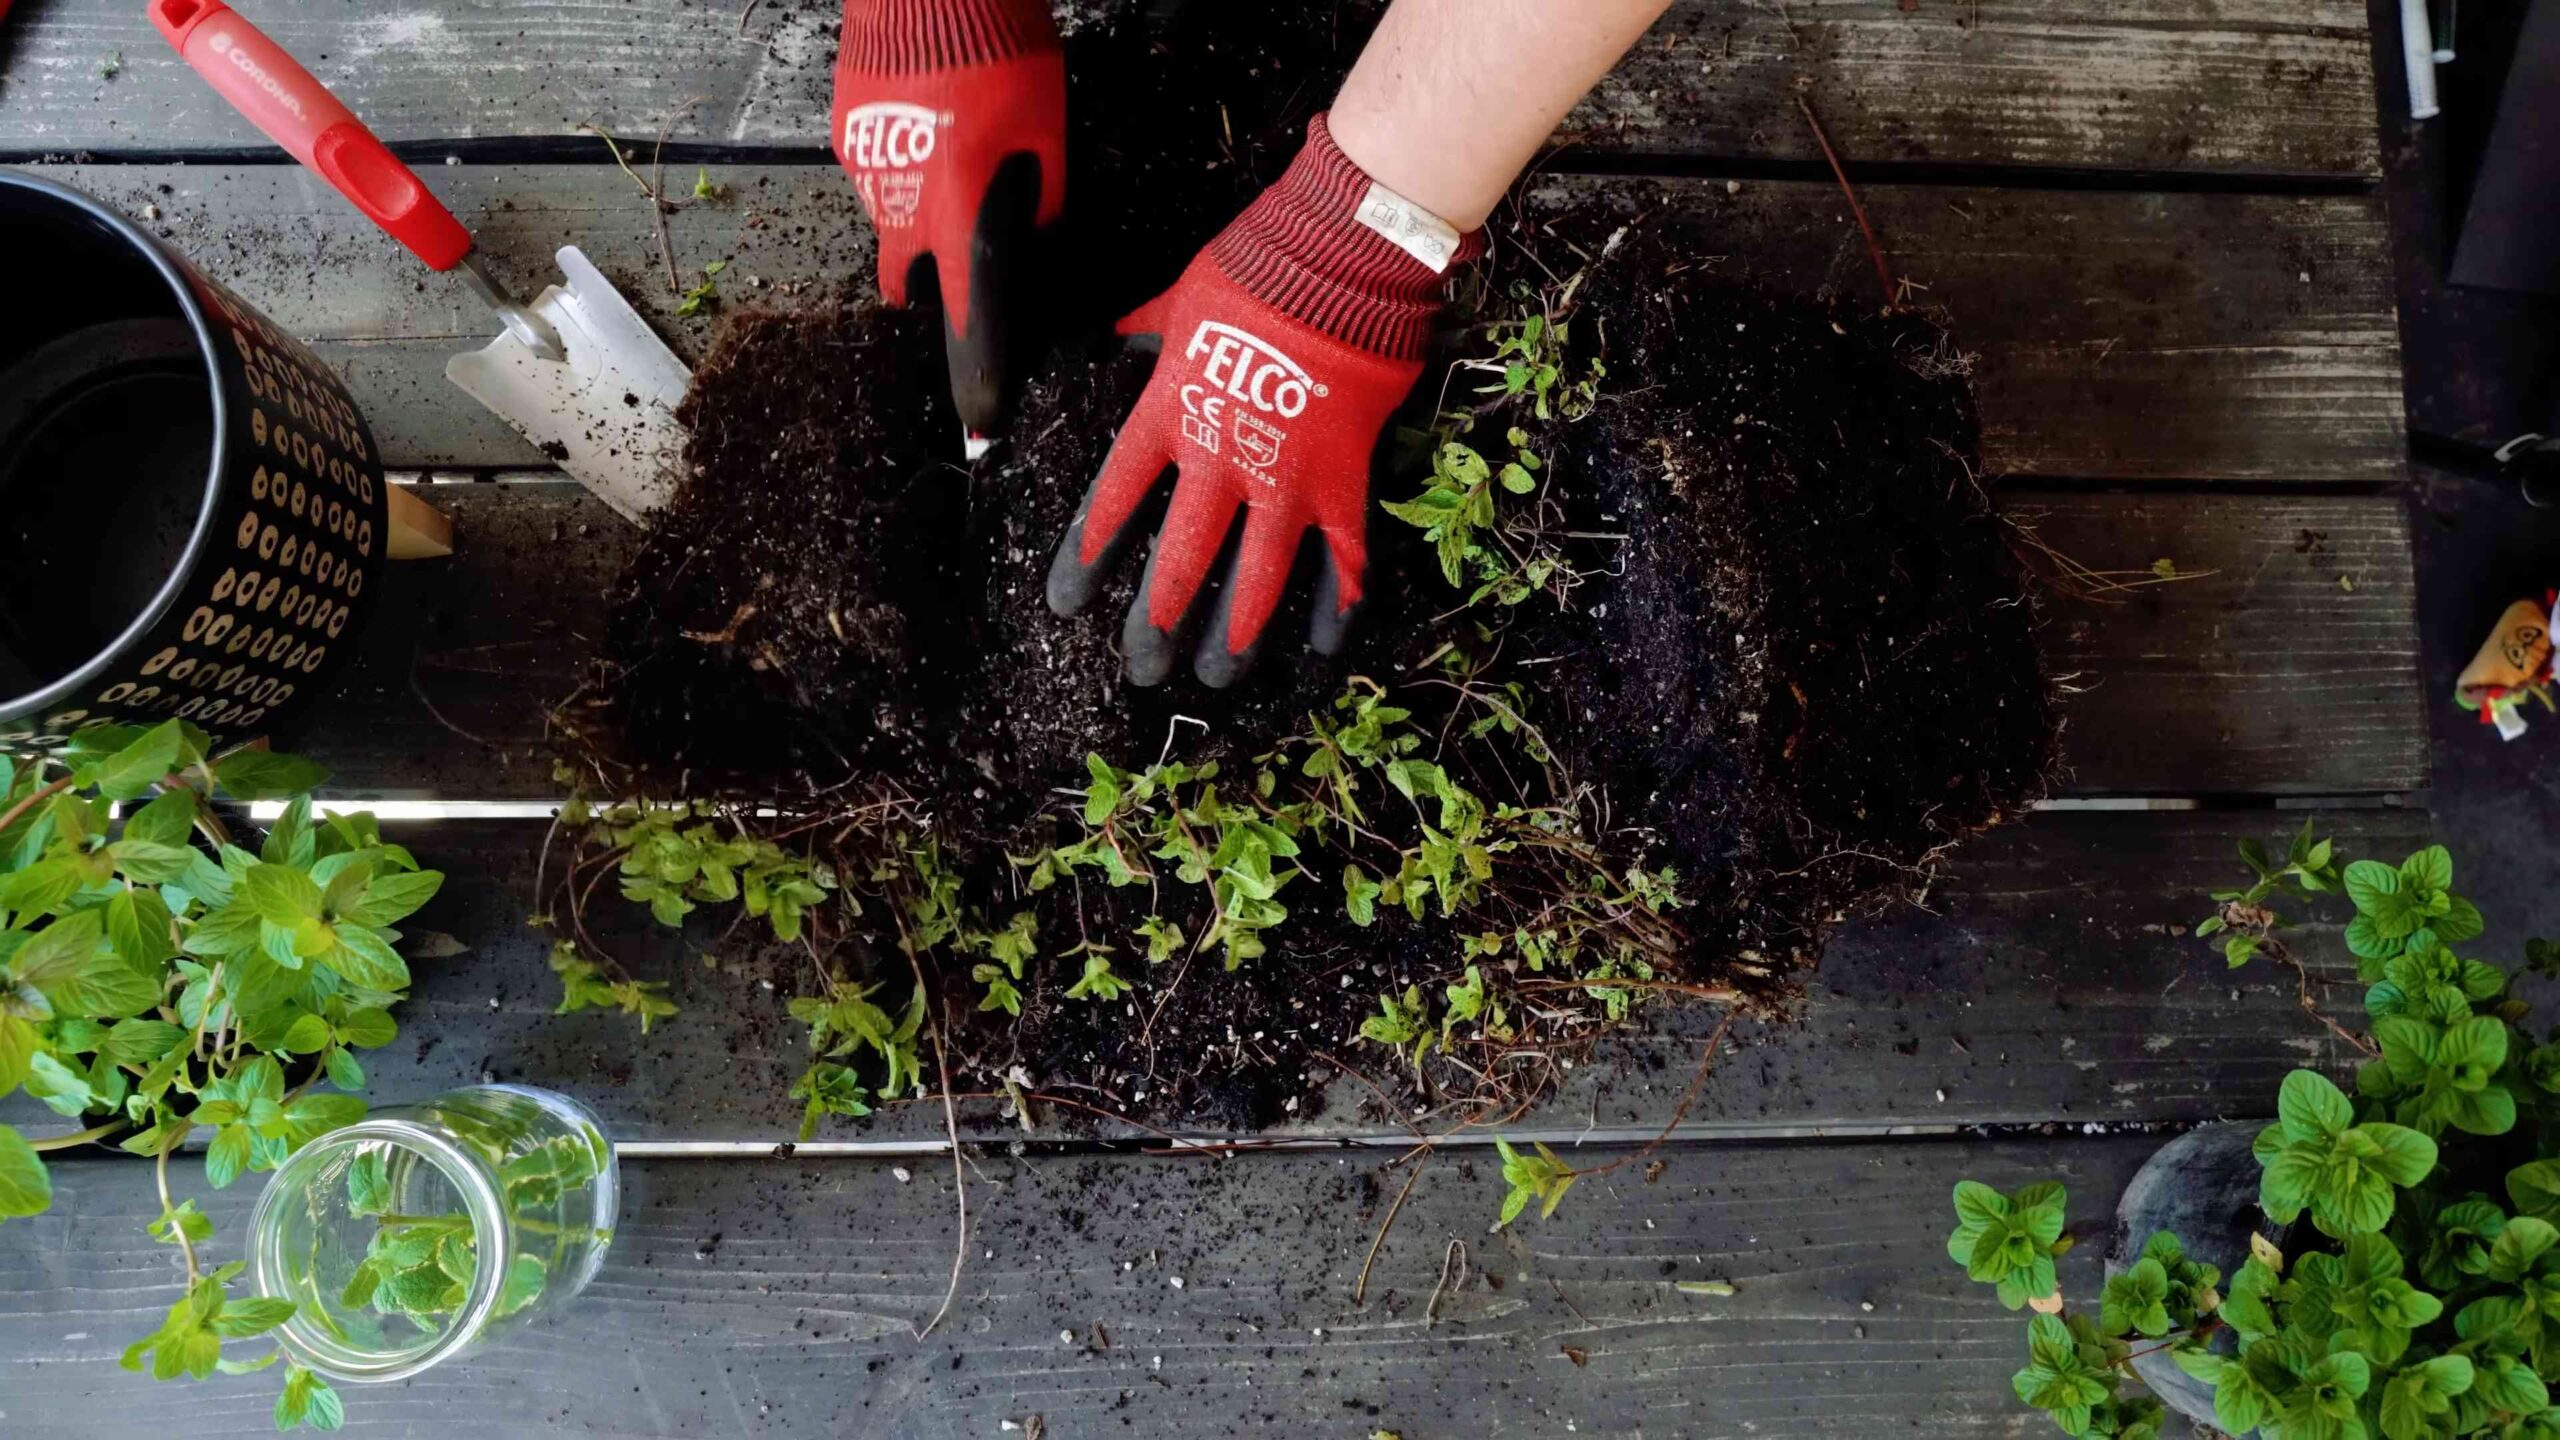
Step 3: Planting the Rooted Cuttings
1. Prepare the Pot: Fill your chosen pot with potting mix, leaving about an inch of space at the top.
2. Make a Hole: Use your finger or a small trowel to create a hole in the soil large enough to accommodate the roots.
3. Gently Plant: Carefully remove the rooted cutting from the water or pot and place it in the hole. Gently cover the roots with soil.
4. Water Thoroughly: Water the newly planted mint until the soil is evenly moist.
Getting Started: From Seeds
While I prefer cuttings, starting from seeds is definitely doable! It just takes a bit more patience.
Step 1: Sowing the Seeds
1. Prepare the Seed Starting Tray or Pot: Fill a seed starting tray or small pot with seed starting mix. This mix is finer and more sterile than regular potting mix, which helps prevent fungal diseases.
2. Sow the Seeds: Sprinkle the mint seeds evenly over the surface of the soil. Mint seeds are very small, so don’t bury them too deeply.
3. Lightly Cover: Gently press the seeds into the soil or cover them with a very thin layer of seed starting mix.
4. Water Gently: Use a spray bottle to mist the soil until it’s evenly moist. Avoid overwatering, which can cause the seeds to rot.
Step 2: Germination
1. Provide the Right Conditions: Place the seed starting tray or pot in a warm, bright location. Mint seeds need light to germinate, so make sure they get plenty of indirect sunlight.
2. Keep the Soil Moist: Keep the soil consistently moist, but not soggy. You can cover the tray or pot with a plastic dome or plastic wrap to help retain moisture.
3. Be Patient: Mint seeds can take anywhere from 10-20 days to germinate.
Step 3: Transplanting Seedlings
1. Wait Until Seedlings are Strong Enough: Once the seedlings have developed a few sets of true leaves (the leaves that look like miniature mint leaves), they’re ready to be transplanted into larger pots.
2. Prepare the Pot: Fill your chosen pot with potting mix, leaving about an inch of space at the top.
3. Gently Transplant: Carefully remove the seedlings from the seed starting tray or pot, being careful not to damage the roots.
4. Plant Seedlings: Plant each seedling in its own pot, spacing them a few inches apart.
5. Water Thoroughly: Water the newly transplanted mint until the soil is evenly moist.
Caring for Your Mint Plant
Now that your mint is planted, here’s how to keep it happy and healthy:
* Sunlight: Mint thrives in partial shade to full sun. Aim for at least 4-6 hours of sunlight per day. If you’re growing mint indoors, place it near a sunny window.
* Watering: Mint likes consistently moist soil, but not soggy. Water your mint whenever the top inch of soil feels dry to the touch. Avoid overwatering, which can lead to root rot.
* Fertilizing: Feed your mint plant with a balanced liquid fertilizer every 2-4 weeks during the growing season (spring and summer).
* Pruning: Regular pruning is essential for keeping your mint plant bushy and productive. Pinch off the top leaves of the stems to encourage branching. You can also harvest larger amounts of mint by cutting back the stems by about one-third.
* Pest Control: Mint is generally pest-resistant, but it can sometimes be affected by aphids or spider mites. If you notice any pests, try spraying the plant with a strong stream of water or using an insecticidal soap.
* Overwintering: If you live in a cold climate, you’ll need to protect your mint plant during the winter. You can either bring it indoors or mulch around the base of the plant to insulate the roots.
Harvesting Your Mint
The best part! You can start harvesting mint as soon as the plant is established and has plenty of leaves.
* Harvesting Technique: Simply pinch off or cut the stems as needed. The more you harvest, the more the plant will grow!
* Best Time to Harvest: The best time to harvest mint is in the morning, after the dew has dried but before the sun gets too hot. This is when the leaves are at their most flavorful.
* Storing Mint: Freshly harvested mint can be stored in the refrigerator for up to a week. Wrap the stems in a damp paper towel and place them in a plastic bag. You can also dry mint by hanging the stems upside down in a cool, dark place. Once the leaves are dry, store them in an airtight container.
Troubleshooting
Even with the best care, you might encounter a few problems along the way. Here are some common issues and how to fix them:
* Yellowing Leaves: This could be a sign of overwatering, underwatering, or nutrient deficiency. Check the soil moisture and adjust your watering accordingly. If the soil is dry, water more frequently. If the soil is soggy
Conclusion
So, there you have it! Growing mint at home isn’t just a fun project; it’s a gateway to fresher flavors, a greener kitchen, and a more sustainable lifestyle. Forget those wilted, overpriced bunches at the grocery store. With a little effort, you can have a thriving mint plant right at your fingertips, ready to elevate your culinary creations and refresh your senses.
Why is this DIY trick a must-try? Because it empowers you to control the quality and quantity of your mint. You’ll know exactly where it came from, what (if anything) it was treated with, and you’ll always have a readily available supply. Imagine the possibilities: fragrant mojitos on a summer evening, invigorating mint tea on a chilly morning, or a burst of fresh mint in your favorite salads and desserts. The possibilities are truly endless.
But don’t stop there! Experiment with different varieties of mint. Peppermint, spearmint, chocolate mint, even orange mint – each offers a unique flavor profile that can add a special touch to your dishes and drinks. Consider planting your mint in decorative pots to add a touch of greenery to your kitchen windowsill or balcony. You can even create a small herb garden dedicated solely to mint, showcasing the diverse range of flavors and aromas this versatile herb has to offer.
And if you’re feeling adventurous, try propagating your mint to create even more plants. It’s a simple process that involves taking cuttings from your existing plant and rooting them in water or soil. Before you know it, you’ll have a whole army of mint plants ready to share with friends and family.
We’re confident that once you experience the joy of growing mint at home, you’ll never go back to store-bought mint again. It’s a simple, rewarding, and incredibly satisfying project that will transform your kitchen and your cooking.
So, what are you waiting for? Grab a pot, some soil, and a mint cutting or seeds, and get started today! We encourage you to try this DIY trick and share your experiences with us. Let us know what varieties of mint you’re growing, what dishes you’re using it in, and any tips or tricks you’ve discovered along the way. We can’t wait to hear your mint-growing success stories! Remember, the key to success is consistent watering, adequate sunlight, and a little bit of love. Happy growing!
Frequently Asked Questions (FAQ)
Why should I grow mint at home instead of buying it from the store?
Growing mint at home offers several advantages over buying it from the store. Firstly, it’s significantly fresher. Store-bought mint often sits on shelves for days, losing its flavor and aroma. Homegrown mint, on the other hand, can be harvested just moments before you need it, ensuring maximum freshness. Secondly, it’s more cost-effective in the long run. While there’s an initial investment in a pot, soil, and seeds or a starter plant, you’ll quickly recoup that cost as you harvest your own mint. Thirdly, you have control over the growing conditions. You can choose organic soil and avoid using harmful pesticides or herbicides, ensuring that your mint is healthy and safe to consume. Finally, it’s a rewarding and enjoyable hobby that connects you with nature and provides a sense of accomplishment.
What kind of pot and soil should I use for growing mint?
For growing mint, choose a pot that is at least 6 inches in diameter and has drainage holes. Mint spreads aggressively, so a pot helps contain its growth. As for soil, a well-draining potting mix is ideal. You can use a commercially available potting mix or create your own by combining equal parts of potting soil, perlite, and compost. The perlite helps improve drainage, while the compost provides essential nutrients for healthy growth. Avoid using garden soil, as it can be too heavy and may contain pests or diseases.
How much sunlight does mint need?
Mint thrives in partial shade to full sun. Ideally, it should receive at least 4-6 hours of sunlight per day. However, in hot climates, it’s best to provide some afternoon shade to prevent the leaves from scorching. If you’re growing mint indoors, place it near a sunny window or supplement with a grow light. Insufficient sunlight can result in leggy growth and reduced flavor.
How often should I water my mint plant?
Mint prefers consistently moist soil, but it doesn’t like to be waterlogged. Water your mint plant whenever the top inch of soil feels dry to the touch. During hot weather, you may need to water it more frequently. When watering, water deeply until the water drains out of the drainage holes. Avoid overhead watering, as this can promote fungal diseases.
How do I harvest mint?
Harvesting mint is easy! Simply snip off the stems just above a leaf node. This will encourage the plant to branch out and produce more leaves. You can harvest mint throughout the growing season as needed. For the best flavor, harvest mint in the morning after the dew has dried.
My mint plant is spreading everywhere. How can I control its growth?
Mint is known for its aggressive spreading habit. To control its growth, grow it in a pot or container. If you’re planting it in the ground, consider burying a barrier around the plant to prevent it from spreading. You can use a plastic or metal edging that extends several inches below the soil surface. Regularly prune your mint plant to keep it in check and prevent it from becoming too overgrown.
Can I grow different varieties of mint together?
While it’s possible to grow different varieties of mint together, it’s generally not recommended. Mint varieties can cross-pollinate, resulting in offspring with unpredictable flavors and characteristics. Additionally, some varieties may be more aggressive than others and outcompete their neighbors. If you want to grow multiple varieties of mint, it’s best to keep them separated in different pots or containers.
How do I propagate mint?
Mint is incredibly easy to propagate from cuttings. Simply take a 4-6 inch cutting from a healthy stem, remove the lower leaves, and place the cutting in a glass of water. Within a few weeks, roots will begin to form. Once the roots are about an inch long, you can transplant the cutting into a pot filled with potting mix. Alternatively, you can root mint cuttings directly in soil.
My mint plant has yellow leaves. What’s wrong?
Yellow leaves on a mint plant can be caused by several factors, including overwatering, underwatering, nutrient deficiencies, or pests. Check the soil moisture to ensure that you’re not overwatering or underwatering. If the soil is consistently wet, allow it to dry out slightly before watering again. If the soil is dry, water deeply. You can also fertilize your mint plant with a balanced fertilizer to address any nutrient deficiencies. Inspect the leaves for signs of pests, such as aphids or spider mites. If you find pests, treat your plant with an appropriate insecticide.
Can I dry mint for later use?
Yes, you can easily dry mint for later use. There are several methods for drying mint, including air drying, oven drying, and using a dehydrator. To air dry mint, tie the stems together in small bundles and hang them upside down in a cool, dry, and well-ventilated place. To oven dry mint, spread the leaves on a baking sheet and bake at a low temperature (around 170°F) for several hours, or until the leaves are brittle. To dry mint in a dehydrator, follow the manufacturer’s instructions. Once the mint is completely dry, store it in an airtight container in a cool, dark place.

Leave a Comment