

Daily home cleaning routine: sounds daunting, right? But what if I told you it doesn’t have to be a Herculean task? Imagine a home that feels consistently fresh and inviting, without spending your entire weekend scrubbing. That’s the power of a well-structured daily cleaning routine, and I’m here to show you how to achieve it!
For centuries, cultures around the world have emphasized the importance of a clean and organized living space. From the ancient practice of Feng Shui, which promotes harmony through spatial arrangement, to the Scandinavian concept of “hygge,” which values comfort and coziness, a tidy home has always been linked to well-being. But let’s be honest, in today’s busy world, finding the time for a deep clean every week feels almost impossible.
That’s where this DIY guide comes in. We’re breaking down the overwhelming task of cleaning into manageable, bite-sized chunks that you can easily incorporate into your daily home cleaning routine. Think of it as a maintenance plan for your home, preventing dirt and clutter from accumulating and saving you precious time and energy in the long run. Ready to transform your home into a haven of cleanliness and calm? Let’s get started!
My Ultimate DIY Home Cleaning Routine: Sparkling Clean, Simplified!
Okay, friends, let’s be honest. Cleaning isn’t exactly anyone’s favorite pastime. But a clean home? That’s a game-changer for your mood, productivity, and overall well-being. I’ve spent years tweaking and perfecting my cleaning routine, and I’m finally ready to share it with you! This isn’t about perfection; it’s about creating a manageable, effective system that keeps your home feeling fresh and inviting. Get ready to roll up your sleeves – let’s get cleaning!
The Foundation: Daily Habits (5-10 Minutes)
These are the little things that make a BIG difference. Consistency is key here!
* Make the Bed: Seriously, this is the easiest way to instantly make your bedroom look more put-together.
* Wipe Down Kitchen Counters: After every meal, give your counters a quick wipe. Prevents sticky messes from hardening.
* Load/Unload the Dishwasher: Keep dishes from piling up in the sink.
* Sweep High-Traffic Areas: A quick sweep prevents dirt from being tracked throughout the house.
* One-Minute Tidy: Before leaving a room, take a minute to put away anything that’s out of place.
The Weekly Deep Dive: Room-by-Room Breakdown
This is where we tackle the bigger tasks. I like to spread these out throughout the week so I don’t spend an entire day cleaning.
Kitchen Cleaning: Conquer the Culinary Chaos
1. Clear the Counters: Remove everything from your countertops – appliances, utensils, everything! This gives you a clean slate to work with.
2. Spray and Soak: Generously spray your countertops with your favorite cleaner (I love a simple vinegar and water solution for everyday cleaning). Let it sit for a few minutes to loosen any grime.
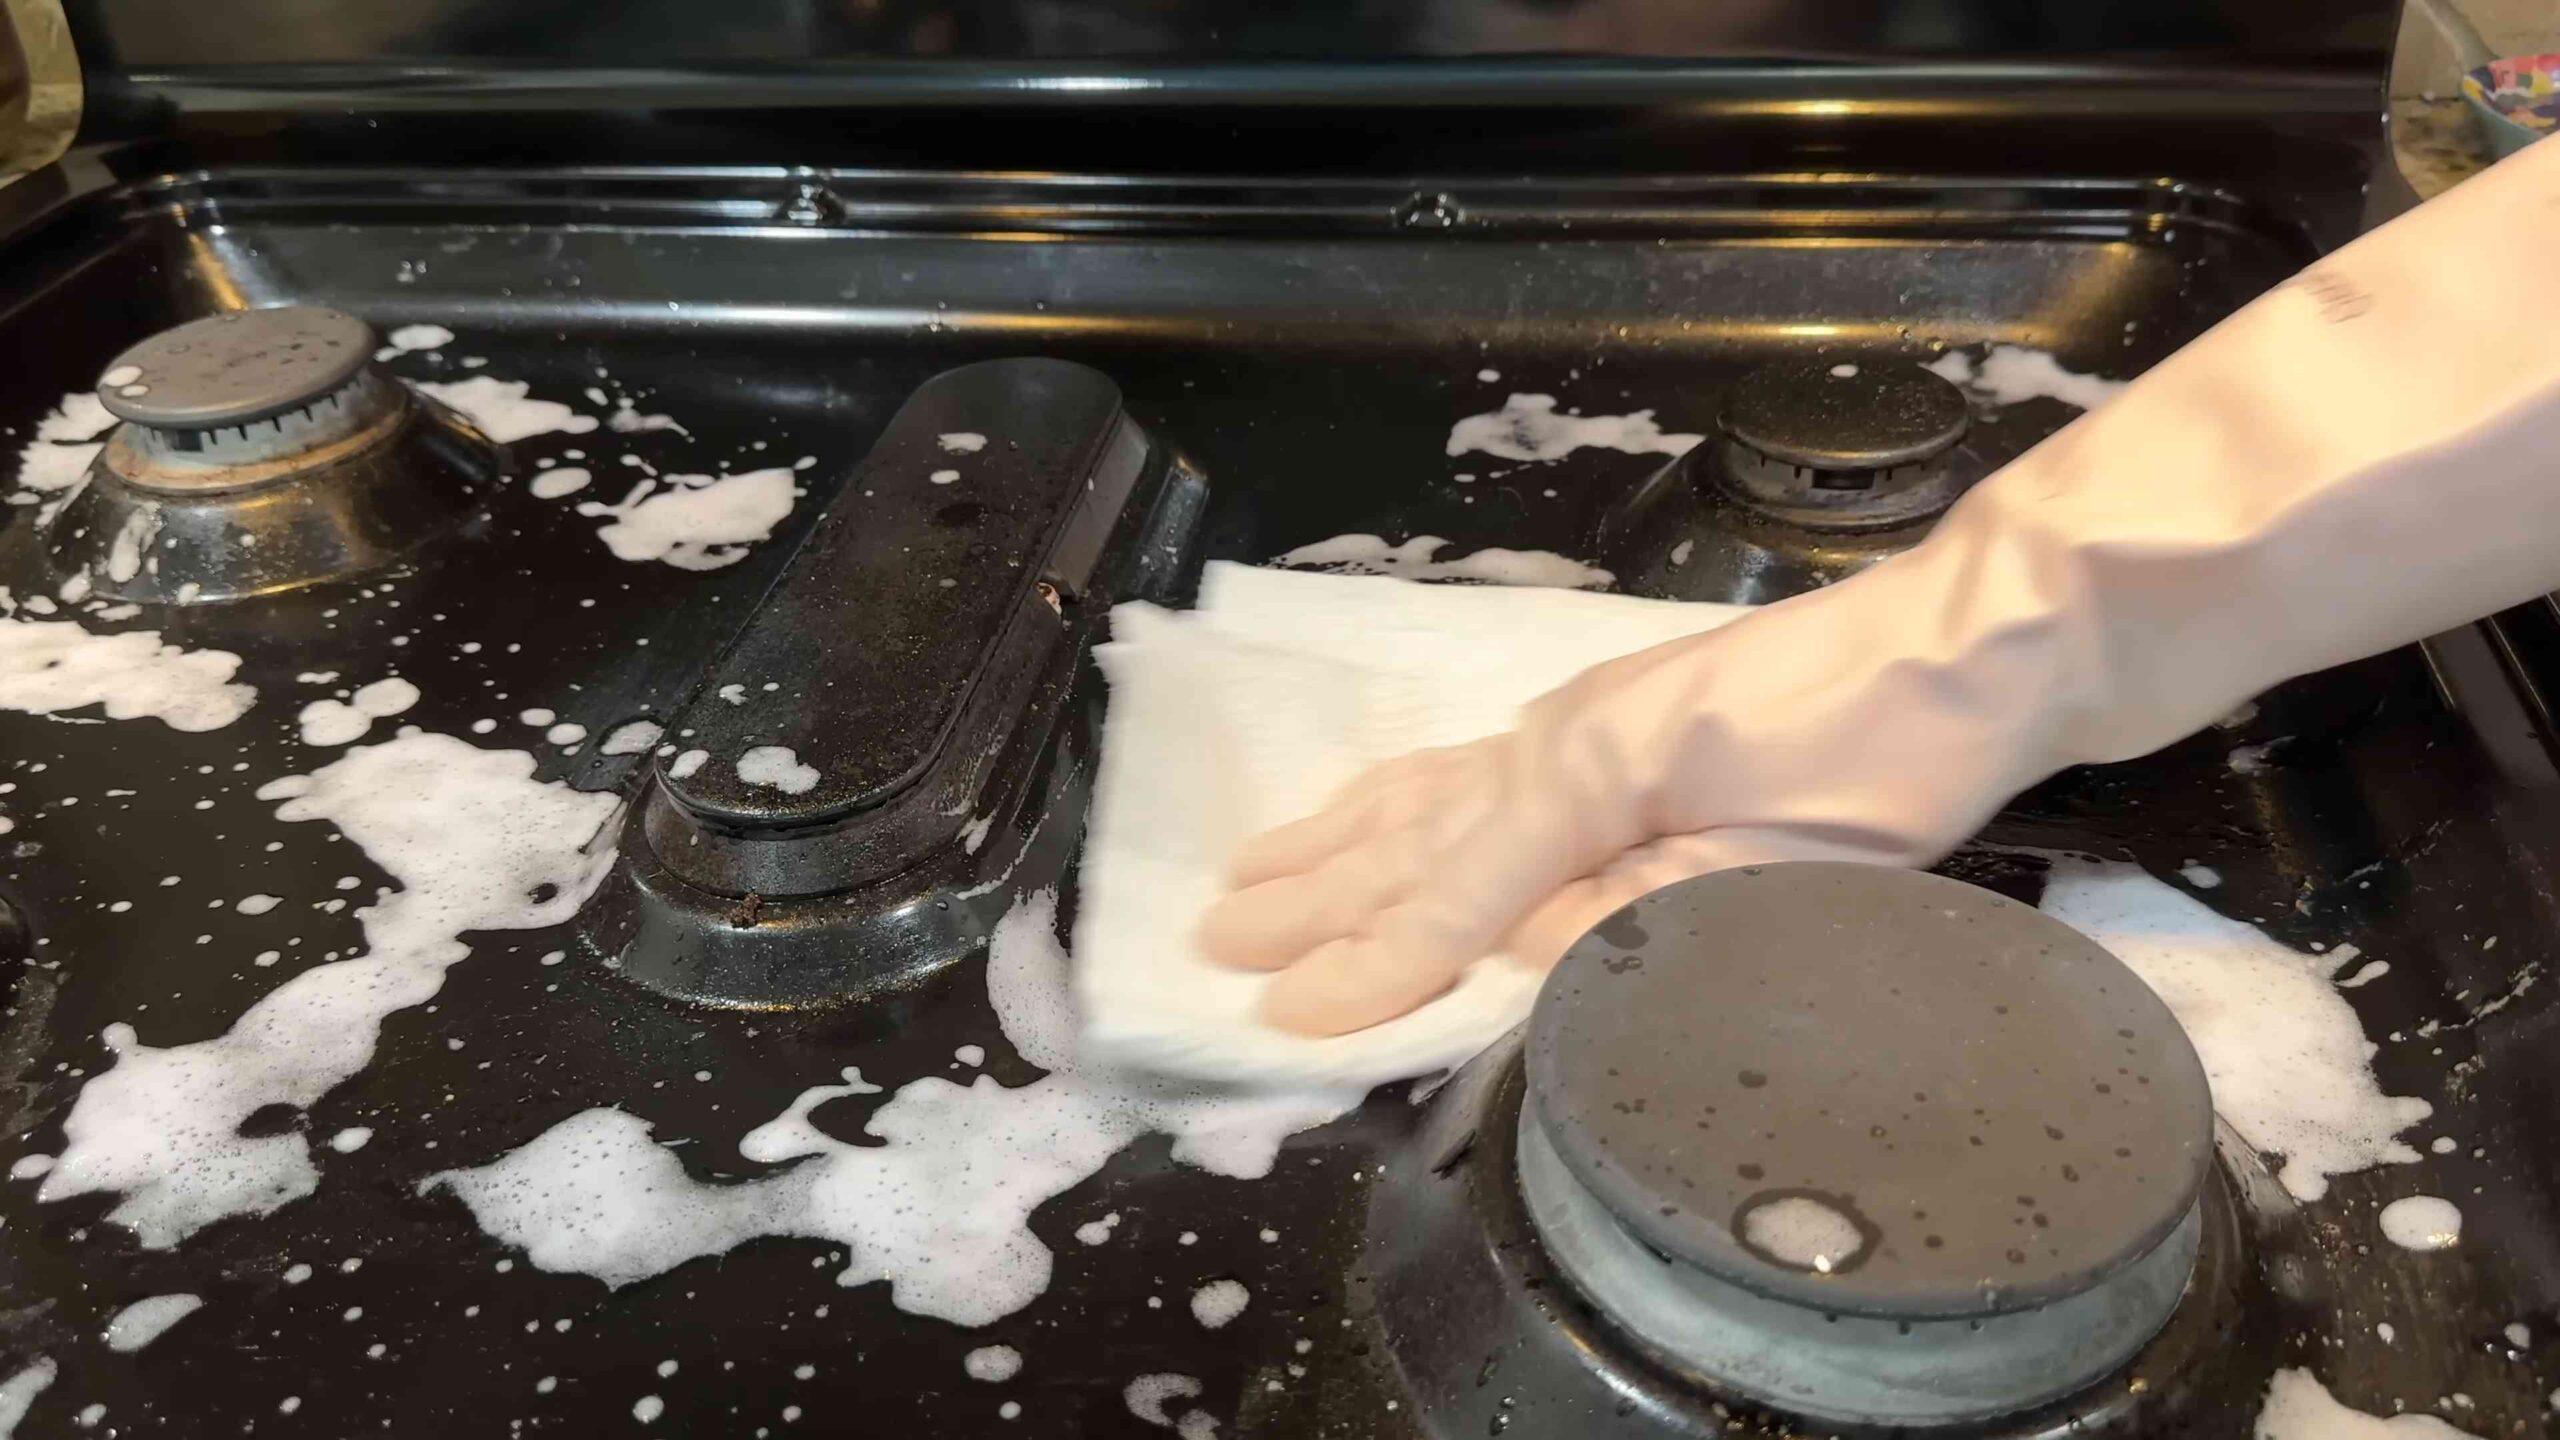
3. Wipe Down Appliances: While the counters are soaking, wipe down the exterior of your appliances – microwave, refrigerator, oven, dishwasher. Don’t forget the stovetop!
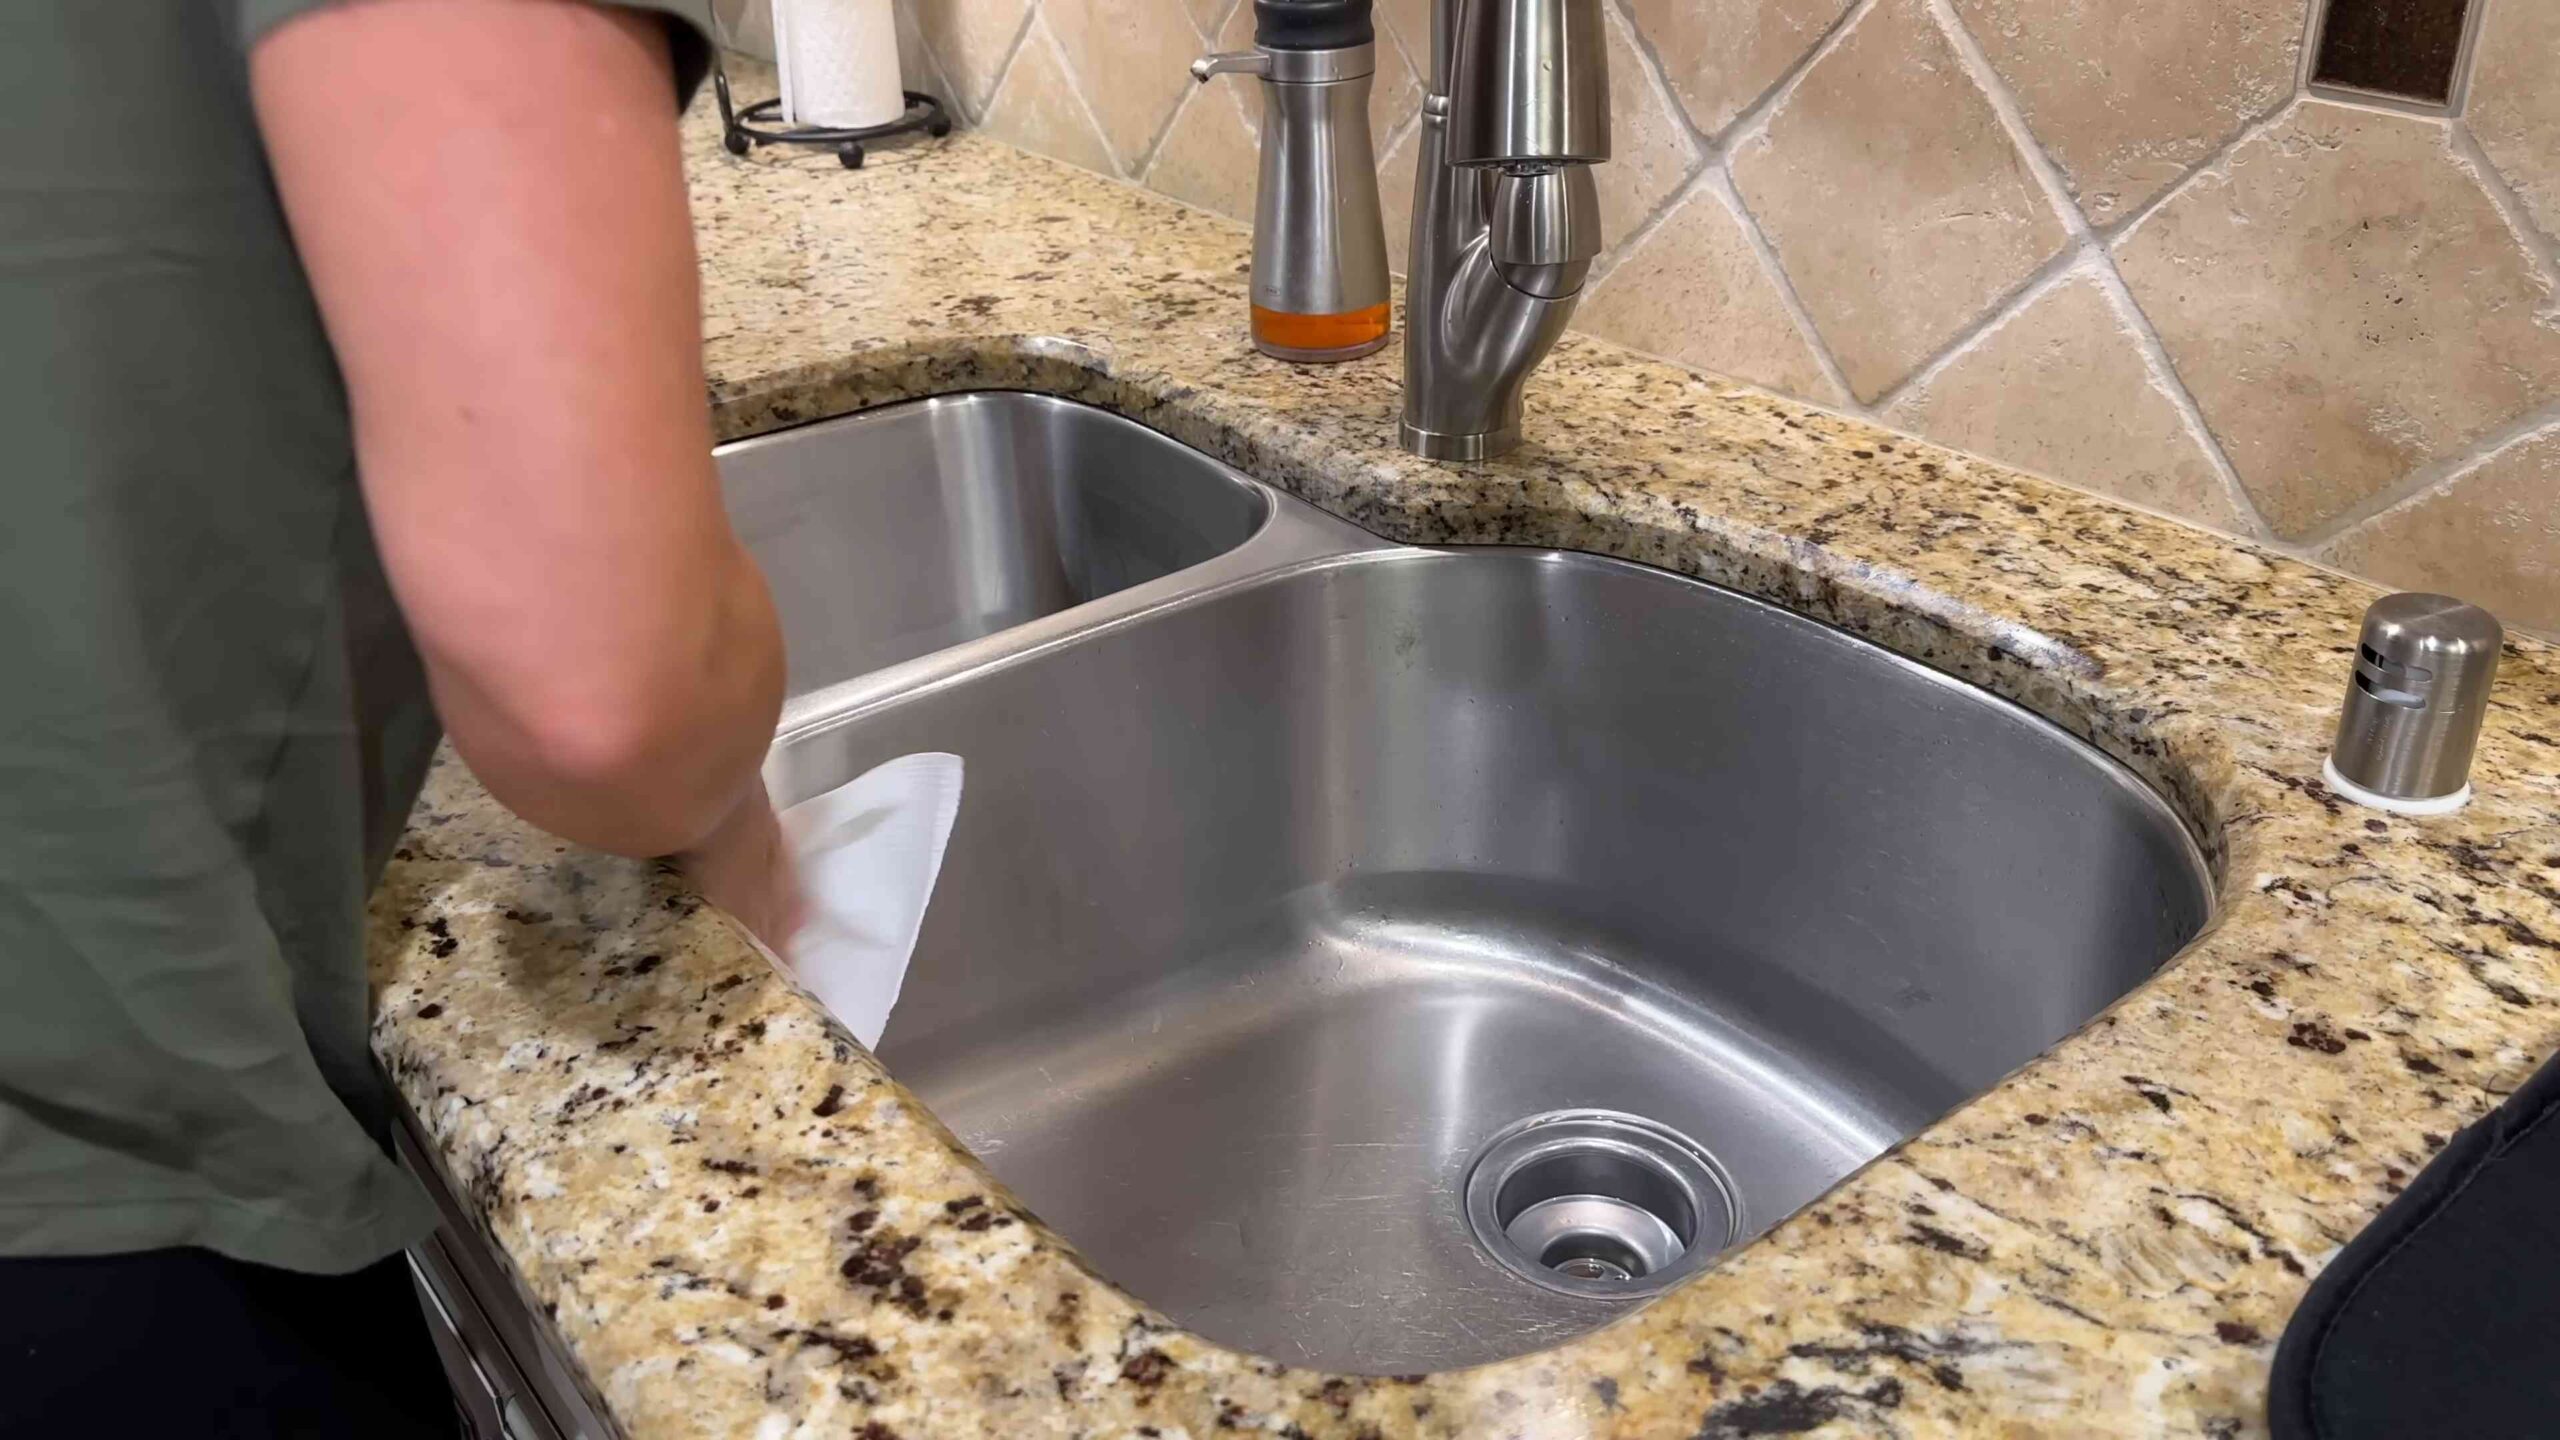
4. Scrub the Sink: Sprinkle baking soda in your sink and scrub with a damp sponge. Rinse thoroughly. For extra shine, use a stainless steel cleaner.
5. Clean the Microwave: Heat a cup of water with a tablespoon of vinegar in the microwave for 2-3 minutes. Let it sit for a few minutes to steam, then wipe clean. The steam loosens any splatters.
6. Wipe Down Cabinets: Use a damp cloth with a mild soap to wipe down your cabinet doors and drawers. Pay attention to areas around handles, as they tend to get greasy.
7. Clean the Countertops: Wipe down the countertops with a clean, damp cloth. Dry with a microfiber cloth to prevent streaks.
8. Sweep and Mop the Floor: Sweep or vacuum the floor to remove any loose debris. Then, mop with your favorite floor cleaner.
9. Empty the Trash: Don’t forget to take out the trash and replace the liner.
Bathroom Blitz: Sparkling Clean and Germ-Free
1. Clear the Counters: Remove everything from your bathroom counters – toiletries, makeup, everything!
2. Spray and Soak: Spray your shower/tub, toilet, and sink with your favorite bathroom cleaner. Let it sit for a few minutes to loosen any soap scum and grime.
3. Clean the Toilet: Start with the toilet. Flush and apply toilet bowl cleaner under the rim. Let it sit for a few minutes, then scrub with a toilet brush. Wipe down the exterior of the toilet with a disinfectant wipe.
4. Scrub the Shower/Tub: Scrub the shower/tub with a sponge or brush. Pay attention to grout lines, as they tend to accumulate mildew. Rinse thoroughly.
5. Clean the Sink and Countertops: Scrub the sink with a sponge and cleaner. Wipe down the countertops with a clean, damp cloth. Dry with a microfiber cloth.
6. Clean the Mirror: Spray the mirror with glass cleaner and wipe with a microfiber cloth.
7. Sweep and Mop the Floor: Sweep or vacuum the floor to remove any loose debris. Then, mop with your favorite floor cleaner.
8. Replace Towels: Put out fresh towels.
9. Empty the Trash: Don’t forget to take out the trash and replace the liner.
Living Room Refresh: Cozy and Clutter-Free
1. Declutter: The first step is to declutter! Put away anything that’s out of place – books, magazines, toys, etc.
2. Dust: Dust all surfaces – furniture, shelves, picture frames, lamps, etc. Use a microfiber cloth or a duster.
3. Vacuum/Sweep: Vacuum or sweep the floor to remove any dust and debris.
4. Vacuum Upholstery: Vacuum your sofas and chairs to remove any crumbs, pet hair, and dust. Use the upholstery attachment on your vacuum cleaner.
5. Wipe Down Surfaces: Wipe down any hard surfaces, such as coffee tables and end tables, with a damp cloth.
6. Fluff Pillows and Blankets: Fluff your pillows and blankets to make your living room look more inviting.
7. Straighten Up: Arrange your furniture and accessories to create a more organized and visually appealing space.
Bedroom Bliss: A Sanctuary of Clean
1. Declutter: Remove any clutter from your bedroom – clothes, books, papers, etc.
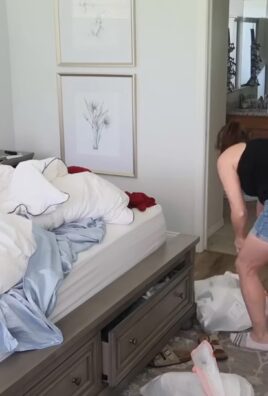
2. Change the Bedding: Strip your bed and wash your sheets, pillowcases, and duvet cover.
3. Dust: Dust all surfaces – furniture, shelves, picture frames, lamps, etc.
4. Vacuum/Sweep: Vacuum or sweep the floor to remove any dust and debris.
5. Wipe Down Surfaces: Wipe down any hard surfaces, such as nightstands and dressers, with a damp cloth.
6. Organize Drawers and Closets (Optional): If you have time, take a few minutes to organize your drawers and closets.
7. Make the Bed: Once your bedding is clean and dry, make your bed.
8. Open the Windows: Let some fresh air into your bedroom.
Monthly Maintenance: The Deep Clean Details
These tasks don’t need to be done every week, but they’re important for maintaining a clean and healthy home.
* Clean Windows and Mirrors: Use a glass cleaner and a microfiber cloth to clean your windows and mirrors.
* Dust Light Fixtures: Dust your light fixtures to remove any accumulated dust and cobwebs.
* Clean Baseboards: Wipe down your baseboards with a damp cloth to remove any dust and dirt.
* Wash Curtains and Blinds: Wash your curtains and blinds according to the manufacturer’s instructions.
* Clean Appliances (Inside): Deep clean your appliances, including the oven, refrigerator, and dishwasher.
* Wash Throw Pillows and Blankets: Wash your throw pillows and blankets to keep them fresh and clean.
* Clean Grout: Use a grout brush and a grout cleaner to clean the grout in your bathroom and kitchen.
* Vacuum Under Furniture: Vacuum under your furniture to remove any dust and debris.
Seasonal Spruce-Up: The Big Picture
These are the tasks that only need to be done a few times a year, but they make a HUGE difference in the overall cleanliness and comfort of your home.
* Declutter and Organize: Go through your entire home and declutter any items you no longer need or use. Organize your closets, drawers, and storage spaces.
* Wash Windows (Inside and Out): Wash your windows inside and out to let in more natural light.
* Clean Carpets and Rugs: Deep clean your carpets and rugs to remove any dirt, stains, and allergens.
* Clean Gutters: Clean your gutters to prevent water damage.
* Power Wash Exterior Surfaces: Power wash your deck, patio, and siding to remove any dirt, grime, and mildew.
* Inspect and Clean HVAC System: Inspect and clean your HVAC system to ensure it’s running efficiently and providing clean air.
* Check and Replace Smoke Detectors and Carbon Monoxide Detectors: Check and replace the batteries in your smoke detectors and carbon monoxide detectors.
My Favorite Cleaning Supplies (and Why I Love Them!)
* Microfiber Cloths: These are my go-to for dusting and wiping down surfaces. They’re super absorbent and don’t leave streaks.
* Vinegar and Water Solution: A simple and effective all-purpose cleaner. I use it on countertops, floors, and even windows.
* Baking Soda: A natural abrasive that’s great for scrubbing sinks and tubs.
* Dish Soap: A must-have for washing dishes and
Conclusion
So, there you have it! Transforming your daily home cleaning routine doesn’t have to involve harsh chemicals or expensive store-bought solutions. This simple, yet incredibly effective, DIY trick for creating your own all-purpose cleaner is a game-changer for anyone looking to streamline their cleaning process, save money, and embrace a more eco-friendly lifestyle.
Why is this a must-try? Because it’s more than just a cleaning solution; it’s a commitment to a healthier home and a more sustainable future. You’re ditching the mystery ingredients and potential irritants found in commercial cleaners and opting for a natural, gentle, and equally powerful alternative. Think about it: no more lingering chemical smells, no more worrying about what your kids or pets might be exposed to, and a significant reduction in plastic waste.
But the benefits don’t stop there. This DIY cleaner is incredibly versatile. Use it on countertops, sinks, floors (test a small, inconspicuous area first, especially on delicate surfaces like hardwood), bathroom tiles, and even as a pre-treatment for stains on fabrics. Its gentle formula is effective enough to tackle everyday grime and grease, yet safe enough for use around the whole family.
Looking for variations? Absolutely! The beauty of this DIY approach is its adaptability. For a boost of disinfecting power, add a few drops of tea tree oil or eucalyptus oil. If you prefer a citrusy scent, incorporate lemon or orange essential oils. Lavender oil not only adds a pleasant fragrance but also boasts calming properties, making your cleaning routine a more relaxing experience. Experiment with different essential oil combinations to find your perfect signature scent. You can also infuse your vinegar with citrus peels for a few weeks before using it in the recipe, adding an extra layer of natural cleaning power and fragrance.
Don’t be afraid to experiment with the ratios of ingredients to find what works best for your specific needs and preferences. Some people prefer a stronger vinegar scent, while others prefer a more diluted solution. Start with the recommended recipe and adjust accordingly.
We are confident that once you try this DIY all-purpose cleaner, you’ll never go back to store-bought alternatives. It’s cost-effective, environmentally friendly, and incredibly satisfying to know that you’re creating a safe and healthy home for yourself and your loved ones.
So, what are you waiting for? Gather your ingredients, mix up a batch of this amazing DIY cleaner, and experience the difference for yourself. We encourage you to share your experiences with us! Let us know what variations you tried, what surfaces you cleaned, and how this DIY trick has transformed your daily home cleaning routine. Share your photos and tips in the comments below – we can’t wait to hear from you! Let’s build a community of clean, green, and happy homes together!
Frequently Asked Questions (FAQ)
What exactly is this DIY cleaner made of?
This DIY all-purpose cleaner typically consists of a simple combination of white vinegar, water, and optionally, essential oils for fragrance and added cleaning power. The exact ratios can vary depending on your preferences and the specific cleaning task. A common starting point is a 1:1 ratio of white vinegar and water.
Why use vinegar as a cleaner? Isn’t it too acidic?
White vinegar is a natural disinfectant and degreaser. Its acidity helps to break down grime, grease, and hard water stains. While it is acidic, when diluted with water, it’s generally safe for most household surfaces. However, it’s always recommended to test a small, inconspicuous area first, especially on delicate surfaces like marble, granite, or waxed wood.
Can I use this cleaner on all surfaces?
While this DIY cleaner is generally safe for most surfaces, there are a few exceptions. Avoid using it on marble, granite, waxed wood, and aluminum. The acidity of the vinegar can damage these materials. Always test a small, inconspicuous area first to ensure compatibility. For surfaces like hardwood floors, use a very diluted solution and dry the surface thoroughly after cleaning.
What essential oils are best to use in this cleaner?
The best essential oils to use depend on your preferences and desired benefits. Some popular choices include:
* **Tea Tree Oil:** Known for its antibacterial and antifungal properties.
* **Lemon Oil:** A natural degreaser and adds a fresh, citrusy scent.
* **Lavender Oil:** Provides a calming fragrance and has mild antiseptic properties.
* **Eucalyptus Oil:** Has a refreshing scent and is known for its antibacterial and antiviral properties.
* **Orange Oil:** Similar to lemon oil, it’s a great degreaser and adds a bright, uplifting scent.
Experiment with different combinations to find your favorite scent and cleaning power.
How long does this DIY cleaner last?
This DIY cleaner has a relatively long shelf life. Because vinegar is a natural preservative, the cleaner can last for several months when stored in a cool, dark place. However, the scent of the essential oils may fade over time. It’s best to make a fresh batch every few months to ensure optimal fragrance and cleaning power.
Does the vinegar smell linger after cleaning?
The vinegar smell will dissipate quickly after cleaning. The essential oils will help to mask the vinegar scent and leave behind a pleasant fragrance. If you’re particularly sensitive to the smell of vinegar, you can add more essential oils or use a more diluted solution. Opening windows and ventilating the area after cleaning can also help to reduce the vinegar smell.
Can I use this cleaner to clean my windows and mirrors?
Yes, this DIY cleaner works great on windows and mirrors. Simply spray the cleaner onto the surface and wipe clean with a microfiber cloth. For streak-free results, use a clean, dry microfiber cloth and avoid cleaning in direct sunlight.
Is this cleaner safe for pets and children?
This DIY cleaner is generally safe for pets and children, as it’s made with natural ingredients. However, it’s still important to keep it out of reach of children and pets, as ingestion of large amounts could cause irritation. If you’re using essential oils, be sure to research their safety for pets, as some essential oils can be toxic to animals. Always supervise children when they are helping with cleaning.
Can I use this cleaner to remove tough stains?
While this DIY cleaner is effective for everyday cleaning, it may not be strong enough to remove tough stains on its own. For stubborn stains, you can try pre-treating the area with a paste of baking soda and water before cleaning with the DIY cleaner. You can also add a small amount of hydrogen peroxide to the cleaner for extra stain-fighting power, but be sure to test it on a small, inconspicuous area first.
What kind of spray bottle should I use?
You can use any clean, empty spray bottle to store your DIY cleaner. However, it’s best to use a bottle made of dark glass or opaque plastic to protect the essential oils from light, which can degrade their quality. Be sure to label the bottle clearly so that you don’t accidentally mistake it for something else.
Can I add dish soap to this cleaner?
While you can add a small amount of dish soap to this cleaner for extra degreasing power, it’s generally not necessary. Dish soap can also leave a residue on surfaces, so it’s best to use it sparingly. If you do add dish soap, use a small amount (about 1 teaspoon per cup of cleaner) and rinse the surface thoroughly after cleaning.
What if I don’t have essential oils? Can I still make this cleaner?
Yes, you can still make this cleaner without essential oils. The vinegar and water combination is still effective for cleaning and disinfecting. The essential oils are primarily added for fragrance and to enhance the cleaning power. If you don’t have essential oils, you can simply use a 1:1 ratio of white vinegar and water.

Leave a Comment