

Vegetable tower gardening at home is no longer a dream reserved for those with sprawling acres! Imagine fresh, homegrown tomatoes, crisp lettuce, and fragrant herbs just steps from your kitchen, even if you only have a small balcony or patio. I’m so excited to share some incredible DIY tricks that will transform your limited space into a thriving vertical garden.
For centuries, humans have cultivated food in creative ways, from the hanging gardens of Babylon to the intricate terrace farming of the Incas. This innate desire to connect with nature and nourish ourselves with homegrown goodness is deeply ingrained in our history. But in today’s urbanized world, space often comes at a premium. That’s where the magic of vertical gardening comes in!
Are you tired of bland, store-bought produce? Do you crave the satisfaction of growing your own food but feel limited by space? Vegetable tower gardening at home offers a fantastic solution. This DIY guide will provide you with simple, cost-effective methods to build your own vegetable tower, maximize your yield, and enjoy the freshest, most flavorful produce imaginable. I’ll walk you through each step, from choosing the right materials to selecting the perfect plants for your vertical oasis. Let’s get growing!
DIY Vegetable Tower: Grow More, Space Less!
Hey there, fellow gardening enthusiasts! Are you dreaming of a bountiful harvest but short on space? Well, I’ve got just the project for you: a DIY vegetable tower! This vertical gardening solution is perfect for small patios, balconies, or even just adding a unique touch to your existing garden. It’s surprisingly easy to build, and the results are incredibly rewarding. Trust me, there’s nothing quite like harvesting fresh veggies from your own homemade tower!
Why Build a Vegetable Tower?
Before we dive into the how-to, let’s quickly cover why a vegetable tower is such a fantastic idea:
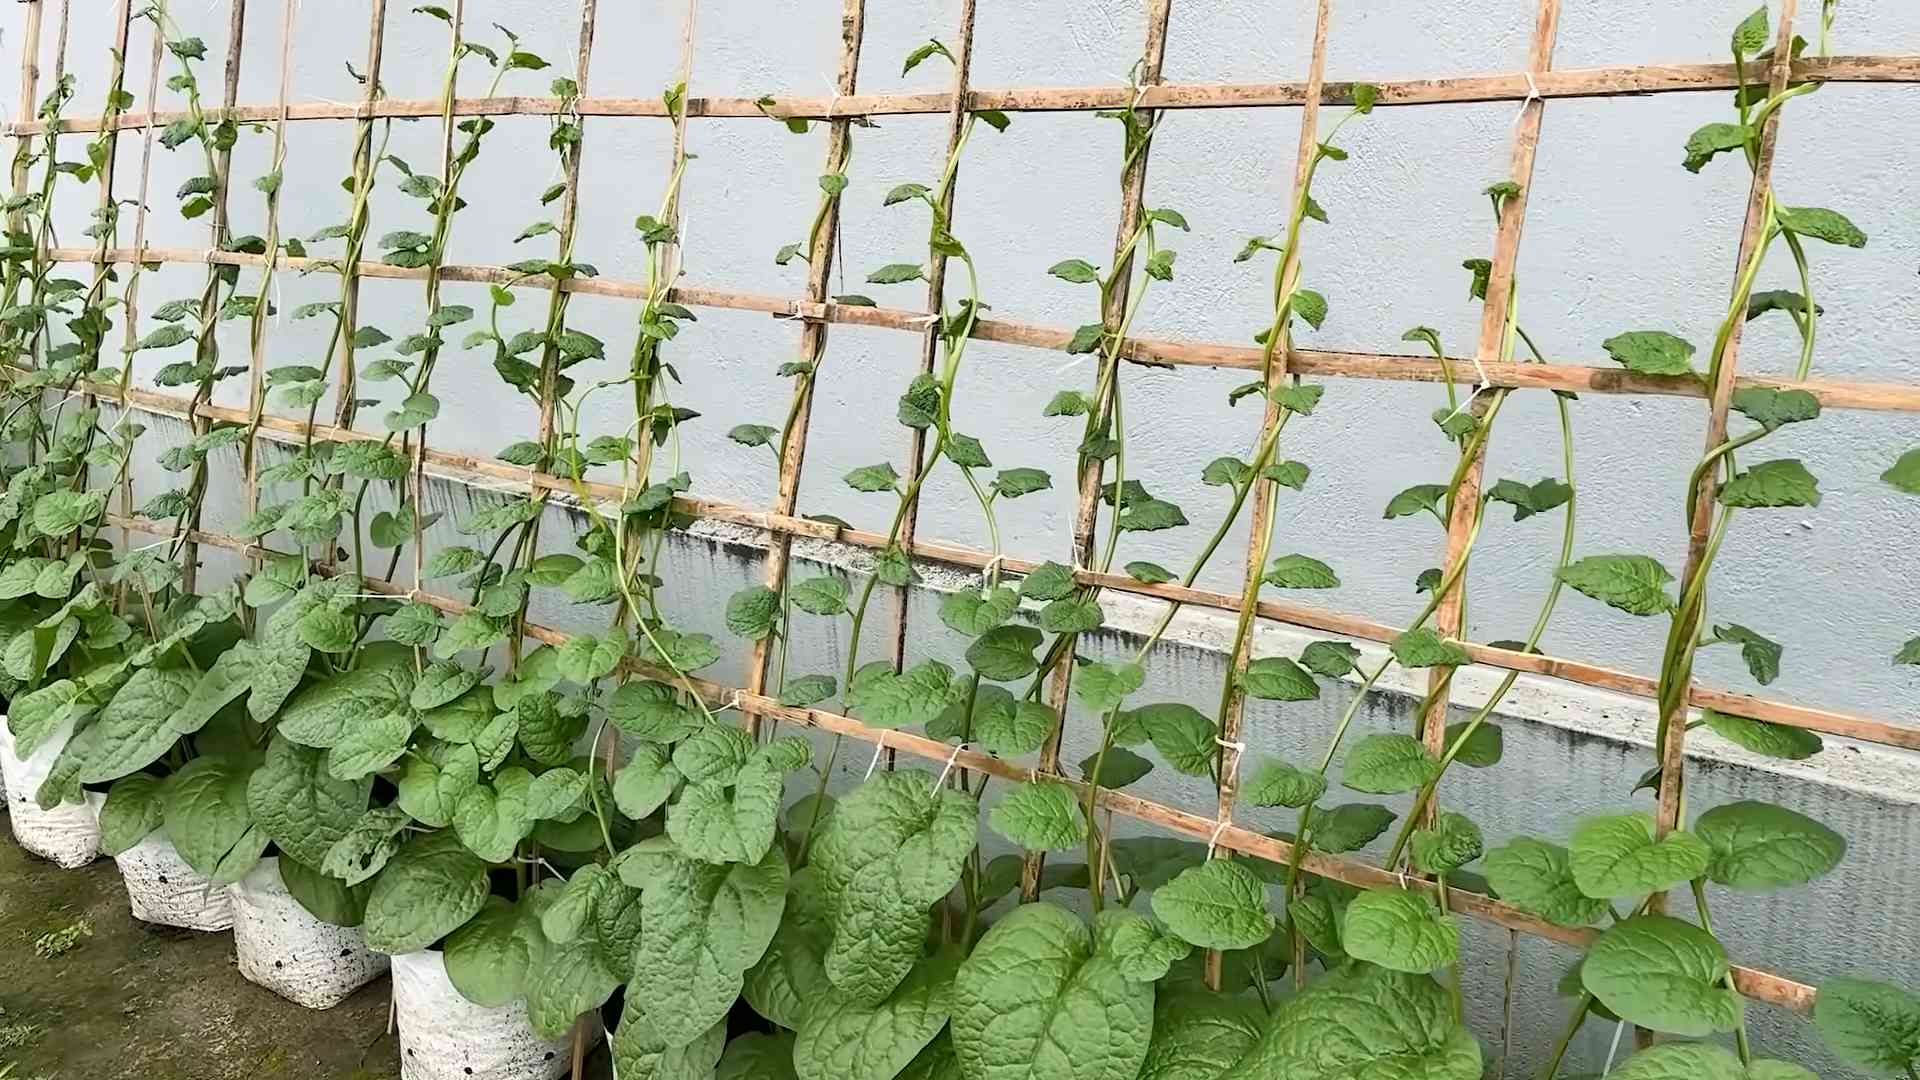
* Space Saving: This is the big one! Vertical gardening maximizes your growing area without taking up precious ground space.
* Increased Yield: You can pack a surprising number of plants into a small footprint.
* Pest Control: Elevated plants are often less susceptible to ground-dwelling pests.
* Easy Harvesting: No more bending over! Harvesting is a breeze when your veggies are at a comfortable height.
* Aesthetic Appeal: Let’s be honest, vegetable towers look pretty cool! They add a unique and eye-catching element to any garden.
* Improved Drainage and Aeration: The tower design often promotes better drainage and airflow around the roots.
Materials You’ll Need
Okay, let’s gather our supplies. Here’s what you’ll need to build your own vegetable tower. Don’t worry, most of these items are readily available at your local hardware store or garden center:
* Large Plastic Container (approx. 30-50 gallons): This will be the main body of your tower. A food-grade plastic container is ideal. Think large trash cans, storage bins, or even repurposed barrels (make sure they’re clean!).
* Smaller PVC Pipe (4-6 inches diameter, length depends on the height of your container): This will be the watering tube in the center of the tower.
* Drill with various sized drill bits: For creating drainage holes and planting holes.
* Utility Knife or Jigsaw: For cutting the planting holes in the container.
* Landscape Fabric or Burlap: To line the inside of the container and prevent soil from washing out.
* Potting Soil: A good quality potting mix is essential for healthy plant growth.
* Gravel or Small Rocks: For drainage at the bottom of the container.
* Measuring Tape or Ruler: For accurate hole placement.
* Gloves: To protect your hands.
* Safety Glasses: Always a good idea when using power tools.
* Zip Ties or Duct Tape: To secure the landscape fabric to the container.
Building Your Vegetable Tower: Step-by-Step
Alright, let’s get building! This project is relatively straightforward, but take your time and follow these steps carefully.
Phase 1: Preparing the Container
1. Clean the Container: Thoroughly wash the large plastic container with soap and water to remove any dirt or residue. Rinse it well and let it dry completely.
2. Drill Drainage Holes: Using a drill bit (around 1/2 inch), drill drainage holes in the bottom of the container. Space them about 4-6 inches apart. This is crucial for preventing waterlogging.
3. Line the Container: Cut the landscape fabric or burlap to fit the inside of the container. Make sure it covers the bottom and sides completely. This will prevent soil from escaping through the drainage holes. Secure the fabric to the container using zip ties or duct tape. I prefer zip ties because they’re more durable.
Phase 2: Creating the Planting Holes
1. Mark the Planting Holes: This is where you’ll be planting your vegetables! Use a measuring tape or ruler to mark the locations of the planting holes on the sides of the container. Stagger the holes in rows, leaving enough space between them for the plants to grow. I usually aim for about 6-8 inches between holes, both vertically and horizontally. The size of the holes will depend on the type of plants you’re growing. For smaller plants like lettuce or herbs, a 2-3 inch hole is sufficient. For larger plants like tomatoes or peppers, you’ll need a 4-5 inch hole.
2. Cut the Planting Holes: Using a utility knife or jigsaw, carefully cut out the planting holes that you marked. Be careful not to make the holes too large, as this can cause soil to spill out. If you’re using a utility knife, score the outline of the hole first, then gradually cut through the plastic. A jigsaw will make quicker work of it, but be sure to use a fine-tooth blade to avoid cracking the plastic.
3. Smooth the Edges: Once you’ve cut the holes, smooth the edges with sandpaper or a file to prevent them from being sharp. This will protect your hands when you’re planting and harvesting.
Phase 3: Installing the Watering Tube
1. Drill Holes in the PVC Pipe: This is the key to evenly watering your tower. Using a drill bit (around 1/4 inch), drill holes all over the PVC pipe. Space the holes about 2-3 inches apart, and make sure they’re distributed evenly around the circumference of the pipe. The more holes you drill, the better the water distribution will be.
2. Cap the Bottom of the PVC Pipe (Optional): You can cap the bottom of the PVC pipe to prevent soil from entering it. This isn’t strictly necessary, but it can help keep the pipe clean. You can use a PVC pipe cap or simply seal the bottom with duct tape.
3. Position the PVC Pipe: Place the PVC pipe in the center of the container, standing upright. Make sure it reaches almost to the bottom of the container.
Phase 4: Filling the Tower with Soil
1. Add a Layer of Gravel: Pour a layer of gravel or small rocks into the bottom of the container, about 4-6 inches deep. This will improve drainage and prevent the soil from becoming waterlogged.
2. Fill with Potting Soil: Now, start filling the container with potting soil. As you fill, gently pack the soil around the PVC pipe to keep it in place. Make sure the soil is evenly distributed and that there are no air pockets.
3. Water the Soil: As you fill the tower, water the soil periodically to help it settle. This will also prevent the soil from compacting too much.
Phase 5: Planting Your Vegetables
1. Choose Your Plants: Select vegetables that are well-suited for container gardening and that will thrive in your climate. Some good options include lettuce, spinach, herbs, strawberries, tomatoes, peppers, and cucumbers. Consider the mature size of the plants when choosing varieties.
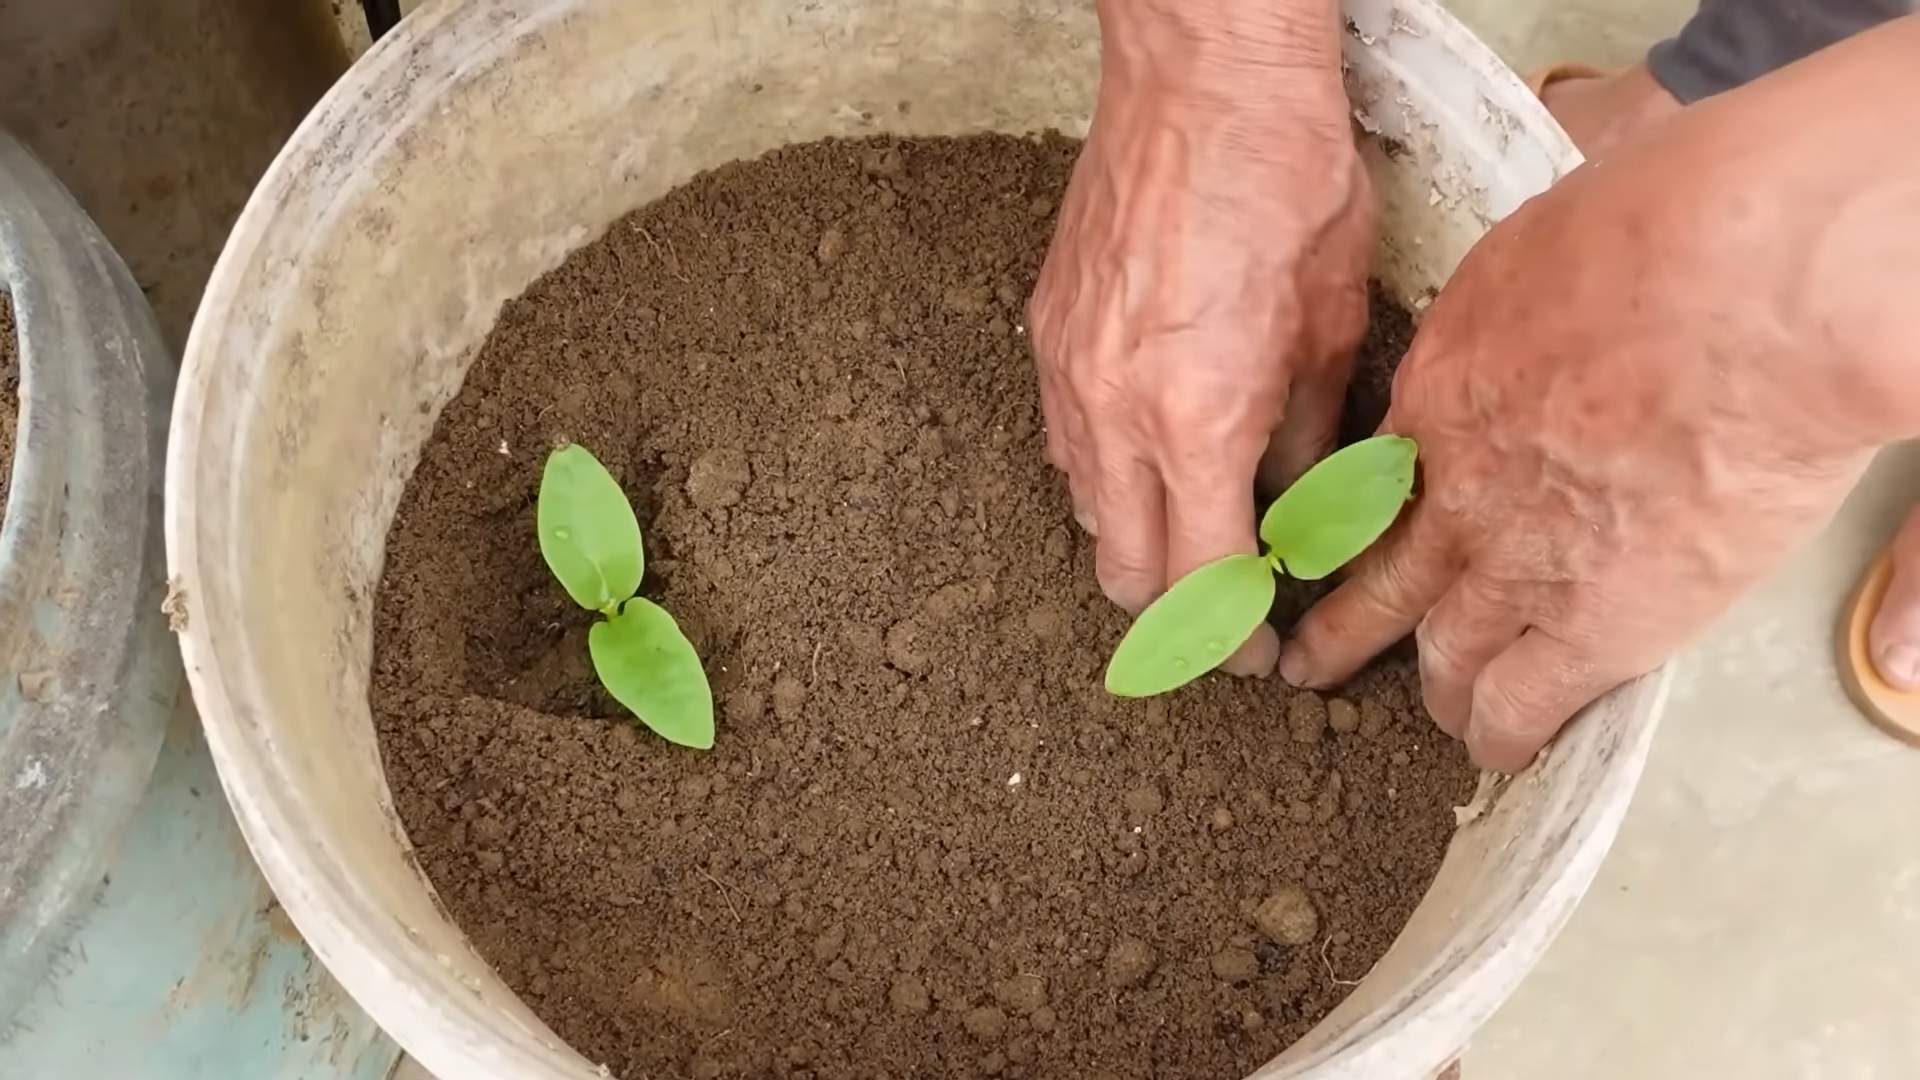
2. Plant Your Vegetables: Carefully plant your vegetables in the planting holes that you created. Gently remove the plants from their containers and loosen the roots before planting. Make sure the roots are well covered with soil.
3. Water Thoroughly: After planting, water the tower thoroughly. Water the soil directly and also pour water into the PVC pipe to ensure that the entire tower is evenly moistened.
Tips for Success
Here are a few extra tips to help you get the most out of your vegetable tower:
* Choose the Right Location: Place your vegetable tower in a location that receives at least 6-8 hours of sunlight per day.
* Water Regularly: Vegetable towers tend to dry out quickly, so water them regularly, especially during hot weather. Check the soil moisture daily and water when the top inch of soil feels dry.
* Fertilize Regularly: Container-grown plants need regular fertilization to thrive. Use a balanced liquid fertilizer every 2-3 weeks.
* Rotate Your Crops: To prevent soil depletion and pest problems, rotate your crops each season.
* Monitor for Pests and Diseases: Keep an eye out for pests and diseases, and take action promptly if you notice any problems.
* Consider Companion Planting: Plant compatible vegetables together to improve growth and deter pests. For example, basil repels many pests that attack tomatoes.
* Mulch the Top of the Tower: Add a layer of mulch to the top of the tower to help retain moisture and suppress weeds.
Vegetable Tower Variations
Once you’ve mastered the basic vegetable tower, you can experiment with different variations:
* Strawberry Tower: Use a smaller container and create more planting holes for strawberries.
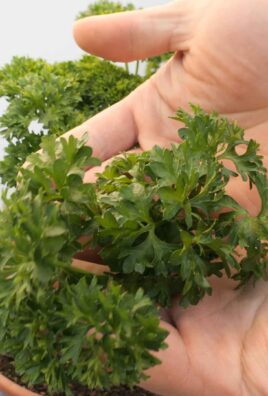
* Herb Tower: Plant a variety of herbs in your tower for a fragrant and flavorful addition to your garden.
* Tiered Tower: Use multiple containers of different sizes to create a tiered tower.
* Pallet Tower: Repurpose a wooden pallet to create a rustic vegetable tower.
Building a vegetable tower is a fun and rewarding project that will allow you to grow more vegetables in less space. With a little bit of effort
Conclusion
So, there you have it! Transforming your gardening experience with a DIY vegetable tower is not just a trend; it’s a revolution in efficient, space-saving, and aesthetically pleasing cultivation. We’ve explored the ins and outs of building your own vertical garden, and hopefully, you’re now brimming with inspiration and ready to get your hands dirty.
Why is this DIY trick a must-try? Because it addresses several key challenges faced by modern gardeners. Limited space? No problem! A vegetable tower allows you to grow a surprising amount of produce in a fraction of the area required by traditional gardening methods. Soil quality concerns? You have complete control over the growing medium, ensuring your plants receive the nutrients they need to thrive. Pest control headaches? Vertical gardening elevates your plants, making them less accessible to ground-dwelling pests and easier to monitor. Plus, let’s be honest, a lush, vibrant vegetable tower is a stunning addition to any balcony, patio, or garden.
But the benefits extend beyond the practical. Creating your own vegetable tower is a rewarding and engaging project. It’s a chance to connect with nature, learn about plant life cycles, and enjoy the satisfaction of harvesting your own fresh, homegrown vegetables. It’s also a fantastic way to reduce your carbon footprint by minimizing your reliance on store-bought produce.
Ready to take your gardening to new heights?
Don’t be afraid to experiment with different designs and materials. Consider using repurposed items like plastic bottles, pallets, or even old tires to create a unique and eco-friendly tower. For variations, think about incorporating herbs alongside your vegetables to create a fragrant and functional garden. Strawberries and other trailing fruits also work beautifully in a vertical setup. You could even dedicate a tower to specific themes, such as a salad tower with various lettuce varieties, spinach, and arugula, or a Mediterranean tower with tomatoes, peppers, and basil.
Remember to choose plants that are well-suited to your local climate and growing conditions. Pay attention to sunlight exposure and water requirements, and adjust your watering schedule accordingly. Regular fertilization is also essential to keep your plants healthy and productive.
We are confident that you will find this DIY vegetable tower project to be both enjoyable and rewarding. It’s a fantastic way to maximize your gardening potential, even in the smallest of spaces. So, gather your materials, unleash your creativity, and get ready to enjoy a bountiful harvest.
We encourage you to try this DIY trick and share your experience with us! Post photos of your vegetable towers on social media using #DIYVegetableTower and tag us so we can see your amazing creations. We’d love to hear about your successes, challenges, and any tips you’ve learned along the way. Let’s build a community of vertical gardeners and inspire others to embrace this innovative and sustainable approach to growing food.
FAQ
What are the best vegetables to grow in a vegetable tower?
The best vegetables for a vegetable tower are generally those that don’t require a lot of space for their root systems and can thrive in a relatively small container. Leafy greens like lettuce, spinach, kale, and chard are excellent choices. Herbs such as basil, mint, oregano, and thyme also do well. Strawberries are another popular option, as their trailing habit makes them ideal for cascading down the sides of the tower. Smaller varieties of tomatoes, peppers, and eggplants can also be grown successfully, but they may require more support and attention. Avoid large, sprawling plants like pumpkins or watermelons, as they will quickly outgrow the tower. Consider the mature size of the plant when making your selections.
How often should I water my vegetable tower?
Watering frequency depends on several factors, including the climate, the type of plants you’re growing, and the material of your tower. In general, you’ll need to water more frequently than you would with traditional in-ground gardening, as the soil in the tower tends to dry out faster. Check the soil moisture level daily by sticking your finger about an inch into the soil. If it feels dry, it’s time to water. During hot, sunny weather, you may need to water once or even twice a day. Ensure that the water reaches all levels of the tower, and avoid overwatering, which can lead to root rot. A good rule of thumb is to water until you see water draining from the bottom of the tower.
What type of soil should I use in my vegetable tower?
The ideal soil for a vegetable tower is a well-draining, nutrient-rich mix. A good starting point is a combination of potting soil, compost, and perlite or vermiculite. Potting soil provides a good base for plant growth, while compost adds essential nutrients and improves soil structure. Perlite or vermiculite helps to improve drainage and aeration, preventing the soil from becoming waterlogged. You can also add other amendments, such as bone meal or blood meal, to provide additional nutrients. Avoid using garden soil, as it can be too heavy and compacted for container gardening.
How do I fertilize my vegetable tower?
Regular fertilization is essential to keep your plants healthy and productive in a vegetable tower. Because the plants are growing in a limited amount of soil, they will quickly deplete the available nutrients. You can use either a liquid fertilizer or a slow-release granular fertilizer. Liquid fertilizers are easy to apply and provide a quick boost of nutrients, but they need to be applied more frequently. Slow-release fertilizers release nutrients gradually over time, providing a more consistent supply. Follow the instructions on the fertilizer packaging for application rates and frequency. Organic fertilizers, such as compost tea or fish emulsion, are also excellent choices.
How do I protect my vegetable tower from pests?
Vertical gardening naturally reduces some pest pressure, but you may still encounter some common garden pests. Regularly inspect your plants for signs of infestation, such as aphids, whiteflies, or spider mites. Handpicking pests is an effective way to control small infestations. You can also use insecticidal soap or neem oil to treat larger infestations. Companion planting can also help to deter pests. For example, planting basil near tomatoes can help to repel aphids and whiteflies. Consider using netting or row covers to protect your plants from larger pests, such as birds or rabbits.
Can I move my vegetable tower?
The movability of your vegetable tower depends on its size, weight, and construction. Smaller, lightweight towers can be easily moved, while larger, heavier towers may require assistance. If you plan to move your tower frequently, consider building it on a wheeled base. This will make it much easier to move around, even when it’s fully loaded with soil and plants. Before moving your tower, make sure to water it thoroughly to help keep the soil moist and prevent the plants from drying out.
How do I overwinter my vegetable tower?
The best way to overwinter your vegetable tower depends on the climate and the types of plants you’re growing. In colder climates, you may need to bring your tower indoors or protect it from freezing temperatures. Tender perennials, such as herbs like rosemary and thyme, can be brought indoors and grown as houseplants. Annual vegetables, such as tomatoes and peppers, will not survive the winter and should be removed. You can also cover your tower with a tarp or blanket to protect it from frost. In milder climates, you may be able to leave your tower outdoors with minimal protection. Consider planting winter-hardy vegetables, such as kale, spinach, and lettuce, to extend your growing season.


Leave a Comment