

House Cleaning Tips: Let’s face it, nobody loves cleaning, but a sparkling home can do wonders for your mood and overall well-being! Imagine walking into a space that’s fresh, organized, and free of clutter – doesn’t that sound amazing? This isn’t just about aesthetics; it’s about creating a healthy and happy environment for you and your loved ones.
For centuries, cultures around the world have placed immense value on cleanliness. From ancient rituals to modern-day practices, maintaining a tidy home has been linked to everything from spiritual purity to physical health. Think about the Japanese art of *Oosouji*, the big year-end cleaning, which is believed to cleanse the home of negative energy and prepare it for a fresh start. Or consider the simple act of sweeping, a universal symbol of removing negativity and inviting good fortune.
But let’s be real, in today’s busy world, finding the time and energy for deep cleaning can feel like a monumental task. That’s where these DIY house cleaning tips come in! I’m going to share some of my favorite hacks and tricks that will not only save you time and money but also make the whole process a lot less daunting. From tackling stubborn stains with natural ingredients to organizing your space for maximum efficiency, these tips will help you transform your home into a sanctuary you’ll truly love. So, grab your gloves, put on some music, and let’s get started!
DIY Deep Cleaning: Revitalize Your Home Like a Pro!
Hey everyone! I’m so excited to share my ultimate deep cleaning guide with you. We all know that feeling of walking into a sparkling clean home – it’s pure bliss! But let’s be honest, deep cleaning can feel overwhelming. That’s why I’ve broken it down into manageable steps and shared all my favorite tips and tricks to make the process easier and even (dare I say?) enjoyable! So, grab your cleaning supplies, put on some music, and let’s get started!
Gather Your Arsenal: Essential Cleaning Supplies
Before we dive in, let’s make sure we have everything we need. Having all your supplies ready will save you time and prevent those mid-cleaning runs to the store. Here’s my go-to list:
* All-Purpose Cleaner: A good all-purpose cleaner is a must-have for tackling various surfaces.
* Glass Cleaner: For streak-free windows and mirrors.
* Bathroom Cleaner: Specifically designed to combat soap scum and mildew.
* Toilet Bowl Cleaner: For a sparkling clean toilet.
* Oven Cleaner: Because nobody likes a greasy oven.
* Dish Soap: For handwashing dishes and general cleaning.
* Baking Soda: A natural and versatile cleaner and deodorizer.
* White Vinegar: Another natural powerhouse for cleaning and disinfecting.
* Microfiber Cloths: These are my absolute favorite! They’re super absorbent and won’t scratch surfaces.
* Sponges: For scrubbing tougher messes.
* Scrub Brush: A sturdy brush for cleaning grout and other hard-to-reach areas.
* Rubber Gloves: To protect your hands from harsh chemicals.
* Vacuum Cleaner: With various attachments for different surfaces.
* Mop and Bucket: For sparkling clean floors.
* Dusting Cloth or Duster: For removing dust from furniture and surfaces.
* Trash Bags: For disposing of all the clutter we’re about to uncover!
* Old Toothbrush: Perfect for cleaning grout and tight spaces.
* Spray Bottles: For diluting cleaning solutions.
Phase 1: Decluttering – The Foundation of a Clean Home
Before we even think about scrubbing, let’s tackle the clutter. A clean space starts with a decluttered space. Trust me, it makes a huge difference!
1. Room by Room: Start with one room at a time. Don’t try to tackle the whole house at once – it’s too overwhelming.
2. The Four-Box Method: Grab four boxes or containers and label them: “Keep,” “Donate,” “Trash,” and “Relocate.”
3. Go Through Everything: Pick up each item in the room and decide which box it belongs in. Be honest with yourself! If you haven’t used it in a year, it’s probably time to let it go.
4. Be Ruthless: It’s okay to get rid of things! Holding onto clutter only makes your home feel smaller and more stressful.
5. Relocate Items: The “Relocate” box is for items that belong in a different room. Once you’re done decluttering the room, put those items where they belong.
6. Donate or Sell: Take the “Donate” box to your local charity or try selling items online.
7. Trash It: Dispose of the “Trash” box responsibly.
8. Organize What’s Left: Now that you’ve decluttered, it’s time to organize what’s left. Use storage containers, shelves, and drawers to keep everything in its place.
Phase 2: Top-to-Bottom Cleaning – The Real Deal
Now for the fun part – the actual cleaning! We’ll work from top to bottom to avoid re-cleaning areas we’ve already done.
Cleaning the Kitchen: The Heart of the Home
1. Clear the Counters: Remove everything from your countertops.
2. Wipe Down Cabinets: Use an all-purpose cleaner to wipe down the exterior of your cabinets. Pay special attention to areas around the handles, which tend to get greasy.
3. Clean the Backsplash: Wipe down the backsplash with an all-purpose cleaner. For stubborn stains, try a paste of baking soda and water.
4. Clean the Sink: Scrub the sink with dish soap and a sponge. For stainless steel sinks, use a stainless steel cleaner to remove water spots.
5. Clean the Faucet: Use a toothbrush to clean around the base of the faucet and remove any buildup.
6. Clean the Microwave: Heat a cup of water with a few tablespoons of vinegar in the microwave for a few minutes. The steam will loosen any stuck-on food. Then, wipe down the interior with a sponge.
7. Clean the Oven: If your oven has a self-cleaning function, use it. Otherwise, use an oven cleaner according to the instructions on the bottle.
8. Clean the Stovetop: Remove the grates and burners and soak them in hot, soapy water. Wipe down the stovetop with an all-purpose cleaner. For stubborn stains, use a stovetop cleaner.
9. Clean the Refrigerator: Remove all the food from the refrigerator and discard anything that’s expired. Wipe down the shelves and drawers with an all-purpose cleaner.
10. Clean the Dishwasher: Run an empty dishwasher cycle with a cup of vinegar in the top rack.
11. Sweep and Mop the Floor: Sweep or vacuum the floor to remove any loose dirt and debris. Then, mop the floor with a floor cleaner.
Tackling the Bathroom: A Sanctuary of Cleanliness
1. Clear the Counters: Remove everything from your countertops.
2. Clean the Mirror: Spray the mirror with glass cleaner and wipe it down with a microfiber cloth.
3. Clean the Sink and Faucet: Scrub the sink and faucet with a bathroom cleaner. Use a toothbrush to clean around the base of the faucet.
4. Clean the Toilet: Pour toilet bowl cleaner into the toilet bowl and let it sit for a few minutes. Then, scrub the bowl with a toilet brush and flush. Wipe down the exterior of the toilet with a bathroom cleaner.
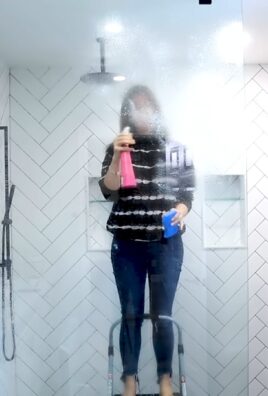
5. Clean the Shower or Bathtub: Spray the shower or bathtub with a bathroom cleaner and let it sit for a few minutes. Then, scrub the walls and floor with a sponge or scrub brush. For stubborn soap scum, try a mixture of baking soda and vinegar.
6. Clean the Showerhead: Soak the showerhead in a bag of vinegar overnight to remove mineral buildup.
7. Clean the Grout: Use an old toothbrush and a grout cleaner to scrub the grout between the tiles.
8. Sweep and Mop the Floor: Sweep or vacuum the floor to remove any loose dirt and debris. Then, mop the floor with a floor cleaner.
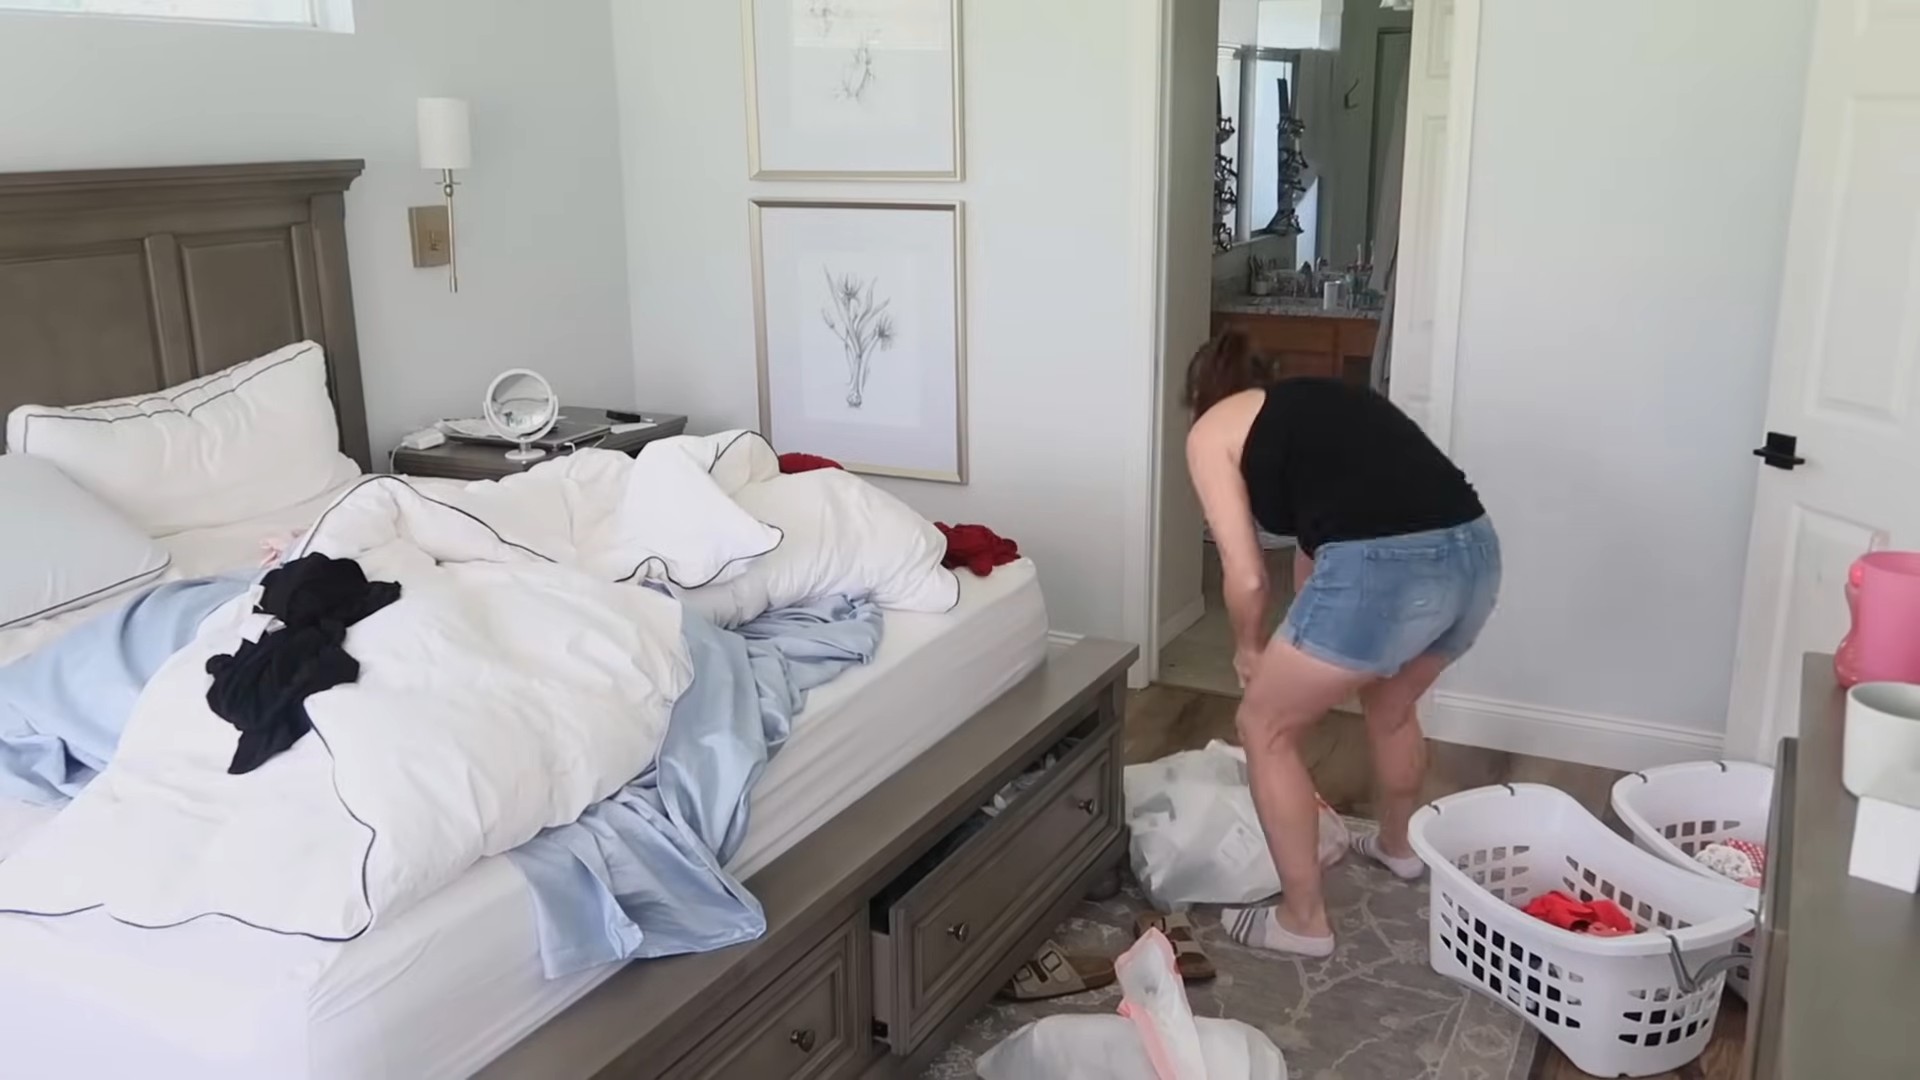
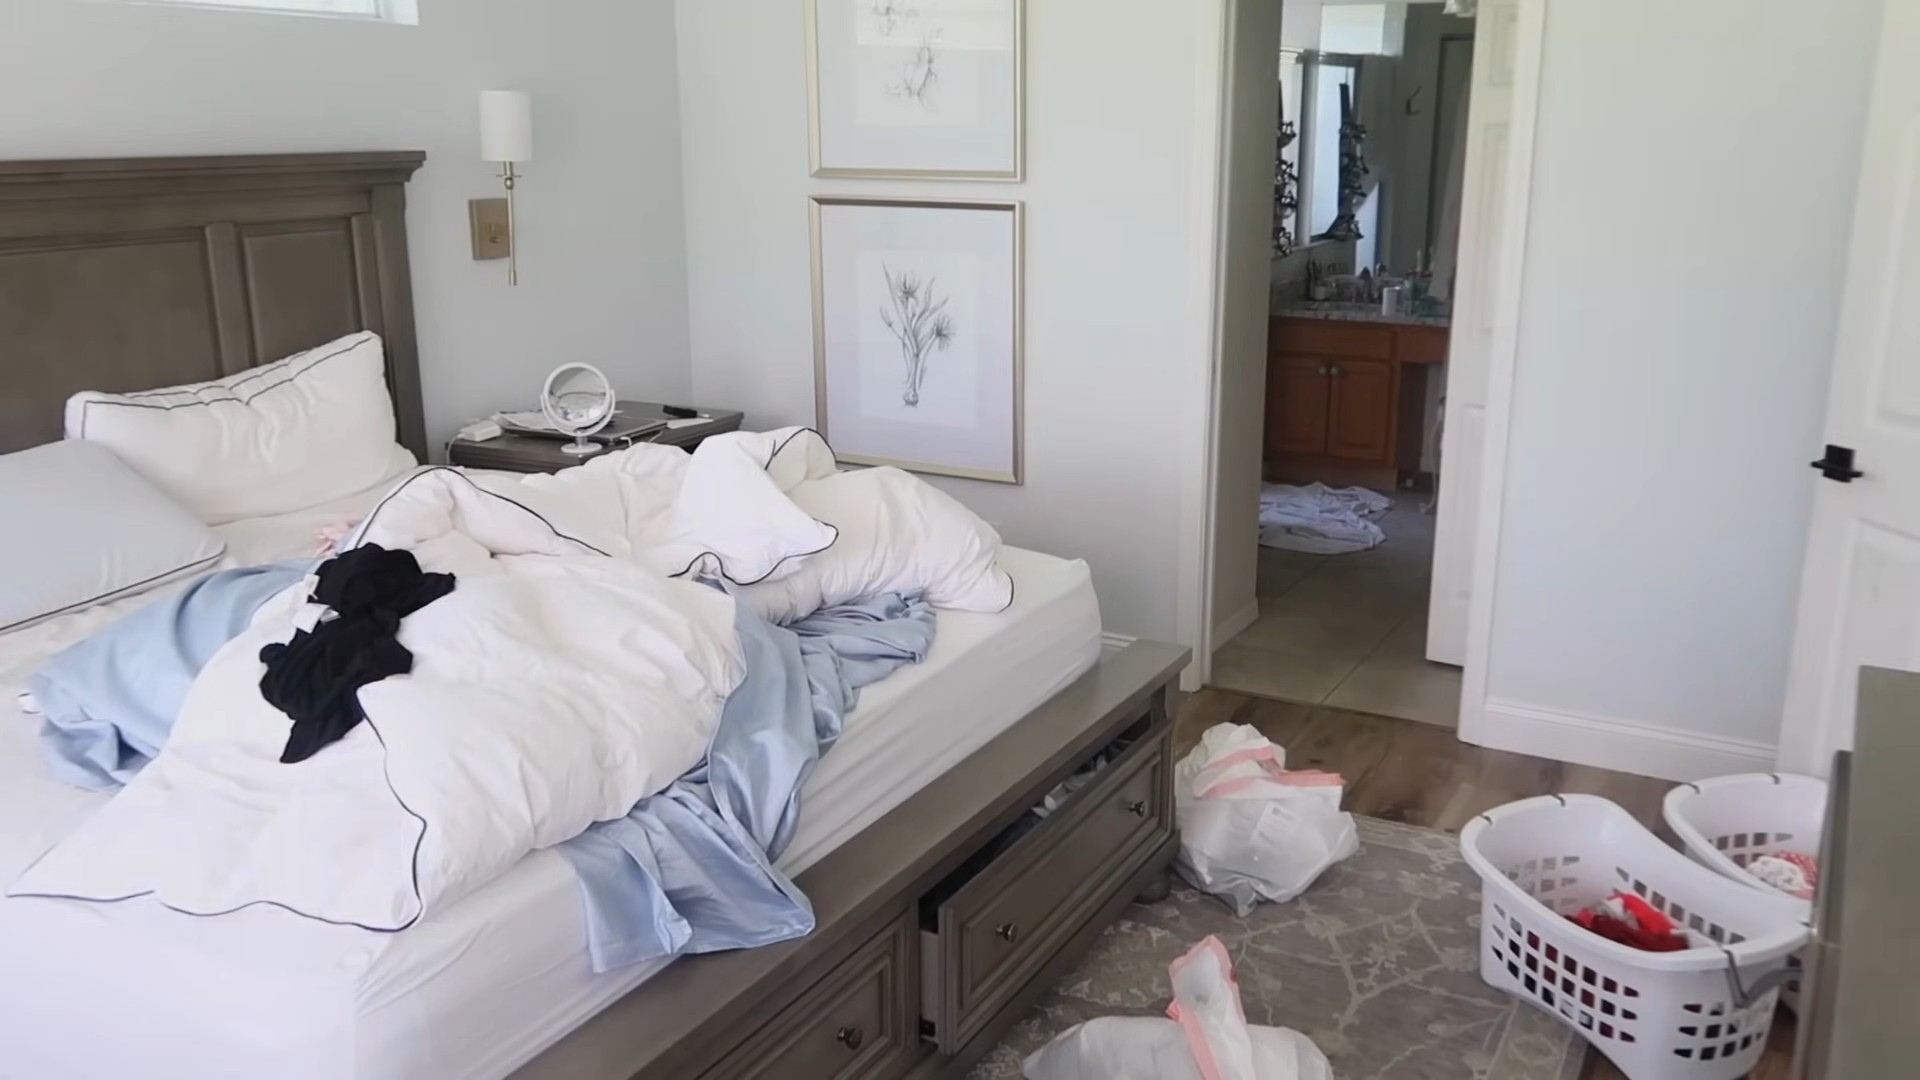
Living Room and Bedrooms: Dusting and Refreshing
1. Dust Everything: Start by dusting all surfaces, including furniture, shelves, picture frames, and lamps. Use a dusting cloth or duster.
2. Vacuum Upholstery: Vacuum all upholstered furniture, including sofas, chairs, and ottomans. Use the upholstery attachment on your vacuum cleaner.
3. Clean Windows and Mirrors: Spray windows and mirrors with glass cleaner and wipe them down with a microfiber cloth.
4. Wash Curtains and Blinds: Wash curtains according to the instructions on the label. Wipe down blinds with a damp cloth.
5. Vacuum or Mop the Floor: Vacuum carpets and rugs. Mop hard floors with a floor cleaner.
6. Make the Beds: Change the sheets and make the beds.
Phase 3: Special Areas – Don’t Forget These Spots!
These areas often get overlooked, but they’re just as important to clean.
* Light Fixtures: Dust light fixtures regularly to prevent dust buildup.
* Doorknobs and Light Switches: Wipe down doorknobs and light switches with a disinfectant wipe to kill germs.
* Baseboards: Wipe down baseboards with a damp cloth to remove dust and dirt.
* Electronics: Dust electronics with a microfiber cloth. Use a can of compressed air to clean keyboards and other hard-to-reach areas.
* Trash Cans: Wash trash cans with soap and water to prevent odors.
* Laundry Room: Wipe down the washing machine and dryer. Clean the lint trap in the dryer after each use.
Extra Tips and Tricks for a Sparkling Home
* Open Windows: Opening windows while you clean will help to ventilate your home and remove odors.
* Use Natural Cleaners: Baking soda, vinegar,
Conclusion
So, there you have it! Transforming your cleaning routine with these simple yet incredibly effective DIY house cleaning tips is not just about saving money; it’s about creating a healthier, happier home environment. We’ve explored how to harness the power of everyday ingredients to tackle grime, eliminate odors, and achieve a sparkling clean without relying on harsh chemicals.
The beauty of these DIY solutions lies in their versatility. You’re not locked into a rigid formula; you can adapt and adjust based on your specific needs and preferences. For instance, if you’re particularly sensitive to smells, consider adding a few drops of your favorite essential oil to your all-purpose cleaner. Lavender, lemon, and tea tree oil are all excellent choices, not only for their pleasant aromas but also for their antibacterial and antifungal properties.
Think about the satisfaction of knowing exactly what’s in your cleaning products. No more deciphering confusing labels or worrying about hidden toxins. You’re in control, crafting solutions that are safe for your family, your pets, and the environment.
Beyond the health benefits, embracing these DIY house cleaning tips can also be a fun and rewarding experience. Experiment with different combinations, discover new uses for common household items, and take pride in the fact that you’re contributing to a more sustainable lifestyle.
Consider these variations to further personalize your cleaning experience:
* **Citrus Infusion:** Infuse your vinegar-based cleaners with citrus peels (lemon, orange, grapefruit) for a brighter, more refreshing scent and added cleaning power. Simply soak the peels in vinegar for a week or two before using.
* **Baking Soda Power-Up:** For stubborn stains or grime, create a paste of baking soda and water. Apply it to the affected area, let it sit for a few minutes, and then scrub gently.
* **Essential Oil Blends:** Create custom essential oil blends for different cleaning tasks. For example, a blend of eucalyptus and peppermint can be invigorating for bathroom cleaning, while a blend of lavender and chamomile can be calming for bedroom cleaning.
* **DIY Furniture Polish:** Combine olive oil, lemon juice, and a few drops of essential oil for a natural furniture polish that will leave your wood surfaces looking beautiful and revitalized.
We truly believe that these DIY house cleaning tips are a game-changer for anyone looking to simplify their cleaning routine, reduce their exposure to harmful chemicals, and save money in the process.
So, what are you waiting for? Gather your ingredients, put on your favorite music, and get ready to transform your home into a sparkling sanctuary. We’re confident that you’ll be amazed by the results.
And most importantly, we want to hear about your experience! Share your successes, your challenges, and your favorite variations in the comments below. Let’s create a community of DIY cleaning enthusiasts who are passionate about creating healthier, happier homes. Your insights could inspire others to take the plunge and discover the magic of DIY cleaning. Let us know which of these house cleaning tips worked best for you!
Frequently Asked Questions (FAQ)
1. Are these DIY cleaning solutions as effective as store-bought cleaners?
Yes, in many cases, they can be just as effective, if not more so. The key is to understand the properties of the ingredients you’re using and to use them correctly. For example, vinegar is a powerful disinfectant and degreaser, while baking soda is a gentle abrasive and deodorizer. When combined, they can tackle a wide range of cleaning tasks. However, it’s important to note that some store-bought cleaners contain harsh chemicals that can be more effective for certain types of stains or grime. It’s always a good idea to test your DIY solutions on a small, inconspicuous area first to ensure they don’t damage the surface.
2. Are these DIY cleaners safe for all surfaces?
While most of these DIY cleaners are generally safe for a variety of surfaces, it’s always best to exercise caution and test them on a small, hidden area first. Avoid using vinegar on natural stone surfaces like marble or granite, as it can etch and damage them. Baking soda can be abrasive, so use it gently on delicate surfaces. When in doubt, consult the manufacturer’s instructions for the surface you’re cleaning.
3. How long do these DIY cleaning solutions last?
The shelf life of DIY cleaning solutions can vary depending on the ingredients used. Solutions containing water should be used within a week or two to prevent bacterial growth. Vinegar-based solutions can last for several months. To prolong the shelf life of your DIY cleaners, store them in airtight containers in a cool, dark place. Always label your containers clearly with the date and ingredients.
4. Can I use essential oils in all of these DIY cleaning recipes?
While essential oils can add a pleasant scent and some antibacterial properties to your DIY cleaners, it’s important to use them with caution. Some essential oils can be irritating to the skin or respiratory system, so always dilute them properly and avoid direct contact. Also, be aware that some essential oils are toxic to pets, so do your research before using them around animals. When in doubt, consult with a qualified aromatherapist.
5. What are some alternatives to vinegar for those who don’t like the smell?
If you’re not a fan of the smell of vinegar, there are several alternatives you can use in your DIY cleaning solutions. Lemon juice is a great option, as it has similar cleaning properties and a more pleasant scent. You can also use citric acid, which is a natural cleaning agent derived from citrus fruits. Another option is to infuse your vinegar with citrus peels or herbs to mask the smell.
6. How can I make my DIY cleaners more effective for tough stains?
For tough stains, try pre-treating the area with a paste of baking soda and water or a solution of hydrogen peroxide. Let it sit for a few minutes before scrubbing gently. You can also add a few drops of dish soap to your DIY cleaners to help break down grease and grime. For stubborn stains on clothing, try soaking the garment in a solution of vinegar and water before washing.
7. Are these DIY cleaning tips environmentally friendly?
Yes, one of the biggest advantages of using DIY cleaning solutions is that they are much more environmentally friendly than store-bought cleaners. By using natural ingredients like vinegar, baking soda, and lemon juice, you’re reducing your exposure to harmful chemicals and minimizing your impact on the environment. You’re also reducing your reliance on plastic packaging, which can contribute to pollution.
8. Can I use these DIY cleaning tips to clean my entire house?
Absolutely! These DIY cleaning tips can be used to clean virtually every room in your house, from the kitchen and bathroom to the living room and bedrooms. With a few simple ingredients and a little bit of elbow grease, you can achieve a sparkling clean home without relying on harsh chemicals.
9. What are the best essential oils to use for cleaning?
Some of the best essential oils to use for cleaning include lemon, tea tree, lavender, eucalyptus, and peppermint. Lemon oil is a powerful degreaser and disinfectant, while tea tree oil has strong antibacterial and antifungal properties. Lavender oil has a calming scent and can help to reduce stress, while eucalyptus oil is invigorating and can help to clear congestion. Peppermint oil is refreshing and can help to repel insects.
10. How do I store my DIY cleaning solutions?
Store your DIY cleaning solutions in airtight containers in a cool, dark place. Label the containers clearly with the date and ingredients. Avoid storing them in direct sunlight or near heat sources, as this can cause them to degrade. Keep them out of reach of children and pets.
Leave a Comment