

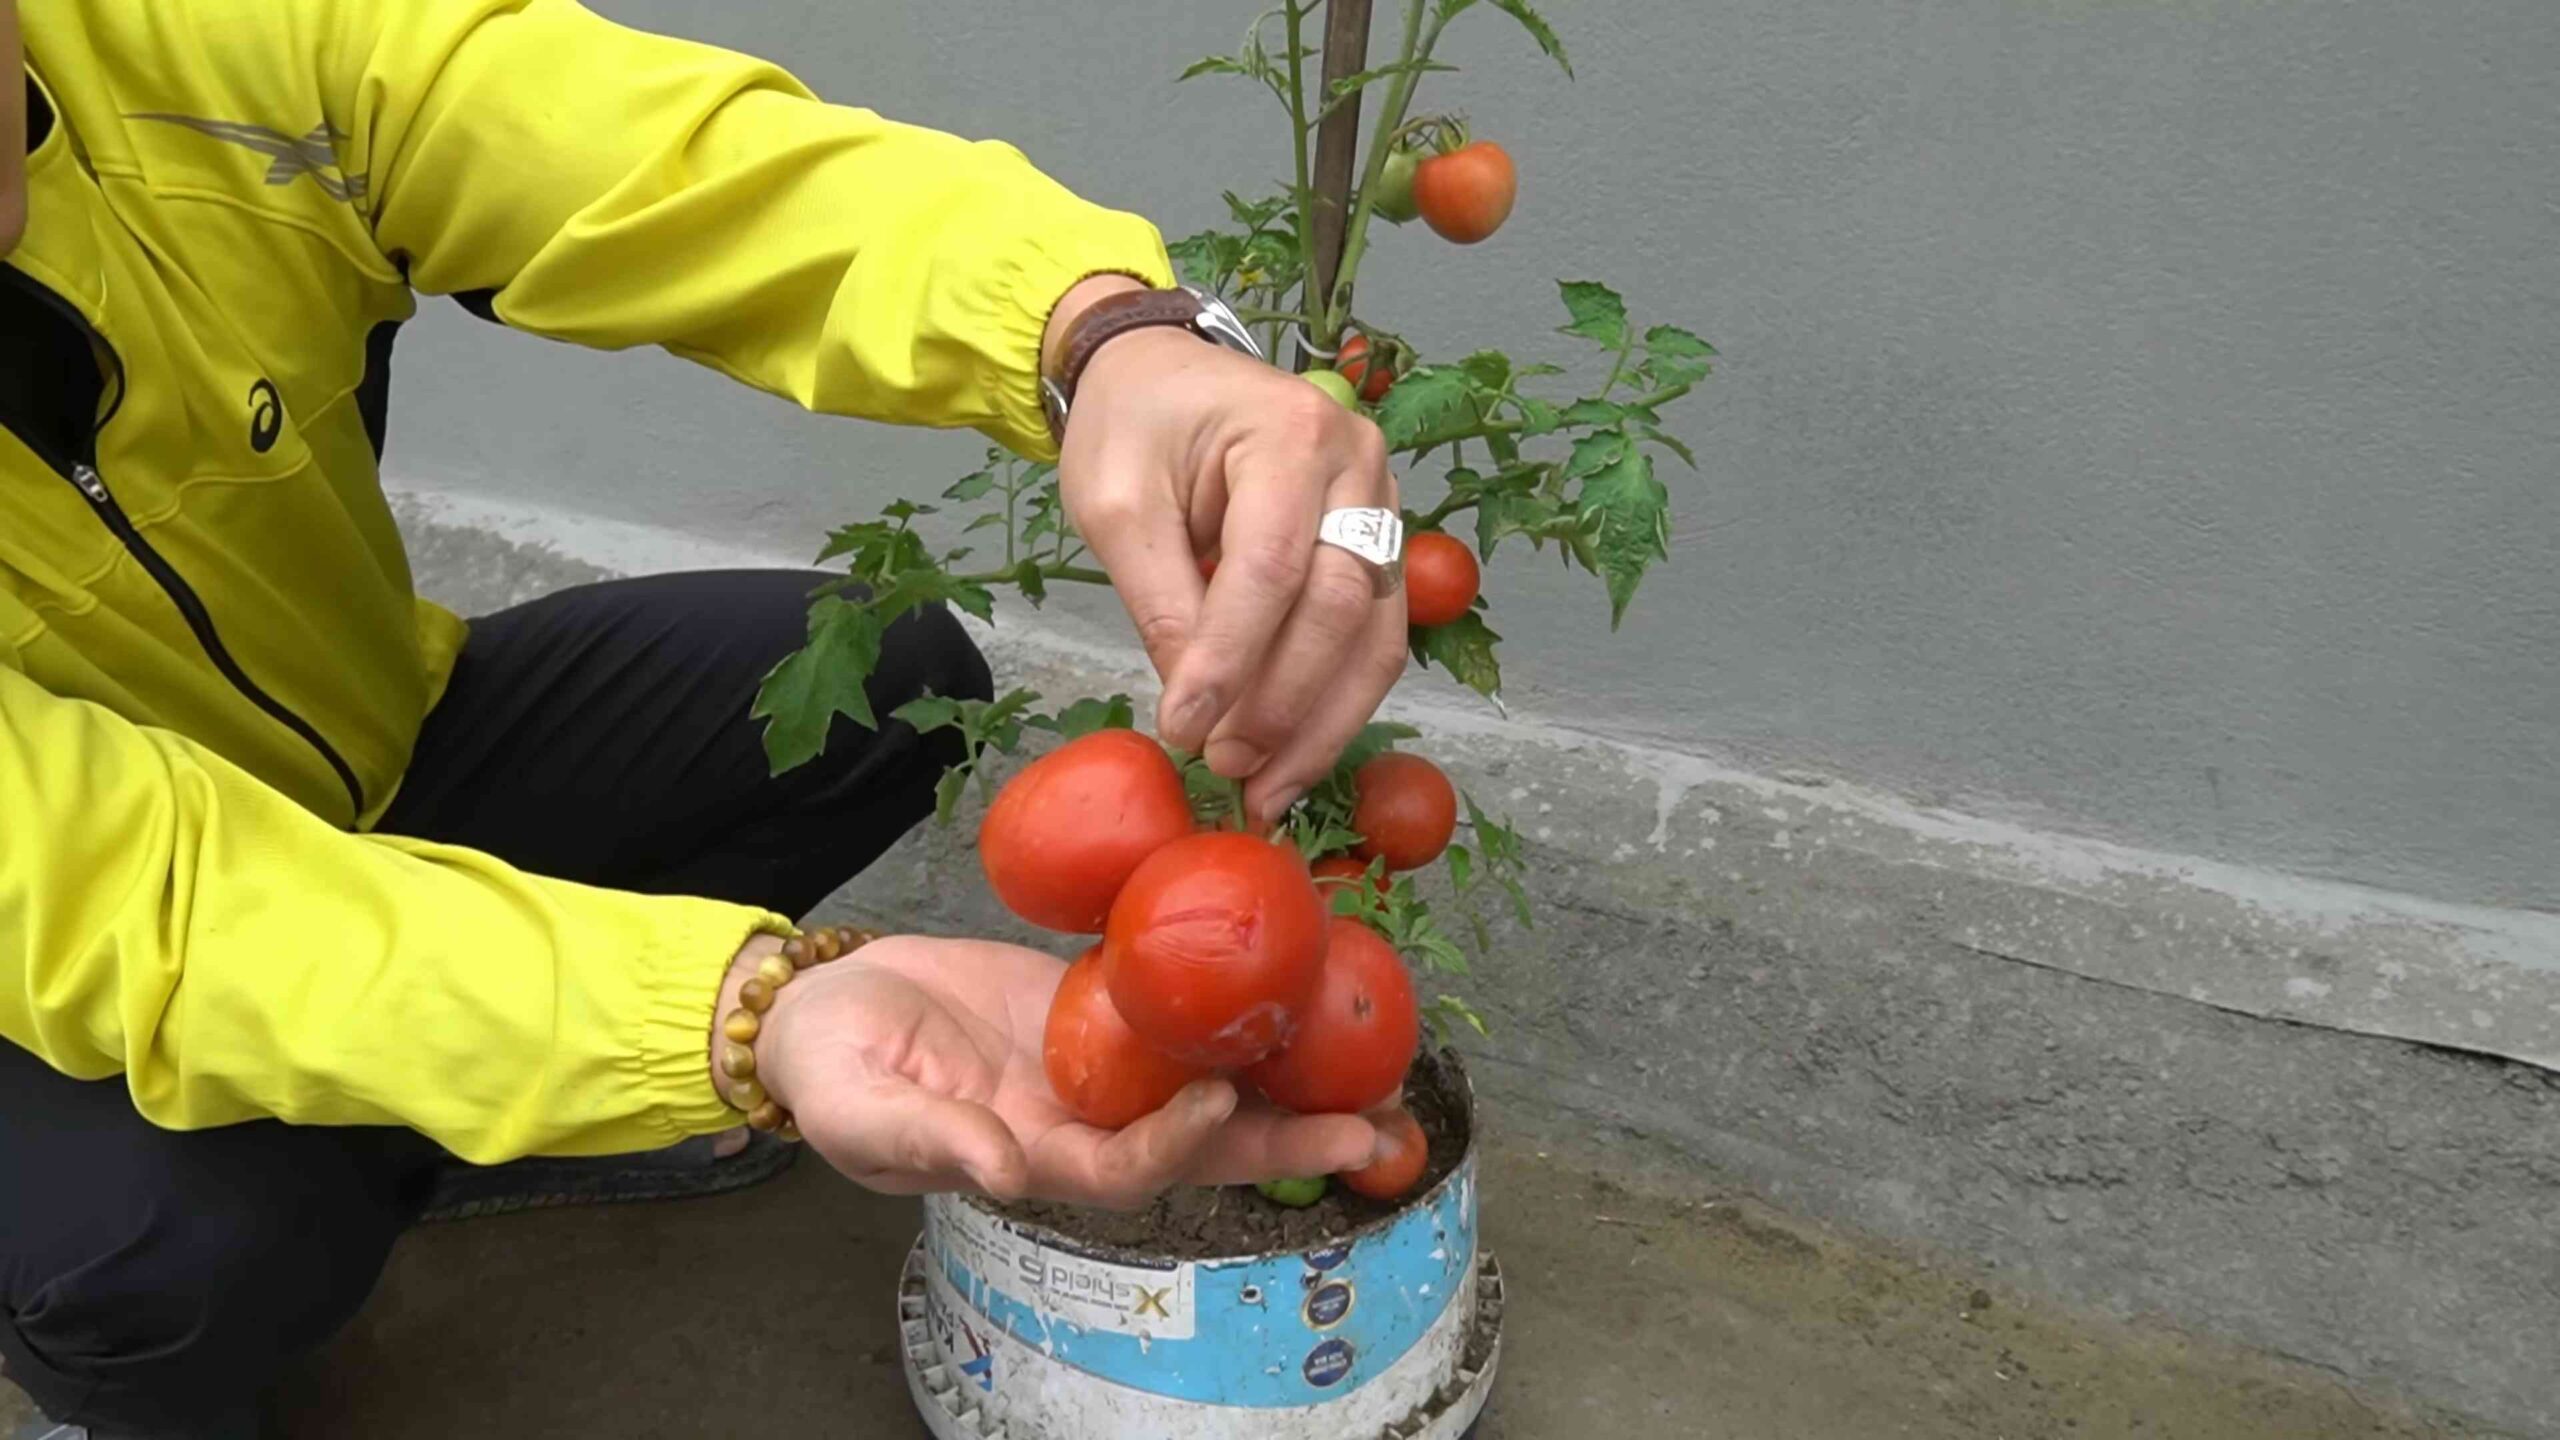
Grow high yield tomatoes and transform your garden into a vibrant, bountiful paradise! Imagine plucking juicy, sun-ripened tomatoes straight from your backyard, bursting with flavor far superior to anything you can find in a grocery store. Sounds dreamy, right? Well, it’s absolutely achievable with a few clever DIY tricks and hacks that I’m excited to share with you.
The history of tomato cultivation is fascinating, stretching back to ancient South America. For centuries, tomatoes were cultivated for their unique flavors and nutritional benefits. Today, growing your own tomatoes is more than just a hobby; it’s a connection to that rich history and a way to embrace sustainable living. Plus, who doesn’t love the satisfaction of nurturing a plant from seed to delicious fruit?
But let’s be honest, sometimes growing tomatoes can feel a little daunting. Pests, diseases, and inconsistent yields can leave even experienced gardeners feeling frustrated. That’s where these DIY tricks come in! I’ve compiled a collection of simple, effective, and budget-friendly techniques that will help you grow high yield tomatoes, even if you’re a beginner. From optimizing soil conditions to creating clever support systems, these hacks will empower you to overcome common challenges and unlock the full potential of your tomato plants. Get ready to impress your friends and family with your homegrown harvest!
DIY: Unleash Tomato-Growing Superpowers: From Seed to Spectacular Harvest!
Okay, tomato lovers, let’s get real. We all dream of baskets overflowing with juicy, sun-ripened tomatoes, right? But sometimes, reality falls a little short. Don’t worry! I’m going to share my secrets for achieving a truly spectacular tomato harvest, even if you’re a beginner. This isn’t just about planting seeds; it’s about understanding the tomato’s needs and giving it the VIP treatment it deserves. Get ready to become a tomato whisperer!
Choosing the Right Tomato Variety
Before we even think about dirt, let’s talk varieties. This is crucial! Not all tomatoes are created equal, and choosing the right one for your climate and growing space is half the battle.
* Determinate vs. Indeterminate: This is tomato 101. Determinate varieties grow to a certain size and produce all their fruit at once, making them great for canning. Indeterminate varieties keep growing and producing fruit throughout the season. I personally prefer indeterminate for a continuous harvest.
* Consider Your Climate: If you live in a short-season area, opt for early-maturing varieties. If you have long, hot summers, you can experiment with later-maturing types.
* Disease Resistance: Look for varieties labeled with disease resistance codes (like V, F, N, T, A). This can save you a lot of heartache later on.
* Personal Preference: Do you want juicy slicers for sandwiches, small cherry tomatoes for snacking, or paste tomatoes for sauce? Think about how you’ll use your tomatoes and choose accordingly.
Some of my go-to varieties include:
* ‘Early Girl’: A reliable early producer, perfect for short seasons.
* ‘Brandywine’: An heirloom variety with incredible flavor, but requires a longer growing season.
* ‘Sungold’: The sweetest cherry tomato you’ll ever taste!
* ‘Roma’: A classic paste tomato for making sauce.
Starting Seeds Indoors (Optional, but Recommended!)
Starting your tomato seeds indoors gives you a head start on the growing season, especially if you live in a colder climate. I highly recommend it!
* When to Start: About 6-8 weeks before the last expected frost in your area.
* What You’ll Need:
* Seed starting trays or small pots
* Seed starting mix (not regular potting soil!)
* Tomato seeds
* A heat mat (optional, but helpful)
* A grow light (essential!)
* A spray bottle
Step-by-Step Instructions:
1. Prepare Your Trays: Fill your seed starting trays or pots with seed starting mix. Gently tap them to settle the mix.
2. Sow the Seeds: Make a small indentation (about 1/4 inch deep) in the center of each cell or pot. Drop 2-3 seeds into each indentation.
3. Cover and Water: Gently cover the seeds with more seed starting mix. Lightly mist the surface with water using a spray bottle.
4. Provide Warmth: Place the trays on a heat mat (if using) and cover them with a humidity dome or plastic wrap to create a greenhouse effect.
5. Germination: Keep the soil consistently moist but not soggy. Once the seeds germinate (usually within 5-10 days), remove the humidity dome and place the trays under a grow light.
6. Light is Key: Position the grow light a few inches above the seedlings and keep it on for 14-16 hours per day. Adjust the height of the light as the seedlings grow.
7. Thinning: Once the seedlings have their first true leaves (the second set of leaves), thin them to one seedling per cell or pot. Snip off the weaker seedlings at the soil line with scissors. Don’t pull them out, as this can disturb the roots of the remaining seedling.
8. Watering: Water the seedlings when the top of the soil feels dry to the touch. Avoid overwatering, as this can lead to damping off, a fungal disease that can kill young seedlings.
9. Fertilizing: Once the seedlings have been growing for a few weeks, start feeding them with a diluted liquid fertilizer specifically formulated for seedlings. Follow the instructions on the fertilizer label.
Preparing Your Garden Bed
Tomatoes are heavy feeders, so preparing your garden bed properly is essential for a bountiful harvest.
* Sunlight: Tomatoes need at least 6-8 hours of direct sunlight per day. Choose a location that gets plenty of sun.
* Soil: Tomatoes prefer well-drained soil that is rich in organic matter.
* Soil Testing: A soil test can tell you the pH and nutrient levels of your soil. Tomatoes prefer a slightly acidic soil pH of around 6.0-6.8.
* Amending the Soil: Amend your soil with compost, aged manure, or other organic matter to improve its fertility and drainage. I like to add a generous amount of compost to my tomato beds each year.
* Fertilizing: Incorporate a slow-release fertilizer specifically formulated for tomatoes into the soil before planting. This will provide the plants with a steady supply of nutrients throughout the growing season.
Step-by-Step Instructions:
1. Clear the Area: Remove any weeds, grass, or debris from the area where you plan to plant your tomatoes.
2. Till or Dig: Till the soil to a depth of at least 12 inches. If you don’t have a tiller, you can dig the soil by hand with a shovel or garden fork.
3. Amend the Soil: Spread a generous layer of compost, aged manure, or other organic matter over the soil.
4. Incorporate the Amendments: Use a tiller or garden fork to incorporate the amendments into the soil.
5. Add Fertilizer: Sprinkle a slow-release tomato fertilizer over the soil according to the package directions.
6. Rake Smooth: Rake the soil smooth and level.
Transplanting Your Tomato Seedlings
Once the danger of frost has passed and your tomato seedlings are about 6-8 inches tall, it’s time to transplant them into the garden.
* Hardening Off: Before transplanting, you need to harden off your seedlings. This means gradually exposing them to outdoor conditions over a period of 7-10 days. Start by placing them in a sheltered location for a few hours each day, gradually increasing the amount of time they spend outdoors.
* Planting Depth: Plant your tomato seedlings deeper than they were growing in their containers. This encourages the development of more roots along the buried stem, resulting in a stronger, healthier plant.
* Spacing: Space your tomato plants according to the variety. Determinate varieties can be planted closer together than indeterminate varieties. Check the seed packet or plant tag for specific spacing recommendations. I usually space my indeterminate tomatoes about 2-3 feet apart.
Step-by-Step Instructions:
1. Choose a Cloudy Day: Transplanting on a cloudy day will help reduce stress on the seedlings.
2. Dig Holes: Dig holes that are deep enough to bury the bottom few inches of the tomato stems.
3. Add Amendments (Optional): I like to add a handful of bone meal and a tablespoon of Epsom salts to each planting hole. Bone meal provides phosphorus, which promotes root development, and Epsom salts provide magnesium, which helps prevent blossom end rot.
4. Remove Seedlings from Containers: Gently remove the seedlings from their containers. If the roots are circling the bottom of the pot, gently loosen them before planting.
5. Plant the Seedlings: Place the seedlings in the holes and backfill with soil. Gently firm the soil around the base of the plants.
6. Water Thoroughly: Water the seedlings thoroughly after planting.
7. Add Support: Install stakes, cages, or trellises to support the tomato plants as they grow. This will help prevent the plants from falling over and keep the fruit off the ground.
Ongoing Care: Watering, Fertilizing, and Pruning
Once your tomato plants are in the ground, it’s important to provide them with ongoing care to ensure a healthy and productive harvest.
* Watering: Water your tomato plants deeply and regularly, especially during hot, dry weather. Aim to water at the base of the plants to avoid wetting the foliage, which can lead to disease.
* Fertilizing: Continue to fertilize your tomato plants every few weeks with a liquid fertilizer specifically formulated for tomatoes.
* Mulching: Apply a layer of mulch around the base of the plants to help retain moisture, suppress weeds, and regulate soil temperature. I like to use straw or shredded leaves as mulch.
* Pruning: Pruning your tomato plants can improve air circulation, reduce disease
Conclusion
So, there you have it! Mastering the art of growing high yield tomatoes isn’t about expensive equipment or complicated techniques. It’s about understanding the plant’s needs and providing the right environment for it to thrive. This DIY approach, focusing on [specific technique mentioned in the article, e.g., strategic pruning, homemade fertilizer, companion planting], is a game-changer because it empowers you to take control of your tomato production, resulting in a bountiful harvest that’s both delicious and satisfying.
Why is this DIY trick a must-try? Because it’s effective, cost-efficient, and environmentally friendly. You’re not relying on harsh chemicals or expensive store-bought solutions. Instead, you’re harnessing the power of nature and simple techniques to maximize your tomato yield. Imagine biting into a juicy, sun-ripened tomato that you grew yourself, knowing that you played a direct role in its incredible flavor and abundance. That’s the reward waiting for you!
But the beauty of this method lies in its adaptability. Feel free to experiment with variations to suit your specific needs and growing conditions. For example, if you live in a particularly hot climate, consider providing extra shade during the hottest part of the day. If your soil is lacking in certain nutrients, you can adjust your homemade fertilizer recipe accordingly. You could also try different companion plants to see which ones work best for your tomatoes. Basil, for instance, is a classic companion plant that is said to improve tomato flavor and deter pests. Marigolds are another excellent choice for pest control.
Don’t be afraid to get creative and tailor this DIY trick to your unique garden. The key is to observe your plants closely and respond to their needs. Are the leaves turning yellow? Are the fruits developing slowly? These are all clues that can help you fine-tune your approach.
We’re confident that this DIY method will transform your tomato growing experience. It’s a simple yet powerful way to achieve a high yield of delicious, homegrown tomatoes. So, what are you waiting for? Get started today and prepare to be amazed by the results.
We’re eager to hear about your experiences! Share your photos, tips, and questions in the comments below. Let’s build a community of tomato-growing enthusiasts and learn from each other. Together, we can unlock the secrets to growing the most amazing tomatoes imaginable. Remember, growing high yield tomatoes is within your reach, and this DIY trick is your key to success. Happy gardening!
Frequently Asked Questions (FAQ)
What type of tomatoes benefit most from this DIY method?
This DIY method for growing high yield tomatoes is beneficial for virtually all varieties, from cherry tomatoes and Roma tomatoes to beefsteak and heirloom varieties. However, indeterminate tomato varieties, which continue to grow and produce fruit throughout the season, tend to benefit the most from techniques like pruning and staking, which are often integral parts of this DIY approach. Determinate varieties, which grow to a certain size and produce all their fruit at once, can still benefit from improved soil health and nutrient management, but the impact may be less dramatic. Ultimately, the specific needs of your chosen tomato variety will dictate the best approach, but this DIY method provides a solid foundation for success regardless of the type you choose.
How often should I apply the homemade fertilizer?
The frequency of fertilizer application depends on several factors, including the type of fertilizer you’re using, the nutrient content of your soil, and the growth stage of your tomato plants. As a general guideline, you can start fertilizing your tomato plants about two weeks after transplanting them into the garden. Apply the fertilizer every two to three weeks during the active growing season, which is typically from late spring to early fall. However, it’s essential to monitor your plants closely for signs of nutrient deficiencies or excesses. Yellowing leaves, stunted growth, or excessive foliage can all indicate that you need to adjust your fertilization schedule. Soil testing can also provide valuable insights into the nutrient levels in your soil and help you tailor your fertilization plan accordingly.
What if I don’t have space for a traditional garden? Can I still use this method?
Absolutely! This DIY method for growing high yield tomatoes is easily adaptable to container gardening. In fact, growing tomatoes in containers can offer several advantages, such as better control over soil conditions and easier protection from pests and diseases. When growing tomatoes in containers, be sure to choose a pot that is at least 15 gallons in size to provide adequate space for the roots to grow. Use a high-quality potting mix that is well-draining and rich in organic matter. You may also need to water your container tomatoes more frequently than those grown in the ground, especially during hot weather. The same principles of pruning, staking, and fertilizing apply to container tomatoes as well. With a little bit of planning and attention, you can enjoy a bountiful harvest of homegrown tomatoes even if you don’t have a traditional garden.
How do I know if my tomatoes are getting enough sunlight?
Sunlight is crucial for tomato growth and fruit production. Tomatoes need at least six to eight hours of direct sunlight per day to thrive. If your tomatoes are not getting enough sunlight, they may exhibit several symptoms, such as leggy growth, pale leaves, and poor fruit set. The plants may stretch towards the light source, resulting in weak and spindly stems. The leaves may also turn yellow or pale green, indicating a lack of chlorophyll production. If your tomatoes are not setting fruit properly, it could also be a sign of insufficient sunlight. To ensure that your tomatoes are getting enough sunlight, choose a planting location that receives full sun throughout the day. If you’re growing tomatoes in containers, you can move them around to follow the sun. You can also use grow lights to supplement natural sunlight, especially if you live in an area with limited sunlight.
What are some common pests and diseases that affect tomatoes, and how can I prevent them?
Tomatoes are susceptible to a variety of pests and diseases, including aphids, whiteflies, tomato hornworms, blossom end rot, early blight, and late blight. Prevention is key to minimizing the impact of these problems. Start by choosing disease-resistant tomato varieties. Practice crop rotation to prevent soilborne diseases from building up. Provide adequate spacing between plants to improve air circulation and reduce humidity. Water your tomatoes at the base of the plant to avoid wetting the foliage, which can promote fungal diseases. Regularly inspect your plants for signs of pests and diseases. Handpick pests or use insecticidal soap or neem oil to control infestations. Remove and destroy any infected leaves or plants to prevent the spread of disease. Mulching around your tomato plants can also help to suppress weeds and retain moisture. By taking these preventative measures, you can significantly reduce the risk of pests and diseases and ensure a healthy and productive tomato crop.


Leave a Comment