

Weekly overlooked cleaning areas – sound familiar? We’ve all been there! You diligently clean your home, but somehow, certain spots just seem to escape your attention week after week. It’s like they’re playing hide-and-seek, and you’re always “it.” But don’t worry, I’m here to help you win this cleaning game!
For centuries, maintaining a clean home has been a cornerstone of health and well-being. From ancient civilizations meticulously sweeping their dwellings to modern-day cleaning rituals, the desire for a tidy space is deeply ingrained in our culture. However, even with the best intentions, life gets busy, and those little nooks and crannies often get neglected.
Why is it so important to address these weekly overlooked cleaning areas? Well, beyond the obvious aesthetic benefits, these spots can harbor dust, allergens, and even bacteria, impacting your indoor air quality and overall health. Plus, tackling these areas regularly prevents grime from building up, making future cleaning sessions much easier. I’m going to share some simple yet effective DIY tricks and hacks that will help you conquer those forgotten corners and keep your home sparkling clean, week after week. Get ready to say goodbye to hidden dirt and hello to a healthier, happier home!
DIY Deep Clean: Conquering Those Overlooked Weekly Cleaning Spots!
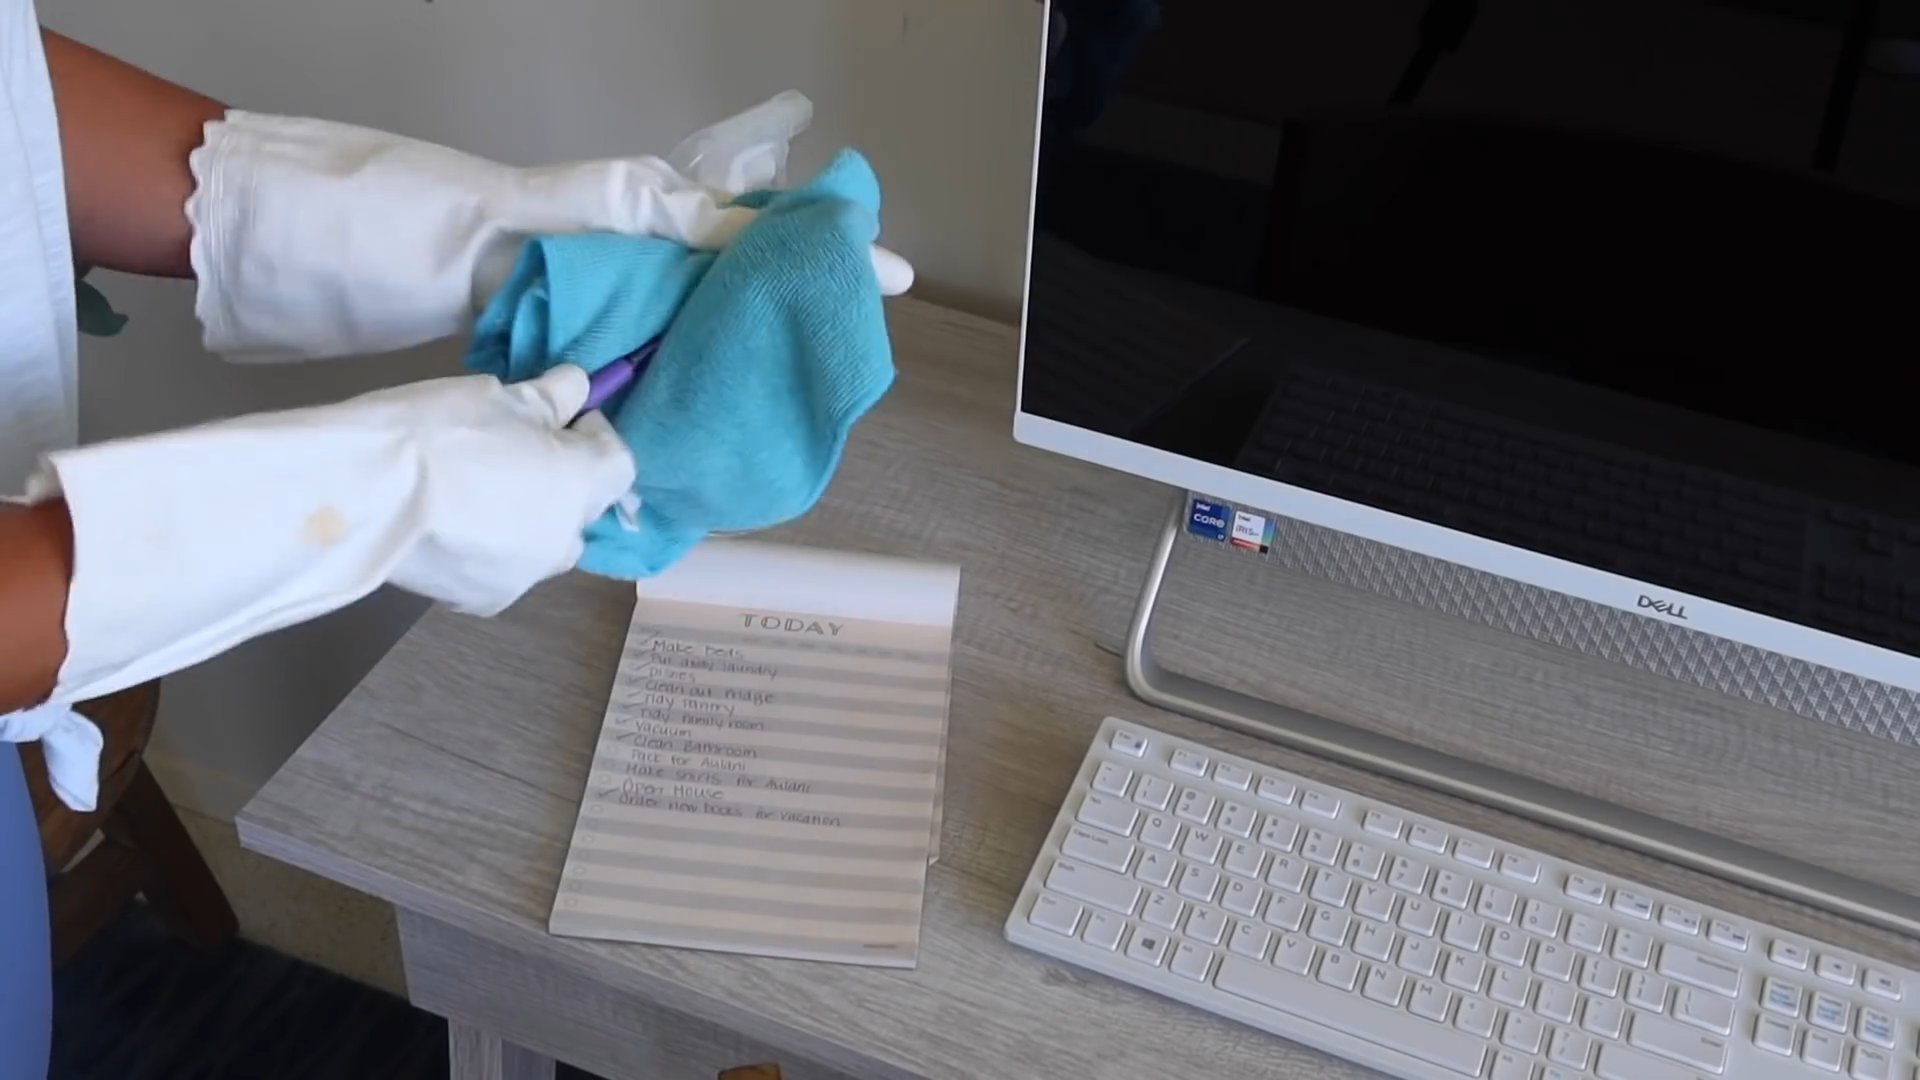
Hey everyone! Let’s be honest, we all have those cleaning tasks we conveniently “forget” about each week. You know, the ones that aren’t glaringly obvious but contribute to a general feeling of “blah” in your home. Well, no more! I’m here to guide you through a deep clean of those often-overlooked areas, making your home feel fresh and sparkling. Get ready to roll up your sleeves – it’s cleaning time!
Gather Your Cleaning Arsenal
Before we dive in, let’s make sure we have everything we need. This will save you time and frustration later. Here’s my go-to list:
- Microfiber cloths (lots of them!)
- All-purpose cleaner
- Glass cleaner
- Disinfectant wipes or spray
- Baking soda
- White vinegar
- Dish soap
- Old toothbrush
- Small scrub brush
- Vacuum cleaner with attachments
- Mop and bucket
- Rubber gloves
- Paper towels
- Spray bottles (empty)
Tackling the Kitchen: Beyond the Countertops
The kitchen is a high-traffic area, so it’s no surprise that some spots get neglected. Let’s give it some extra love!
Cleaning the Microwave (Inside and Out!)
This is a big one! Microwaves can get incredibly gross, incredibly fast.
- Steam Clean: Fill a microwave-safe bowl with 1 cup of water and 2 tablespoons of white vinegar. Microwave on high for 5 minutes. Let it sit for another 5 minutes without opening the door. The steam will loosen the grime.
- Wipe Down: Carefully remove the bowl (it will be hot!). Use a microfiber cloth to wipe down the inside of the microwave. The loosened grime should come off easily. For stubborn spots, use a scrub brush or the rough side of a sponge.
- Clean the Turntable: Remove the turntable and wash it with warm, soapy water. Rinse thoroughly and dry.
- Exterior Shine: Wipe down the exterior of the microwave with all-purpose cleaner. Pay attention to the handle and buttons, as these are often touched.
Deep Cleaning the Dishwasher
Did you know your dishwasher needs cleaning too? Food particles and hard water can build up over time, affecting its performance.
- Empty the Dishwasher: Make sure your dishwasher is completely empty.
- Clean the Filter: Locate the filter (usually at the bottom of the dishwasher). Remove it and rinse it thoroughly under running water. Use a toothbrush to scrub away any stubborn debris.
- Vinegar Power: Place a dishwasher-safe cup filled with 1 cup of white vinegar on the top rack of the dishwasher.
- Run a Hot Cycle: Run the dishwasher on a hot cycle without any detergent. The vinegar will help to dissolve grease and mineral buildup.
- Baking Soda Boost: After the vinegar cycle, sprinkle 1 cup of baking soda on the bottom of the dishwasher.
- Another Short Cycle: Run a short, hot cycle. The baking soda will help to deodorize and further clean the dishwasher.
- Wipe Down the Door: Wipe down the dishwasher door and edges with all-purpose cleaner.
The Dreaded Garbage Disposal
This is one of those tasks we all avoid, but it’s essential for preventing odors and clogs.
- Safety First: Turn off the garbage disposal at the circuit breaker. This is crucial for safety!
- Remove Debris: Use tongs or pliers to remove any large pieces of food or debris from the disposal.
- Ice and Salt Scrub: Pour 1 cup of ice cubes and 1/2 cup of coarse salt into the disposal.
- Run Cold Water: Turn on the cold water and run the disposal for about 30 seconds. The ice and salt will help to scrub the blades and remove buildup.
- Citrus Refresh: Toss in a few citrus peels (lemon, lime, or orange) and run the disposal again with cold water. This will help to freshen the disposal and eliminate odors.
- Baking Soda Flush: Pour 1/2 cup of baking soda down the disposal, followed by 1 cup of white vinegar. Let it fizz for about 5 minutes, then flush with hot water.
- Turn the Power Back On: Turn the garbage disposal back on at the circuit breaker.
Cleaning the Range Hood Filter
Grease and grime accumulate on the range hood filter, reducing its effectiveness.
- Remove the Filter: Carefully remove the range hood filter.
- Soak in Hot, Soapy Water: Fill a sink or tub with hot water and add a generous amount of dish soap. Soak the filter for at least 30 minutes.
- Scrub Away the Grease: Use a scrub brush to scrub away the grease and grime. For stubborn areas, you can use a degreaser.
- Rinse Thoroughly: Rinse the filter thoroughly with hot water.
- Dry Completely: Allow the filter to dry completely before replacing it.
Bathroom Blitz: Beyond the Obvious
The bathroom can harbor hidden grime and bacteria. Let’s tackle those overlooked spots!
Showerhead Deep Clean
Mineral buildup can clog showerheads and reduce water pressure.
- Vinegar Soak: Fill a plastic bag with white vinegar. Secure the bag around the showerhead with a rubber band, ensuring the showerhead is submerged in the vinegar.
- Soak Overnight: Let the showerhead soak overnight.
- Remove and Rinse: Remove the bag and rinse the showerhead thoroughly with water.
- Scrub Away Residue: Use a toothbrush to scrub away any remaining residue.
Cleaning the Toilet Base and Behind
We often focus on the toilet bowl, but the base and area behind the toilet can accumulate dust, grime, and even… well, you know.
- Dust First: Use a dry microfiber cloth to dust the toilet base and the area behind the toilet.
- Disinfectant Wipe Down: Use disinfectant wipes to thoroughly clean the toilet base, paying attention to crevices and corners.
- Behind the Toilet: Use a long-handled brush or a damp cloth attached to a stick to reach behind the toilet and clean the wall and floor.
Bathroom Fan Cleaning
Bathroom fans help to remove moisture and prevent mold, but they can also accumulate dust and grime.
- Safety First: Turn off the bathroom fan at the circuit breaker.
- Remove the Cover: Carefully remove the fan cover. It usually snaps off or is held in place by screws.
- Vacuum the Fan: Use a vacuum cleaner with a brush attachment to vacuum the fan blades and the inside of the fan housing.
- Wash the Cover: Wash the fan cover with warm, soapy water. Rinse thoroughly and dry completely.
- Reassemble: Reattach the fan cover.
- Turn the Power Back On: Turn the bathroom fan back on at the circuit breaker.
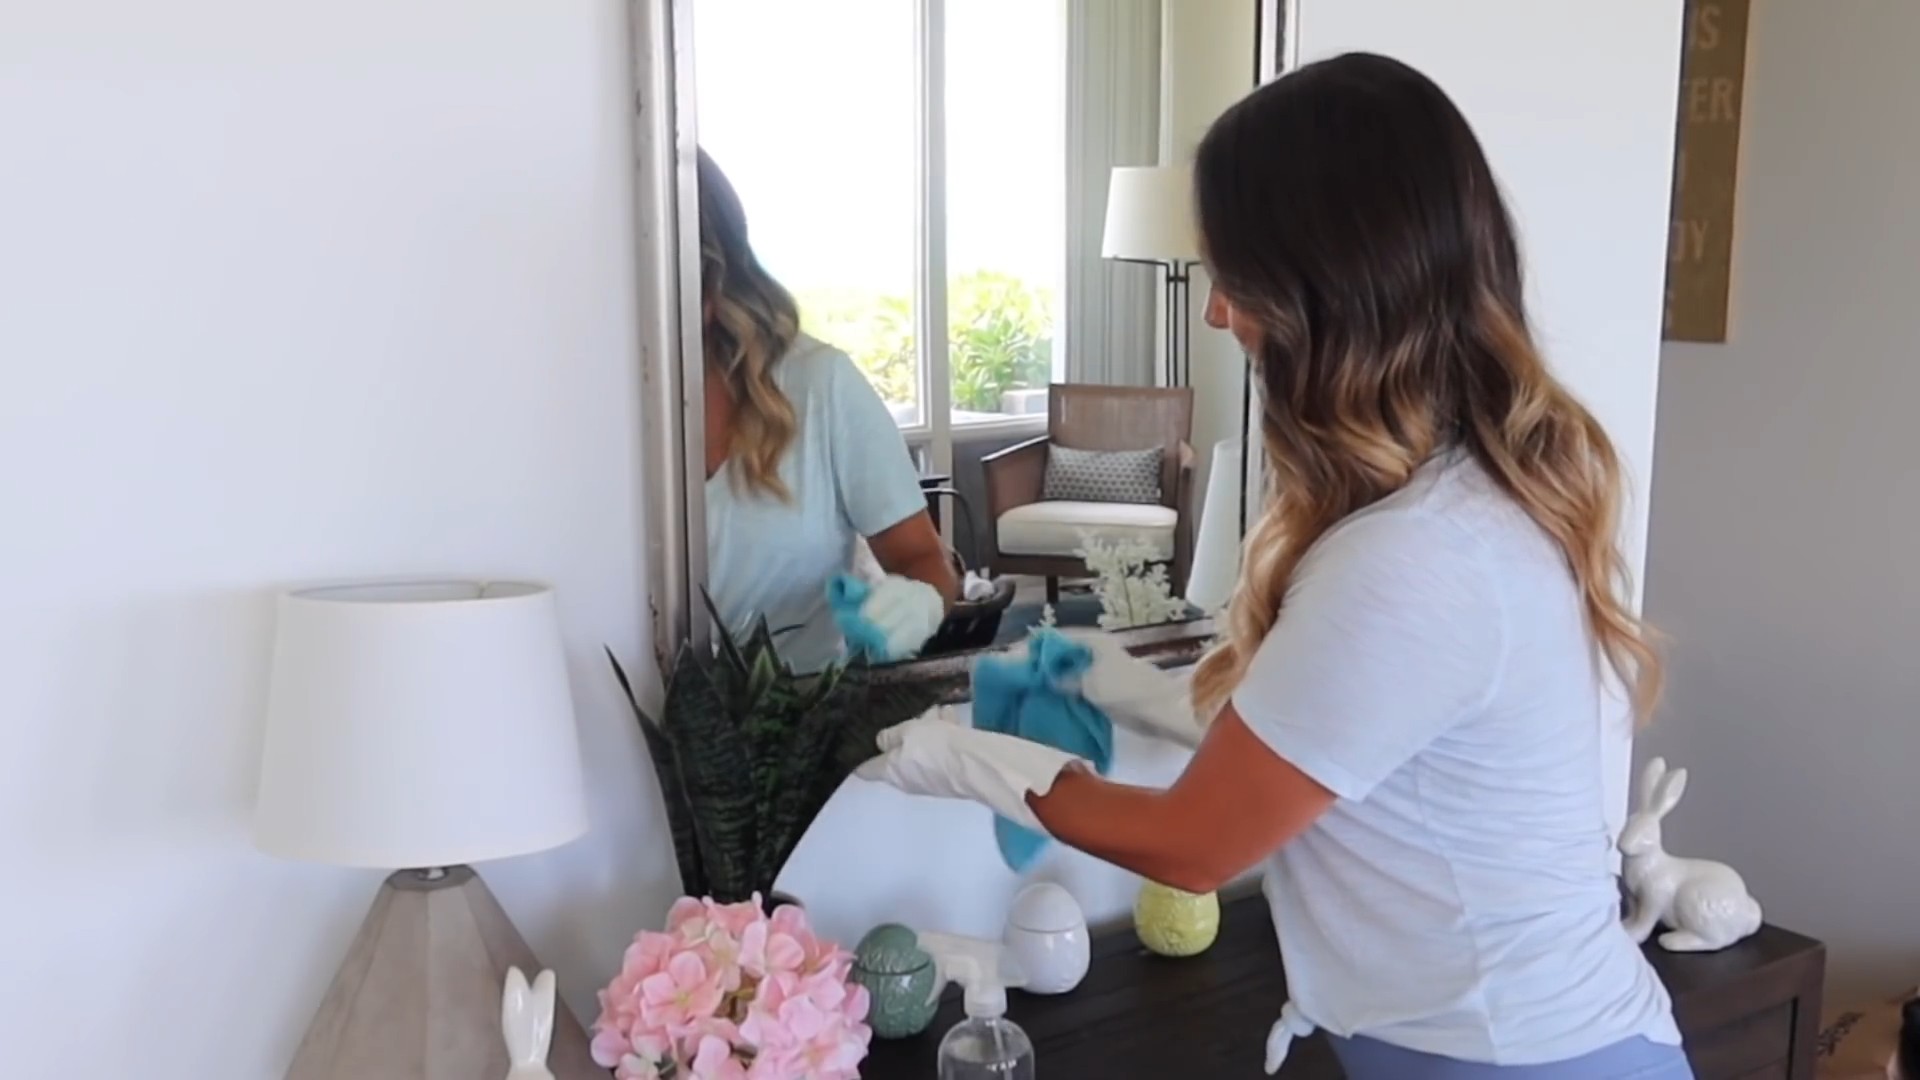
Living Areas: Dust Bunnies Beware!
Let’s not forget about the living areas! Dust and allergens can accumulate in unexpected places.
Cleaning Light Fixtures
Dusty light fixtures can dim the light and contribute to allergies.
- Safety First: Turn off the light fixture at the switch.
- Dust the Fixture: Use a dry microfiber cloth or a duster to remove dust from the light fixture.
- Wash Glass Components: If the light fixture has glass components, remove them and wash them with warm, soapy water. Rinse thoroughly and dry completely.
- Clean the Bulbs: Wipe down the light bulbs with a dry microfiber cloth.
- Reassemble: Reassemble the light fixture.
Dusting Baseboards and Trim
Baseboards and trim can accumulate dust and grime over time.
- Dust First: Use a dry microfiber cloth or a duster to remove dust from the baseboards and trim.
- Wipe Down with Damp Cloth: Use a damp microfiber cloth to wipe down the baseboards and trim. For stubborn grime, you can add a small amount of all-purpose cleaner to the water.
- Dry with Clean Cloth: Dry the baseboards and trim with a clean, dry microfiber cloth.
Conclusion
So, there you have it! Unveiling these often-overlooked cleaning areas and tackling them with our simple DIY trick is a game-changer for maintaining a truly clean and healthy home. We’ve shown you how to address the grime and build-up that accumulates in these forgotten corners, transforming your living space from superficially clean to genuinely sparkling.
Why is this DIY approach a must-try? Because it’s effective, economical, and empowering. You’re not just masking the dirt; you’re actively removing it with readily available ingredients, saving money on expensive commercial cleaners, and taking control of your home’s cleanliness. Plus, knowing you’ve conquered these hidden dirt traps brings a unique sense of satisfaction.
But don’t stop there! Feel free to experiment and adapt this DIY cleaning trick to suit your specific needs and preferences. For example, if you’re dealing with particularly stubborn grime in your shower grout, try adding a bit of baking soda to the paste for extra scrubbing power. Or, if you prefer a more fragrant cleaning experience, infuse your vinegar solution with a few drops of your favorite essential oil, like lemon or lavender. Remember to always test any new cleaning solution on an inconspicuous area first to ensure it doesn’t damage the surface.
Consider using an old toothbrush or a small detailing brush for those hard-to-reach areas like faucet bases and window tracks. For cleaning the inside of your dishwasher, try placing a bowl of vinegar on the top rack and running a hot cycle. This will help to remove any lingering odors and mineral build-up. You can also sprinkle baking soda on the bottom of the dishwasher before running the cycle for added cleaning power.
For your washing machine, regularly clean the detergent dispenser and the rubber gasket around the door. These areas can harbor mold and mildew, leading to unpleasant odors. Use a mixture of vinegar and water to wipe down these surfaces, and be sure to leave the washing machine door open after each use to allow it to air dry.
The key is to be proactive and consistent. Incorporate these often-overlooked cleaning areas into your regular cleaning routine, and you’ll be amazed at the difference it makes. A truly clean home is a happy home, and this DIY trick is your secret weapon for achieving that.
We’re confident that once you try this DIY cleaning trick, you’ll be hooked. It’s a simple, effective, and satisfying way to keep your home looking and feeling its best. So, grab your supplies, roll up your sleeves, and get ready to transform your living space.
Now, we want to hear from you! Have you tried this DIY cleaning trick? What were your results? Do you have any variations or tips to share? We encourage you to leave a comment below and share your experience with our community. Let’s work together to create cleaner, healthier homes for everyone! Your insights could be invaluable to other readers, and we’re always eager to learn from your experiences. Don’t be shy – share your success stories, your challenges, and your creative solutions. Together, we can conquer even the most stubborn grime and create a truly sparkling home.
Frequently Asked Questions (FAQ)
What exactly are these “often-overlooked cleaning areas”?
These are the spots in your home that tend to get neglected during regular cleaning routines. They include areas like:
* Window tracks and sills
* Faucet bases and around the sink
* Shower grout and corners
* Inside the microwave
* Dishwasher interior
* Washing machine detergent dispenser and rubber gasket
* Light fixtures and ceiling fans
* Baseboards and door frames
* Underneath appliances
These areas often accumulate dust, grime, mold, and mildew, which can impact the overall cleanliness and air quality of your home.
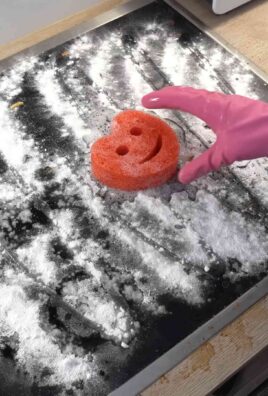
What is the main DIY cleaning trick you’re recommending?
The core of our DIY cleaning trick involves using a simple paste made from baking soda and water (or a solution of vinegar and water) to scrub away grime and build-up in these overlooked areas. The baking soda acts as a gentle abrasive, while the vinegar helps to dissolve mineral deposits and kill mold and mildew.
Is baking soda and vinegar safe to use together?
While baking soda and vinegar can create a fizzing reaction, they are generally safe to use together for cleaning. The reaction produces carbon dioxide and water, which are harmless. However, it’s important to note that mixing them in a closed container can create pressure, so it’s best to mix them in an open container or apply them separately.
Can I use this DIY cleaning trick on all surfaces?
While baking soda and vinegar are generally safe for most surfaces, it’s always a good idea to test them on an inconspicuous area first, especially on delicate surfaces like marble, granite, or wood. Avoid using abrasive cleaners on these surfaces, as they can scratch or damage them.
How often should I clean these often-overlooked areas?
The frequency of cleaning these areas depends on your lifestyle and the amount of use they get. However, we recommend cleaning them at least once a month to prevent the build-up of grime and maintain a clean and healthy home. For high-traffic areas like the kitchen and bathroom, you may need to clean them more frequently.
What if I have stubborn stains or grime that won’t come off?
For stubborn stains or grime, you can try letting the baking soda paste or vinegar solution sit on the affected area for a longer period of time before scrubbing. You can also try using a stronger abrasive, such as a scrub brush or a scouring pad. However, be careful not to scratch the surface.
Can I use essential oils in my cleaning solution?
Yes, you can add a few drops of your favorite essential oil to your cleaning solution for a more fragrant cleaning experience. Lemon, lavender, tea tree, and eucalyptus are all popular choices for their cleaning and disinfecting properties. However, be sure to use essential oils sparingly, as they can be irritating to some people.
What tools do I need for this DIY cleaning trick?
You’ll need a few basic tools, including:
* Baking soda
* Vinegar (white or apple cider)
* Water
* A mixing bowl or container
* A scrub brush or sponge
* An old toothbrush or detailing brush
* Microfiber cloths
* Spray bottle (optional)
How can I prevent these areas from getting dirty in the first place?
Prevention is key to keeping these areas clean. Here are a few tips:
* Wipe up spills immediately.
* Ventilate your bathroom after showering to prevent mold and mildew.
* Regularly clean your microwave and dishwasher.
* Dust your light fixtures and ceiling fans regularly.
* Use doormats to trap dirt and debris before it enters your home.
What if I’m allergic to baking soda or vinegar?
If you’re allergic to baking soda or vinegar, you can try using alternative cleaning solutions, such as lemon juice, hydrogen peroxide, or commercial cleaning products. Be sure to read the labels carefully and follow the manufacturer’s instructions. Always wear gloves when cleaning to protect your skin.

Leave a Comment