

Clean bathroom, healthy home – it’s more than just a catchy phrase; it’s a philosophy I’ve embraced for years! Let’s face it, nobody enjoys spending time in a grimy bathroom. But beyond the aesthetics, a truly clean bathroom is crucial for the overall health and well-being of your entire household. Think about it: bathrooms are breeding grounds for bacteria and mold, which can trigger allergies, asthma, and other health issues.
For centuries, cultures around the world have recognized the importance of cleanliness, often incorporating ritualistic cleansing practices into their daily lives. From ancient Roman bathhouses to Japanese onsen, the act of cleaning and purifying has always been linked to physical and spiritual health. While we might not have the luxury of a personal onsen, we *can* take control of our bathroom’s cleanliness and create a healthier living environment.
That’s why I’m so excited to share these simple yet effective DIY tricks and hacks that will transform your bathroom cleaning routine. Forget spending hours scrubbing with harsh chemicals! These methods are not only eco-friendly and budget-friendly, but they’re also incredibly easy to implement. Whether you’re battling stubborn soap scum, tackling toilet stains, or simply aiming for a sparkling shine, these tips will help you achieve a clean bathroom and, ultimately, a healthier and happier home. So, grab your gloves and let’s get started!
DIY Bathroom Deep Clean: Sparkling Clean and Healthy Home
Hey everyone! I’m so excited to share my ultimate bathroom deep clean routine with you. A clean bathroom isn’t just about aesthetics; it’s crucial for a healthy home. Mold, mildew, and bacteria thrive in damp environments, so tackling them regularly is a must. This guide will walk you through every step, from decluttering to disinfecting, leaving your bathroom sparkling and fresh. Let’s get started!
What You’ll Need: The Arsenal of Clean
Before diving in, gather your supplies. Having everything on hand will make the process much smoother. Here’s my go-to list:
* Cleaning Solutions:
* All-purpose cleaner (I prefer a natural, eco-friendly option)
* Bathroom cleaner specifically designed for soap scum and hard water stains
* Bleach (for disinfecting, use with caution and proper ventilation)
* White vinegar (a natural cleaning powerhouse!)
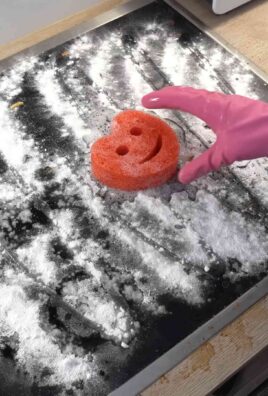
* Baking soda (great for scrubbing and deodorizing)
* Glass cleaner
* Tools:
* Spray bottles (for your cleaning solutions)
* Microfiber cloths (lots of them!)
* Scrub brushes (various sizes, including a grout brush)
* Toilet brush
* Squeegee (for shower doors and walls)
* Rubber gloves (protect your hands!)
* Old toothbrush (for those hard-to-reach spots)
* Sponge
* Bucket
* Dustpan and brush or vacuum cleaner
* Magic Eraser (optional, but amazing for stubborn marks)
* Optional Extras:
* Essential oils (for a fresh scent)
* Drain cleaner (if needed)
* Mold and mildew remover (if you have persistent mold issues)
Phase 1: Declutter and Prep
This is a crucial first step. You can’t clean effectively if you’re working around clutter.
1. Remove Everything: Take everything out of the bathroom – toiletries, bath mats, shower curtains, trash cans, everything! This gives you a clear surface to work with.
2. Sort and Toss: Go through your toiletries and discard anything expired, unused, or unwanted. Be honest with yourself – if you haven’t used it in six months, it’s probably time to let it go.
3. Dust and Sweep: Use a dustpan and brush or vacuum cleaner to remove any loose dust, hair, and debris from the floor and surfaces. This prevents you from just pushing dirt around when you start cleaning.
4. Ventilate: Open a window or turn on the exhaust fan to ensure proper ventilation. This is especially important when using strong cleaning products like bleach.
Phase 2: Tackling the Toilet
Let’s face it, the toilet is probably the least favorite part of the bathroom to clean, but it’s essential.
1. Flush and Apply Toilet Bowl Cleaner: Flush the toilet and then apply toilet bowl cleaner under the rim and around the bowl. Let it sit for the recommended time (usually 10-15 minutes) to disinfect and loosen stains.
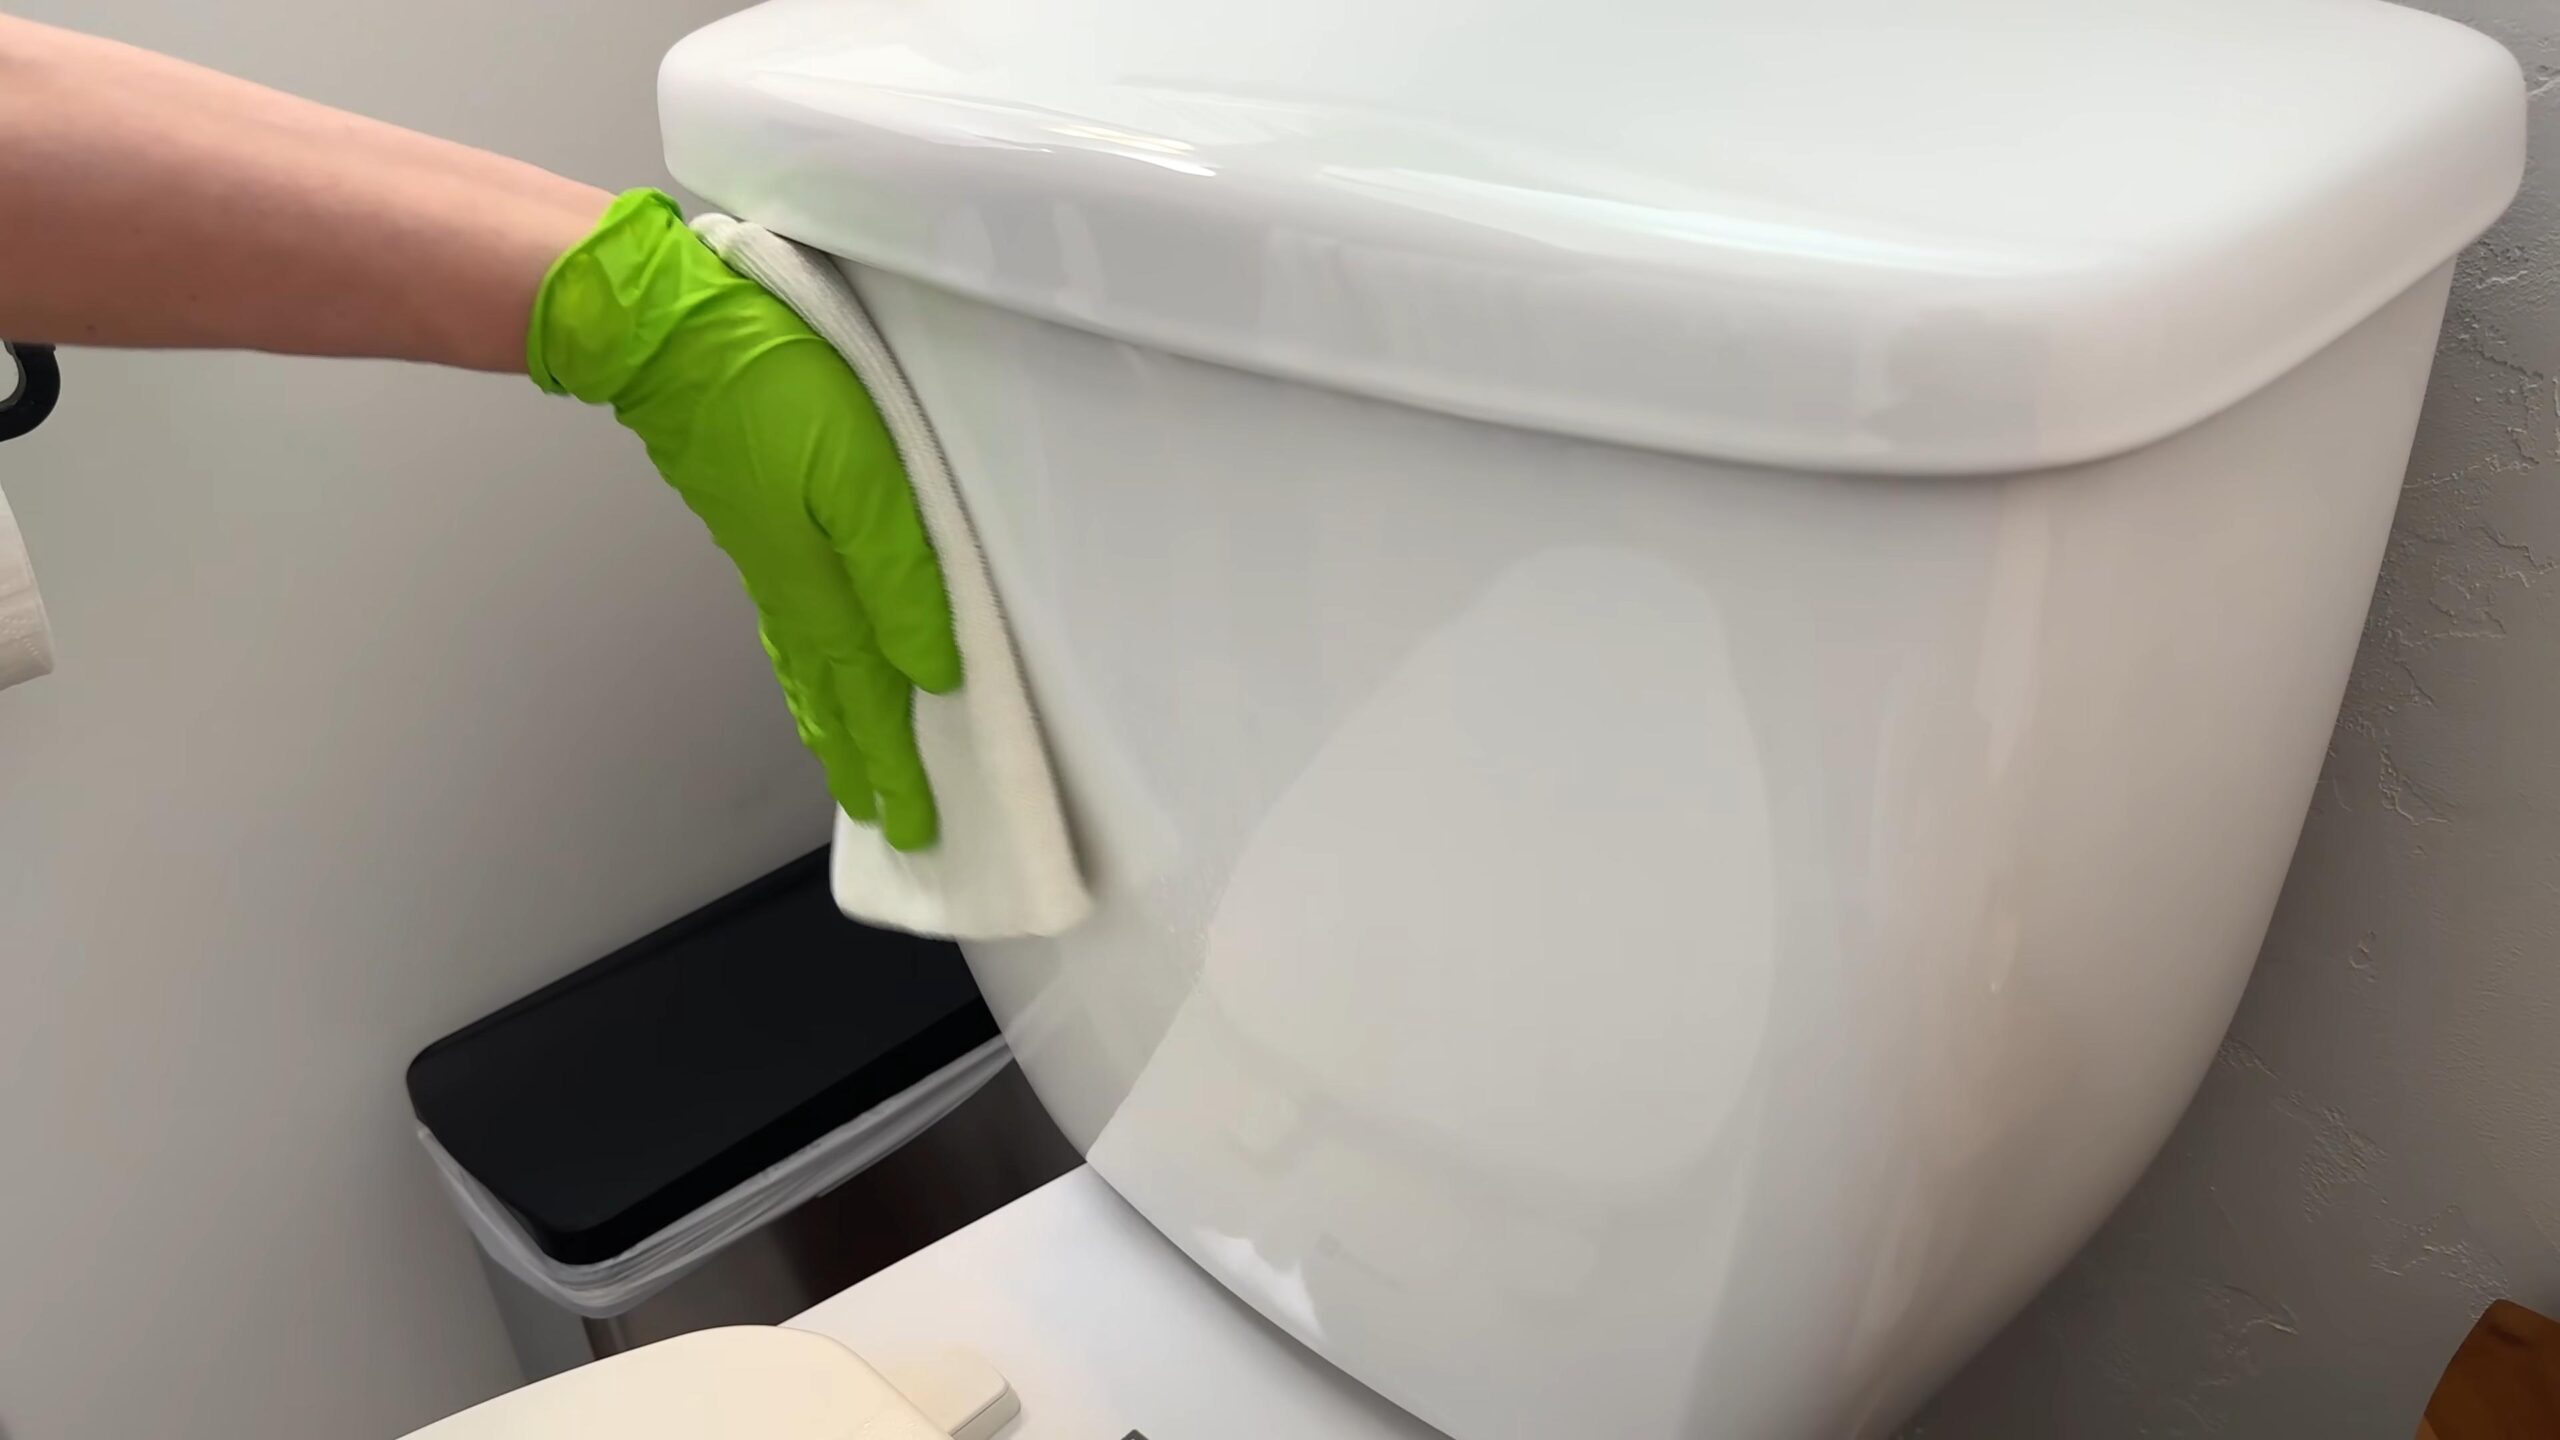
2. Clean the Exterior: While the toilet bowl cleaner is working, spray the exterior of the toilet (including the tank, seat, and base) with all-purpose cleaner. Wipe down with a microfiber cloth. Pay special attention to areas where germs tend to accumulate, like the handle and around the seat hinges.
3. Scrub the Bowl: Use a toilet brush to scrub the inside of the bowl thoroughly, paying attention to any stains or buildup.
4. Flush Again: Flush the toilet to rinse away the cleaner and any loosened debris.
5. Final Wipe Down: Give the entire toilet another wipe down with a clean microfiber cloth to remove any remaining residue.
Phase 3: Shower and Tub Transformation
This is where the real magic happens! Soap scum and hard water stains can be tough, but with the right techniques, you can conquer them.
1. Rinse the Walls and Door/Curtain: Start by rinsing the shower walls, tub, and door/curtain with hot water to loosen any surface dirt and grime.
2. Apply Bathroom Cleaner: Spray the shower walls, tub, and door/curtain with your bathroom cleaner. For stubborn soap scum, let the cleaner sit for a few minutes before scrubbing.
3. Scrub, Scrub, Scrub: Use a scrub brush or sponge to scrub the walls, tub, and door/curtain. Pay special attention to grout lines, corners, and areas with heavy soap scum buildup. For grout, use a grout brush for a more targeted clean.
4. Vinegar Power (for Hard Water Stains): If you have hard water stains, try using white vinegar. You can either spray it directly onto the stains or soak a cloth in vinegar and apply it to the affected areas. Let it sit for a few minutes, then scrub and rinse.
5. Rinse Thoroughly: Rinse the shower walls, tub, and door/curtain thoroughly with hot water to remove all traces of cleaner.
6. Squeegee the Surfaces: Use a squeegee to remove excess water from the shower walls and door. This helps prevent water spots and mildew growth.
7. Clean the Showerhead: Mineral buildup can clog your showerhead. To clean it, fill a plastic bag with white vinegar and secure it around the showerhead with a rubber band. Make sure the showerhead is submerged in the vinegar. Let it soak for a few hours or overnight, then remove the bag and run the shower to flush out any remaining vinegar and debris.
8. Wash or Replace Shower Curtain/Liner: If you have a fabric shower curtain, wash it according to the manufacturer’s instructions. If you have a plastic shower liner, you can either wash it with soap and water or replace it if it’s heavily soiled.
Phase 4: Sink and Countertop Revival
The sink and countertop are often overlooked, but they can harbor a lot of germs.
1. Clear the Area: Remove everything from the sink and countertop.
2. Apply All-Purpose Cleaner: Spray the sink and countertop with all-purpose cleaner.
3. Scrub and Wipe: Use a sponge or microfiber cloth to scrub the sink and countertop, paying attention to any stains or spills.
4. Clean the Faucet: Use an old toothbrush to clean around the base of the faucet and in any hard-to-reach areas.
5. Rinse Thoroughly: Rinse the sink and countertop thoroughly with water.
6. Dry with a Clean Cloth: Dry the sink and countertop with a clean microfiber cloth to prevent water spots.
7. Clean the Mirror: Spray the mirror with glass cleaner and wipe it down with a clean microfiber cloth.
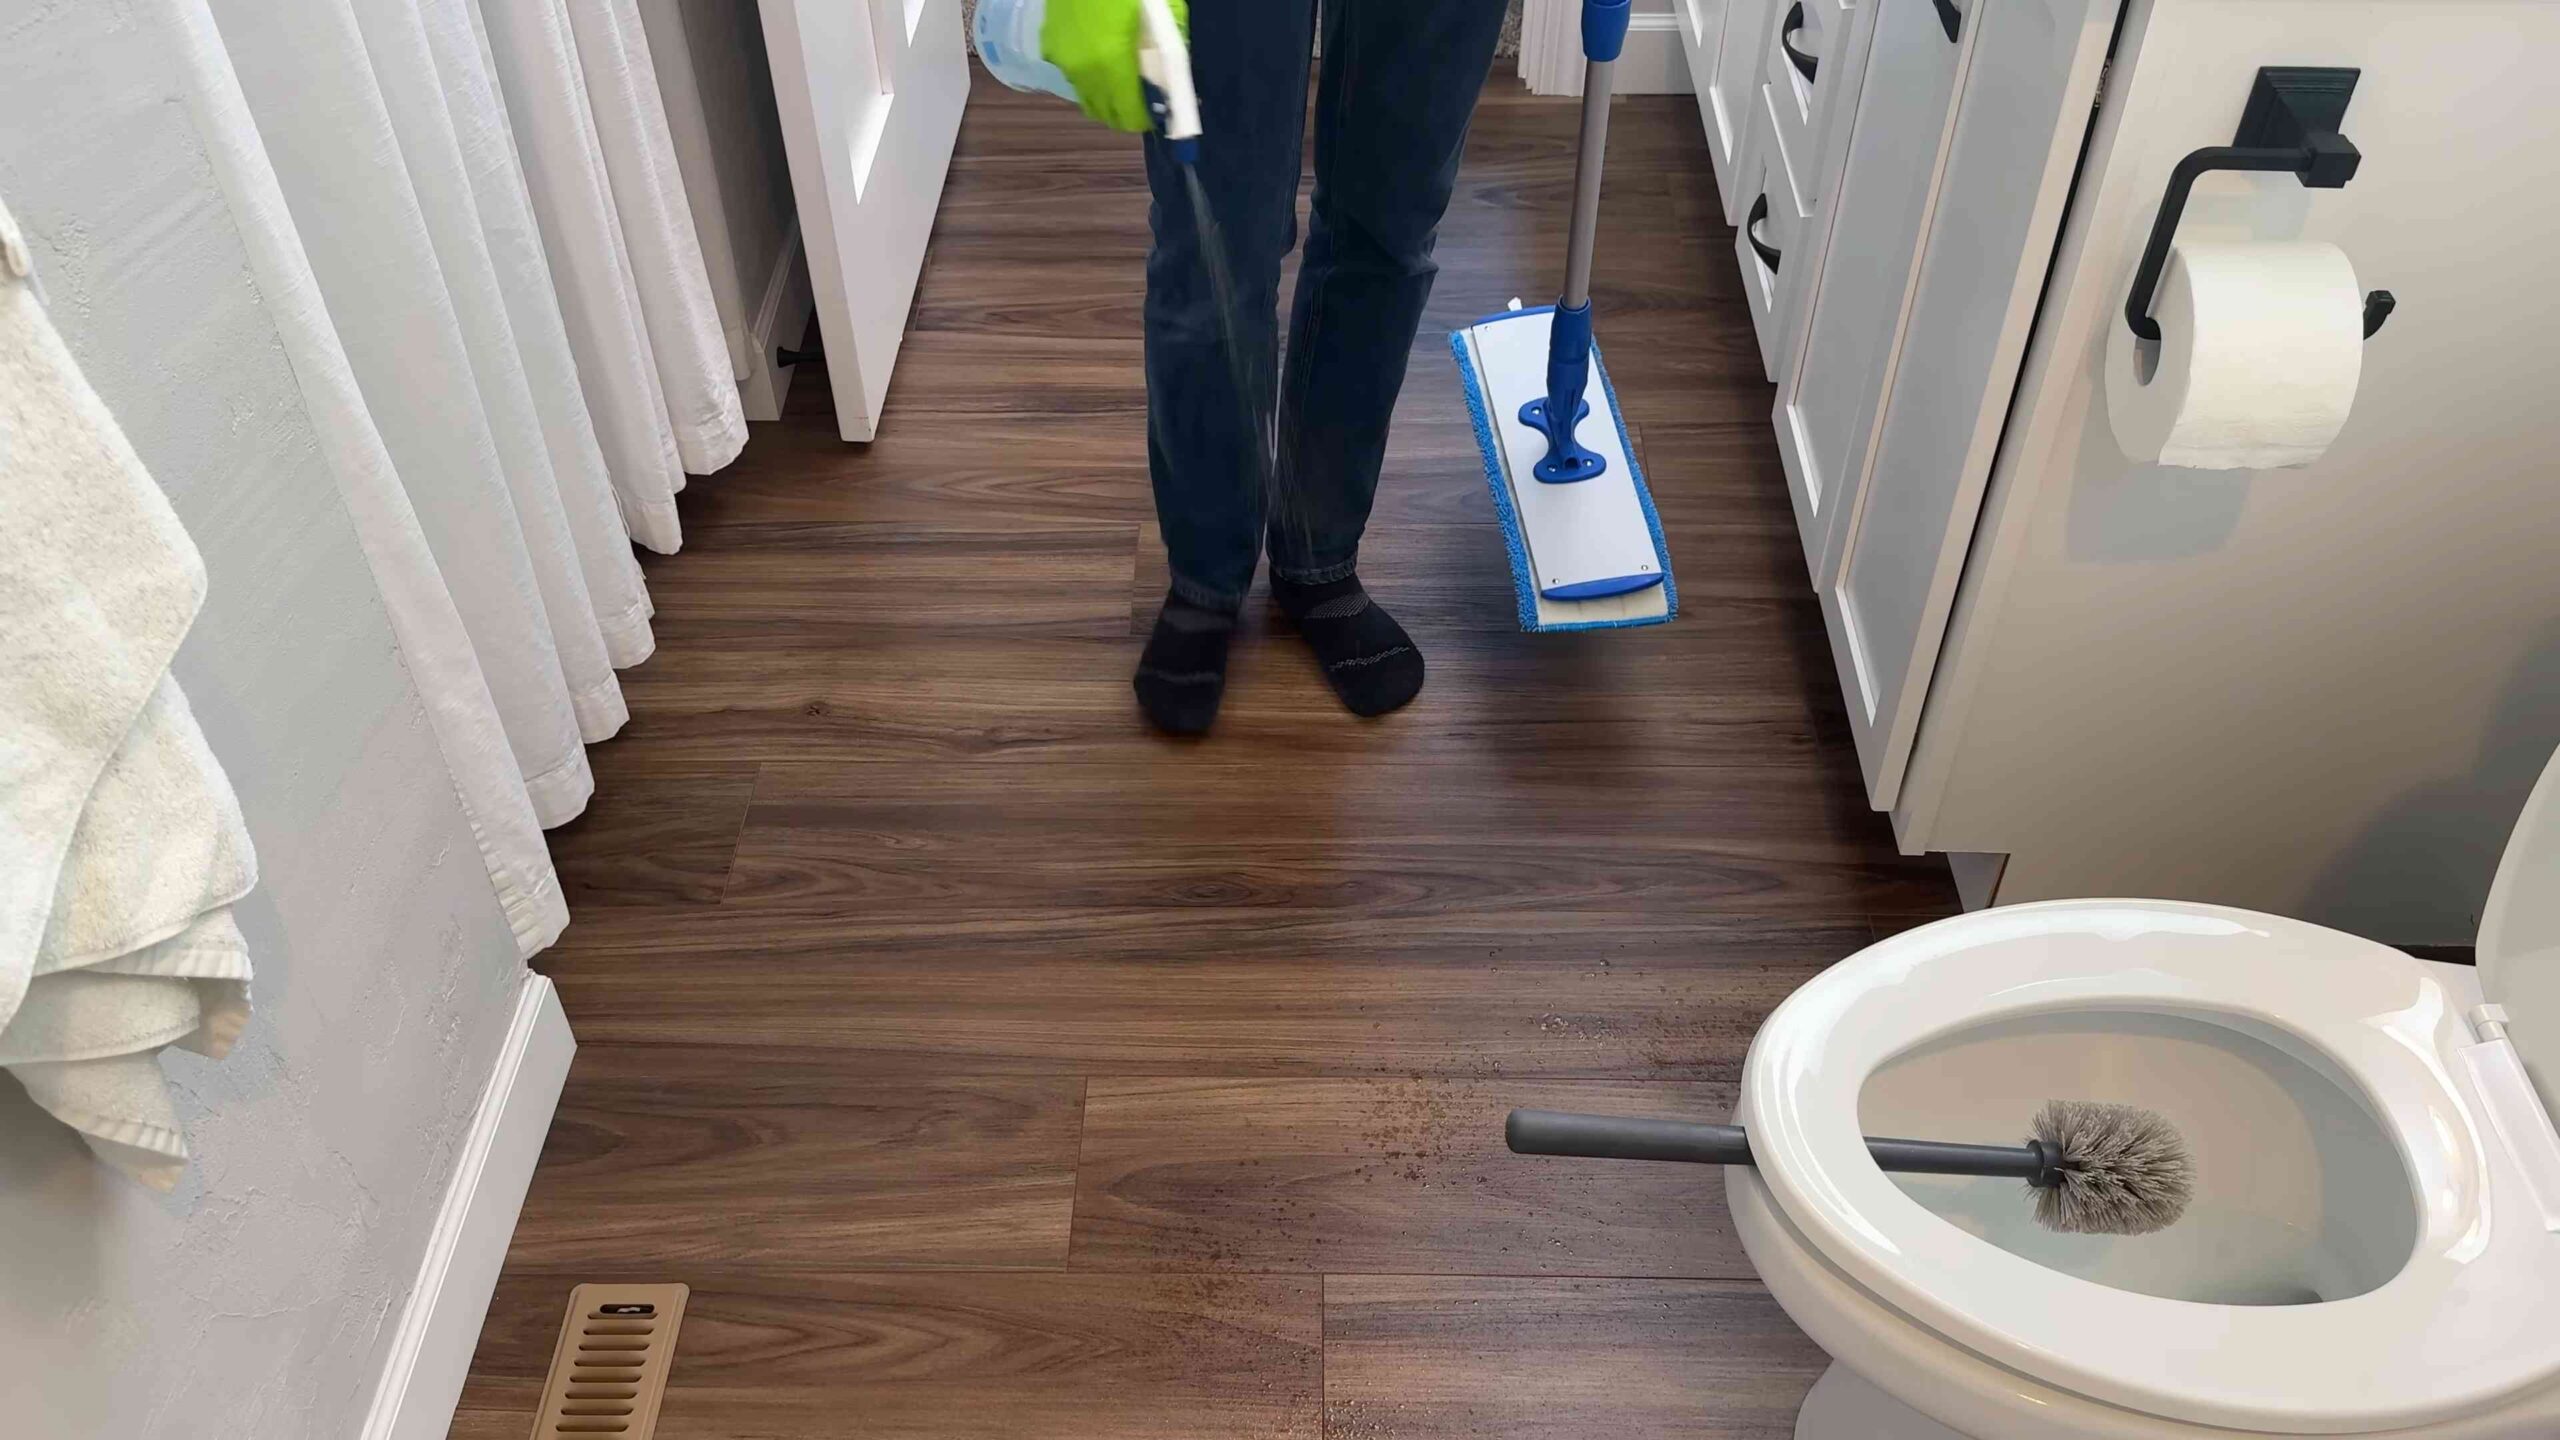
Phase 5: Floor Scrubbing and Final Touches
Almost there! A clean floor makes a huge difference.
1. Sweep or Vacuum: Sweep or vacuum the floor to remove any loose dirt and debris.
2. Mop the Floor: Fill a bucket with warm water and your preferred floor cleaner. Mop the floor thoroughly, paying attention to corners and edges.
3. Rinse (if necessary): If your floor cleaner requires rinsing, rinse the floor with clean water.
4. Dry the Floor: Allow the floor to air dry or use a clean towel to dry it.
5. Empty the Trash Can: Empty the trash can and wipe it down with a disinfectant wipe. Replace the liner.
6. Replace Items: Put everything back in its place, organizing as you go. This is a great opportunity to streamline your storage and make your bathroom more functional.
7. Add a Fresh Scent: Add a few drops of essential oil to a diffuser or place a scented candle in the bathroom for a fresh, clean scent. My favorites are lavender, eucalyptus, and lemon.
Dealing with Mold and Mildew
If you have mold or mildew, it’s important to address it promptly.
1. Identify the Source: Find the source of the moisture that’s causing the mold or mildew. This could be a leaky faucet, a dripping showerhead, or poor ventilation.
2. Apply Mold and Mildew Remover: Spray the affected area with a mold and mildew remover. Follow the manufacturer’s instructions carefully.
3. Scrub and Rinse: Use a scrub brush to scrub the mold or mildew away. Rinse the area thoroughly with water.
4. Dry Thoroughly: Dry the area thoroughly to prevent the mold or mildew from returning.
5. Improve Ventilation: Improve ventilation in your bathroom by opening a window or turning on the exhaust fan after showering.
6. Consider a Dehumidifier: If you live in a humid climate, consider using a dehumidifier in your bathroom to help control moisture levels.
Maintaining Your Sparkling Bathroom
The key to
Conclusion
So, there you have it! Transforming your bathroom into a sparkling sanctuary doesn’t require harsh chemicals or a hefty cleaning bill. This simple, effective, and eco-friendly DIY trick for a clean bathroom healthy home is a game-changer. We’ve shown you how to harness the power of readily available ingredients to create a cleaning solution that’s not only tough on grime but also gentle on your health and the environment.
Why is this a must-try? Because it’s more than just a cleaning method; it’s a conscious choice. It’s a step towards reducing your exposure to harmful chemicals, minimizing your environmental impact, and saving money – all while achieving a level of cleanliness that rivals commercial products. Think about the peace of mind knowing exactly what you’re using to clean the surfaces your family touches every day.
But don’t stop there! Feel free to experiment and personalize this DIY trick to suit your specific needs and preferences. For a refreshing scent, add a few drops of your favorite essential oil, like lavender or eucalyptus, to the cleaning solution. If you’re dealing with particularly stubborn stains, try pre-treating the area with a paste of baking soda and water before applying the cleaning solution. You can also adjust the ratios of ingredients to find the perfect balance for your bathroom’s unique challenges. For example, if you have hard water stains, a slightly higher concentration of vinegar might be necessary.
Consider using different application methods too. A spray bottle is great for general cleaning, but a scrub brush can be more effective for tackling grout and tile. Microfiber cloths are excellent for wiping down surfaces without leaving streaks.
We are confident that once you experience the effectiveness and simplicity of this DIY approach, you’ll never go back to harsh chemical cleaners. It’s a win-win situation for your bathroom, your health, and your wallet.
Now, it’s your turn! We encourage you to try this DIY trick for a clean bathroom healthy home and see the amazing results for yourself. Don’t be afraid to get creative and adapt the recipe to your liking. And most importantly, share your experience with us! Let us know what worked best for you, any variations you tried, and the overall impact on your bathroom cleaning routine. Your feedback will not only help us improve this guide but also inspire others to embrace a more natural and sustainable approach to cleaning. Share your before-and-after photos, your tips and tricks, and your overall thoughts in the comments section below. Let’s build a community of conscious cleaners who are committed to creating healthier homes and a healthier planet, one sparkling bathroom at a time. We can’t wait to hear from you!
Frequently Asked Questions (FAQ)
Q: Is vinegar safe to use on all bathroom surfaces?
A: While vinegar is a fantastic natural cleaner, it’s important to exercise caution on certain surfaces. Avoid using vinegar on natural stone surfaces like marble, granite, and limestone, as the acidity can etch and damage them. It’s also best to avoid using vinegar on waxed surfaces, as it can strip the wax. For these surfaces, a mild soap and water solution is a safer alternative. Always test the cleaning solution in an inconspicuous area first to ensure it doesn’t cause any discoloration or damage.
Q: Can I use this DIY cleaning solution on my toilet?
A: Absolutely! This DIY cleaning solution is excellent for cleaning your toilet bowl. For a deeper clean, pour a cup of the solution into the toilet bowl and let it sit for at least 30 minutes, or even overnight, before scrubbing with a toilet brush and flushing. The vinegar will help to dissolve mineral deposits and kill bacteria, leaving your toilet sparkling clean and fresh. For the exterior of the toilet, spray the solution onto a microfiber cloth and wipe down all surfaces.
Q: How often should I use this DIY cleaning solution in my bathroom?
A: The frequency of cleaning depends on how often your bathroom is used and how quickly it gets dirty. For a bathroom used daily, we recommend cleaning it at least once a week. However, you may need to clean more frequently if you have children or pets, or if you notice buildup of soap scum or mildew. Regular cleaning with this DIY solution will help prevent the buildup of grime and make your bathroom easier to maintain.
Q: What if I don’t like the smell of vinegar?
A: The smell of vinegar can be off-putting to some people, but don’t worry, it dissipates quickly after cleaning. To mask the vinegar smell, you can add a few drops of your favorite essential oil to the cleaning solution. Lavender, lemon, tea tree, and eucalyptus are all great options that not only smell wonderful but also have antibacterial and antifungal properties. You can also open a window or turn on the bathroom fan to help ventilate the room while you’re cleaning.
Q: How long does this DIY cleaning solution last?
A: This DIY cleaning solution is best used within a few weeks of making it. While the ingredients themselves don’t necessarily expire, the effectiveness of the solution may decrease over time. To ensure optimal cleaning power, we recommend making a fresh batch every two to three weeks. Store the solution in a cool, dark place in a tightly sealed spray bottle.
Q: Can I use this solution to clean shower doors and walls?
A: Yes, this solution is perfect for cleaning shower doors and walls! The vinegar helps to dissolve soap scum and hard water stains, leaving your shower sparkling clean. For shower doors, spray the solution onto the glass and let it sit for a few minutes before wiping it down with a microfiber cloth or squeegee. For shower walls, you may need to use a scrub brush to remove stubborn grime. Be sure to rinse thoroughly with water after cleaning.
Q: Is this DIY cleaning solution safe for septic systems?
A: Yes, this DIY cleaning solution is generally considered safe for septic systems. The ingredients are natural and biodegradable, and they won’t harm the beneficial bacteria that are essential for the proper functioning of your septic system. However, it’s always a good idea to avoid pouring large amounts of any cleaning solution down the drain at once.
Q: Can I use this solution on mold and mildew?
A: While this DIY cleaning solution can help to prevent the growth of mold and mildew, it may not be strong enough to remove existing mold and mildew infestations. For more severe mold and mildew problems, you may need to use a stronger cleaning solution specifically designed for mold removal. Always follow the manufacturer’s instructions carefully when using any mold removal product.
Q: What are some other ways to maintain a clean and healthy bathroom?
A: In addition to using this DIY cleaning solution, there are several other things you can do to maintain a clean and healthy bathroom. These include:
* Ventilating the bathroom properly by opening a window or turning on the fan after showering.
* Wiping down surfaces regularly to prevent the buildup of soap scum and grime.
* Using a squeegee to remove water from shower doors and walls after each use.
* Washing bath mats and towels regularly.
* Keeping the bathroom clutter-free to make cleaning easier.
* Addressing any leaks or plumbing issues promptly to prevent water damage and mold growth.
By following these tips and using this DIY trick for a clean bathroom healthy home, you can create a bathroom that is not only sparkling clean but also a healthy and inviting space for you and your family.
Leave a Comment