

Fast Home Deep Cleaning: Is your home screaming for a deep clean, but your schedule is screaming even louder? I get it! We all crave that sparkling, fresh feeling of a truly clean home, but the thought of spending an entire weekend scrubbing can be daunting. That’s why I’m so excited to share these game-changing DIY tricks and hacks that will help you achieve a deep clean in a fraction of the time.
The desire for a clean and organized home isn’t new. Throughout history, cultures around the world have placed immense value on cleanliness, often associating it with health, prosperity, and even spiritual well-being. While the tools and methods have evolved, the underlying need for a tidy and hygienic living space remains constant.
But let’s be honest, in today’s fast-paced world, who has the time for traditional, all-day deep cleaning sessions? That’s where these DIY solutions come in. They’re designed to be efficient, effective, and often utilize items you already have around the house. From tackling stubborn grime in the bathroom to revitalizing your kitchen, these tips will empower you to achieve a fast home deep cleaning without sacrificing your precious free time. So, ditch the overwhelm and get ready to transform your home into a sparkling sanctuary with these simple yet powerful hacks!
Fast Home Deep Cleaning: My Weekend Warrior Guide
Okay, let’s be honest, deep cleaning your entire house can feel like climbing Mount Everest in flip-flops. But fear not! I’ve developed a system that allows you to tackle the grime and dust without sacrificing your entire weekend. This isn’t about perfection; it’s about making a noticeable difference and creating a cleaner, healthier living space. I’m going to walk you through my tried-and-true method, breaking it down into manageable chunks. Get ready to roll up your sleeves!
The Pre-Game: Gathering Your Supplies and Game Plan
Before you even think about scrubbing, you need to get organized. Trust me, this will save you tons of time and frustration.
* Essential Cleaning Supplies:
* All-purpose cleaner (I prefer a natural, eco-friendly option)
* Glass cleaner
* Bathroom cleaner (specifically for soap scum and mildew)
* Toilet bowl cleaner
* Disinfectant wipes or spray
* Microfiber cloths (lots of them!)
* Sponges (a few different types)
* Scrub brush
* Vacuum cleaner with attachments
* Mop and bucket (or a steam mop)
* Dustpan and brush
* Rubber gloves
* Trash bags
* Optional: Baking soda, vinegar, lemon juice (for natural cleaning solutions)
* The Game Plan: Room-by-Room Breakdown:
* Prioritize rooms based on need. Which areas are the dirtiest or most frequently used? Start there.
* Allocate a specific time slot for each room. Don’t try to do everything at once.
* Break down each room into smaller tasks (dusting, cleaning surfaces, vacuuming, mopping, etc.).
* Don’t get bogged down in perfection. Focus on making a significant improvement.
* Put on some music or a podcast to keep you motivated!
Phase 1: The Kitchen Blitz
The kitchen is often the heart of the home, but it can also be a breeding ground for grime. Let’s tackle it head-on!
1. Clear the Counters: Remove everything from your countertops – appliances, utensils, mail, everything! This gives you a clear surface to work with.
2. Load the Dishwasher (or Wash by Hand): Get those dirty dishes out of the way immediately. A clean sink is a happy sink.
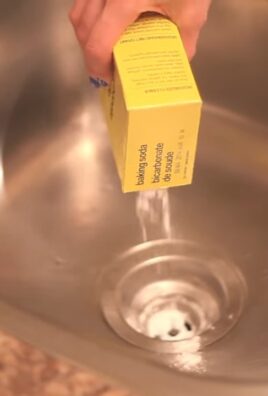
3. Clean the Sink: Scrub the sink with your all-purpose cleaner and a sponge. Don’t forget to clean around the faucet and drain. For extra shine, sprinkle baking soda in the sink and scrub with a damp sponge.
4. Wipe Down Appliances: Use your all-purpose cleaner to wipe down the exterior of your refrigerator, oven, microwave, dishwasher, and any other appliances. Pay attention to handles and knobs, which tend to accumulate fingerprints.
5. Microwave Deep Clean: Heat a microwave-safe bowl filled with 1 cup of water and a sliced lemon (or a few tablespoons of vinegar) for 3-5 minutes, or until the water boils. Let it sit for 5 minutes to steam the inside. Then, carefully remove the bowl and wipe down the interior of the microwave. The steam will loosen any stuck-on food.
6. Clean the Stovetop: Remove the grates and burner caps from your stovetop. Soak them in hot, soapy water while you clean the stovetop surface. Use a scraper to remove any burnt-on food. Once the grates and caps are clean, dry them thoroughly and replace them.
7. Wipe Down Countertops: Spray your countertops with all-purpose cleaner and wipe them down thoroughly. Pay attention to edges and corners.
8. Clean the Backsplash: Use your all-purpose cleaner to wipe down the backsplash behind your stovetop and sink.
9. Clean the Cabinets: Wipe down the cabinet doors and drawers with your all-purpose cleaner. Pay attention to areas around handles and knobs.
10. Sweep and Mop the Floor: Sweep the floor to remove any loose dirt and debris. Then, mop the floor with your preferred cleaning solution.
11. Empty the Trash: Take out the trash and replace the liner.
Phase 2: Bathroom Brilliance
Bathrooms can quickly become havens for soap scum, mildew, and general grime. Let’s restore some sparkle!
1. Clear the Counters: Remove everything from your countertops – toiletries, makeup, etc.
2. Spray Shower/Tub: Spray your shower or tub with bathroom cleaner. Let it sit for a few minutes to loosen soap scum and mildew.
3. Clean the Toilet: Apply toilet bowl cleaner to the inside of the toilet bowl. Let it sit for a few minutes. Then, scrub the bowl with a toilet brush and flush. Wipe down the exterior of the toilet with disinfectant wipes.
4. Scrub Shower/Tub: Scrub the shower or tub with a sponge or scrub brush. Pay attention to corners and grout lines. Rinse thoroughly.
5. Clean Showerhead: If your showerhead is clogged with mineral deposits, fill a plastic bag with vinegar and secure it around the showerhead with a rubber band. Let it soak for a few hours or overnight. Then, remove the bag and run the shower to flush out the vinegar.
6. Clean the Mirror: Spray your mirror with glass cleaner and wipe it down with a microfiber cloth.
7. Wipe Down Countertops: Spray your countertops with all-purpose cleaner and wipe them down thoroughly.
8. Clean the Sink: Scrub the sink with your all-purpose cleaner and a sponge. Don’t forget to clean around the faucet and drain.
9. Clean the Cabinets: Wipe down the cabinet doors and drawers with your all-purpose cleaner.
10. Sweep and Mop the Floor: Sweep the floor to remove any loose dirt and debris. Then, mop the floor with your preferred cleaning solution.
11. Empty the Trash: Take out the trash and replace the liner.
Phase 3: Living Room Refresh
The living room is where we relax and unwind, so let’s make it a clean and inviting space.
1. Declutter: Remove any clutter from the living room – books, magazines, toys, etc. Put everything in its place.
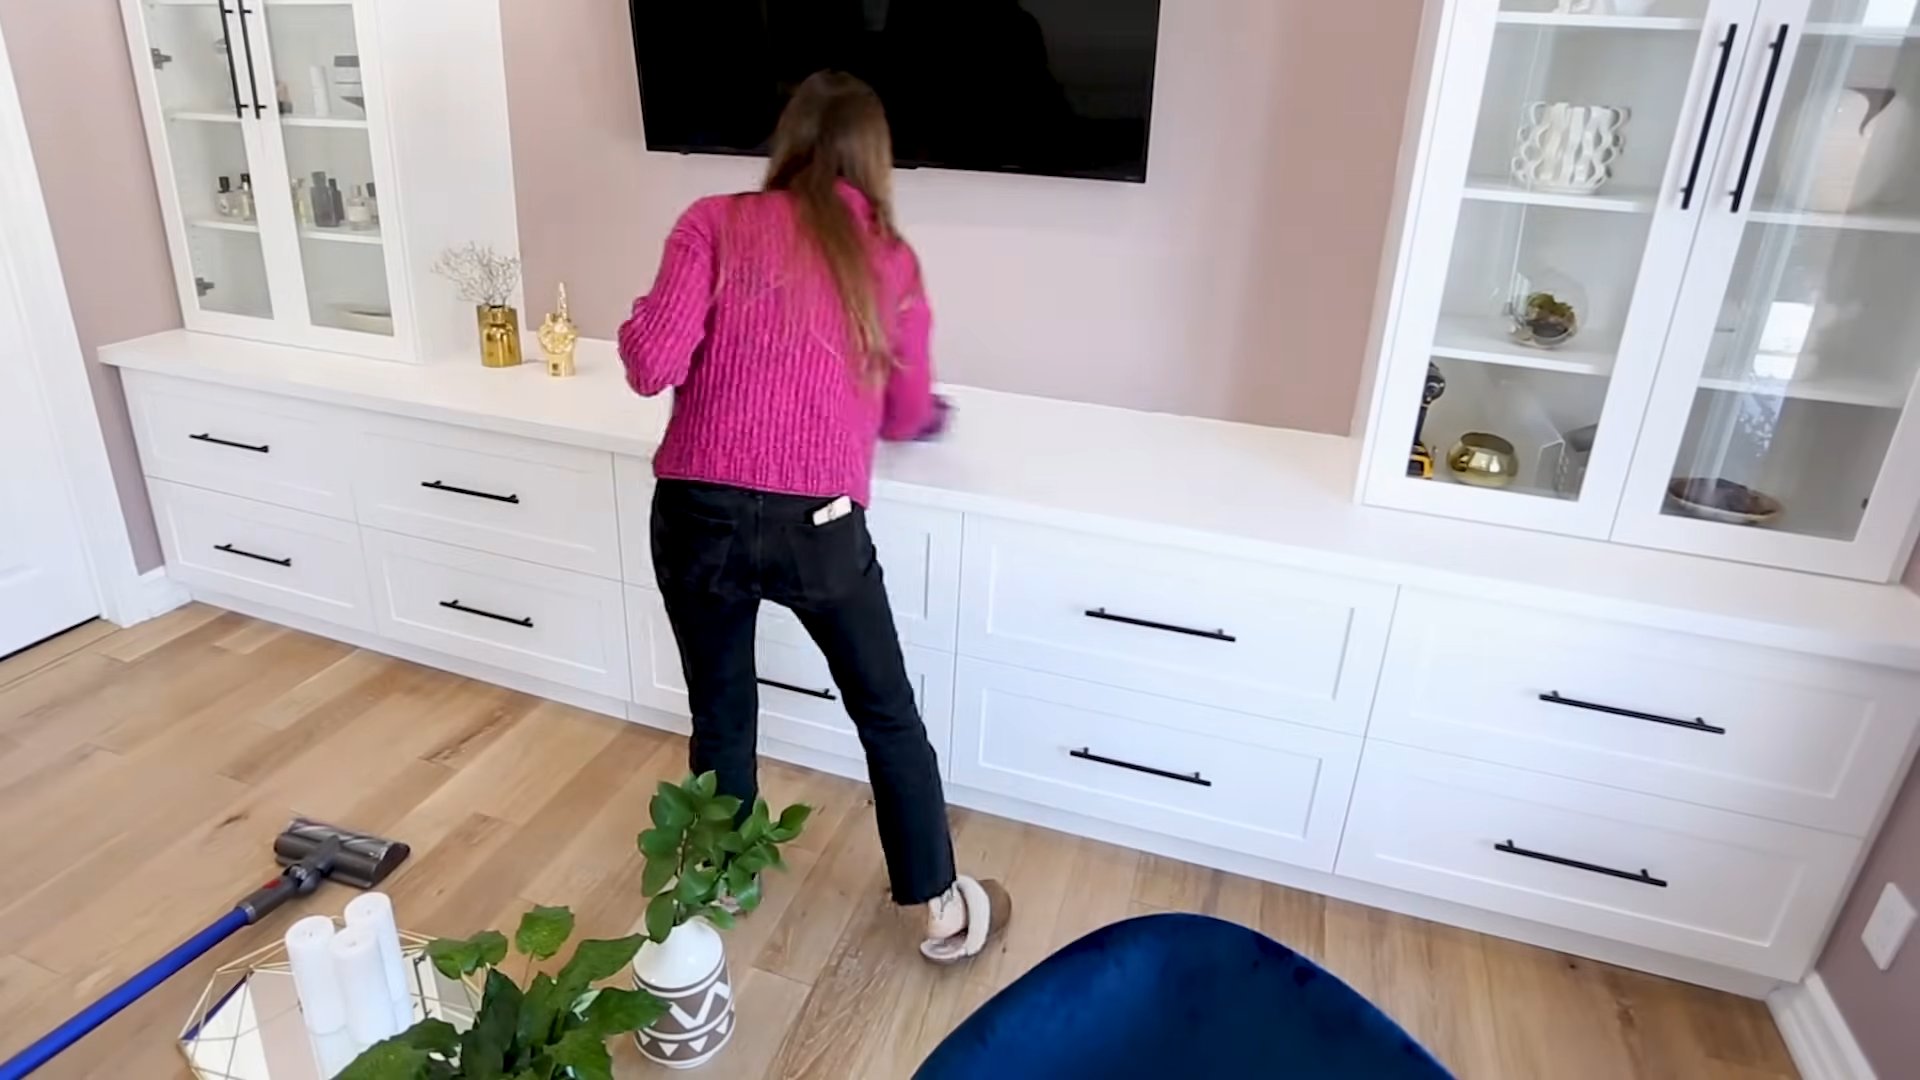
2. Dust Surfaces: Dust all surfaces, including furniture, shelves, picture frames, and lamps. Use a microfiber cloth or a duster.
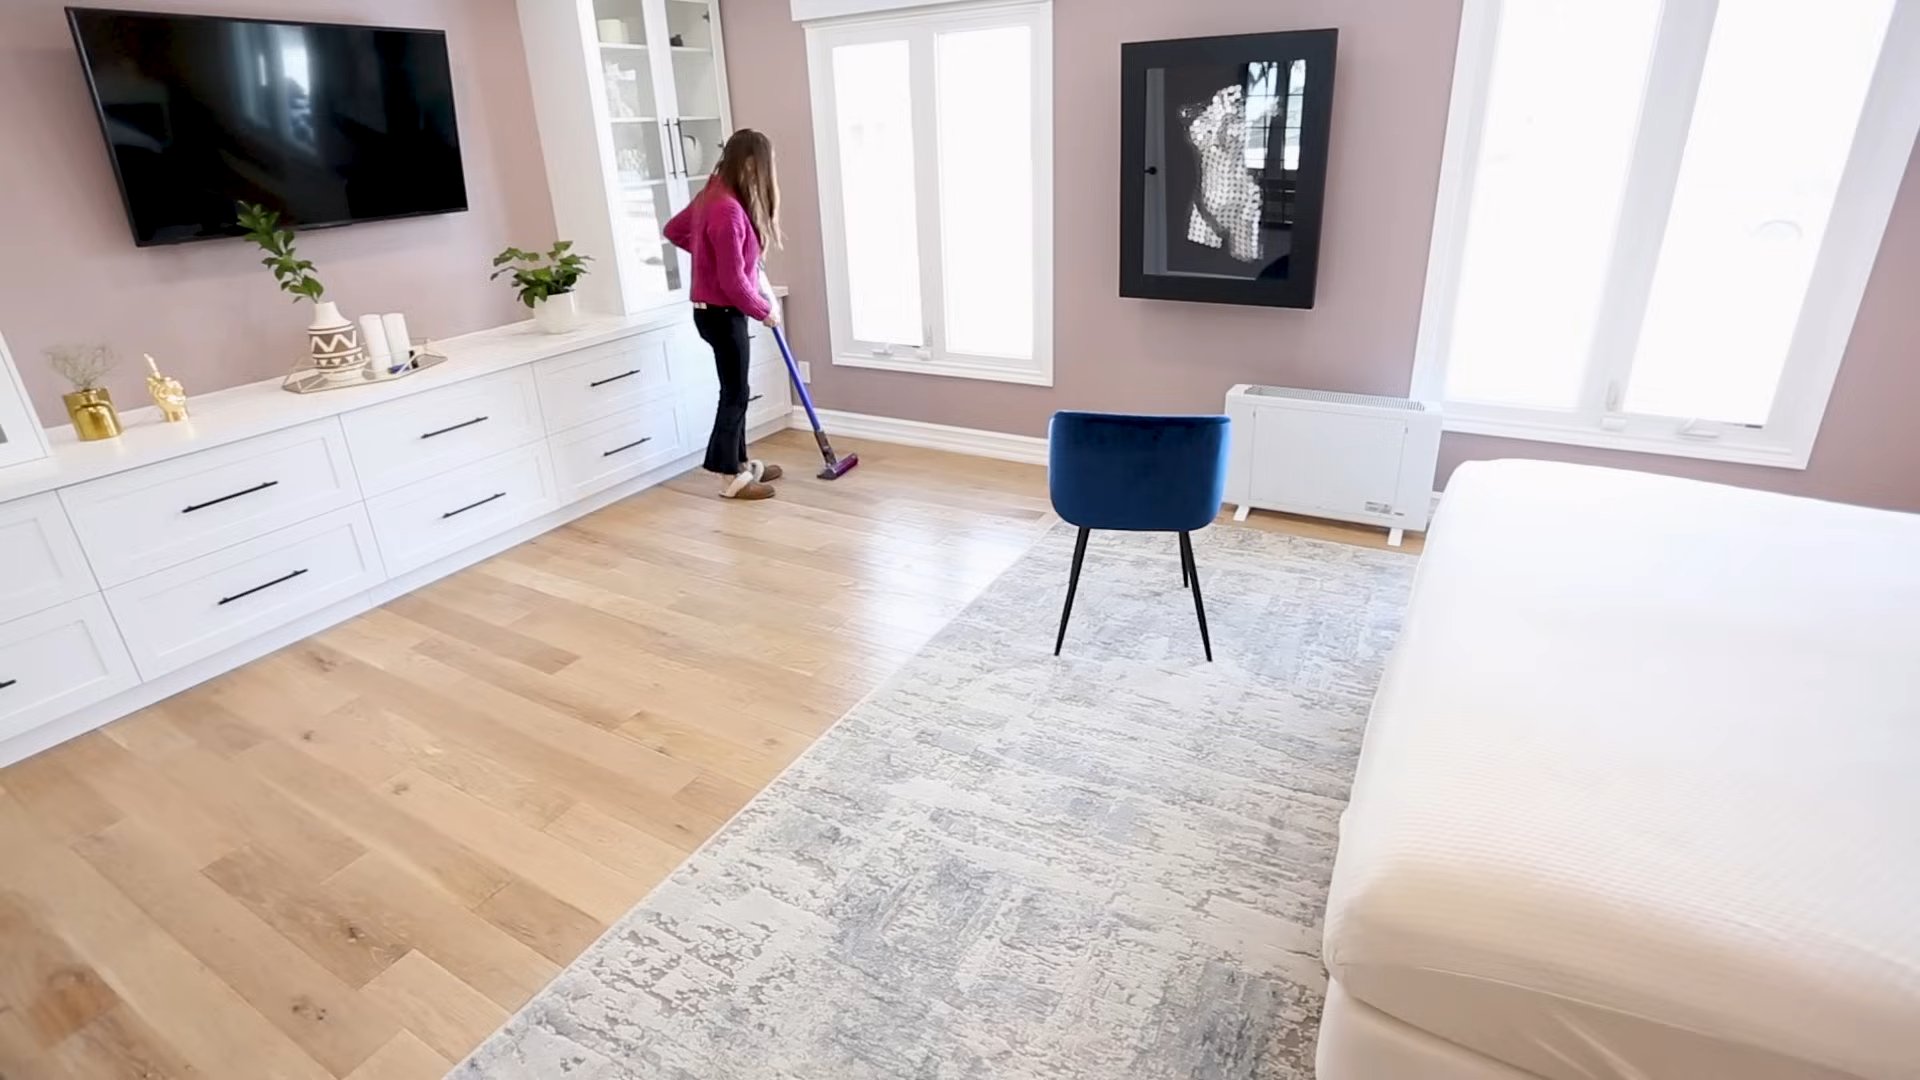
3. Vacuum Furniture: Vacuum all upholstered furniture, including sofas, chairs, and ottomans. Use the crevice tool to get into tight spaces.
4. Dust Electronics: Dust your television, stereo, and other electronic devices. Use a microfiber cloth to avoid scratching the screens.
5. Clean Windows and Mirrors: Spray your windows and mirrors with glass cleaner and wipe them down with a microfiber cloth.
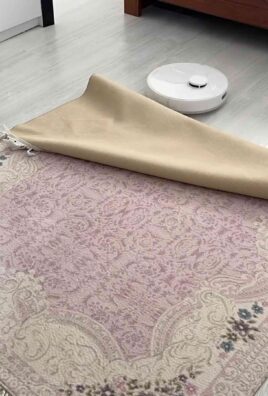
6. Vacuum or Mop the Floor: Vacuum carpets and rugs thoroughly. Mop hard floors with your preferred cleaning solution.
7. Fluff Pillows and Blankets: Fluff your pillows and blankets to make them look fresh and inviting.
Phase 4: Bedroom Bliss
Your bedroom should be a sanctuary. Let’s create a clean and peaceful environment.
1. Make the Bed: Start by making your bed. This instantly makes the room look tidier.
2. Declutter: Remove any clutter from the bedroom – clothes, books, etc. Put everything in its place.
3. Dust Surfaces: Dust all surfaces, including furniture, shelves, picture frames, and lamps.
4. Vacuum or Mop the Floor: Vacuum carpets and rugs thoroughly. Mop hard floors with your preferred cleaning solution.
5. Clean Windows and Mirrors: Spray your windows and mirrors with glass cleaner and wipe them down with a microfiber cloth.
6. Organize Closets and Drawers (Optional): If you have time, take a few minutes to organize your closets and drawers. This will help you keep your bedroom tidy in the long run.
Extra Credit: The Finishing Touches
These little details can make a big difference in the overall cleanliness of your home.
* Clean Light Switches and Doorknobs: Wipe down light switches and doorknobs with disinfectant wipes. These are high-touch areas that can harbor germs.
* Dust Baseboards: Dust your baseboards with a microfiber cloth or a duster.
* Clean Vents: Vacuum or dust your air vents.
* Freshen the Air: Open windows to air out your home. You can also use an air freshener or diffuser.
Important Considerations:
* Safety First: Always wear gloves when using cleaning products.
* Ventilation: Ensure proper ventilation when cleaning, especially when using strong chemicals. Open windows and doors.
*
Conclusion
So, there you have it! Mastering the art of fast home deep cleaning doesn’t have to be a Herculean task reserved for spring cleaning alone. By incorporating these simple yet effective DIY tricks into your routine, you can maintain a consistently clean and healthy living space without sacrificing your precious time. We’ve shown you how to tackle those often-overlooked areas, from banishing grime in your microwave to revitalizing your showerhead, all with readily available household ingredients.
The beauty of these methods lies in their simplicity and adaptability. Feel free to experiment with variations to suit your specific needs and preferences. For instance, if you’re sensitive to vinegar, try using lemon juice as a natural alternative for descaling and disinfecting. If you prefer a stronger scent, add a few drops of your favorite essential oil to your cleaning solutions. Lavender, tea tree, and eucalyptus are all excellent choices known for their antibacterial and antiviral properties.
Don’t underestimate the power of a consistent, streamlined approach. Even dedicating just 15-30 minutes each day to a specific cleaning task can make a world of difference in the overall cleanliness and hygiene of your home. Think of it as a daily investment in your well-being and peace of mind.
We genuinely believe that these DIY deep cleaning hacks will transform your cleaning routine from a dreaded chore into a manageable and even enjoyable activity. The satisfaction of seeing your home sparkle and knowing that you’ve achieved it with natural, cost-effective methods is truly rewarding.
Now, it’s your turn! We encourage you to put these tips into practice and experience the difference for yourself. Share your results, variations, and any other cleaning secrets you’ve discovered in the comments below. We’re eager to hear about your experiences and learn from your insights. Let’s create a community of clean-home enthusiasts, sharing tips and tricks to make our lives a little bit easier and a lot more sparkling! Remember, a clean home is a happy home, and with these fast home deep cleaning strategies, you’re well on your way to achieving just that. So, grab your supplies, put on some music, and get ready to transform your living space! We can’t wait to hear your success stories!
Frequently Asked Questions (FAQ)
Q: How often should I perform a deep clean of my home?
A: While daily tidying is essential for maintaining a clean living space, a full deep clean doesn’t need to be an everyday occurrence. Aim for a deep clean every 1-3 months, depending on your lifestyle, the size of your home, and the number of occupants. If you have pets or children, you might need to deep clean more frequently. Regular maintenance cleaning in between deep cleans will help prevent dirt and grime from building up, making the deep cleaning process easier and faster.
Q: Are these DIY cleaning solutions safe for all surfaces?
A: While most of the DIY cleaning solutions mentioned are generally safe and effective, it’s always a good idea to test them on a small, inconspicuous area first, especially on delicate surfaces like natural stone, wood, or painted walls. Avoid using abrasive cleaners on surfaces that scratch easily. For specific surfaces, consult the manufacturer’s recommendations for cleaning. For example, vinegar can be too acidic for some natural stone countertops.
Q: Can I use essential oils other than lavender, tea tree, and eucalyptus?
A: Absolutely! Lavender, tea tree, and eucalyptus are popular choices due to their antibacterial and antiviral properties, but you can certainly experiment with other essential oils based on your preferences and needs. Lemon, orange, and grapefruit essential oils are great for degreasing and leaving a fresh, citrusy scent. Peppermint essential oil can help repel insects and provide a refreshing aroma. Just be sure to use pure, therapeutic-grade essential oils and dilute them properly in your cleaning solutions. Always research the safety of essential oils, especially if you have pets or small children, as some can be toxic to them.
Q: What if I don’t have vinegar or baking soda on hand? Are there alternatives?
A: Yes, there are alternatives! While vinegar and baking soda are staples in many DIY cleaning recipes, you can substitute them with other readily available ingredients. Lemon juice is a great alternative to vinegar for descaling and disinfecting. For scrubbing, you can use salt or cream of tartar instead of baking soda. In some cases, a mild dish soap solution can also be used as a general-purpose cleaner.
Q: How can I make my deep cleaning routine more efficient?
A: Efficiency is key to fast home deep cleaning. Start by decluttering each room before you begin cleaning. This will remove obstacles and make it easier to access surfaces. Gather all your cleaning supplies in a caddy or bucket to avoid running back and forth. Work from top to bottom, dusting high surfaces before cleaning lower ones. Focus on one task at a time, such as dusting, vacuuming, or mopping, before moving on to the next. Use a timer to stay on track and avoid getting sidetracked. And most importantly, don’t be afraid to ask for help! Enlist the help of family members or friends to make the process faster and more enjoyable.
Q: How do I deal with stubborn stains or grime?
A: Stubborn stains and grime often require a little extra effort and patience. For tough stains on carpets or upholstery, try using a paste of baking soda and water. Apply the paste to the stain, let it sit for a few hours, and then vacuum it up. For greasy grime in the kitchen, try using a solution of hot water and dish soap. For mildew or mold in the bathroom, use a solution of bleach and water (always wear gloves and eye protection when working with bleach). You can also purchase specialized stain removers for specific types of stains. Remember to always test any cleaning solution on a small, inconspicuous area first to ensure it doesn’t damage the surface.
Q: How can I prevent my home from getting dirty so quickly?
A: Prevention is always better than cure! To prevent your home from getting dirty so quickly, establish a few simple habits. Take off your shoes at the door to avoid tracking dirt inside. Wipe up spills immediately to prevent stains from setting. Regularly dust and vacuum to remove dirt and debris. Empty your trash cans frequently to prevent odors and bacteria from building up. And most importantly, encourage everyone in your household to participate in keeping the home clean and tidy. A little bit of effort each day can go a long way in maintaining a clean and healthy living space.

Leave a Comment