

Grow Japanese Melons at Home? Absolutely! Imagine sinking your teeth into a perfectly sweet, juicy Japanese melon, grown right in your own backyard. Sounds like a dream, right? Well, it doesn’t have to be! For centuries, these exquisite fruits have been prized in Japan, often given as luxurious gifts and symbols of status. Their meticulous cultivation is an art form, but don’t let that intimidate you.
I’m here to show you that with a few clever DIY tricks and a little patience, you can successfully grow Japanese melons at home, even if you don’t have a sprawling estate. Forget expensive grocery store prices and questionable quality. This guide will equip you with the knowledge to nurture these delicacies from seed to harvest.
Why bother with this DIY project? Because the taste of a homegrown Japanese melon is simply unparalleled. Plus, there’s immense satisfaction in cultivating something so special yourself. Whether you’re a seasoned gardener or just starting out, these hacks will simplify the process and increase your chances of enjoying your own slice of Japanese melon paradise. Let’s get started!
Growing Japanese Melons at Home: A Sweet DIY Project
Hey there, fellow gardening enthusiasts! Ever dreamt of biting into a perfectly sweet, juicy Japanese melon, the kind that costs a small fortune at the grocery store? Well, guess what? You can grow them yourself! It might seem intimidating, but with a little patience and the right know-how, you can enjoy homegrown Japanese melons. I’m going to walk you through the entire process, from seed to harvest. Let’s get started!
Choosing Your Melon Variety
First things first, you need to decide which type of Japanese melon you want to grow. There are several popular varieties, each with its own unique characteristics:
* Yubari King: Known for its perfectly round shape, smooth rind, and intense sweetness. This is the “king” of Japanese melons, and also one of the most challenging to grow.
* Crown Melon: Another high-end variety, prized for its netted rind and delicate flavor. It requires careful cultivation and precise temperature control.
* Andes Melon: A more accessible option for home gardeners. It has a green rind and a sweet, refreshing taste. It’s generally more resistant to diseases and easier to manage.
* Honey Globe Melon: A popular choice for its sweet, honey-like flavor and relatively easy cultivation.
For beginners, I highly recommend starting with Andes or Honey Globe melons. They’re more forgiving and will give you a better chance of success.
Getting Started: Seed Germination
Okay, let’s get those seeds sprouting!
1. Soaking the Seeds: Before planting, soak your melon seeds in lukewarm water for 24 hours. This helps to soften the seed coat and encourages germination. I usually use a small glass or container for this.
2. Preparing the Seedling Trays: Fill seedling trays with a well-draining seed-starting mix. I prefer using a mix that contains peat moss, vermiculite, and perlite. This provides good aeration and moisture retention.
3. Sowing the Seeds: Plant the seeds about 1/2 inch deep in the seedling trays. Gently cover them with the seed-starting mix and water lightly.
4. Creating a Humid Environment: Cover the seedling trays with a clear plastic dome or plastic wrap to create a humid environment. This helps to keep the soil moist and promotes germination.
5. Providing Warmth: Place the seedling trays in a warm location, ideally between 70-80°F (21-27°C). A heat mat can be helpful if you live in a cooler climate.
6. Monitoring Germination: Keep an eye on the trays and water them as needed to keep the soil moist but not soggy. Germination usually takes about 7-14 days.
7. Removing the Cover: Once the seedlings emerge, remove the plastic dome or plastic wrap to allow for better air circulation.
Transplanting Your Seedlings
Once your seedlings have developed a few sets of true leaves (usually after about 3-4 weeks), it’s time to transplant them into larger pots or directly into your garden.
1. Hardening Off: Before transplanting, you need to harden off your seedlings. This means gradually exposing them to outdoor conditions to help them adjust to the change in temperature and sunlight. Start by placing the seedlings outdoors for a few hours each day, gradually increasing the amount of time they spend outside over the course of a week.
2. Preparing the Soil: Choose a sunny location with well-draining soil. Melons need at least 6-8 hours of sunlight per day. Amend the soil with compost or well-rotted manure to improve its fertility and drainage. I like to add a good amount of organic matter to give them a boost.
3. Transplanting: Dig holes that are slightly larger than the root balls of your seedlings. Gently remove the seedlings from their trays and place them in the holes. Backfill with soil and water thoroughly. Space the plants about 2-3 feet apart.
4. Mulching: Apply a layer of mulch around the plants to help retain moisture, suppress weeds, and regulate soil temperature. Straw, wood chips, or black plastic mulch are all good options.
Caring for Your Melon Plants
Now comes the ongoing care to ensure your melons thrive!
1. Watering: Melons need consistent watering, especially during hot, dry weather. Water deeply and regularly, but avoid overwatering, which can lead to root rot. I usually water in the morning to allow the foliage to dry before nightfall.
2. Fertilizing: Feed your melon plants with a balanced fertilizer every 2-3 weeks. Look for a fertilizer that is high in phosphorus and potassium, which are essential for fruit development. I like to use a liquid fertilizer diluted according to the package instructions.
3. Pruning: Pruning can help to improve air circulation and encourage fruit production. Remove any suckers (small shoots that grow from the base of the plant) and any yellowing or diseased leaves.
4. Pollination: Melons require pollination to set fruit. If you’re growing your melons indoors or in an area with limited bee activity, you may need to hand-pollinate them. To do this, use a small paintbrush to transfer pollen from the male flowers to the female flowers. Female flowers have a small fruit developing at the base of the flower.
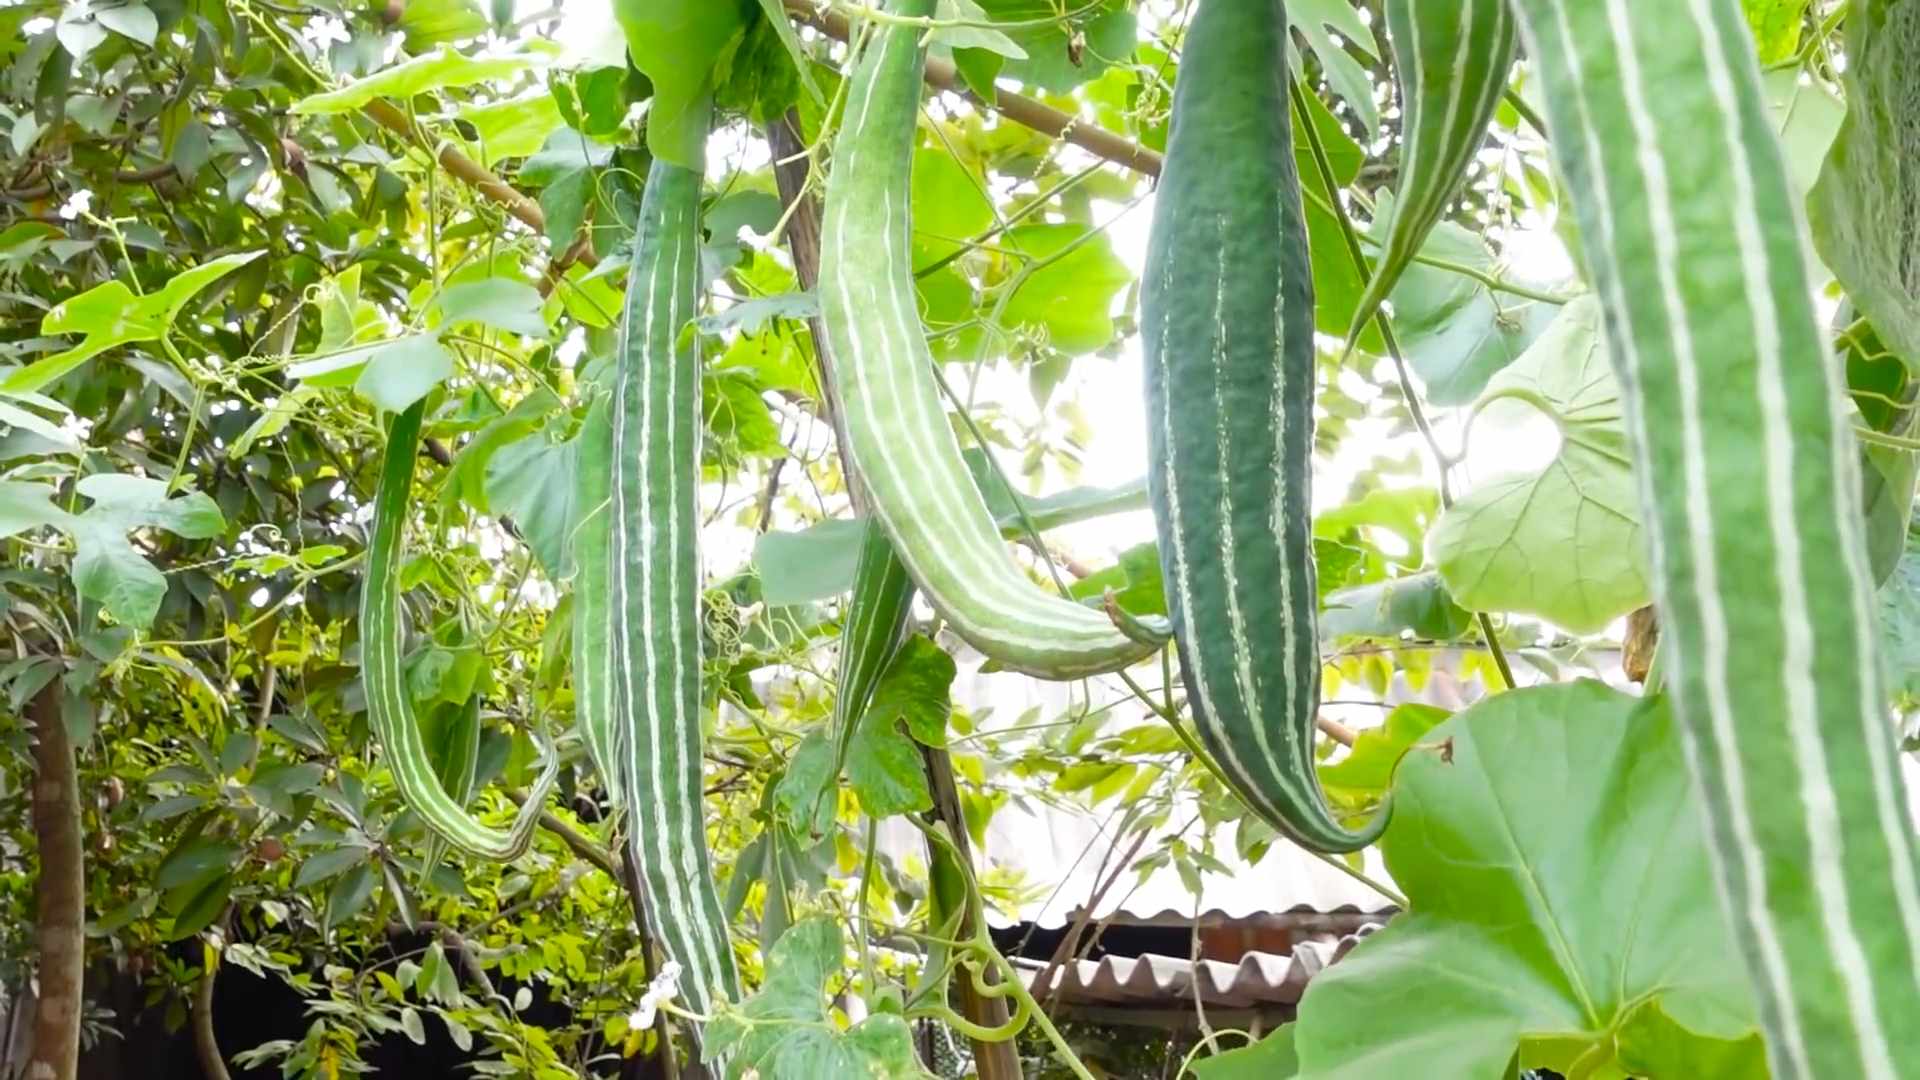
5. Supporting the Fruit: As the melons grow, they may need support to prevent them from touching the ground and rotting. You can use slings made from pantyhose or netting to support the fruit. For smaller melons, you can simply place them on a bed of straw.
6. Pest and Disease Control: Keep an eye out for common melon pests and diseases, such as aphids, squash bugs, and powdery mildew. Use organic pest control methods, such as insecticidal soap or neem oil, to control pests. Ensure good air circulation to prevent fungal diseases.
Harvesting Your Melons
The most exciting part! Knowing when to harvest your melons is crucial for getting that perfect sweetness.
1. Checking for Ripeness: There are several ways to tell if your melons are ripe.
* The Tendril Test: The tendril closest to the fruit should be dry and brown.
* The Thump Test: A ripe melon will sound hollow when you thump it.
* The Smell Test: A ripe melon will have a sweet, fragrant aroma.
* The Slip Test: For some varieties, the stem will easily slip from the vine when the melon is ripe.
2. Harvesting: Once your melons are ripe, carefully cut them from the vine with a sharp knife or pruning shears. Leave a small portion of the stem attached.
3. Curing (Optional): Some melon varieties benefit from curing, which involves storing them in a cool, dry place for a few days to allow the sugars to concentrate. This can improve their flavor and texture.
Troubleshooting
Even with the best care, you might encounter some challenges. Here are a few common problems and how to address them:
* Poor Germination: Make sure your seeds are fresh and that you’re providing adequate warmth and moisture.
* Yellowing Leaves: This could be a sign of nutrient deficiency, overwatering, or disease. Check your watering habits and fertilize as needed.
* Lack of Fruit Set: This could be due to poor pollination or unfavorable weather conditions. Try hand-pollinating your plants and providing protection from extreme temperatures.
* Cracked Fruit: This is often caused by inconsistent watering. Water regularly and deeply, especially during dry spells.
* Pest Infestations: Regularly inspect your plants for pests and take action promptly.
Enjoying Your Homegrown Melons
Congratulations! You’ve successfully grown your own Japanese melons. Now it’s time to savor the fruits (literally!) of your labor.
* Chilling: Chill your melons in the refrigerator for a few hours before serving. This will enhance their sweetness and juiciness.
* Serving: Cut the melons into wedges or cubes and enjoy them as a refreshing snack or dessert.
* Recipes: Get creative and use your homegrown melons in salads, smoothies, or even grilled dishes.
Growing Japanese melons at home is a rewarding experience that allows you to enjoy the delicious taste of these premium fruits without breaking the bank. With a little patience and attention to detail, you can cultivate your own sweet success. Happy gardening!

Conclusion
So, there you have it! Growing Japanese melons at home might seem like a daunting task reserved for seasoned gardeners, but with a little patience, the right techniques, and this straightforward DIY trick, you can cultivate these delectable fruits right in your own backyard or even on a sunny balcony. Forget the exorbitant prices at specialty stores; imagine the satisfaction of harvesting your own sweet, juicy Japanese melons, knowing you nurtured them from seed to table.
This isn’t just about saving money; it’s about connecting with nature, understanding the growing process, and enjoying the unparalleled flavor of homegrown produce. The taste difference between a store-bought melon and one you’ve lovingly cultivated is truly remarkable. You’ll notice a richer sweetness, a more vibrant aroma, and a texture that’s simply divine.
But the benefits extend beyond the taste buds. Gardening is a fantastic stress reliever, a great way to get some fresh air and sunshine, and a rewarding hobby that can bring joy to your life. Plus, you’ll have a conversation starter that’s sure to impress your friends and family.
Why is this DIY trick a must-try? Because it simplifies the process, making it accessible to even novice gardeners. It focuses on key elements like proper soil preparation, strategic watering, and effective pollination techniques, all tailored to the specific needs of Japanese melons. It eliminates the guesswork and provides a clear roadmap to success.
Ready to take your melon game to the next level? Consider these variations:
* Vertical Gardening: If space is limited, explore vertical gardening techniques. Japanese melons can be trained to grow on trellises or supports, maximizing your yield in a small area.
* Grafting: For increased disease resistance and vigor, consider grafting your Japanese melon seedlings onto a more robust rootstock. This is a slightly more advanced technique, but the results can be well worth the effort.
* Different Varieties: Don’t limit yourself to just one type of Japanese melon. Experiment with different varieties, such as the Yubari King, the Crown Melon, or the Andes Melon, to discover your personal favorite. Each variety offers a unique flavor profile and texture.
* Companion Planting: Enhance your melon patch by incorporating companion plants like basil, marigolds, or nasturtiums. These plants can help deter pests, attract beneficial insects, and improve the overall health of your garden.
We’re confident that with this DIY trick, you’ll be well on your way to enjoying a bountiful harvest of delicious Japanese melons. So, grab your gardening gloves, gather your supplies, and get ready to embark on this exciting culinary adventure.
We can’t wait to hear about your experiences! Share your photos, tips, and success stories in the comments below. Let’s build a community of home gardeners who are passionate about growing their own Japanese melons. Your insights could inspire others to take the plunge and discover the joys of homegrown produce. Happy gardening!
Frequently Asked Questions (FAQ)
What is the best time to start growing Japanese melons?
The ideal time to start growing Japanese melons depends on your climate. In general, you should start seeds indoors about 6-8 weeks before the last expected frost. This allows the seedlings to develop a strong root system before being transplanted outdoors. If you live in a warmer climate with a longer growing season, you can start seeds directly in the ground after the danger of frost has passed. However, starting indoors provides a head start and can lead to an earlier harvest. Consider using a heat mat to encourage germination and a grow light to provide adequate light for the seedlings.
What kind of soil is best for growing Japanese melons?
Japanese melons thrive in well-drained, fertile soil that is rich in organic matter. The soil should have a slightly acidic to neutral pH, ideally between 6.0 and 7.0. Before planting, amend the soil with compost, aged manure, or other organic materials to improve its drainage and fertility. You can also add a slow-release fertilizer to provide essential nutrients throughout the growing season. Avoid heavy clay soils, as they can retain too much moisture and lead to root rot. If you have clay soil, consider amending it with sand and organic matter to improve its drainage.
How often should I water my Japanese melon plants?
Japanese melon plants need consistent moisture, especially during fruit development. Water deeply and regularly, aiming to keep the soil consistently moist but not waterlogged. Avoid overhead watering, as this can increase the risk of fungal diseases. Instead, water at the base of the plants, using a soaker hose or drip irrigation system. During hot, dry weather, you may need to water more frequently. Check the soil moisture regularly by sticking your finger into the soil about an inch deep. If the soil feels dry, it’s time to water.
How do I pollinate Japanese melon flowers?
Japanese melons have separate male and female flowers. To ensure fruit production, you may need to hand-pollinate the flowers, especially if you don’t have many bees or other pollinators in your garden. To hand-pollinate, use a small paintbrush to collect pollen from the male flowers and transfer it to the female flowers. The female flowers can be identified by the small fruit-like structure at the base of the flower. Pollinate the flowers in the morning, when the pollen is most viable. You can also attract pollinators to your garden by planting flowers that are rich in nectar and pollen, such as sunflowers, zinnias, and lavender.
How do I protect my Japanese melons from pests and diseases?
Japanese melons can be susceptible to various pests and diseases, including aphids, squash bugs, powdery mildew, and fusarium wilt. To protect your plants, practice good garden hygiene, such as removing weeds and debris that can harbor pests and diseases. You can also use organic pest control methods, such as insecticidal soap or neem oil, to control aphids and other pests. To prevent fungal diseases, ensure good air circulation around the plants and avoid overhead watering. If you notice any signs of disease, remove the affected leaves or plants immediately to prevent the spread of the disease. Consider using disease-resistant varieties of Japanese melons to minimize the risk of disease problems.
When are Japanese melons ready to harvest?
Japanese melons are typically ready to harvest about 80-100 days after planting. The exact time will depend on the variety and growing conditions. To determine if a melon is ripe, look for the following signs:
* The melon should have a sweet aroma.
* The skin should have a slight give when pressed gently.
* The stem should start to separate easily from the fruit.
* The color of the skin should change from green to a more yellowish or orange hue, depending on the variety.
Once the melon is ripe, cut it from the vine with a sharp knife or pruning shears, leaving a small portion of the stem attached. Store the harvested melons in a cool, dry place.
Can I grow Japanese melons in containers?
Yes, you can grow Japanese melons in containers, but you’ll need to choose a large container that is at least 20 gallons in size. The container should have good drainage holes to prevent waterlogging. Use a high-quality potting mix that is rich in organic matter. You’ll also need to provide support for the vines, such as a trellis or stake. Container-grown melons may require more frequent watering and fertilization than those grown in the ground. Choose a sunny location for your container garden, and be sure to protect the plants from strong winds.
What fertilizer should I use for Japanese melons?
Japanese melons benefit from regular fertilization throughout the growing season. Start with a balanced fertilizer (e.g., 10-10-10) at planting time. Once the plants start to flower, switch to a fertilizer that is higher in phosphorus and potassium (e.g., 5-10-10) to promote fruit development. You can also supplement with compost tea or other organic fertilizers. Avoid over-fertilizing, as this can lead to excessive vegetative growth and reduced fruit production. Follow the instructions on the fertilizer label carefully.
How can I improve the sweetness of my Japanese melons?
Several factors can influence the sweetness of Japanese melons, including genetics, growing conditions, and harvesting time. To improve the sweetness of your melons, ensure that they receive plenty of sunlight, water, and nutrients. Avoid over-watering, as this can dilute the sugars in the fruit. You can also try reducing the amount of water you give the plants a few weeks before harvest to concentrate the sugars. Choose varieties that are known for their sweetness, and harvest the melons when they are fully ripe.
What are some common mistakes to avoid when growing Japanese melons?
Some common mistakes to avoid when growing Japanese melons include:
* Starting seeds too late.
* Planting in poorly drained soil.
* Over-watering or under-watering.
* Failing to provide adequate support for the vines.
* Not pollinating the flowers properly.
* Harvesting the melons too early or too late.
* Ignoring pest and disease problems.
By avoiding these mistakes, you can increase your chances of success and enjoy a bountiful harvest of delicious Japanese melons.

Leave a Comment