

Kitchen cleaning hacks – who doesn’t need them? Let’s be honest, the kitchen is the heart of the home, but it’s also a magnet for mess! From splattered sauces to lingering odors, keeping it sparkling can feel like a never-ending battle. But fear not, fellow home enthusiasts, because I’m about to share some game-changing DIY tricks that will transform your cleaning routine from a chore into a breeze.
For centuries, resourceful homemakers have been devising clever ways to maintain their kitchens. Think about it – before the age of fancy cleaning products, ingenuity was key! These time-tested methods, often passed down through generations, relied on simple, readily available ingredients. We’re talking about the power of vinegar, baking soda, and lemon – nature’s own cleaning arsenal!
In today’s fast-paced world, time is precious. Who wants to spend hours scrubbing and scouring? That’s where these kitchen cleaning hacks come in. They’re designed to be quick, effective, and budget-friendly, allowing you to reclaim your weekends and spend more time doing what you love. Plus, many of these DIY solutions are eco-friendly, reducing your reliance on harsh chemicals and contributing to a healthier planet. So, get ready to unlock the secrets to a sparkling clean kitchen with minimal effort!
DIY Kitchen Cleaning Hacks: Sparkling Clean Without Breaking a Sweat!
Okay, let’s face it, the kitchen is the heart of the home, but it’s also a magnet for messes. From splattered sauces to greasy countertops, keeping it clean can feel like a never-ending battle. But fear not! I’m here to share some of my favorite DIY kitchen cleaning hacks that will leave your space sparkling without harsh chemicals or back-breaking labor. Get ready to transform your kitchen into a pristine paradise!
Hack 1: The Magic of Baking Soda and Vinegar
This dynamic duo is a powerhouse for tackling all sorts of kitchen grime. Baking soda is a gentle abrasive and deodorizer, while vinegar is a natural disinfectant and degreaser. Together, they create a fizzing action that loosens stubborn dirt and stains.
What you’ll need:
* Baking soda
* White vinegar
* Spray bottle
* Scrub brush or sponge
* Clean cloths
Step-by-step instructions:
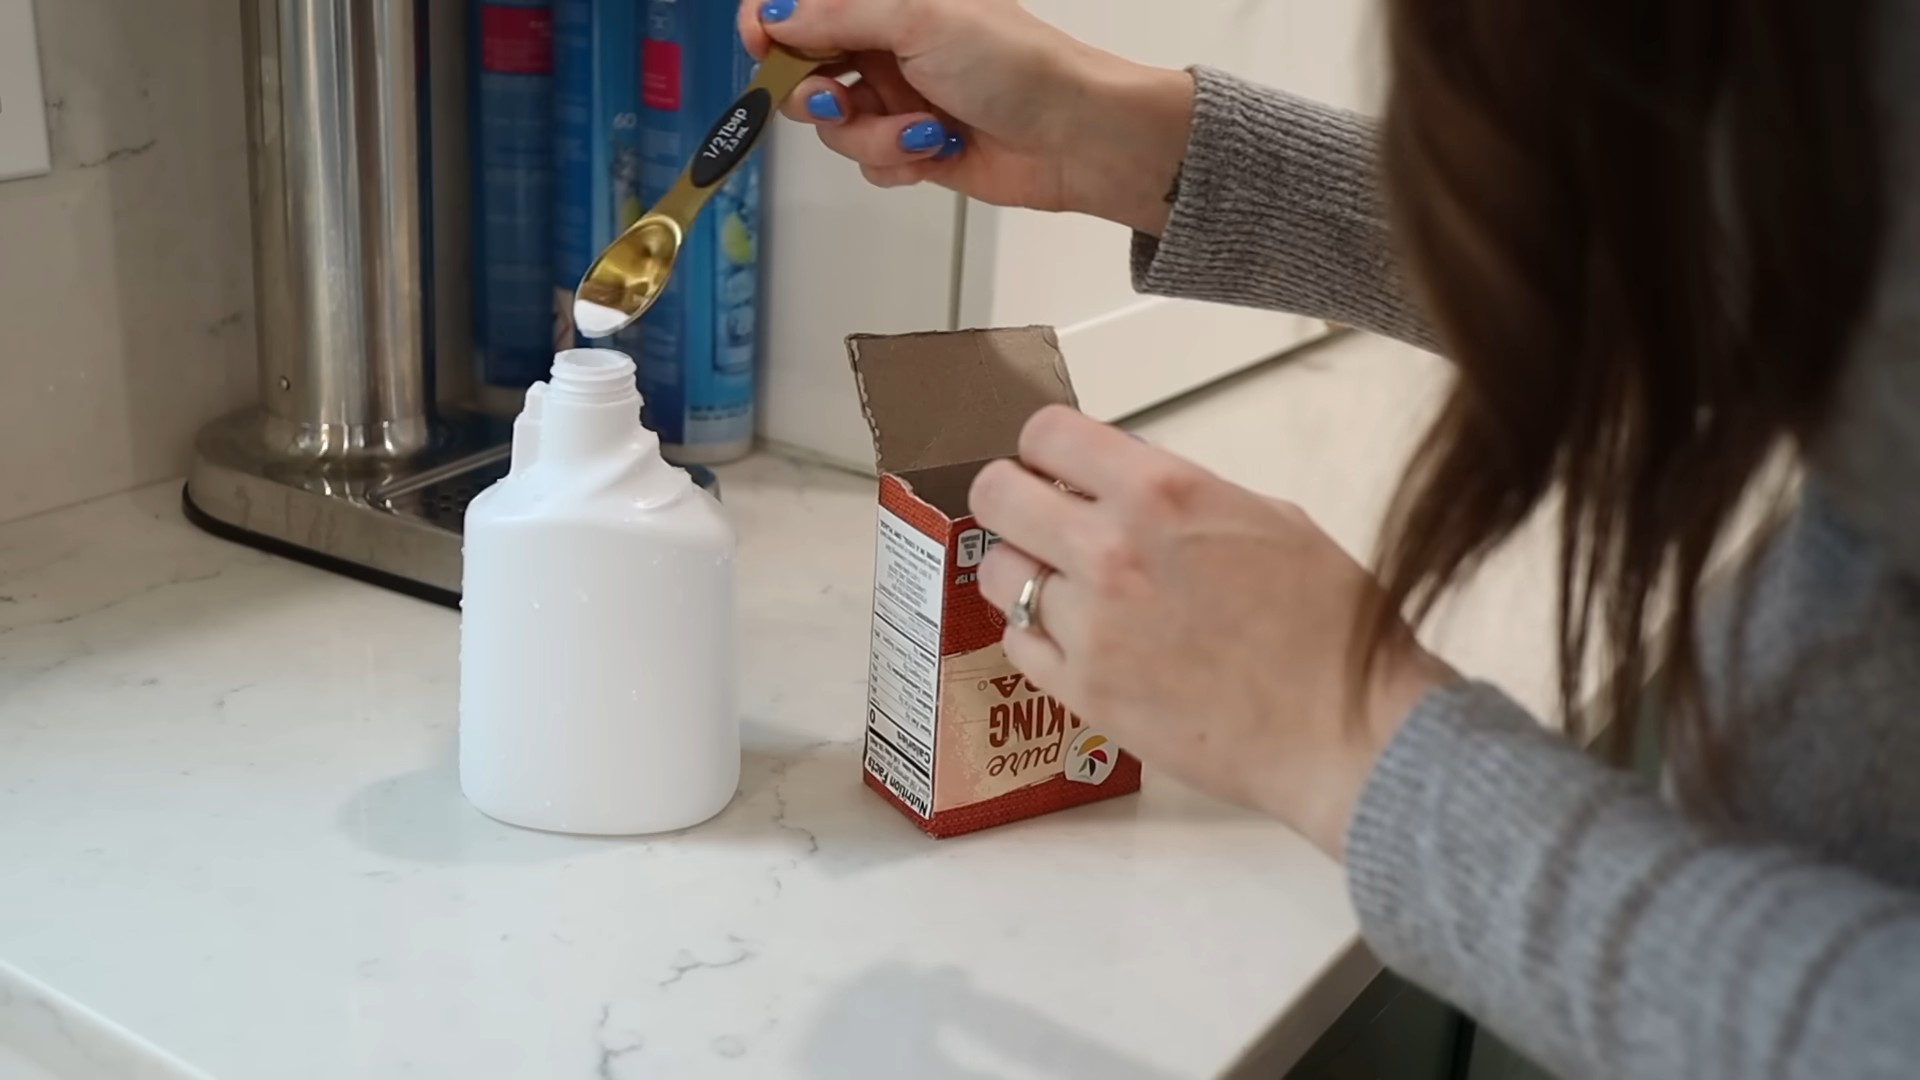
1. Unclogging Drains: If your kitchen sink is draining slowly, this is your go-to solution. First, pour about 1 cup of baking soda down the drain.
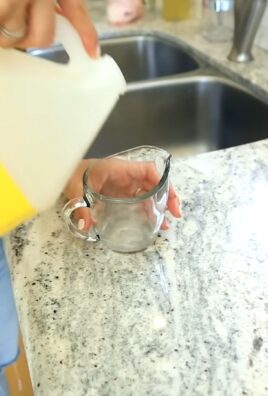
2. Vinegar Power: Next, slowly pour 1 cup of white vinegar down the drain after the baking soda. You’ll hear it fizz – that’s the magic happening!
3. Let it Fizz: Let the mixture sit for at least 30 minutes, or even better, overnight for really stubborn clogs.
4. Flush it Out: After the waiting period, flush the drain with hot water for several minutes. If the drain is still slow, repeat the process.
5. Cleaning the Sink: To clean the sink itself, sprinkle baking soda all over the surface.
6. Spray and Scrub: Spray the baking soda with vinegar until it’s damp and starts to fizz.
7. Scrub-a-dub-dub: Use a scrub brush or sponge to scrub the sink thoroughly, paying attention to any stains or grime.
8. Rinse and Shine: Rinse the sink with water and wipe it dry with a clean cloth. Voila! A sparkling clean sink.
Hack 2: Degreasing Your Oven with Ammonia
Oven cleaning is probably the chore everyone dreads. But with this simple ammonia trick, you can say goodbye to hours of scrubbing. Important note: Make sure to have proper ventilation when using ammonia. Open windows and wear gloves.
What you’ll need:
* 1/2 cup ammonia
* Large bowl
* Oven-safe dish
* Dish soap
* Sponge or cloth
* Gloves
Step-by-step instructions:
1. Safety First: Put on your gloves and open your kitchen windows for ventilation.
2. Prep the Oven: Remove all racks from the oven.
3. Boil Water: Boil a pot of water on the stove.
4. Ammonia Bath: Pour 1/2 cup of ammonia into a bowl and place it on the top rack of your oven.
5. Hot Water Assist: Place the pot of boiling water on the bottom rack of your oven.
6. Seal it Up: Close the oven door and let it sit overnight. The steam from the hot water will help the ammonia fumes loosen the baked-on grease and grime.
7. The Next Day: The next day, carefully remove the bowl of ammonia and the pot of water. Again, make sure you have good ventilation.
8. Wash the Racks: Wash the oven racks in hot, soapy water.
9. Wipe it Down: Mix a few drops of dish soap with warm water. Use a sponge or cloth to wipe down the inside of the oven. The grease should come off easily.
10. Rinse Thoroughly: Rinse the oven with clean water to remove any soap residue.
11. Dry and Replace: Dry the oven with a clean cloth and replace the racks.
Hack 3: Sparkling Microwave in Minutes
Microwaves are notorious for splatters and spills. This lemon steam cleaning method is quick, easy, and leaves your microwave smelling fresh.
What you’ll need:
* 1 lemon
* Microwave-safe bowl
* Water
* Sponge or cloth
Step-by-step instructions:
1. Lemon Prep: Cut the lemon in half and squeeze the juice into a microwave-safe bowl.
2. Add Water: Add about 1 cup of water to the bowl.
3. Lemon Bath: Place the lemon halves in the bowl with the juice and water.
4. Microwave Magic: Microwave the mixture on high for 3-5 minutes, or until the water boils and the microwave is filled with steam.
5. Steam Clean: Let the bowl sit in the microwave for another 5 minutes. The steam will loosen the splatters and grime.
6. Wipe Away: Carefully remove the bowl (it will be hot!) and wipe down the inside of the microwave with a sponge or cloth. The grime should wipe away easily.
Hack 4: Reviving Cutting Boards with Lemon and Salt
Cutting boards, especially wooden ones, can harbor bacteria and stains. This lemon and salt scrub is a natural way to disinfect and deodorize your cutting boards.
What you’ll need:
* 1/2 lemon
* Coarse salt (sea salt or kosher salt)
* Scrub brush or sponge
Step-by-step instructions:
1. Salt Sprinkle: Sprinkle a generous amount of coarse salt over the surface of the cutting board.
2. Lemon Scrub: Cut a lemon in half and use it to scrub the salt into the cutting board. Squeeze the lemon as you scrub to release the juice.
3. Elbow Grease: Scrub the cutting board thoroughly, paying attention to any stains or grooves.
4. Let it Sit: Let the lemon and salt mixture sit on the cutting board for about 5-10 minutes.
5. Rinse and Dry: Rinse the cutting board with hot water and dry it thoroughly with a clean cloth.
Hack 5: Cleaning Greasy Range Hood Filters
Range hood filters can get incredibly greasy, which reduces their effectiveness. Cleaning them regularly is essential for maintaining good air quality in your kitchen.
What you’ll need:
* Large pot or sink
* Boiling water
* Baking soda
* Dish soap
* Scrub brush
Step-by-step instructions:
1. Remove the Filters: Carefully remove the range hood filters.
2. Boiling Water Bath: Fill a large pot or sink with boiling water.
3. Baking Soda Boost: Add about 1/2 cup of baking soda to the boiling water.
4. Dish Soap Power: Add a squirt of dish soap to the water.
5. Soak it Up: Submerge the filters in the hot, soapy water.
6. Soak Time: Let the filters soak for at least 30 minutes, or even longer for heavily soiled filters.
7. Scrub-a-dub: After soaking, use a scrub brush to scrub the filters thoroughly. The grease should come off easily.
8. Rinse and Dry: Rinse the filters with hot water and let them air dry completely before replacing them.
Hack 6: Polishing Stainless Steel Appliances
Stainless steel appliances look great, but they can be a magnet for fingerprints and smudges. This simple vinegar and olive oil trick will leave your appliances looking shiny and new.
What you’ll need:
* White vinegar
* Olive oil
* Two clean cloths (microfiber cloths work best)
* Spray bottle
Step-by-step instructions:
1. Vinegar Spray: Pour white vinegar into a spray bottle.
2. Spray and Wipe: Spray the vinegar onto the stainless steel appliance and wipe it down with one of the clean cloths. Make sure to wipe in the direction of the grain of the stainless steel.
3. Olive Oil Polish: Pour a small amount of olive oil onto the second clean cloth.
4. Buff it Up: Buff the stainless steel appliance with the olive oil, again wiping in the direction of the grain.
5. Shine On: The olive oil will create a protective layer that helps prevent fingerprints and smudges.
Hack 7: Cleaning Grout with Baking Soda Paste
Dirty grout can make your kitchen tiles look dingy. This baking soda paste is a natural and effective way to brighten your grout lines.
What you’ll need:
* Baking soda
* Water
* Old toothbrush or grout brush
*
Conclusion
So, there you have it! These kitchen cleaning hacks aren’t just about tidying up; they’re about reclaiming your time, saving money, and creating a healthier, happier cooking space. We’ve explored simple yet incredibly effective ways to tackle common kitchen woes, from stubborn grease splatters to lingering odors. The beauty of these DIY solutions lies in their accessibility – you likely already have most of the ingredients you need right in your pantry.
Why is this a must-try? Because a clean kitchen is more than just aesthetically pleasing; it’s a foundation for culinary creativity and a sanctuary for healthy eating. Imagine stepping into a sparkling clean kitchen, ready to whip up a delicious meal without the dread of facing a mountain of grime afterward. These hacks empower you to achieve that reality with minimal effort.
Consider these variations to personalize your cleaning routine:
* **Citrus Power:** Infuse your cleaning solutions with the zest of lemons, oranges, or grapefruits for an extra boost of freshness and degreasing power. Simply add the peels to your vinegar or baking soda solutions.
* **Essential Oil Enhancement:** Add a few drops of your favorite essential oils, like tea tree, lavender, or eucalyptus, to your cleaning sprays for their antibacterial and aromatic properties.
* **Spice it Up:** For particularly stubborn stains, try adding a pinch of cinnamon or cloves to your baking soda paste. These spices have natural abrasive and deodorizing qualities.
* **DIY Dish Soap Booster:** Add a tablespoon of washing soda to your regular dish soap for extra cleaning power, especially when dealing with greasy pots and pans.
We’ve focused on simple, natural ingredients that are safe for your family and the environment. No harsh chemicals, no lingering fumes, just effective cleaning power derived from everyday items. This approach not only saves you money but also reduces your exposure to potentially harmful substances.
But the real magic happens when you put these kitchen cleaning hacks into action. Don’t just take our word for it – try them out for yourself! Start with one or two that resonate with you and see the difference they make. We’re confident that you’ll be amazed by the results.
We encourage you to embrace these simple yet powerful techniques and transform your kitchen into a sparkling haven. Remember, a clean kitchen is a happy kitchen, and a happy kitchen leads to delicious meals and joyful memories.
Now, it’s your turn! We’d love to hear about your experiences with these kitchen cleaning hacks. Did you discover a new favorite? Did you adapt one of our suggestions to suit your specific needs? Share your tips, tricks, and triumphs in the comments below. Let’s create a community of clean kitchen enthusiasts and inspire each other to maintain a sparkling and healthy cooking space. Your insights could be invaluable to other readers, and we’re always eager to learn from your experiences. So, go ahead, give these hacks a try, and let us know what you think! Your feedback is what makes this community thrive.
FAQ
Q: Are these kitchen cleaning hacks safe for all surfaces?
A: Generally, yes, these hacks are safe for most common kitchen surfaces. However, it’s always a good idea to test any new cleaning solution in an inconspicuous area first, especially on delicate surfaces like natural stone countertops or antique wood furniture. Vinegar, while a powerful cleaner, can be acidic and may etch some surfaces if left on for too long. Baking soda, while generally mild, can be abrasive, so avoid using it on easily scratched surfaces. When in doubt, dilute the cleaning solution or use a gentler approach. Always refer to the manufacturer’s recommendations for cleaning specific surfaces.
Q: How often should I use these kitchen cleaning hacks?
A: The frequency of cleaning depends on your cooking habits and the level of use your kitchen gets. For high-traffic areas like the stovetop and sink, daily or every-other-day cleaning is recommended to prevent buildup. Deeper cleaning tasks, such as cleaning the oven or refrigerator, can be done on a weekly or monthly basis. Regular maintenance is key to preventing grime from accumulating and making cleaning easier in the long run. A quick wipe-down after each meal can go a long way in keeping your kitchen sparkling.
Q: Can I use these kitchen cleaning hacks to remove stubborn stains?
A: Yes, many of these hacks are effective at removing stubborn stains. For grease splatters, a paste of baking soda and water or a solution of vinegar and water can work wonders. For burnt-on food in pots and pans, try boiling water with baking soda or vinegar. For tough stains on countertops, a paste of baking soda and lemon juice can be effective, but be sure to test it in an inconspicuous area first. For particularly stubborn stains, you may need to repeat the cleaning process or try a combination of different hacks. Patience and persistence are key!
Q: Are these kitchen cleaning hacks environmentally friendly?
A: Absolutely! One of the biggest advantages of these DIY cleaning solutions is that they are made with natural, readily available ingredients that are generally safe for the environment. Unlike many commercial cleaning products, they don’t contain harsh chemicals, phosphates, or other pollutants that can harm waterways and ecosystems. By using these hacks, you can reduce your carbon footprint and contribute to a healthier planet. Plus, you’ll be reducing your reliance on plastic bottles and packaging, further minimizing your environmental impact.
Q: What if I don’t have all the ingredients listed in the recipes?
A: The beauty of these kitchen cleaning hacks is that they are adaptable. If you don’t have a specific ingredient, you can often substitute it with something else. For example, if you don’t have vinegar, you can use lemon juice. If you don’t have baking soda, you can use washing soda. The key is to understand the properties of each ingredient and find a suitable alternative. Don’t be afraid to experiment and see what works best for you. You might even discover a new and improved cleaning hack!
Q: How do I get rid of lingering odors in my kitchen?
A: Lingering odors can be a common problem in kitchens, but there are several simple solutions. Placing a bowl of baking soda in the refrigerator or pantry can absorb odors. Simmering water with cinnamon sticks, cloves, or citrus peels can freshen the air. You can also try placing a few drops of essential oils on a cotton ball and leaving it in a discreet location. Regularly cleaning your garbage disposal with baking soda and vinegar can also help eliminate odors. Proper ventilation is also crucial, so be sure to open windows or use your range hood while cooking.
Q: Can I use these kitchen cleaning hacks on my appliances?
A: Yes, these hacks can be used to clean many kitchen appliances. For stainless steel appliances, a solution of vinegar and water can remove fingerprints and smudges. For the microwave, heating a bowl of water with lemon juice can loosen grime and make it easier to wipe clean. For the dishwasher, running a cycle with vinegar can remove buildup and freshen the interior. Always unplug appliances before cleaning them and avoid getting water inside electrical components. Refer to the manufacturer’s instructions for specific cleaning recommendations.
Q: How do I store these DIY cleaning solutions?
A: It’s important to store your DIY cleaning solutions properly to maintain their effectiveness and prevent spoilage. Store them in airtight containers, preferably glass or BPA-free plastic. Label each container clearly with the name of the solution and the date it was made. Store them in a cool, dark place away from direct sunlight and heat. Some solutions, like those containing fresh citrus, may need to be refrigerated to prevent them from spoiling. Always keep cleaning solutions out of reach of children and pets.


Leave a Comment