

Grow Chinese Cabbage at Home? Absolutely! Imagine stepping into your backyard and harvesting crisp, delicious Chinese cabbage, ready to be stir-fried, added to a vibrant salad, or fermented into tangy kimchi. Sounds dreamy, right? Well, it’s more achievable than you might think, even if you don’t have acres of land.
For centuries, Chinese cabbage, also known as Napa cabbage, has been a staple in Asian cuisine, deeply rooted in culinary traditions and celebrated for its versatility and nutritional benefits. From humble family meals to elaborate feasts, this leafy green has played a vital role. But you don’t need to travel to Asia to enjoy its goodness; you can cultivate it right in your own backyard!
Let’s be honest, heading to the grocery store every time you need fresh produce can be a hassle. Plus, there’s something incredibly satisfying about nurturing your own food from seed to table. That’s where this DIY guide comes in. I’m going to share some simple yet effective tricks and hacks to help you successfully grow Chinese cabbage at home, regardless of your gardening experience. We’ll cover everything from choosing the right seeds and preparing your soil to protecting your precious plants from pests and diseases. So, grab your gardening gloves, and let’s get started on this exciting journey to fresh, homegrown goodness!
Growing Chinese Cabbage (Napa Cabbage) at Home: A Beginner’s Guide
Hey there, fellow gardening enthusiasts! Ever thought about growing your own Chinese cabbage, also known as Napa cabbage? It’s surprisingly easy and rewarding, and nothing beats the taste of fresh, homegrown veggies. I’m going to walk you through the whole process, from seed to harvest, so you can enjoy delicious Napa cabbage right from your own backyard (or balcony!).
Choosing the Right Variety and Timing
First things first, let’s talk about choosing the right variety and timing. Not all Napa cabbages are created equal, and timing is crucial for a successful harvest.
* Variety Selection: Look for varieties that are known to be heat-tolerant or bolt-resistant, especially if you live in a warmer climate. Some popular choices include ‘Blues’, ‘Optiko’, and ‘China Pride’. These are generally more forgiving and less likely to prematurely flower (bolt) due to temperature fluctuations. I personally had great success with ‘Blues’ last year!
* Timing is Key: Napa cabbage is a cool-season crop, meaning it thrives in cooler temperatures. The ideal temperature range is between 60°F and 70°F (15°C and 21°C).
* Spring Planting: If you’re planting in the spring, start your seeds indoors about 4-6 weeks before the last expected frost. This gives them a head start before the weather warms up too much.
* Fall Planting: For a fall harvest, sow seeds directly into the garden in late summer, about 6-8 weeks before the first expected frost. This is often the best time to grow Napa cabbage, as the cooler temperatures promote better head formation and flavor. I find that fall-grown cabbage is generally sweeter and crisper.
Preparing the Soil
Napa cabbage needs nutrient-rich, well-draining soil to thrive. Here’s how I prepare my garden bed:
* Soil Testing: Ideally, you should test your soil to determine its pH and nutrient levels. Napa cabbage prefers a slightly acidic to neutral pH of 6.0 to 7.5. You can get a soil testing kit at most garden centers or online.
* Amending the Soil:
* Compost: Add plenty of compost to the soil. Compost improves drainage, adds nutrients, and helps retain moisture. I usually add a generous layer of about 2-3 inches.
* Well-rotted Manure: If you have access to well-rotted manure, that’s even better! It’s a fantastic source of nutrients. Just make sure it’s well-rotted to avoid burning the plants.
* Fertilizer: You can also add a balanced fertilizer, such as 10-10-10, according to the package directions. I prefer using organic fertilizers whenever possible.
* Drainage: Ensure the soil drains well. Napa cabbage doesn’t like to sit in soggy soil, which can lead to root rot. If your soil is heavy clay, consider adding sand or perlite to improve drainage.
* Sunlight: Choose a location that receives at least 6 hours of sunlight per day. While Napa cabbage can tolerate some shade, it grows best in full sun.
Starting Seeds Indoors (Optional)
If you’re starting your seeds indoors, here’s what you’ll need:
* Seed Starting Trays or Pots: Use seed starting trays or small pots with drainage holes.
* Seed Starting Mix: Use a seed starting mix, which is a sterile, lightweight mix that’s perfect for germinating seeds.
* Seeds: Of course, you’ll need Napa cabbage seeds!
* Watering Can or Spray Bottle: For gentle watering.
* Grow Lights (Optional): If you don’t have a sunny window, grow lights can provide the necessary light for seedlings.
Step-by-Step Instructions:
1. Sow the Seeds: Fill the seed starting trays or pots with seed starting mix. Make a small indentation (about ¼ inch deep) in the center of each cell or pot. Place 2-3 seeds in each indentation and cover lightly with soil.
2. Water Gently: Water the soil gently with a watering can or spray bottle. The soil should be moist but not soggy.
3. Provide Light: Place the trays or pots in a sunny window or under grow lights. If using grow lights, keep them about 2-4 inches above the seedlings and provide 14-16 hours of light per day.
4. Keep the Soil Moist: Keep the soil consistently moist, but avoid overwatering. Check the soil moisture daily and water when the top inch feels dry.
5. Thin the Seedlings: Once the seedlings have their first true leaves (the second set of leaves), thin them to one seedling per cell or pot. Choose the strongest, healthiest-looking seedling and snip off the others at the soil line.
6. Harden Off the Seedlings: About a week before transplanting, harden off the seedlings by gradually exposing them to outdoor conditions. Start by placing them outside for a few hours each day in a sheltered location, gradually increasing the amount of time they spend outdoors.
Transplanting Seedlings or Direct Sowing
Whether you started your seeds indoors or are direct sowing, here’s how to get your Napa cabbage into the garden:
* Transplanting Seedlings:
1. Prepare the Planting Holes: Dig holes that are slightly larger than the root balls of the seedlings. Space the holes about 12-18 inches apart.
2. Gently Remove the Seedlings: Gently remove the seedlings from their trays or pots, being careful not to damage the roots.
3. Plant the Seedlings: Place the seedlings in the holes and backfill with soil. Gently firm the soil around the base of the plants.
4. Water Thoroughly: Water the seedlings thoroughly after planting.
* Direct Sowing:
1. Prepare the Soil: Prepare the soil as described above.
2. Sow the Seeds: Sow the seeds directly into the garden, about ½ inch deep and 1-2 inches apart.
3. Water Gently: Water the soil gently after sowing.
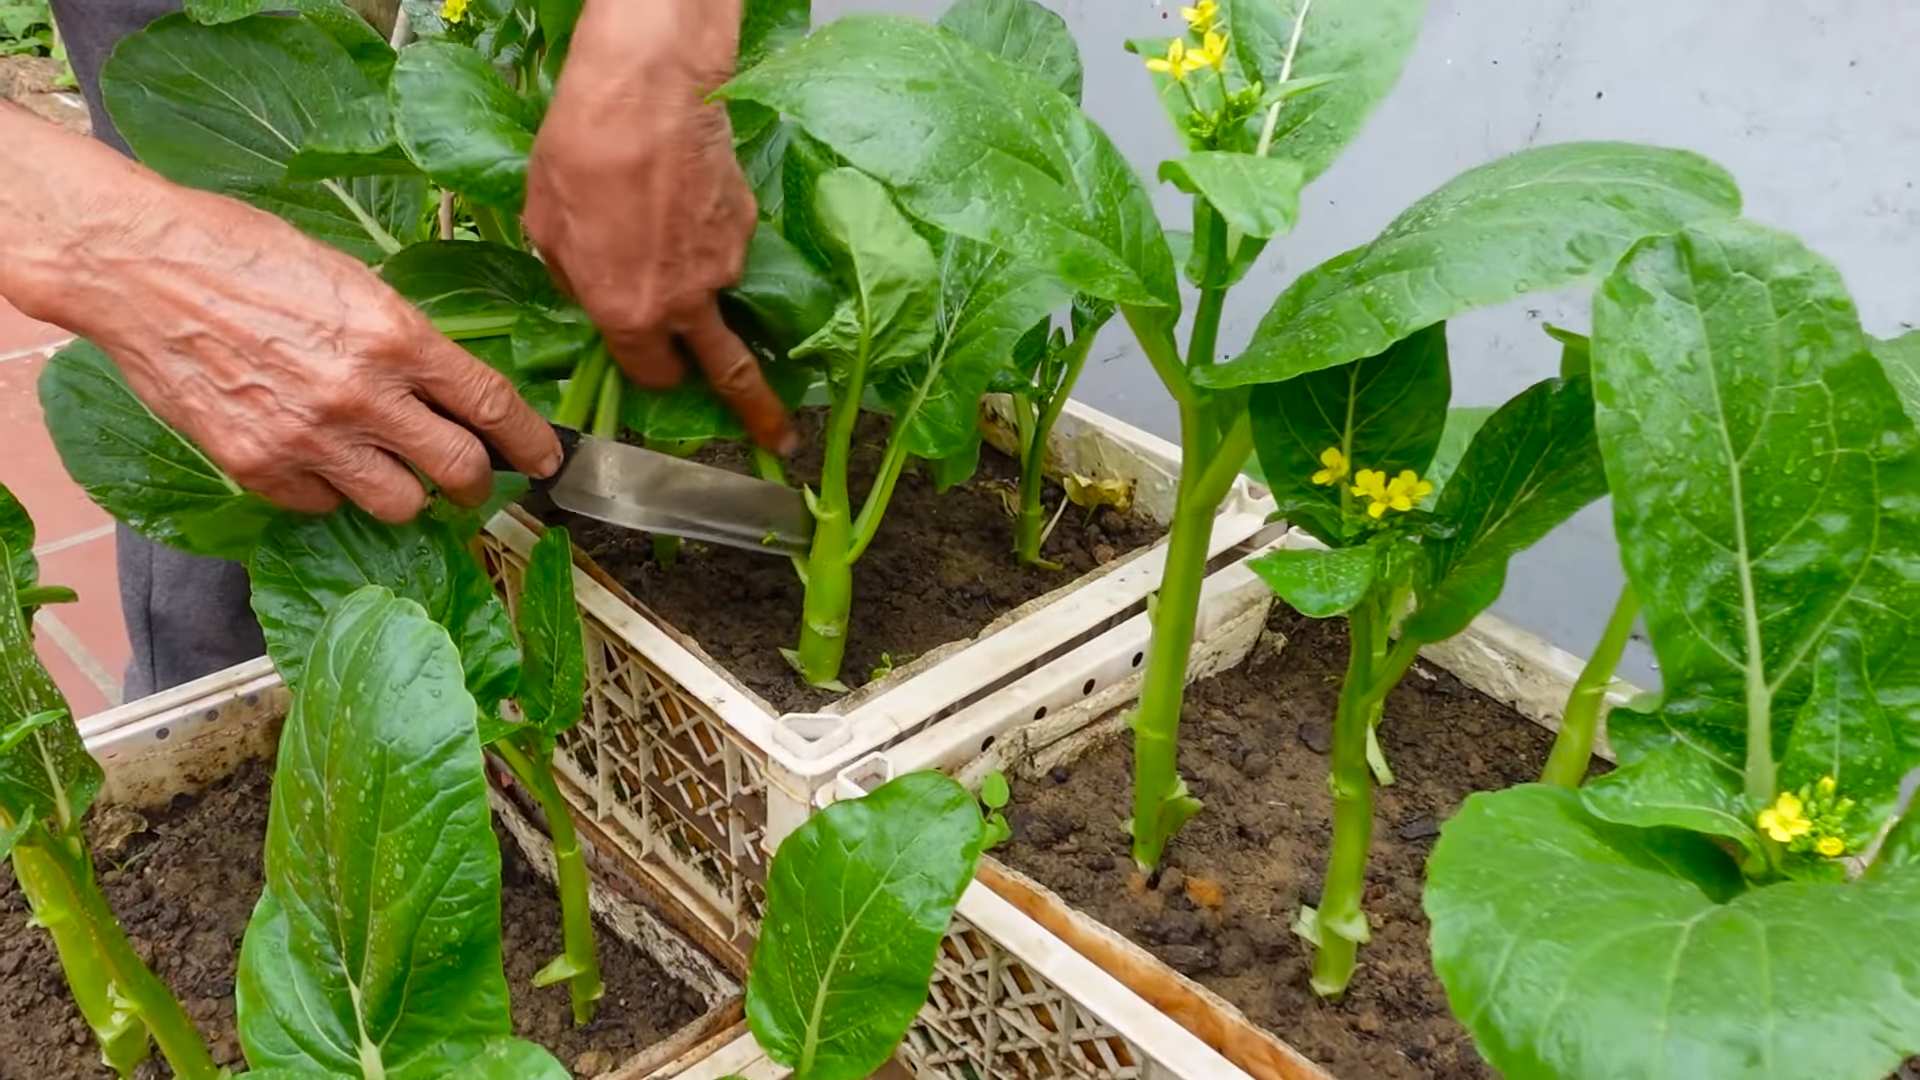
4. Thin the Seedlings: Once the seedlings emerge, thin them to 12-18 inches apart.
Caring for Your Napa Cabbage
Once your Napa cabbage is in the ground, it’s important to provide proper care to ensure a healthy and bountiful harvest.
* Watering: Water regularly, especially during dry periods. Napa cabbage needs consistent moisture to thrive. Aim for about 1 inch of water per week. I usually water deeply every few days, rather than shallowly every day.
* Fertilizing: Fertilize every 2-3 weeks with a balanced fertilizer or compost tea. This will provide the plants with the nutrients they need to grow and develop.
* Weeding: Keep the garden bed free of weeds. Weeds compete with Napa cabbage for water and nutrients. I like to hand-weed regularly to prevent weeds from getting out of control.
* Mulching: Apply a layer of mulch around the plants. Mulch helps retain moisture, suppress weeds, and regulate soil temperature. I use straw or shredded leaves as mulch.
* Pest Control: Keep an eye out for pests, such as cabbage worms, aphids, and flea beetles.
* Cabbage Worms: These are green caterpillars that can devour the leaves of your Napa cabbage. Handpick them off the plants or use Bacillus thuringiensis (Bt), a natural insecticide.
* Aphids: These small, sap-sucking insects can weaken the plants. Spray them off with a strong stream of water or use insecticidal soap.
* Flea Beetles: These tiny beetles can create small holes in the leaves. Cover the plants with row covers to prevent flea beetles from reaching them.
* Disease Prevention: Napa cabbage can be susceptible to diseases, such as clubroot and downy mildew.
* Clubroot: This soilborne disease causes swollen, distorted roots. Prevent clubroot by practicing crop rotation and maintaining a soil pH of 7.0 or higher.
* Downy Mildew: This fungal disease causes yellow spots on the leaves. Prevent downy mildew by providing good air circulation and avoiding overhead watering.
Harvesting Your Napa Cabbage
Harvest time is the most exciting part! Here’s how to know when your Napa cabbage is ready to harvest:
* Maturity: Napa cabbage typically matures in 70-80 days from seed.
* Head Size: The head should be firm and compact, and about 12-18 inches long.
* Feel: Gently squeeze the head. It should feel solid and dense.
Conclusion
So, there you have it! Growing Chinese cabbage at home is not only achievable, but it’s also incredibly rewarding. From the crisp, fresh taste that surpasses anything you can buy in a store, to the satisfaction of nurturing your own food, this DIY project is a must-try for any home gardener, regardless of experience level.
Why is this a must-try? Because you’re taking control of your food source. You know exactly what goes into your Chinese cabbage – no mystery pesticides or long-distance transportation impacting freshness. Plus, the flavor is simply unmatched. Imagine stir-fries bursting with vibrant, homegrown goodness, or kimchi that’s truly your own creation. The possibilities are endless!
But the benefits extend beyond just taste and control. Growing your own Chinese cabbage is also a fantastic way to connect with nature, de-stress, and even save money. It’s a sustainable practice that contributes to a healthier lifestyle and a more environmentally conscious way of living.
Don’t be afraid to experiment! Try different varieties of Chinese cabbage to find your favorite. Some popular options include ‘Michihili’ (also known as Napa cabbage), which is known for its tightly packed heads and mild flavor, and ‘Bok Choy,’ which offers a slightly more peppery taste and is incredibly versatile in cooking. You can also adjust the planting schedule to extend your harvest season. Consider succession planting, where you sow seeds every few weeks, to ensure a continuous supply of fresh Chinese cabbage throughout the growing season.
Another variation to consider is companion planting. Certain plants, like marigolds and nasturtiums, can help deter pests and attract beneficial insects, creating a healthier environment for your Chinese cabbage to thrive. Experiment with different combinations to see what works best in your garden.
We’ve covered the basics, from seed starting to harvesting, but the real learning happens when you get your hands dirty. Don’t be intimidated by the process. Even if you encounter challenges along the way, remember that gardening is a journey of learning and discovery. Every mistake is an opportunity to improve your skills and knowledge.
We wholeheartedly encourage you to give this DIY trick a try. Start small, be patient, and most importantly, have fun! We’re confident that you’ll be amazed by the results. And once you’ve harvested your first head of homegrown Chinese cabbage, we want to hear all about it! Share your experiences, tips, and photos with us in the comments below. Let’s create a community of home gardeners who are passionate about growing their own food and sharing their knowledge with others. Let us know what worked for you, what challenges you faced, and any unique variations you tried. Your feedback will help other aspiring gardeners succeed in their own Chinese cabbage growing endeavors.
So, grab your seeds, prepare your soil, and get ready to embark on a rewarding gardening adventure. Happy growing!
Frequently Asked Questions (FAQ)
What is the best time of year to plant Chinese cabbage?
The best time to plant Chinese cabbage depends on your climate. Generally, it’s a cool-season crop, so you should aim to plant it in the spring or fall. For a spring crop, start seeds indoors 4-6 weeks before the last expected frost. For a fall crop, sow seeds directly into the garden in late summer or early fall, about 6-8 weeks before the first expected frost. Avoid planting during the hottest months of summer, as high temperatures can cause the plants to bolt (go to seed prematurely).
How much sunlight does Chinese cabbage need?
Chinese cabbage requires at least 6 hours of direct sunlight per day to thrive. Choose a planting location that receives ample sunlight throughout the day. If you live in a particularly hot climate, some afternoon shade can be beneficial to prevent the plants from overheating.
What kind of soil is best for growing Chinese cabbage?
Chinese cabbage prefers well-drained, fertile soil that is rich in organic matter. Amend your soil with compost or well-rotted manure before planting to improve its fertility and drainage. The ideal soil pH for Chinese cabbage is between 6.0 and 7.5.
How often should I water Chinese cabbage?
Chinese cabbage needs consistent moisture to grow properly. Water deeply and regularly, especially during dry periods. Aim to keep the soil consistently moist but not waterlogged. Mulching around the plants can help retain moisture and suppress weeds.
What are some common pests and diseases that affect Chinese cabbage?
Common pests that can affect Chinese cabbage include aphids, cabbage worms, flea beetles, and slugs. Diseases that can affect Chinese cabbage include clubroot, downy mildew, and black rot. Regularly inspect your plants for signs of pests or diseases and take appropriate action if necessary. Organic pest control methods, such as using insecticidal soap or neem oil, can be effective in controlling many pests. Crop rotation and good sanitation practices can help prevent diseases.
How do I prevent Chinese cabbage from bolting?
Bolting, or premature flowering, can occur when Chinese cabbage is exposed to high temperatures or stress. To prevent bolting, choose heat-tolerant varieties, plant at the appropriate time of year, provide adequate water and nutrients, and protect the plants from extreme temperature fluctuations.
When is Chinese cabbage ready to harvest?
Chinese cabbage is typically ready to harvest 60-80 days after planting, depending on the variety. The heads should be firm and tightly packed. You can harvest the entire head at once or harvest individual leaves as needed.
How do I store Chinese cabbage after harvesting?
To store Chinese cabbage, wrap the heads loosely in plastic wrap and store them in the refrigerator. They should keep for several weeks. You can also blanch and freeze Chinese cabbage for longer-term storage.
Can I grow Chinese cabbage in containers?
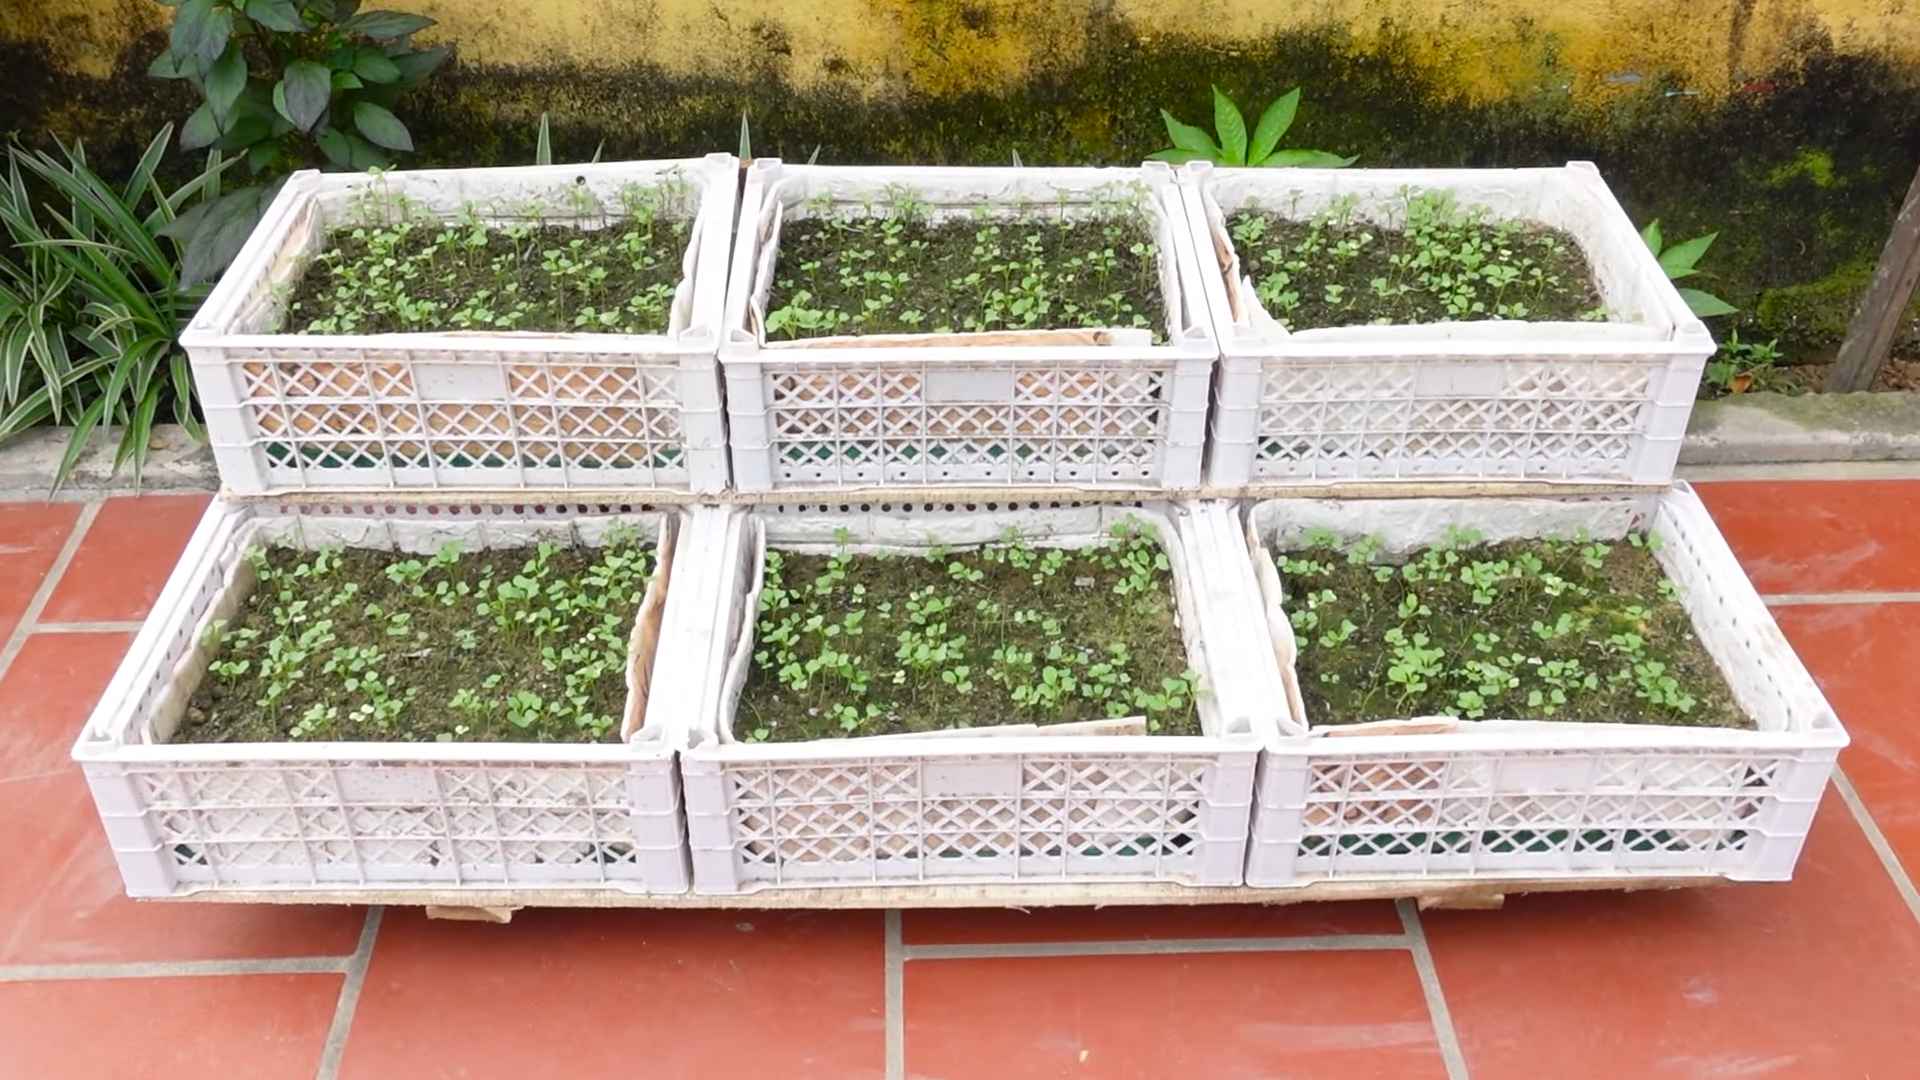
Yes, you can grow Chinese cabbage in containers, but you’ll need to choose a large container that is at least 12 inches in diameter and 12 inches deep. Use a well-draining potting mix and provide adequate water and nutrients. Container-grown Chinese cabbage may require more frequent watering and fertilization than plants grown in the ground.
What are some good companion plants for Chinese cabbage?
Good companion plants for Chinese cabbage include marigolds, nasturtiums, dill, rosemary, and thyme. These plants can help deter pests and attract beneficial insects. Avoid planting Chinese cabbage near other members of the brassica family, such as broccoli, cauliflower, and kale, as they can attract the same pests and diseases.
Is Chinese cabbage the same as Napa cabbage?
Yes, Chinese cabbage is often referred to as Napa cabbage. Napa cabbage is a specific variety of Chinese cabbage known for its tightly packed heads and mild flavor.
Can I eat the outer leaves of Chinese cabbage?
Yes, the outer leaves of Chinese cabbage are edible, but they may be tougher and more fibrous than the inner leaves. You can use them in soups, stews, or stir-fries.
How can I use my homegrown Chinese cabbage?
The possibilities are endless! You can use it in stir-fries, salads, soups, stews, kimchi, and many other dishes. Its mild flavor and crisp texture make it a versatile ingredient in a variety of cuisines.
What if my Chinese cabbage doesn’t form a tight head?
Several factors can contribute to Chinese cabbage not forming a tight head, including insufficient sunlight, poor soil fertility, inadequate watering, or high temperatures. Ensure that your plants are receiving at least 6 hours of direct sunlight per day, are growing in fertile, well-drained soil, and are receiving consistent moisture. If the weather is particularly hot, provide some afternoon shade to prevent the plants from bolting.

Leave a Comment