

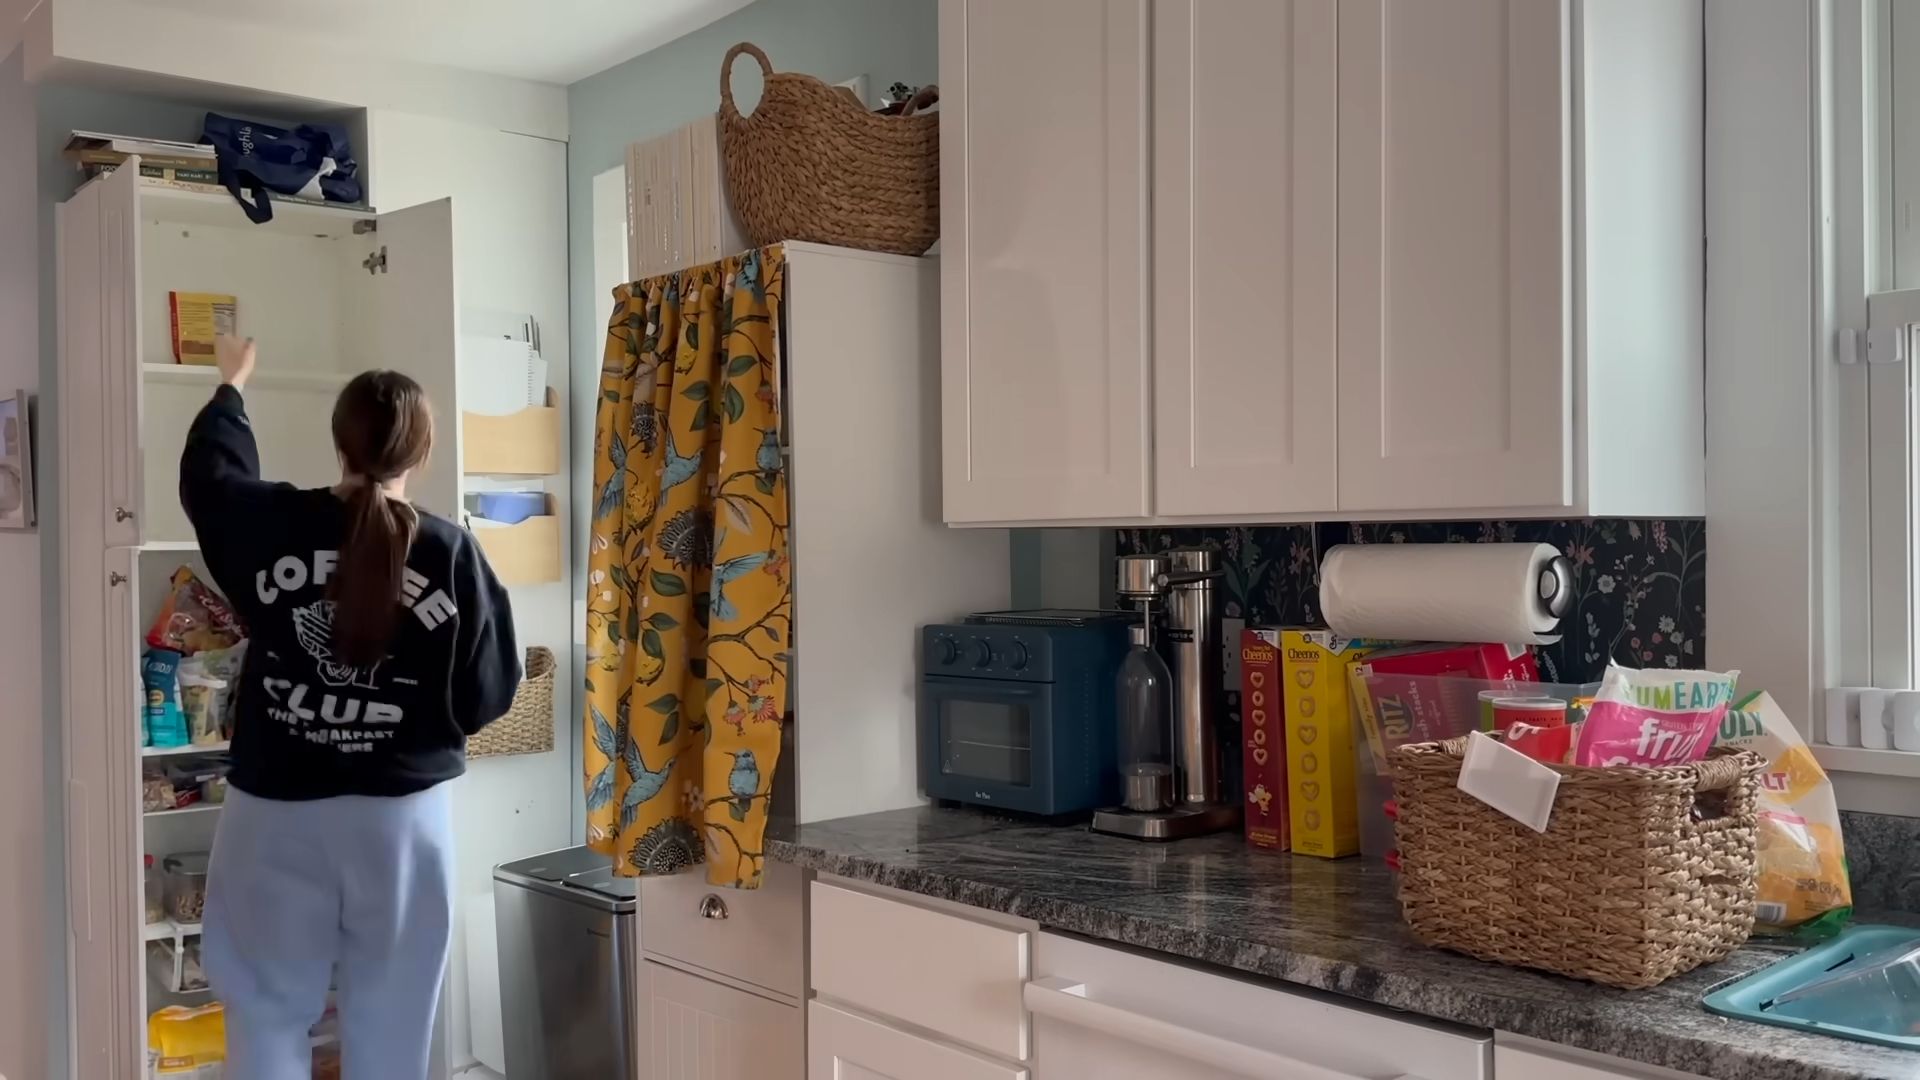
Deep Cleaning Hacks DIY: Are you tired of spending your weekends scrubbing away grime and feeling like you’re fighting a never-ending battle against dirt? I know I am! Let’s face it, nobody *loves* deep cleaning, but a sparkling clean home is a happy home. For centuries, cultures around the world have developed unique cleaning rituals and techniques, passing down wisdom from generation to generation. Think of the ancient Romans and their elaborate bathhouses, or the meticulous cleaning practices in traditional Japanese homes – cleanliness has always been valued!
But in today’s busy world, who has time for all that? That’s where these amazing deep cleaning hacks DIY come in! I’m going to share some of my favorite time-saving, budget-friendly tricks that will transform your cleaning routine. These aren’t just your average tips; they’re clever solutions to common cleaning challenges, designed to make your life easier and your home healthier. From tackling stubborn stains to banishing odors, these DIY hacks will empower you to achieve a deep clean without breaking the bank or spending all day doing it. Get ready to say goodbye to grime and hello to a fresh, revitalized living space!
“`html
DIY Deep Cleaning Hacks: Transform Your Home!
Hey everyone! I’m so excited to share some of my favorite deep cleaning hacks that will seriously transform your home. Forget spending a fortune on fancy cleaning products – these DIY solutions are effective, budget-friendly, and use ingredients you probably already have in your pantry. Let’s get started!
Cleaning Your Oven Like a Pro
Okay, let’s be honest, cleaning the oven is the chore we all dread. But with this simple baking soda paste, you can say goodbye to baked-on grime and hello to a sparkling clean oven.
What you’ll need:
* Baking soda
* Water
* Spray bottle
* Spatula or scraper
* Vinegar (optional, for stubborn spots)
* Microfiber cloths
Step-by-step instructions:
1. Empty the Oven: First things first, remove everything from your oven – racks, baking stones, thermometers, anything that isn’t permanently attached. Give the racks a good soak in hot, soapy water in your sink or bathtub.
2. Make the Baking Soda Paste: In a bowl, mix about ½ cup of baking soda with enough water to form a thick, spreadable paste. You want it to be thick enough to stick to the oven walls.
3. Coat the Oven: Using your hands (wear gloves if you prefer!), spread the baking soda paste all over the interior surfaces of your oven, avoiding the heating elements. Really get in there and coat every nook and cranny. I usually focus on the areas with the most baked-on grease.
4. Let it Sit (Overnight is Best!): This is the key! Let the baking soda paste sit for at least 12 hours, or even better, overnight. The longer it sits, the more the baking soda will loosen the grime.
5. Scrub and Scrape: After the paste has sat, use a spatula or scraper to remove as much of the dried paste as possible. You’ll be surprised how much gunk comes off with it!
6. Wipe it Down: Fill a spray bottle with water and spray down the interior of the oven to loosen any remaining paste. Use a damp microfiber cloth to wipe everything clean. You might need to rinse and repeat a few times to get rid of all the residue.
7. Vinegar Power (Optional): For any stubborn spots that just won’t budge, spray them with a little vinegar. The vinegar will react with the baking soda and help to dissolve the remaining grime. Let it fizz for a few minutes, then wipe clean.
8. Replace the Racks: Once the oven is completely clean and dry, replace the racks.
Deep Cleaning Your Grout: Brighten Up Your Tiles!
Dirty grout can make even the cleanest tiles look dingy. This simple paste will bring your grout back to life!
What you’ll need:
* Baking soda
* Hydrogen peroxide
* Old toothbrush or grout brush
* Spray bottle
* Water
* Microfiber cloths
Step-by-step instructions:
1. Make the Grout Cleaning Paste: In a small bowl, mix baking soda and hydrogen peroxide to form a thick paste. The consistency should be similar to toothpaste.
2. Apply the Paste: Using an old toothbrush or grout brush, apply the paste to the grout lines. Make sure to cover the entire grout line.
3. Let it Sit: Allow the paste to sit on the grout for at least 5-10 minutes. For heavily soiled grout, you can let it sit for up to 30 minutes.
4. Scrub, Scrub, Scrub!: Using the toothbrush or grout brush, scrub the grout lines vigorously. You’ll see the dirt and grime start to lift away.
5. Rinse and Wipe: Fill a spray bottle with water and spray down the tiles and grout to rinse away the paste. Use a damp microfiber cloth to wipe everything clean.
6. Repeat if Necessary: For stubborn stains, you may need to repeat the process.
Pro Tip: For colored grout, test the paste in an inconspicuous area first to make sure it doesn’t discolor the grout.
Freshening Up Your Mattress: Banish Dust Mites and Odors!
We spend a third of our lives in bed, so it’s important to keep our mattresses clean and fresh. This simple method will help eliminate dust mites, odors, and allergens.
What you’ll need:
* Baking soda
* Essential oil (optional, for fragrance)
* Vacuum cleaner with upholstery attachment
* Sieve or shaker
Step-by-step instructions:
1. Strip the Bed: Remove all bedding, including sheets, blankets, and pillows. Wash them in hot water to kill any dust mites.
2. Sprinkle Baking Soda: In a bowl, mix baking soda with a few drops of your favorite essential oil (lavender, eucalyptus, or tea tree are great choices). Use a sieve or shaker to evenly sprinkle the baking soda mixture over the entire surface of the mattress.
3. Let it Sit: Allow the baking soda to sit on the mattress for at least 30 minutes, or even better, for a few hours. The baking soda will absorb odors and moisture, and the essential oil will leave a fresh scent.
4. Vacuum Thoroughly: Using the upholstery attachment of your vacuum cleaner, thoroughly vacuum the entire surface of the mattress. Make sure to get into all the crevices and corners.
5. Flip and Repeat: Flip the mattress over and repeat steps 2-4 on the other side.
6. Air it Out: If possible, open a window to air out the mattress for a few hours.
Cleaning Your Showerhead: Restore Water Pressure!
A clogged showerhead can significantly reduce water pressure and make showering less enjoyable. This simple vinegar soak will dissolve mineral deposits and restore your showerhead to its former glory.
What you’ll need:
* White vinegar
* Plastic bag
* Rubber band or twist tie
* Old toothbrush or small brush
Step-by-step instructions:
1. Fill the Bag with Vinegar: Fill a plastic bag with enough white vinegar to completely submerge the showerhead.
2. Secure the Bag: Place the bag over the showerhead, making sure the showerhead is fully immersed in the vinegar. Secure the bag with a rubber band or twist tie.
3. Let it Soak: Allow the showerhead to soak in the vinegar for at least 30 minutes, or even better, overnight. The vinegar will dissolve mineral deposits and grime.
4. Remove the Bag: Carefully remove the bag from the showerhead.
5. Scrub and Rinse: Use an old toothbrush or small brush to scrub away any remaining mineral deposits. Rinse the showerhead thoroughly with water.
6. Run the Water: Turn on the shower and let the water run for a few minutes to flush out any remaining vinegar and debris.
Cleaning Your Dishwasher: Keep it Sparkling and Fresh!
Your dishwasher works hard to keep your dishes clean, but it needs a little TLC too. This simple cleaning routine will keep your dishwasher sparkling and fresh.
What you’ll need:
* White vinegar
* Baking soda
* Dish soap
* Old toothbrush or small brush
Step-by-step instructions:
1. Empty the Dishwasher: Remove all dishes, utensils, and racks from the dishwasher.
2. Clean the Filter: Locate the dishwasher filter (usually at the bottom of the dishwasher) and remove it. Rinse the filter thoroughly with hot water and scrub away any food particles or debris with an old toothbrush or small brush.
3. Vinegar Wash: Place a dishwasher-safe cup filled with white vinegar on the top rack of the dishwasher. Run the dishwasher on a hot cycle. The vinegar will help to dissolve grease, grime, and mineral deposits.
4. Baking Soda Refresh: After the vinegar cycle is complete, sprinkle a cup of baking soda on the bottom of the dishwasher. Run the dishwasher on a short, hot cycle. The baking soda will help to absorb odors and freshen the dishwasher.
5. Clean the Door and Seals: Use a damp cloth and a little dish soap to clean the door, seals, and exterior of the dishwasher.
Cleaning Your Washing Machine: Prevent Mold and Odor!
Just like your dishwasher, your washing machine needs regular cleaning to prevent mold, mildew, and unpleasant odors.
What you’ll need:
* White vinegar
* Baking soda
* Bleach (optional, for heavily soiled machines)
* Microfiber cloth
Step-by-step instructions:
1. Clean the Dispenser: Remove the detergent and fabric softener dispensers and rinse them thoroughly with hot water. Scrub away any residue with a brush.
2. Vinegar
Conclusion
So, there you have it! Mastering these deep cleaning hacks DIY style isn’t just about saving money; it’s about taking control of your cleaning routine and creating a healthier, happier home. We’ve explored simple yet incredibly effective methods that utilize everyday ingredients, transforming them into powerful cleaning agents. From banishing stubborn grime to revitalizing tired surfaces, these DIY solutions offer a refreshing alternative to harsh chemicals and expensive store-bought products.
But why is this a must-try? Because it’s empowering! You’re not just blindly following instructions on a bottle; you’re understanding the science behind the clean. You’re learning how vinegar’s acidity breaks down grease, how baking soda’s mild abrasiveness gently scrubs away stains, and how essential oils can infuse your home with natural, uplifting scents. This knowledge allows you to customize your cleaning approach, tailoring it to your specific needs and preferences.
Consider these variations to further personalize your deep cleaning hacks DIY experience:
* **Citrus Power:** Infuse your vinegar-based cleaners with citrus peels (lemon, orange, grapefruit) for an extra boost of degreasing power and a delightful fragrance. Simply soak the peels in vinegar for a week or two before using.
* **Essential Oil Blends:** Experiment with different essential oil combinations to create custom cleaning blends. Lavender and tea tree oil offer antibacterial properties, while peppermint and eucalyptus can invigorate and freshen.
* **Targeted Solutions:** Adapt these recipes to tackle specific cleaning challenges. For instance, add a bit of borax to your laundry detergent for extra stain-fighting power, or create a paste of baking soda and water to remove stubborn water stains from faucets.
* **DIY Cleaning Caddy:** Create a dedicated caddy with all your DIY cleaning supplies. This will make cleaning more efficient and organized.
These deep cleaning hacks DIY methods are not only effective but also environmentally friendly. By reducing your reliance on chemical-laden products, you’re contributing to a healthier planet for yourself and future generations. Plus, you’ll be amazed at how much money you can save by making your own cleaning solutions.
We wholeheartedly encourage you to try these deep cleaning hacks DIY methods and experience the difference for yourself. Start with one or two recipes and gradually incorporate them into your cleaning routine. Don’t be afraid to experiment and find what works best for you.
Most importantly, we want to hear about your experiences! Share your tips, tricks, and variations in the comments below. Let us know which recipes you loved, which ones you tweaked, and any other insights you’ve gained along the way. Together, we can create a community of DIY cleaning enthusiasts who are passionate about creating clean, healthy, and sustainable homes. So, grab your ingredients, roll up your sleeves, and get ready to transform your cleaning routine with these amazing deep cleaning hacks DIY!
Frequently Asked Questions (FAQ)
**Q: Are these DIY cleaning solutions as effective as store-bought cleaners?**
A: In many cases, yes! The effectiveness of DIY cleaning solutions depends on the specific recipe and the type of cleaning task. Ingredients like vinegar, baking soda, and essential oils possess powerful cleaning properties that can rival those of commercial cleaners. For example, vinegar is an excellent disinfectant and degreaser, while baking soda is a gentle abrasive that can remove stains and odors. However, for extremely tough stains or specialized cleaning needs, you might still need to supplement with store-bought products. The key is to experiment and find what works best for you.
**Q: Are these DIY cleaning solutions safe to use on all surfaces?**
A: Not necessarily. It’s crucial to test any DIY cleaning solution on an inconspicuous area before applying it to the entire surface. Vinegar, for example, can be acidic and may damage certain materials like marble, granite, or waxed wood. Baking soda, while generally safe, can scratch delicate surfaces if used too aggressively. Always read the labels of your ingredients and research the compatibility of each ingredient with the surface you intend to clean. When in doubt, dilute the solution or opt for a milder alternative.
**Q: How long can I store DIY cleaning solutions?**
A: The shelf life of DIY cleaning solutions varies depending on the ingredients. Solutions containing water are more prone to bacterial growth and should be used within a few weeks. Solutions made with vinegar or alcohol tend to have a longer shelf life, typically several months. To maximize the shelf life of your DIY cleaners, store them in airtight containers in a cool, dark place. Label each container with the date it was made and the ingredients it contains. If you notice any changes in color, odor, or consistency, discard the solution.
**Q: Can I use essential oils in all of these DIY cleaning recipes?**
A: Essential oils can be a wonderful addition to DIY cleaning solutions, adding fragrance and potentially enhancing their cleaning power. However, it’s important to use them safely and responsibly. Some essential oils can be irritating to the skin or respiratory system, so always dilute them properly and avoid direct contact. Also, be mindful of pets and children, as some essential oils can be toxic to them. Research the safety of each essential oil before using it and choose oils that are appropriate for your needs and sensitivities.
**Q: What are some common mistakes to avoid when making DIY cleaning solutions?**
A: One common mistake is mixing incompatible ingredients, such as vinegar and bleach. This combination can create toxic fumes that are harmful to your health. Always follow the recipes carefully and avoid substituting ingredients unless you’re sure they’re compatible. Another mistake is using too much of a particular ingredient, which can damage surfaces or leave behind a residue. Start with small amounts and adjust as needed. Finally, don’t forget to label your containers clearly to avoid confusion and accidental misuse.
**Q: How can I make my DIY cleaning routine more sustainable?**
A: There are several ways to make your DIY cleaning routine more sustainable. Start by using reusable containers and spray bottles instead of disposable ones. Choose ingredients that are biodegradable and environmentally friendly. Consider composting food scraps and other organic waste to reduce your overall waste. And finally, be mindful of your water usage and try to conserve water whenever possible. By making small changes to your cleaning habits, you can significantly reduce your environmental impact.
**Q: What are some alternatives to vinegar for those who don’t like the smell?**
A: While vinegar is a powerful and versatile cleaner, its strong smell can be off-putting to some. Fortunately, there are several alternatives you can use. Lemon juice is a natural acid that can be used as a substitute for vinegar in many cleaning recipes. It has a pleasant citrus scent and is effective at removing stains and odors. Another option is citric acid, a powdered form of citric acid that can be dissolved in water to create a cleaning solution. It’s odorless and just as effective as vinegar. You can also try using hydrogen peroxide, which is a mild disinfectant and bleaching agent.
**Q: How do I clean up spills of DIY cleaning solutions safely?**
A: If you spill a DIY cleaning solution, the first step is to contain the spill to prevent it from spreading. Use paper towels or a clean cloth to absorb the liquid. If the spill is on a porous surface, such as carpet or upholstery, blot the area gently to avoid pushing the liquid deeper into the fibers. Once you’ve absorbed as much of the liquid as possible, rinse the area with clean water and dry it thoroughly. If the spill involves a hazardous ingredient, such as bleach or ammonia, wear gloves and eye protection to avoid contact with your skin and eyes. Dispose of the contaminated materials properly.
Leave a Comment