

Bathroom cleaning hacks – who doesn’t need them? Let’s be honest, cleaning the bathroom is nobody’s favorite chore. It’s right up there with doing taxes and visiting the dentist! But what if I told you that keeping your bathroom sparkling clean could be easier, faster, and even a little bit fun?
For centuries, people have been searching for the ultimate cleaning solutions. From ancient Egyptians using natron (a naturally occurring salt mixture) to clean their homes, to our grandmothers relying on good old-fashioned elbow grease and vinegar, the quest for a spotless bathroom is a timeless pursuit. Today, we’re armed with a wealth of knowledge and innovative products, but sometimes, the simplest DIY tricks are the most effective.
Life is busy, and spending hours scrubbing grout isn’t exactly how most of us want to spend our weekends. That’s where these bathroom cleaning hacks come in! I’m going to share some of my favorite DIY tips and tricks that will save you time, money, and a whole lot of effort. Whether you’re battling stubborn soap scum, tackling a mildew problem, or just looking for a quicker way to keep things fresh, these hacks will transform your bathroom cleaning routine. Get ready to say goodbye to endless scrubbing and hello to a sparkling clean bathroom you can be proud of!
DIY Bathroom Cleaning Hacks: Sparkling Clean with Minimal Effort!
Hey there! Let’s face it, cleaning the bathroom is nobody’s favorite chore. But what if I told you there are some super easy, DIY hacks that can make the whole process faster, cheaper, and even a little bit…dare I say…fun? Okay, maybe not fun, but definitely less dreadful! I’ve compiled some of my favorite bathroom cleaning tricks that use common household items. Get ready to say goodbye to stubborn stains and hello to a sparkling clean bathroom!
Hack 1: Sparkling Showerhead with Vinegar
Hard water deposits can really gunk up your showerhead, reducing water pressure and making it look pretty gross. But don’t worry, you don’t need to buy a new one! Vinegar is your best friend here.
* The Problem: Clogged showerhead with mineral buildup.
* The Solution: Vinegar soak to dissolve deposits.
* Materials Needed:
* White vinegar
* Plastic bag (a sturdy Ziploc bag works great)
* Rubber band or twist tie
* Old toothbrush (optional, for scrubbing stubborn spots)
Step-by-Step Instructions:
1. Prepare the Vinegar Bath: Pour enough white vinegar into the plastic bag to completely submerge the showerhead. You might need to use a larger bag depending on the size of your showerhead.
2. Secure the Bag: Carefully position the bag over the showerhead, ensuring the showerhead is fully immersed in the vinegar. Use a rubber band or twist tie to tightly secure the bag around the shower arm. Make sure it’s snug so the vinegar doesn’t leak.
3. Soak Overnight: Let the showerhead soak in the vinegar overnight (at least 8 hours). This gives the vinegar plenty of time to dissolve the mineral deposits.
4. Remove and Rinse: The next morning, remove the bag and discard the vinegar. Rinse the showerhead thoroughly with warm water.
5. Scrub (If Needed): If you still see some stubborn deposits, use an old toothbrush to gently scrub them away. The vinegar should have loosened them up significantly.
6. Test and Enjoy: Turn on the shower and let the water run for a few minutes to flush out any remaining vinegar or debris. You should notice a significant improvement in water pressure!
Hack 2: Grout Cleaning Power with Baking Soda and Vinegar
Grime and mildew love to hide in grout lines, making your bathroom look dingy. This simple paste will brighten those lines right up!
* The Problem: Dirty, stained grout lines.
* The Solution: Baking soda and vinegar paste to lift stains and kill mildew.
* Materials Needed:
* Baking soda
* White vinegar
* Old toothbrush or grout brush
* Spray bottle (optional, for easier vinegar application)
* Water
Step-by-Step Instructions:
1. Create the Paste: In a small bowl, mix baking soda and vinegar to form a paste. It will fizz, which is totally normal! Aim for a consistency similar to toothpaste.
2. Apply the Paste: Using an old toothbrush or grout brush, apply the paste generously to the grout lines. Make sure to cover all the dirty areas.
3. Let it Sit: Allow the paste to sit on the grout for at least 15-20 minutes. This gives the baking soda and vinegar time to work their magic. For really tough stains, you can let it sit for up to an hour.
4. Scrub: After the paste has sat, scrub the grout lines with the toothbrush or grout brush. Apply some pressure and work in small sections. You’ll see the dirt and grime start to lift.
5. Rinse: Rinse the area thoroughly with water. You can use a spray bottle to make rinsing easier.
6. Dry: Wipe the area dry with a clean cloth. Admire your sparkling clean grout!
Alternative Method (for larger areas):
If you’re cleaning a large area of grout, you can try this alternative method:
1. Sprinkle Baking Soda: Sprinkle baking soda generously over the grout lines.
2. Spray with Vinegar: Fill a spray bottle with white vinegar and spray it over the baking soda.
3. Let it Fizz: Let the mixture fizz for a few minutes.
4. Scrub and Rinse: Scrub the grout lines with a brush and rinse thoroughly with water.
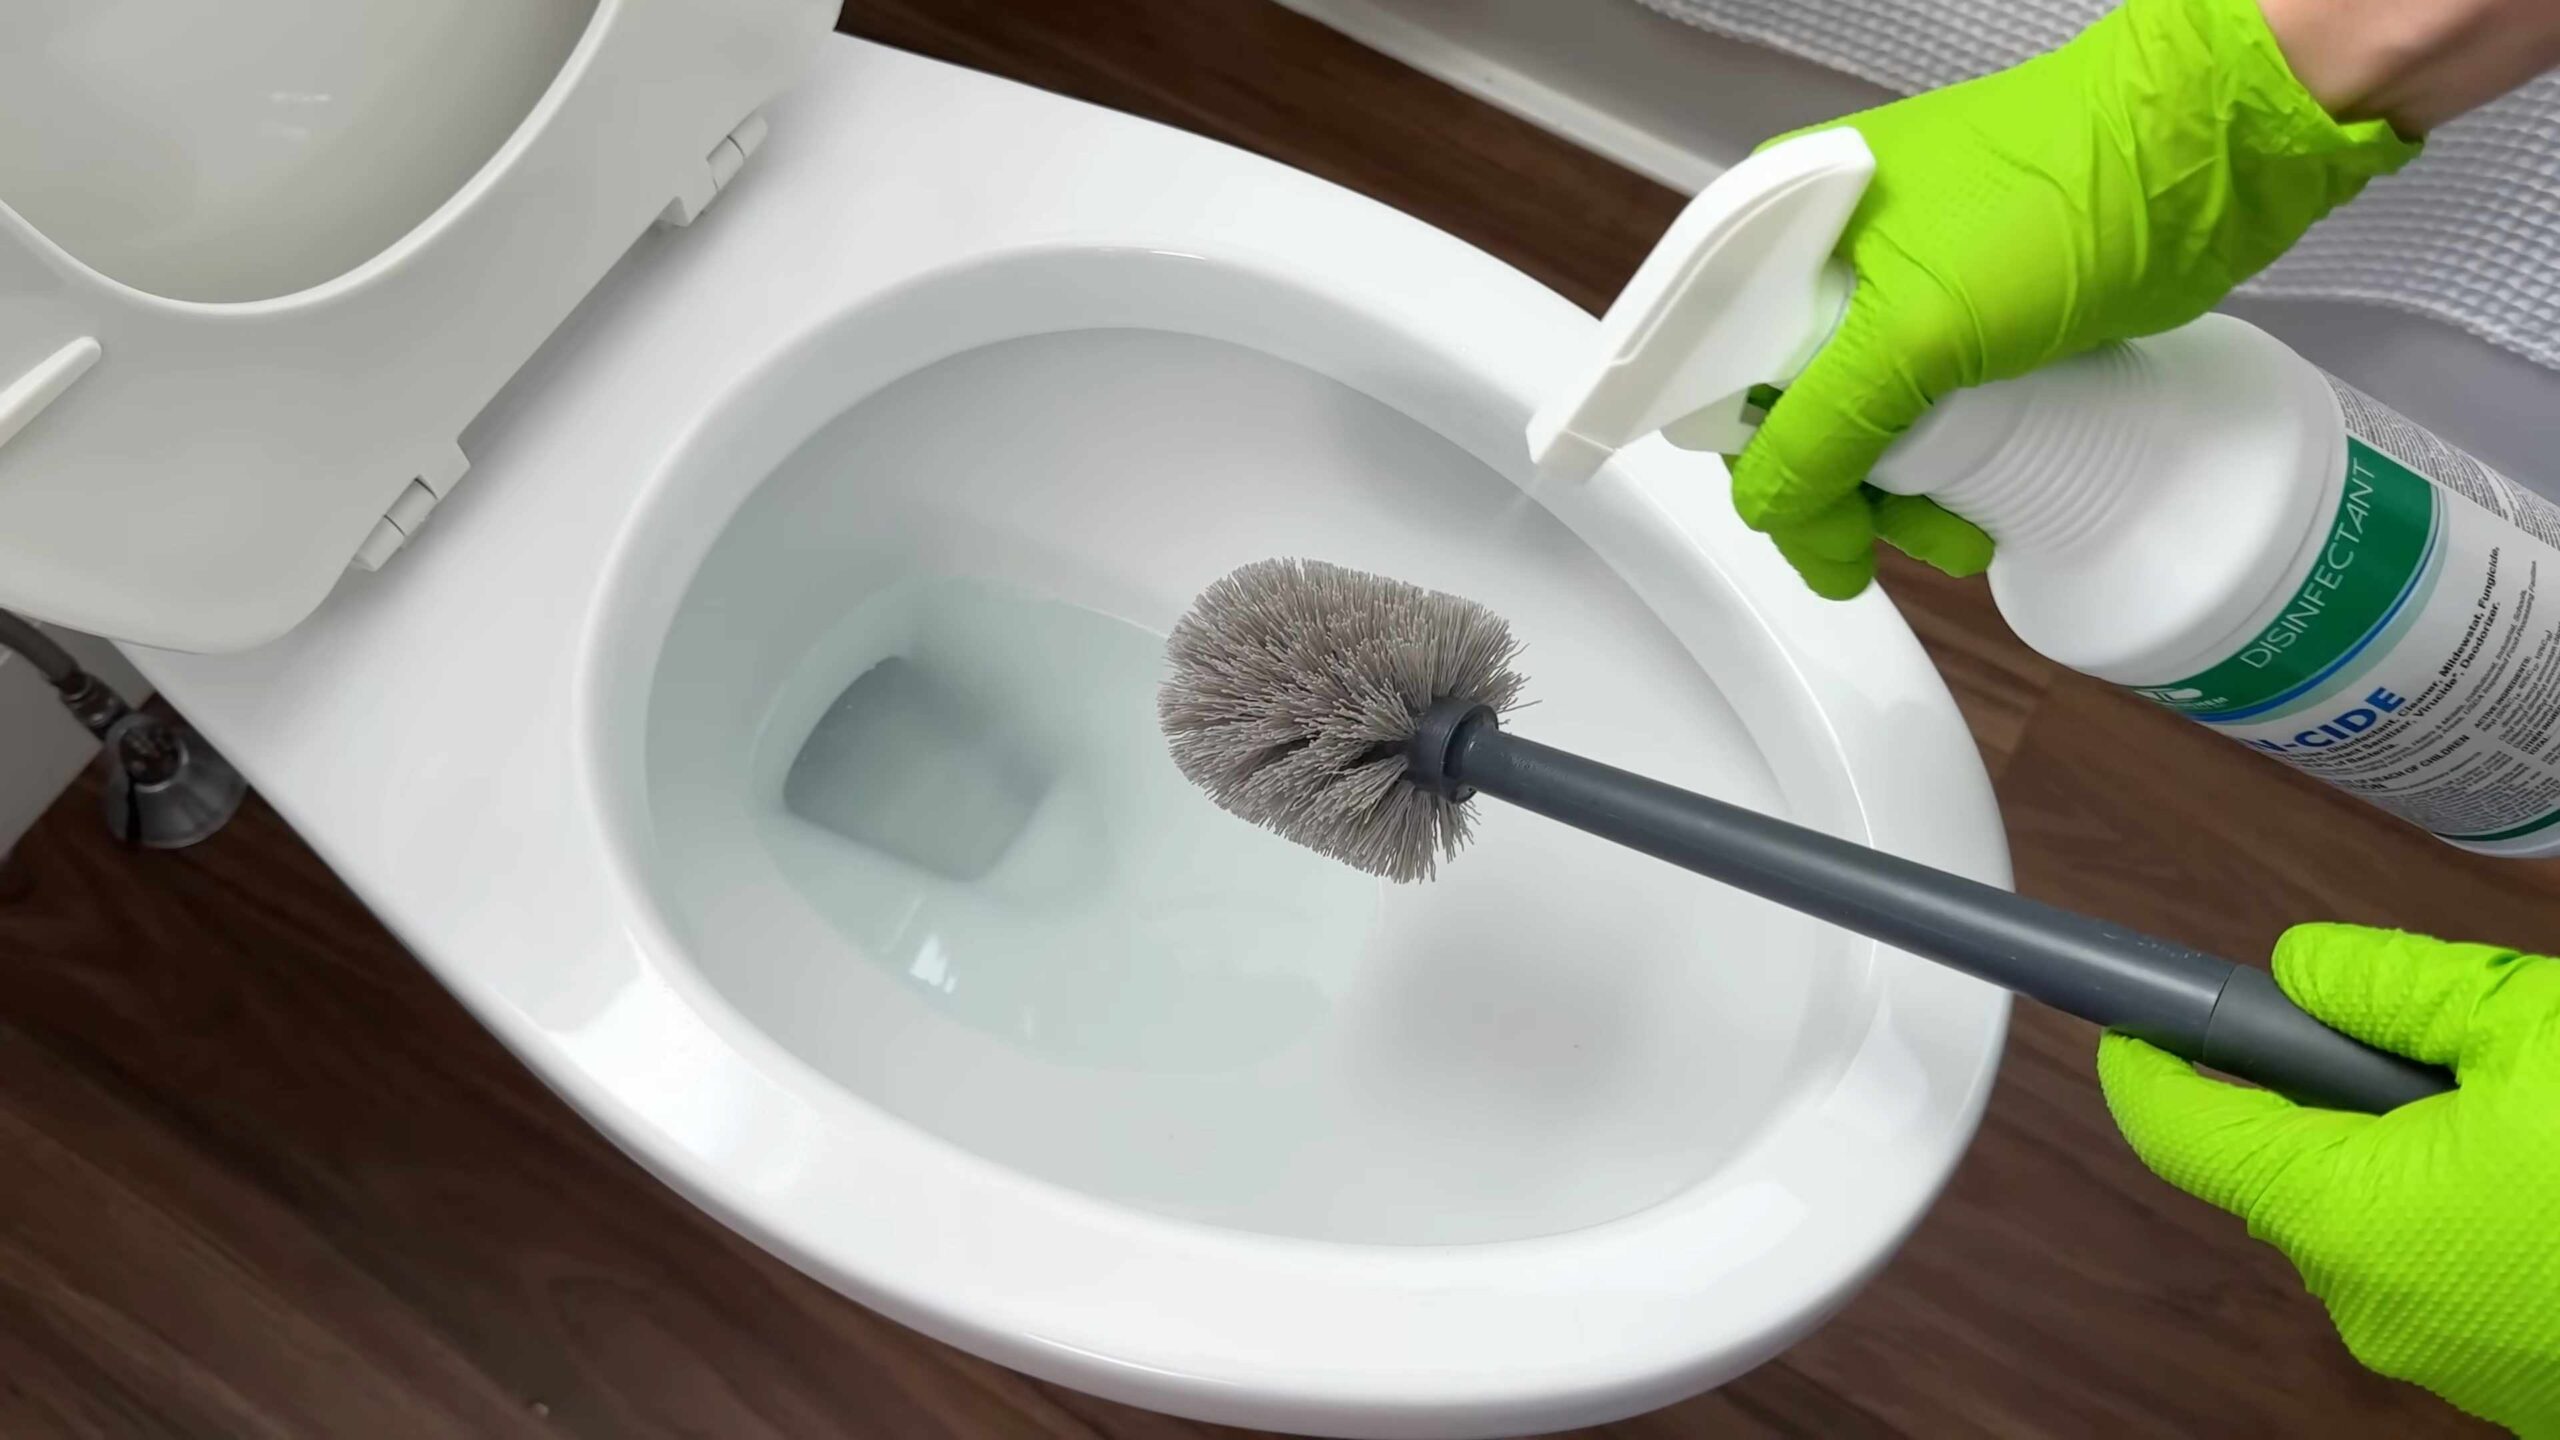
Hack 3: Toilet Bowl Cleaning with Cola (Yes, Really!)
This one might sound a little crazy, but it works! The acids in cola can help break down stains in your toilet bowl.
* The Problem: Stained toilet bowl.
* The Solution: Cola soak to dissolve stains.
* Materials Needed:
* One can of cola (any brand will do)
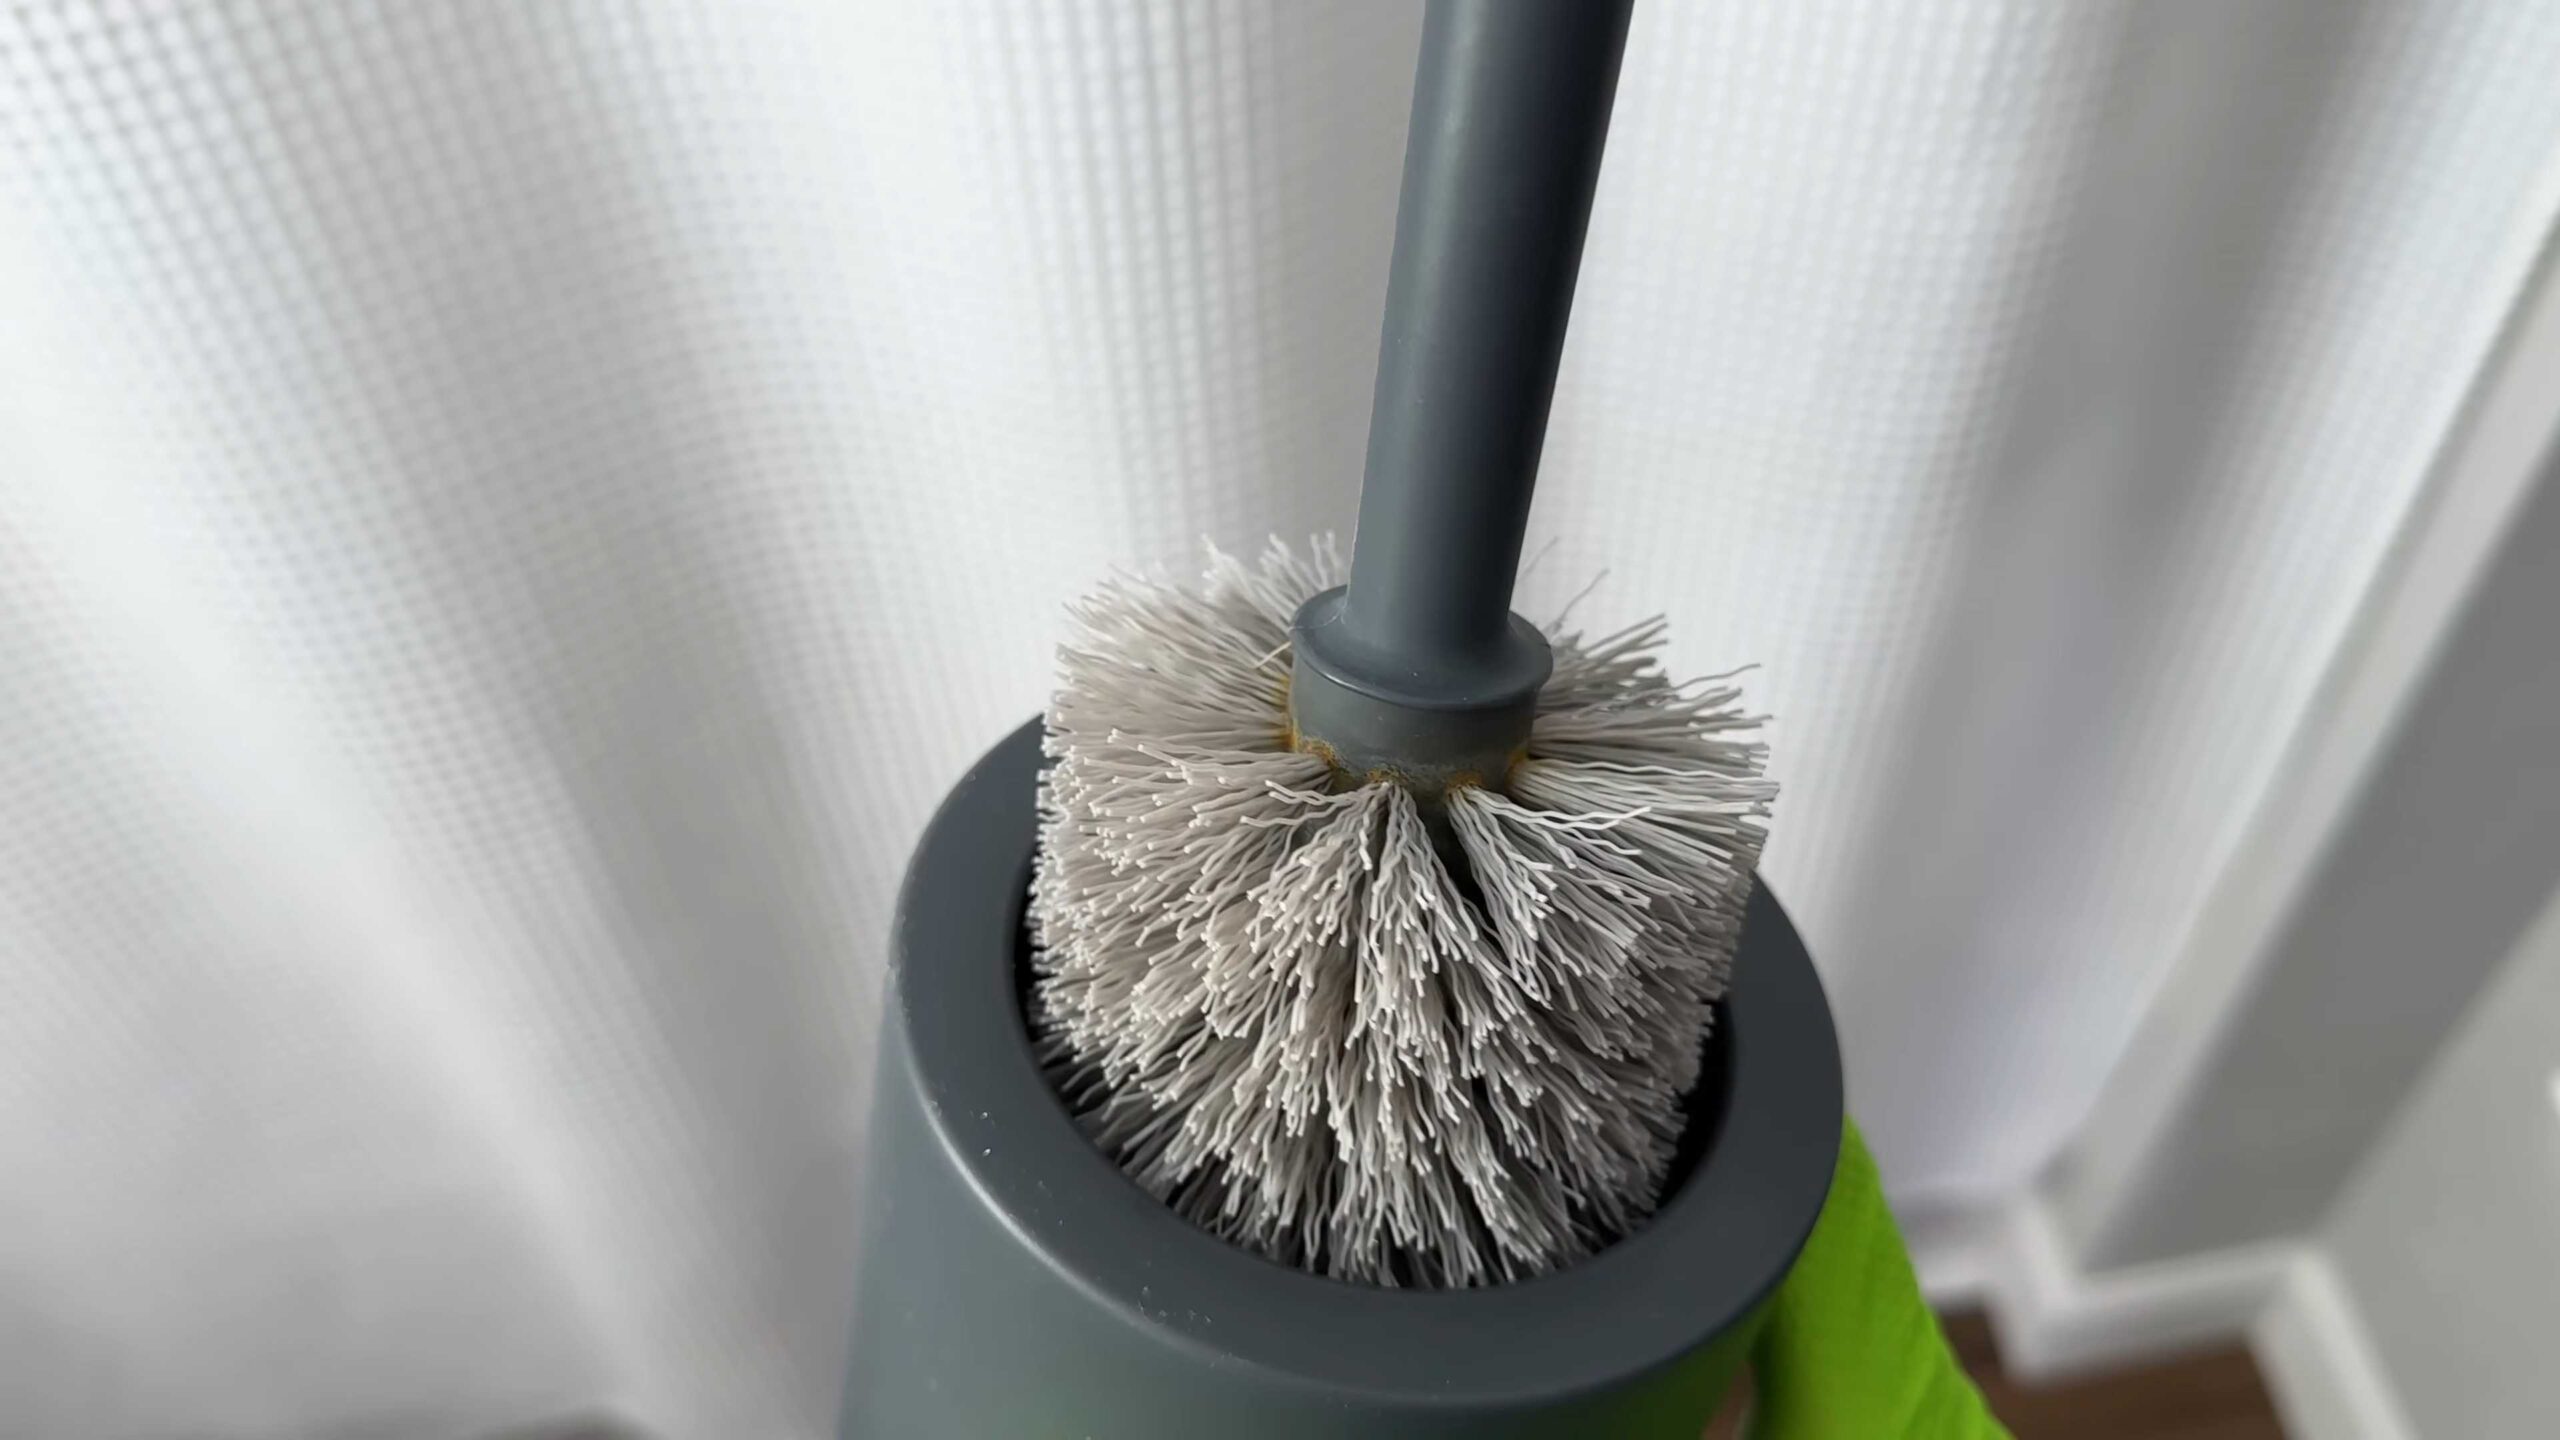
* Toilet brush
Step-by-Step Instructions:
1. Pour in the Cola: Pour the entire can of cola into the toilet bowl, making sure to coat the sides as much as possible.
2. Let it Sit: Let the cola sit in the toilet bowl for at least an hour, or even better, overnight. This gives the acids time to break down the stains.
3. Scrub: After the cola has sat, scrub the toilet bowl thoroughly with a toilet brush. Pay extra attention to any stained areas.
4. Flush: Flush the toilet to rinse away the cola and dissolved stains. You should see a noticeable improvement in the cleanliness of your toilet bowl!
Hack 4: Mirror Magic with Shaving Cream
Say goodbye to foggy mirrors! Shaving cream creates a protective barrier that prevents condensation.
* The Problem: Foggy bathroom mirror after showering.
* The Solution: Shaving cream application to prevent fogging.
* Materials Needed:
* Shaving cream (any kind will work)
* Clean, dry cloth or paper towel
Step-by-Step Instructions:
1. Apply Shaving Cream: Apply a thin layer of shaving cream to the entire surface of the mirror.
2. Wipe Clean: Use a clean, dry cloth or paper towel to wipe the shaving cream off the mirror. Make sure to wipe it completely clean, leaving no streaks.
3. Enjoy Fog-Free Showers: The shaving cream will create a protective barrier that prevents the mirror from fogging up during showers. This effect should last for several days or even weeks, depending on how often you shower.
Hack 5: DIY Drain Cleaner with Baking Soda and Vinegar
Clogged drains are a common bathroom problem. This natural solution can help clear minor clogs without harsh chemicals.
* The Problem: Slow or clogged bathroom drain.
* The Solution: Baking soda and vinegar flush to break down clogs.
* Materials Needed:
* 1 cup baking soda
* 2 cups white vinegar
* Hot water
Step-by-Step Instructions:
1. Pour in Baking Soda: Pour one cup of baking soda down the drain.
2. Add Vinegar: Immediately follow with two cups of white vinegar.
3. Let it Fizz: Let the mixture fizz for about 30 minutes. This chemical reaction helps to break down the clog.
4. Flush with Hot Water: After 30 minutes, flush the drain with hot water. Let the hot water run for several minutes to completely clear the drain.
5. Repeat if Necessary: If the drain is still slow, repeat the process. For stubborn clogs, you may need to repeat it several times.
Important Note: This method is best for minor clogs. If you have a severe clog, you may need to use a plumbing snake or call a professional plumber.
Hack 6: Freshen Up with Essential Oil Diffuser
Keep your bathroom smelling fresh and clean with a simple DIY essential oil diffuser.
* The Problem: Stale or unpleasant bathroom odors.
* The Solution: Essential oil diffuser to create a fresh scent.
* Materials Needed:
* Small glass jar or bottle
* Rattan reeds or bamboo skewers
* 1/4 cup carrier oil (such as almond oil, safflower oil, or fractionated coconut oil)
* 15-20 drops of your favorite essential oil (lavender, eucalyptus, tea tree, and lemon are great choices for the bathroom)
Step-by-Step Instructions:
1. Combine Oils: In the glass jar or bottle, combine the carrier oil and essential oil.
2. Insert Reeds: Insert the rattan reeds or bamboo skewers into the jar, making sure they are submerged in the oil mixture.
3. Flip Reeds: After a few hours,
Conclusion
So, there you have it! These DIY bathroom cleaning hacks aren’t just about saving money; they’re about reclaiming control over the cleanliness and freshness of your bathroom using simple, readily available ingredients. We’ve explored how to tackle stubborn grime, eliminate unpleasant odors, and achieve a sparkling shine without resorting to harsh chemicals that can be harmful to your health and the environment.
The beauty of these methods lies in their adaptability. Feel free to experiment with different essential oils in your cleaning solutions to create a scent that truly invigorates you. For instance, a few drops of tea tree oil can add an extra layer of antibacterial power, while lavender oil can promote relaxation during your cleaning routine. If you find that baking soda alone isn’t cutting through tough soap scum, try combining it with a bit of vinegar for a powerful fizzing action that lifts away even the most stubborn residue. Remember to always test any new cleaning solution in an inconspicuous area first to ensure it doesn’t damage the surface.
These bathroom cleaning hacks are more than just quick fixes; they’re a sustainable approach to maintaining a clean and healthy home. By embracing these simple techniques, you’re not only reducing your reliance on commercial cleaning products but also creating a more pleasant and inviting space for yourself and your family.
We truly believe that once you try these methods, you’ll be amazed by the results. The satisfaction of knowing you’ve achieved a sparkling clean bathroom using natural ingredients is unparalleled. So, ditch the expensive, chemical-laden cleaners and give these DIY solutions a try. You might just discover your new favorite way to keep your bathroom fresh and clean.
We’re eager to hear about your experiences! Did you find these bathroom cleaning hacks helpful? Did you discover any variations that worked particularly well for you? Share your tips, tricks, and before-and-after photos in the comments below. Let’s create a community of clean-bathroom enthusiasts and inspire others to embrace the power of DIY cleaning! Your feedback is invaluable and will help us refine and improve these methods for everyone. Let’s make bathroom cleaning less of a chore and more of a rewarding experience!
Frequently Asked Questions (FAQs)
Q: Are these DIY bathroom cleaning hacks safe for all bathroom surfaces?
A: While most of these hacks are generally safe for common bathroom surfaces like tile, porcelain, and glass, it’s always best to test any new cleaning solution in an inconspicuous area first. This is especially important for delicate surfaces like natural stone (marble, granite) or certain types of painted finishes. Avoid using abrasive cleaners like baking soda on easily scratched surfaces. For natural stone, opt for pH-neutral cleaners specifically designed for those materials. When in doubt, consult the manufacturer’s recommendations for your specific bathroom fixtures and surfaces.
Q: Can I use vinegar on everything in my bathroom?
A: Vinegar is a fantastic natural cleaner, but it’s not suitable for all surfaces. Avoid using vinegar on natural stone surfaces like marble and granite, as its acidity can etch and damage them. It’s also best to avoid using vinegar on rubber seals and some types of grout, as it can degrade them over time. For these surfaces, opt for milder cleaning solutions like baking soda paste or a diluted dish soap solution.
Q: How often should I use these DIY bathroom cleaning hacks?
A: The frequency of cleaning depends on your bathroom usage and personal preferences. For general maintenance, a weekly cleaning using these DIY hacks should be sufficient to keep your bathroom fresh and clean. However, high-traffic bathrooms or areas prone to mold and mildew may require more frequent cleaning. Spot cleaning spills and messes as they occur will also help prevent buildup and make your regular cleaning routine easier.
Q: What’s the best way to get rid of stubborn mold and mildew in the bathroom?
A: Mold and mildew thrive in damp environments, so proper ventilation is key to preventing their growth. After showering, open a window or turn on the exhaust fan to help dry out the bathroom. For existing mold and mildew, a solution of equal parts white vinegar and water can be effective. Spray the affected area, let it sit for 10-15 minutes, and then scrub with a brush. For more stubborn cases, you can try a paste of baking soda and water. Apply the paste to the moldy area, let it dry completely, and then scrub it off. Always wear gloves and a mask when dealing with mold and mildew to protect yourself from spores.
Q: How can I make my DIY bathroom cleaner smell better?
A: Essential oils are a great way to add a pleasant scent to your DIY bathroom cleaner. Lemon, tea tree, eucalyptus, and lavender are all popular choices for their antibacterial and refreshing properties. Add a few drops of your favorite essential oil to your cleaning solution for a natural and invigorating fragrance. You can also experiment with different combinations of essential oils to create your own signature scent. Just be sure to use pure essential oils and avoid synthetic fragrances, which can contain harmful chemicals.
Q: Are these DIY bathroom cleaning hacks safe for septic systems?
A: Yes, most of these DIY bathroom cleaning hacks are safe for septic systems. Ingredients like baking soda, vinegar, and lemon juice are all biodegradable and won’t harm the beneficial bacteria in your septic tank. However, it’s important to avoid using excessive amounts of any cleaning solution, as this can disrupt the balance of your septic system. Always follow the recommended dilutions and use these DIY cleaners in moderation.
Q: Can I use these cleaning hacks on my shower doors to remove soap scum?
A: Absolutely! Soap scum can be a real pain, but these DIY hacks can help. A mixture of vinegar and dish soap is particularly effective for removing soap scum from shower doors. Heat the vinegar in the microwave (be careful, it can get very hot!), mix it with an equal amount of dish soap, and spray it onto the shower doors. Let it sit for 10-15 minutes, then scrub with a sponge or brush and rinse thoroughly. For stubborn soap scum, you can also try using a paste of baking soda and water.
Q: What are some tips for preventing bathroom grime buildup in the first place?
A: Prevention is always better than cure! Here are a few tips for preventing bathroom grime buildup:
* **Wipe down surfaces after each use:** Quickly wipe down shower walls, countertops, and sinks after each use to prevent water spots and soap scum from accumulating.
* **Ventilate the bathroom:** Always turn on the exhaust fan or open a window after showering to help dry out the bathroom and prevent mold and mildew growth.
* **Use a squeegee:** Use a squeegee to remove water from shower doors and walls after each shower.
* **Regularly clean showerheads:** Soak showerheads in vinegar overnight to remove mineral deposits and improve water flow.
* **Use a shower spray:** After each shower, spray a DIY shower cleaner (vinegar and water with a few drops of essential oil) to help prevent soap scum buildup.
By incorporating these simple habits into your routine, you can significantly reduce the amount of time and effort required to keep your bathroom clean.
Leave a Comment