

Bathroom fresh odor free – isn’t that the dream? Let’s face it, our bathrooms, while essential, aren’t always the most fragrant spaces. We’ve all been there, a lingering unpleasant smell that just won’t quit, no matter how much you clean. But what if I told you that achieving a consistently fresh and odor-free bathroom is easier than you think, and doesn’t require harsh chemicals or expensive air fresheners?
For centuries, cultures around the world have used natural remedies to combat unwanted odors. From ancient Egyptians using fragrant oils to mask smells to Victorian potpourri bowls filled with dried flowers and spices, the desire for a pleasant-smelling home is deeply ingrained in our history. These traditional methods often relied on readily available ingredients and a bit of ingenuity – a spirit we’re channeling in this DIY guide!
In today’s busy world, we often reach for quick fixes, but these solutions can be costly and filled with synthetic fragrances that can irritate sensitive noses. That’s why I’m so excited to share these simple, effective, and budget-friendly DIY tricks to keep your bathroom smelling amazing. You’ll learn how to create your own natural air fresheners, odor absorbers, and cleaning solutions using ingredients you probably already have in your pantry. Say goodbye to embarrassing bathroom odors and hello to a consistently bathroom fresh odor free environment that you can be proud of!
DIY Bathroom Odor Eliminator: A Natural and Effective Solution
Tired of battling lingering bathroom odors? Me too! Store-bought air fresheners can be expensive and often contain harsh chemicals. That’s why I decided to create my own natural and effective bathroom odor eliminator. This DIY solution is not only budget-friendly but also uses ingredients you likely already have at home. Plus, it’s customizable to your favorite scents! Let’s get started!
What You’ll Need
Before we dive into the process, let’s gather our supplies. This is a simple project, so the list is short and sweet:
* A small spray bottle (4-8 ounces is ideal)
* Distilled water
* Rubbing alcohol (isopropyl alcohol) or witch hazel
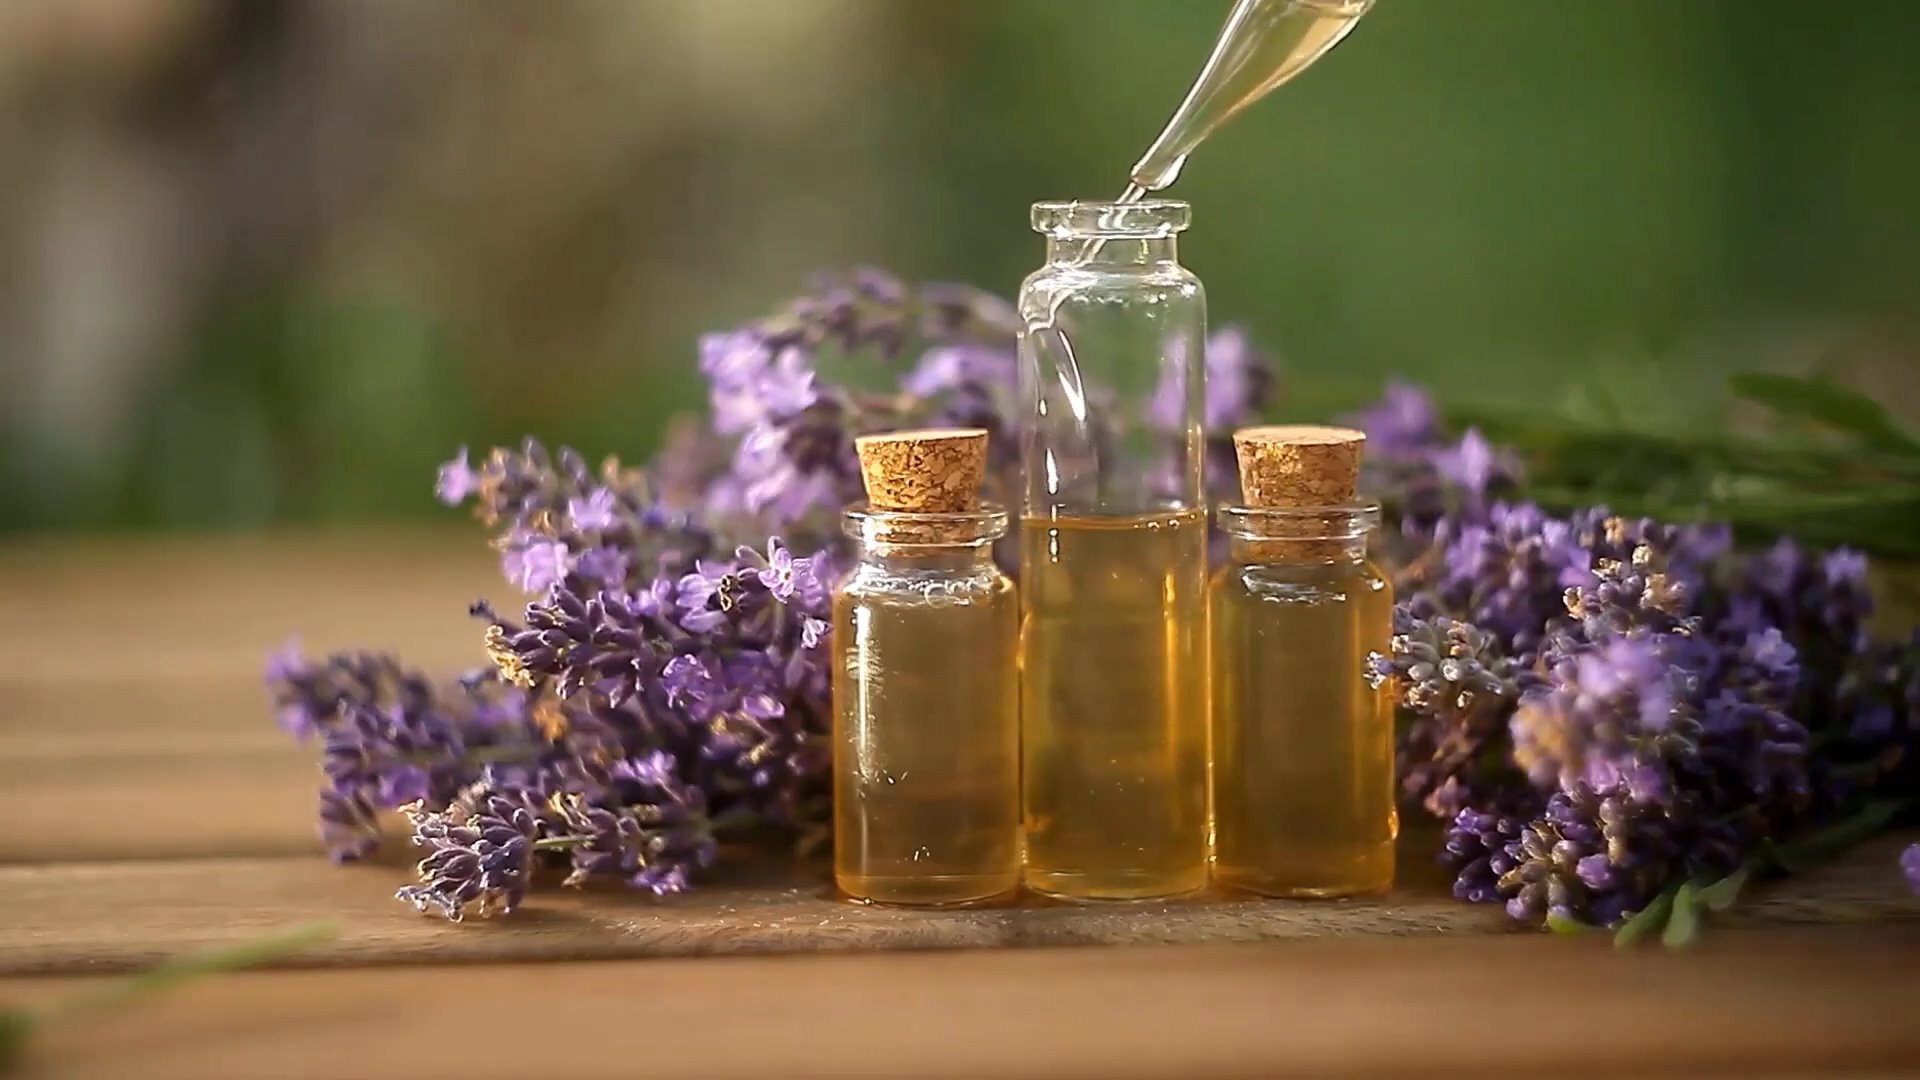
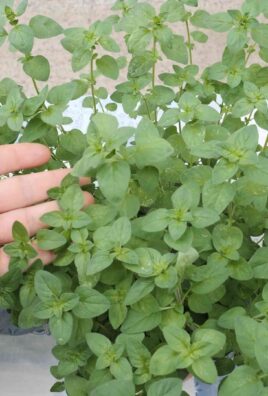
* Essential oils of your choice (I recommend lemon, eucalyptus, tea tree, lavender, or a blend)
* Baking soda (optional, for extra odor absorption)
* A small funnel (optional, but helpful)
* Measuring spoons or cups
Why These Ingredients?
You might be wondering why I chose these specific ingredients. Here’s a quick breakdown:
* Distilled Water: Using distilled water helps prevent bacteria growth in your spray and keeps it fresher for longer. Tap water can contain minerals and impurities that can affect the scent and shelf life.
* Rubbing Alcohol or Witch Hazel: These act as a dispersing agent, helping the essential oils mix evenly with the water. They also have some antibacterial properties. I personally prefer witch hazel for its gentler scent.
* Essential Oils: This is where you get to customize your odor eliminator! Essential oils provide a natural fragrance and can also offer additional benefits like antibacterial or calming properties.
* Baking Soda: Baking soda is a natural odor absorber. Adding a small amount to your spray can help neutralize unpleasant smells.
Step-by-Step Instructions
Now for the fun part! Follow these steps to create your own bathroom odor eliminator:
1. Clean and Prepare Your Spray Bottle: Make sure your spray bottle is clean and dry. I usually wash mine with soap and hot water and then let it air dry completely. This prevents any unwanted residue or bacteria from contaminating your fresh spray.
2. Add Rubbing Alcohol or Witch Hazel: Pour 1 tablespoon of rubbing alcohol or witch hazel into your spray bottle. This is crucial for dispersing the essential oils properly. If you skip this step, the oils will just float on top of the water.
3. Add Essential Oils: This is where you get to unleash your creativity! Add 15-20 drops of your chosen essential oils. I love using a combination of lemon and eucalyptus for a fresh, clean scent. Lavender is great for a relaxing bathroom atmosphere. Experiment with different blends to find your favorite!
* Tip: Start with a smaller amount of essential oils and add more if you want a stronger scent.
4. Add Baking Soda (Optional): If you’re using baking soda, add 1/2 teaspoon to the spray bottle. Be careful, as it can fizz a bit when it comes into contact with the other ingredients.
5. Top with Distilled Water: Fill the rest of the spray bottle with distilled water, leaving a little space at the top.
6. Shake Well: Secure the spray nozzle and shake the bottle vigorously for at least 30 seconds to ensure all the ingredients are thoroughly mixed. This is important for even distribution of the essential oils.
7. Test and Adjust: Give your spray a test spritz in the air. If the scent isn’t strong enough, add a few more drops of essential oil and shake again.
Using Your DIY Odor Eliminator
Using your homemade odor eliminator is simple:
* Spray into the Air: Spray a few spritzes into the air to freshen the bathroom.
* Spray into the Toilet Bowl: You can also spray directly into the toilet bowl after flushing to help neutralize odors.
* Avoid Spraying on Surfaces: While the ingredients are generally safe, it’s best to avoid spraying directly onto delicate surfaces like wood or painted walls, as the essential oils could potentially cause staining.
Troubleshooting and Tips
Here are a few tips and solutions to common problems you might encounter:
* Spray is Cloudy: This is normal and usually happens when the essential oils aren’t fully dispersed. Just shake the bottle well before each use.
* Scent Fades Quickly: This could be due to using low-quality essential oils or not using enough. Try using a higher concentration of essential oils or switching to a different brand.
* Spray Bottle Clogs: This can happen if you’re using baking soda and it doesn’t fully dissolve. Make sure to shake the bottle well before each use and consider using a spray bottle with a wider nozzle.
* Experiment with Scents: Don’t be afraid to experiment with different essential oil combinations! Some other great options include grapefruit, peppermint, rosemary, and cedarwood.
* Storage: Store your odor eliminator in a cool, dark place to help preserve the essential oils.
* Shelf Life: Your DIY odor eliminator should last for several months. If you notice any changes in color or smell, it’s best to discard it and make a fresh batch.
Essential Oil Blend Ideas
Need some inspiration for your essential oil blends? Here are a few of my favorites:
* Citrus Burst: 10 drops lemon, 5 drops grapefruit, 5 drops orange
* Eucalyptus Mint: 10 drops eucalyptus, 10 drops peppermint
* Lavender Calm: 15 drops lavender, 5 drops chamomile
* Tea Tree Clean: 15 drops tea tree, 5 drops lemon
* Forest Fresh: 10 drops pine, 5 drops cedarwood, 5 drops juniper berry
Adapting for Different Needs
This recipe is easily adaptable to suit different needs and preferences:
* For a Stronger Odor Eliminator: Increase the amount of essential oils to 25-30 drops. You can also add a tablespoon of white vinegar for extra odor-fighting power. However, be mindful of the vinegar scent.
* For a More Gentle Scent: Reduce the amount of essential oils to 10-15 drops. You can also use a milder essential oil like lavender or chamomile.
* For a Larger Batch: Simply double or triple the recipe, making sure to adjust the ingredient amounts accordingly.
Safety Precautions
While this DIY odor eliminator is generally safe, it’s important to take a few precautions:
* Keep Out of Reach of Children and Pets: Essential oils can be harmful if ingested.
* Avoid Contact with Eyes: If the spray gets into your eyes, rinse thoroughly with water.
* Test on a Small Area: Before spraying on any surfaces, test the spray on a small, inconspicuous area to make sure it doesn’t cause any staining or damage.
* Consult a Doctor: If you are pregnant, breastfeeding, or have any underlying health conditions, consult with your doctor before using essential oils.
Beyond the Bathroom: Other Uses
While this recipe is designed for the bathroom, you can also use it in other areas of your home:
* Kitchen: Freshen up your kitchen after cooking by spraying a few spritzes into the air.
* Laundry Room: Eliminate musty odors in your laundry room.
* Car: Keep your car smelling fresh and clean.
* Closets: Deodorize closets and drawers.
Final Thoughts
Creating your own bathroom odor eliminator is a simple, rewarding, and cost-effective way to keep your bathroom smelling fresh and clean. By using natural ingredients and customizing the scent to your liking, you can create a truly unique and effective solution. So, ditch the store-bought air fresheners and give this DIY project a try! You’ll be amazed at how easy it is to create a natural and effective odor eliminator that you can feel good about using. Happy spraying!

Conclusion
So, there you have it! Creating your own bathroom freshener is not only incredibly simple and cost-effective, but it also allows you to completely customize the scent to perfectly match your preferences and eliminate those unwanted odors. Forget those harsh chemicals and artificial fragrances that often come with store-bought air fresheners. This DIY approach lets you control exactly what goes into your bathroom, ensuring a healthier and more pleasant environment for you and your family.
This isn’t just about masking odors; it’s about creating a truly fresh and inviting space. The natural ingredients we’ve discussed, like essential oils and baking soda, work together to neutralize unpleasant smells at their source, leaving behind a subtle and refreshing aroma. Think of walking into your bathroom and being greeted by the calming scent of lavender, the invigorating aroma of citrus, or the clean, crisp fragrance of eucalyptus. The possibilities are truly endless!
Why is this DIY bathroom freshener a must-try? Because it’s:
* Economical: Save money by using ingredients you likely already have at home.
* Eco-Friendly: Reduce your reliance on plastic packaging and harmful chemicals.
* Customizable: Tailor the scent to your exact preferences.
* Effective: Neutralizes odors rather than just masking them.
* Safe: Avoid harsh chemicals and artificial fragrances.
Ready to take your bathroom from drab to fab? Don’t be afraid to experiment with different essential oil combinations to find your signature scent. Consider adding dried flowers or herbs for a touch of visual appeal. You could even create different fresheners for different seasons, using warmer, spicier scents in the winter and lighter, more floral scents in the summer.
For a more intense fragrance, try adding a few drops of essential oil to cotton balls and placing them in a small dish behind the toilet or on a shelf. You can also create a simmering potpourri by combining water, essential oils, and spices in a small saucepan and simmering it on low heat. Just be sure to keep an eye on the water level and add more as needed.
We’re confident that you’ll love the results of this simple DIY project. It’s a small change that can make a big difference in the overall atmosphere of your bathroom. So, ditch the store-bought air fresheners and embrace the power of natural ingredients.
Now it’s your turn! We encourage you to try this DIY bathroom freshener and share your experience with us. What scent combinations did you try? Did you make any modifications to the recipe? What kind of feedback did you get from your family and friends? We’d love to hear your stories and see your creations! Share your tips, tricks, and photos in the comments below. Let’s create a community of bathroom freshening enthusiasts! Let’s all say goodbye to bathroom fresh odor free worries!
Frequently Asked Questions (FAQ)
Q: What are the best essential oils to use for a bathroom freshener?
A: The best essential oils for a bathroom freshener are those that have antibacterial, antifungal, and deodorizing properties. Some popular choices include:
* Lavender: Known for its calming and relaxing scent, lavender also has antibacterial properties.
* Lemon: A bright and uplifting scent that helps to neutralize odors and disinfect surfaces.
* Tea Tree: A powerful antibacterial and antifungal oil that can help to eliminate mold and mildew.
* Eucalyptus: A refreshing and invigorating scent that can help to clear congestion and freshen the air.
* Peppermint: A stimulating and energizing scent that can help to improve focus and concentration.
* Grapefruit: A citrusy and uplifting scent that helps to neutralize odors and boost mood.
* Rosemary: A herbaceous and invigorating scent that can help to improve memory and concentration.
Ultimately, the best essential oils for you will depend on your personal preferences. Experiment with different combinations to find your favorite scent.
Q: How long will my DIY bathroom freshener last?
A: The lifespan of your DIY bathroom freshener will depend on the ingredients you use and how often you use it. A baking soda-based freshener can last for several weeks or even months, while a reed diffuser may need to be refilled every few weeks. A spray freshener will last as long as the liquid mixture remains. Regularly check your freshener and replace or replenish it as needed to maintain its effectiveness.
Q: Can I use this DIY freshener in other rooms of my house?
A: Absolutely! While this recipe is specifically designed for the bathroom, it can easily be adapted for use in other rooms of your house. Simply adjust the scent to match the ambiance of the room. For example, you might use a warmer, spicier scent in the living room or a lighter, more floral scent in the bedroom.
Q: Is baking soda safe to use around pets and children?
A: Yes, baking soda is generally considered safe to use around pets and children. However, it’s always a good idea to keep it out of reach to prevent accidental ingestion. While baking soda is not toxic, consuming large amounts can cause stomach upset.
Q: Can I use artificial fragrance oils instead of essential oils?
A: While you can use artificial fragrance oils, we highly recommend using essential oils instead. Essential oils are natural and offer therapeutic benefits, while artificial fragrance oils are often made with synthetic chemicals that can be harmful to your health. Essential oils also provide a more authentic and nuanced scent.
Q: How do I clean up essential oil spills?
A: Essential oils can stain surfaces, so it’s important to clean up spills immediately. Use a clean cloth to blot up the excess oil, then wash the area with soap and water. For stubborn stains, you may need to use a mild abrasive cleaner.
Q: My bathroom freshener doesn’t seem to be working. What am I doing wrong?
A: If your bathroom freshener isn’t working, there are a few things you can try:
* Make sure you’re using enough essential oils. Start with the recommended amount and add more if needed.
* Check the expiration date of your ingredients. Old or expired ingredients may not be as effective.
* Clean your bathroom regularly. A clean bathroom will naturally smell fresher.
* Ventilate your bathroom. Open a window or turn on the exhaust fan to help circulate the air.
* Consider the source of the odor. If you have a persistent odor problem, you may need to address the underlying cause.
Q: Can I add other ingredients to my DIY bathroom freshener?
A: Yes, you can definitely add other ingredients to your DIY bathroom freshener to customize it to your liking. Some popular additions include:
* Dried flowers or herbs: Add a touch of visual appeal and a subtle fragrance.
* Spices: Add warmth and complexity to the scent.
* Vinegar: Helps to neutralize odors and disinfect surfaces.
* Water: Dilutes the essential oils and helps them to disperse more evenly.
Q: How can I make a reed diffuser for my bathroom?
A: To make a reed diffuser, you’ll need a small glass bottle or jar, diffuser reeds, and a carrier oil (such as fractionated coconut oil or sweet almond oil). Combine your essential oils with the carrier oil in the bottle, then insert the reeds. The reeds will absorb the oil and diffuse the scent into the air. Flip the reeds every few days to refresh the scent.
Q: What is the best way to store my DIY bathroom freshener?
A: Store your DIY bathroom freshener in a cool, dark place to protect the essential oils from degradation. Keep it out of direct sunlight and away from heat sources. If you’re using a spray bottle, make sure the lid is tightly closed to prevent evaporation.

Leave a Comment