

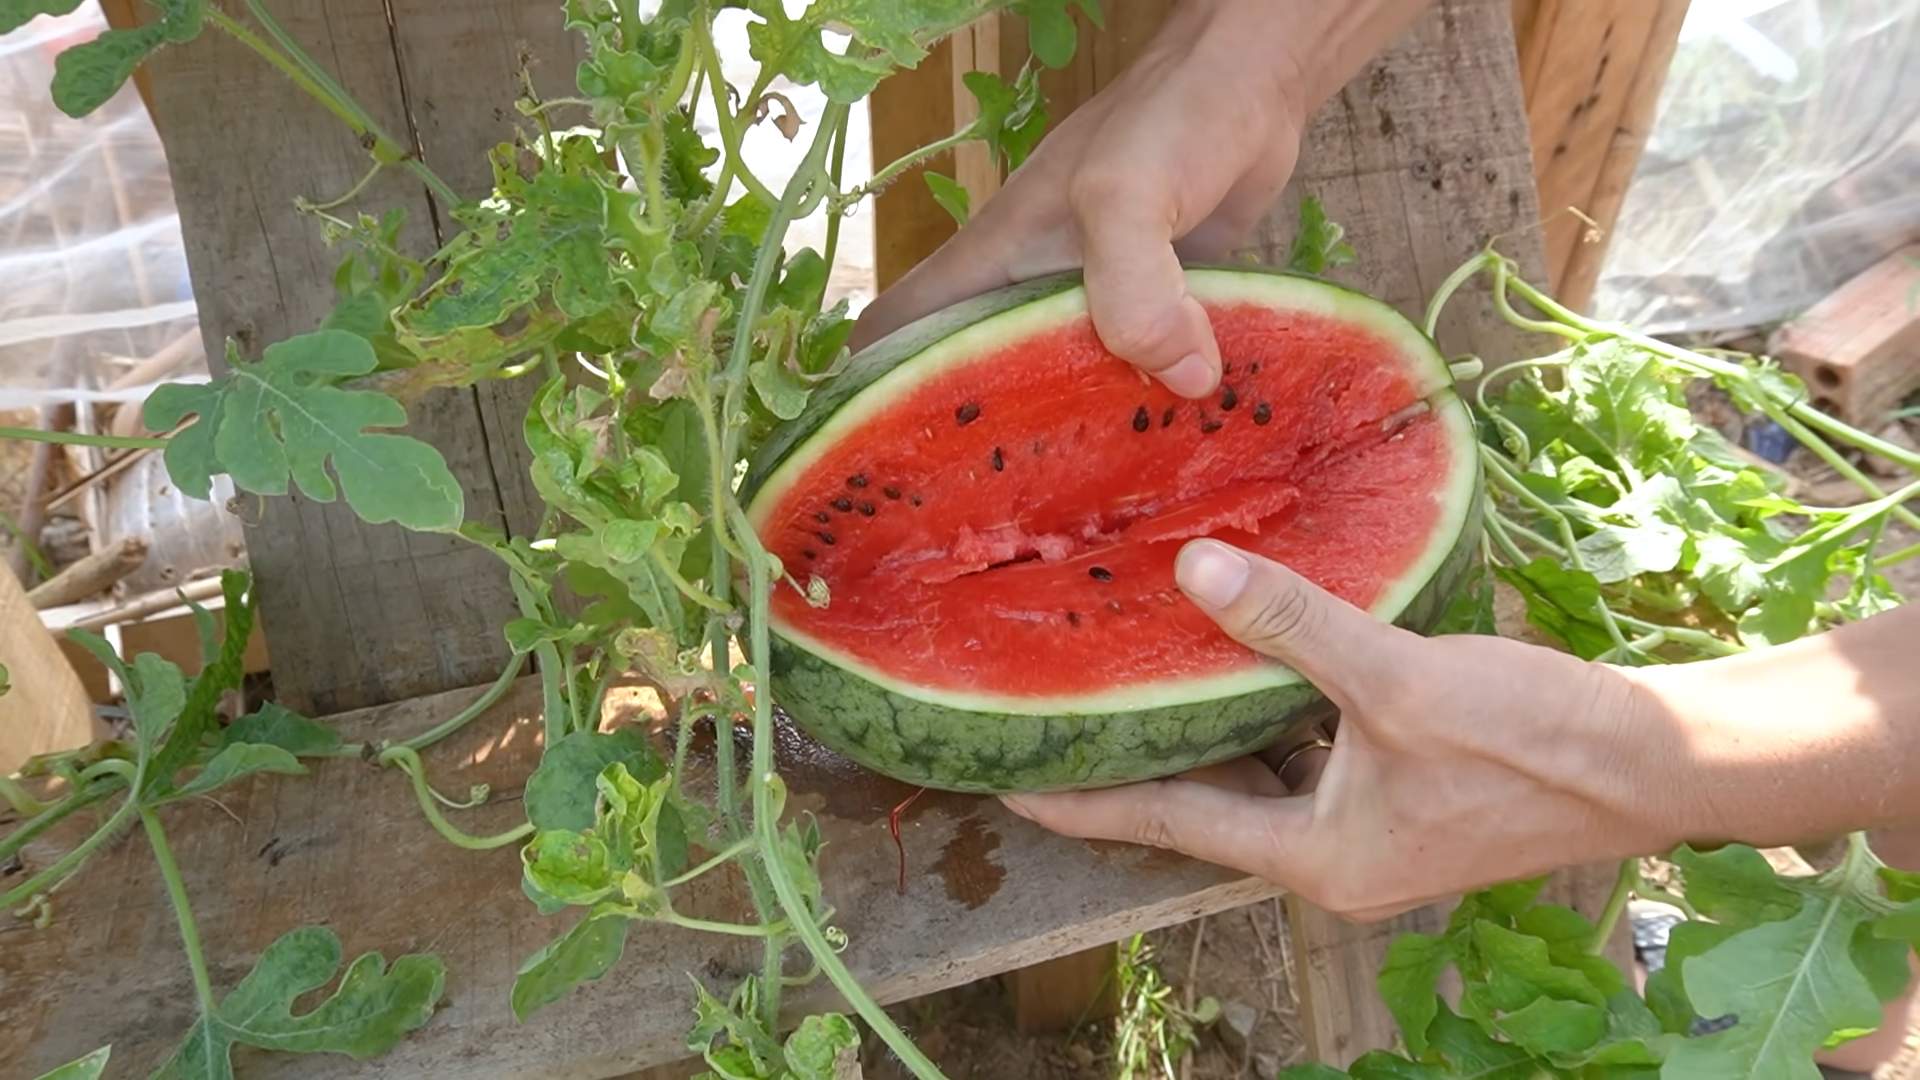
Boost Watermelon Harvest at Home – dreaming of juicy, homegrown watermelons bursting with flavor? I know I am! There’s nothing quite like biting into a watermelon you’ve nurtured from a tiny seed to a summer sensation. But let’s be honest, sometimes getting a bountiful watermelon harvest can feel like a real challenge. You’re not alone if you’ve struggled with small fruits, bland taste, or simply not enough watermelons to satisfy your summer cravings.
Watermelons have a rich history, dating back thousands of years to Africa, where they were prized for their hydrating properties in arid climates. Over time, different cultures have cultivated and celebrated this refreshing fruit. Today, growing your own watermelons is a way to connect with that history and enjoy a taste of summer’s bounty.
That’s why I’m so excited to share these simple yet effective DIY tricks and hacks that will help you boost watermelon harvest at home. These aren’t complicated techniques requiring fancy equipment; they’re practical tips that anyone, regardless of their gardening experience, can implement. From optimizing pollination to providing the right nutrients, these strategies will empower you to grow bigger, sweeter, and more abundant watermelons this season. Get ready to impress your friends and family with your amazing homegrown watermelons!
Boost Your Watermelon Harvest: A DIY Guide to Sweet Success!
Hey there, fellow gardening enthusiasts! Are you dreaming of juicy, red watermelons bursting with flavor, all grown right in your own backyard? I know I am! And while watermelons can sometimes seem a bit finicky, I’m here to share some DIY hacks and tips that have seriously boosted my watermelon harvest over the years. Get ready to enjoy the fruits (or should I say, melons!) of your labor.
Understanding Watermelon Needs
Before we dive into the DIY magic, let’s quickly cover the basics. Watermelons are sun-loving, heat-craving, and nutrient-hungry plants. They need:
* Plenty of Sunshine: At least 6-8 hours of direct sunlight per day.
* Warm Temperatures: Ideal growing temperatures are between 70°F and 90°F.
* Well-Drained Soil: Watermelons hate soggy feet!
* Rich Soil: They are heavy feeders, so nutrient-rich soil is crucial.
* Consistent Watering: Especially during fruit development.
* Pollination: Watermelons need bees (or your helping hand!) to pollinate their flowers.
Now that we’ve got the fundamentals down, let’s get to the fun part!
DIY Hack #1: Supercharge Your Soil with Compost Tea
One of the best things you can do for your watermelons is to feed them regularly with a nutrient-rich fertilizer. But instead of buying expensive store-bought fertilizers, I like to make my own compost tea. It’s cheap, easy, and packed with beneficial microbes that will make your watermelon plants thrive.
What you’ll need:
* A 5-gallon bucket
* An air pump and air stone (like you’d use for an aquarium)
* A mesh bag or old pillowcase
* High-quality compost (worm castings are amazing!)
* Unchlorinated water (let tap water sit out for 24 hours to dechlorinate)
* Molasses (optional, but it feeds the microbes)
Step-by-step instructions:
1. Fill the bucket: Fill the 5-gallon bucket with about 4 gallons of unchlorinated water.
2. Add the compost: Place about 1-2 cups of compost into the mesh bag or pillowcase. Tie it securely.
3. Submerge the compost: Place the bag of compost into the bucket of water. Make sure it’s fully submerged.
4. Aerate the tea: Place the air stone at the bottom of the bucket and connect it to the air pump. Turn on the air pump. This will oxygenate the water and help the beneficial microbes multiply.
5. Add molasses (optional): If you’re using molasses, add about 1 tablespoon to the bucket. This will provide food for the microbes.
6. Brew the tea: Let the compost tea brew for 24-48 hours. The water will turn a dark brown color and may have a slightly earthy smell.
7. Dilute the tea: Dilute the compost tea with water before using it. A good ratio is 1 part compost tea to 5 parts water.
8. Apply the tea: Water your watermelon plants with the diluted compost tea every 1-2 weeks. Pour it directly onto the soil around the base of the plants. You can also use it as a foliar spray, but make sure to do it in the early morning or late evening to avoid burning the leaves.
DIY Hack #2: The Epsom Salt Boost for Sweeter Melons
Epsom salt (magnesium sulfate) is a gardener’s secret weapon! Magnesium helps plants absorb nutrients, especially phosphorus and nitrogen, which are essential for fruit development. It also helps with chlorophyll production, which is crucial for photosynthesis. I’ve found that adding Epsom salt to my watermelon plants results in sweeter, more flavorful melons.
What you’ll need:
* Epsom salt
* Watering can
Step-by-step instructions:
1. Mix the Epsom salt: Dissolve 1 tablespoon of Epsom salt in 1 gallon of water.
2. Apply the solution: Water your watermelon plants with the Epsom salt solution every 2-3 weeks, starting when the first flowers appear. Pour it directly onto the soil around the base of the plants.
3. Foliar spray (optional): You can also use the Epsom salt solution as a foliar spray. Mix 1 teaspoon of Epsom salt in 1 gallon of water and spray the leaves of your watermelon plants in the early morning or late evening.
DIY Hack #3: Hand-Pollination for Guaranteed Fruit Set
Watermelons have separate male and female flowers. The female flowers have a small, immature watermelon at the base, while the male flowers don’t. Bees are usually responsible for transferring pollen from the male flowers to the female flowers, but sometimes bee activity is low, or you might be growing your watermelons in a greenhouse. In these cases, hand-pollination is your best friend!
What you’ll need:
* A small paintbrush or cotton swab
Step-by-step instructions:
1. Identify male and female flowers: Look for the male flowers (they have a long, thin stem and no fruit at the base) and the female flowers (they have a small, immature watermelon at the base).
2. Collect pollen: Use the paintbrush or cotton swab to gently collect pollen from the male flower. Brush the anthers (the pollen-bearing parts) of the male flower to collect the pollen.
3. Transfer pollen: Gently transfer the pollen to the stigma (the sticky part in the center) of the female flower. Make sure to cover the stigma with pollen.
4. Mark the pollinated flower: Use a small piece of ribbon or string to mark the pollinated flower. This will help you keep track of which flowers you’ve already pollinated.
5. Repeat daily: Repeat the hand-pollination process every day until you see the small watermelons starting to grow. The best time to hand-pollinate is in the early morning, when the flowers are open and the pollen is fresh.
DIY Hack #4: The Trellis Trick for Space Saving and Better Air Circulation
If you’re short on space, or if you want to improve air circulation around your watermelon plants, consider growing them on a trellis. This will also help to keep the watermelons off the ground, which can prevent rot and pest problems.
What you’ll need:
* A sturdy trellis (at least 6 feet tall)
* Soft plant ties or pantyhose
* Strong support for the developing melons (slings)
Step-by-step instructions:
1. Choose a sturdy trellis: Make sure the trellis is strong enough to support the weight of the watermelons. A metal or wooden trellis is a good choice.
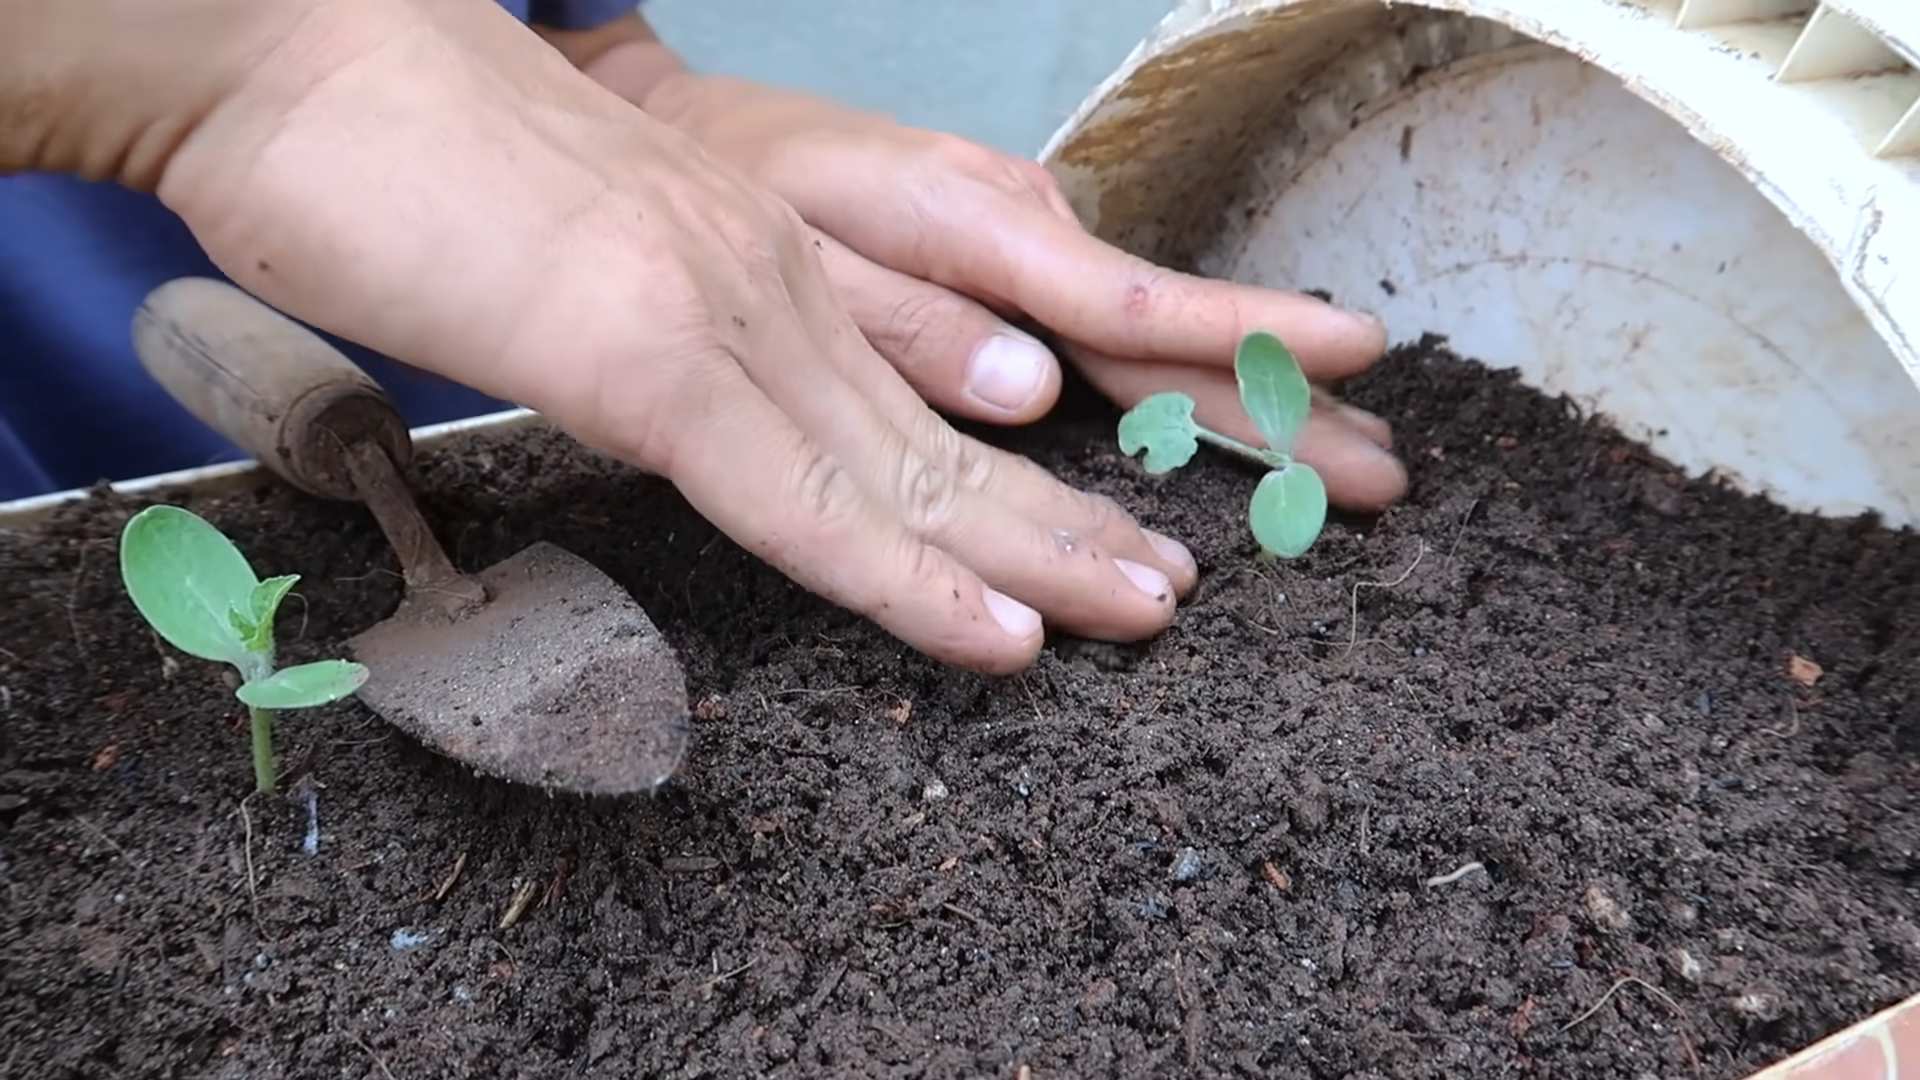
2. Plant your watermelons: Plant your watermelon seedlings near the base of the trellis.
3. Train the vines: As the watermelon vines grow, gently train them to climb the trellis. Use soft plant ties or strips of pantyhose to secure the vines to the trellis.
4. Support the melons: As the watermelons develop, they will need extra support. You can make slings out of old t-shirts, burlap, or netting. Tie the slings to the trellis to support the weight of the melons. Make sure the slings are strong enough to hold the weight of the melons as they grow.
5. Monitor and adjust: Regularly monitor the watermelon plants and adjust the ties and slings as needed.
DIY Hack #5: Pruning for Bigger and Better Fruits
Pruning your watermelon plants can seem counterintuitive, but it can actually help to produce bigger and better fruits. Pruning helps to direct the plant’s energy towards fruit development instead of leaf production.
What you’ll need:
* Sharp pruning shears or scissors
Step-by-step instructions:
1. Remove suckers: Suckers are small shoots that grow from the base of the plant. Remove these suckers as soon as you see them.
2. Prune lateral vines: After the main vine has produced a few watermelons, you can prune some of the lateral vines (the vines that grow off the main vine). This will help to direct the plant’s energy towards the developing fruits. Prune the lateral vines back to about 1-2 feet from the main vine.
3. Remove damaged or diseased leaves: Remove any damaged or diseased leaves as soon as you see them. This will help to prevent the spread of disease.
4. Limit fruit per vine: For larger varieties, limit the number of fruits per vine to 2-3. This will ensure that the plant has enough energy to produce large, high-quality watermelons. For smaller varieties, you
Conclusion
So, there you have it! This simple yet effective DIY trick to boost your watermelon harvest at home is more than just a gardening hack; it’s a gateway to enjoying the sweetest, juiciest watermelons you’ve ever tasted, all grown with your own two hands. We’ve walked you through the process, highlighting the benefits of increased pollination, improved fruit set, and ultimately, a more abundant yield.
Why is this a must-try? Because it empowers you to take control of your garden’s success. No more relying solely on unpredictable weather or the whims of nature. This method provides a tangible way to influence the outcome, ensuring you get the most out of your watermelon plants. Imagine the satisfaction of biting into a perfectly ripe watermelon, knowing you played a direct role in its creation. That’s the power of this DIY approach.
But the beauty of gardening lies in experimentation, so don’t be afraid to get creative! Consider these variations to tailor the technique to your specific needs and preferences:
* **Nutrient Boost:** While hand-pollinating, you can also gently mist the newly pollinated flowers with a diluted seaweed extract solution. This provides a subtle nutrient boost that can further enhance fruit development.
* **Timing is Key:** Pay close attention to the weather forecast. If you anticipate several days of rain, hand-pollinate proactively to ensure pollination occurs before the rain washes away the pollen.
* **Companion Planting:** Enhance your watermelon patch by planting companion plants like marigolds or basil. These attract pollinators and deter pests, creating a more favorable environment for your watermelons.
* **Different Varieties:** Experiment with different watermelon varieties to see which respond best to hand-pollination in your specific climate and soil conditions. Some varieties may naturally produce more male flowers than female flowers, making hand-pollination even more crucial.
* Grafting: Consider grafting your watermelon plants onto more vigorous rootstock. This can improve disease resistance and overall plant health, leading to a better harvest.
We genuinely believe that this DIY trick can transform your watermelon growing experience. It’s a small investment of time and effort that yields significant rewards. The key is consistency and observation. Regularly check your plants for female flowers, and don’t hesitate to lend a helping hand with pollination.
Now, it’s your turn! We wholeheartedly encourage you to try this DIY trick to **boost watermelon harvest** in your own garden. Document your journey, take photos, and share your experiences with us and the wider gardening community. Let us know what worked, what didn’t, and any variations you discovered along the way. Your insights can help others achieve watermelon-growing success.
We’re confident that you’ll be amazed by the results. Get ready to enjoy a bountiful harvest of delicious, homegrown watermelons! Happy gardening!
Frequently Asked Questions (FAQ)
1. Why is hand-pollination necessary for watermelons?
Watermelons rely on insects, primarily bees, to transfer pollen from male flowers to female flowers. However, several factors can limit natural pollination, including a decline in bee populations, unfavorable weather conditions (rain, wind), and the use of pesticides. Hand-pollination ensures that female flowers are adequately pollinated, leading to better fruit set and a more abundant harvest. In essence, it’s a way to take control and guarantee pollination, regardless of external factors.
2. How can I tell the difference between male and female watermelon flowers?
This is a crucial step! Male flowers grow on long, thin stems and have a prominent stamen (the pollen-producing part) in the center. Female flowers, on the other hand, have a small, immature watermelon (a tiny swelling) at the base of the flower, just behind the petals. This immature watermelon is the ovary, which will develop into the fruit if the flower is successfully pollinated. The female flower also has a stigma in the center, which is where the pollen needs to land. Look closely; the difference is usually quite noticeable.
3. What is the best time of day to hand-pollinate watermelons?
The ideal time to hand-pollinate is in the morning, ideally between 6:00 AM and 10:00 AM. This is when the pollen is most viable and the flowers are fully open. Avoid pollinating during the hottest part of the day, as the heat can damage the pollen.
4. How do I actually hand-pollinate a watermelon flower?
The process is quite simple. First, gently pluck a male flower. Remove the petals to expose the stamen, which is covered in pollen. Then, carefully dab the stamen onto the stigma of a female flower. Ensure that the stigma is thoroughly coated with pollen. You can use a small paintbrush to transfer the pollen if you prefer, but using the male flower directly is often the most effective method. Repeat this process for each female flower you want to pollinate.
5. How many times should I hand-pollinate a female flower?
Ideally, you should pollinate each female flower once. However, if you’re unsure whether the pollination was successful, you can repeat the process the following day. There’s no harm in being extra cautious.
6. How long does it take to see results after hand-pollinating?
You should start to see results within a few days. If the pollination was successful, the small watermelon at the base of the female flower will begin to swell and grow. If the flower withers and falls off without the watermelon developing, it means the pollination was unsuccessful.
7. What if I don’t have enough male flowers to pollinate all the female flowers?
This can happen, especially early in the season. If you don’t have enough male flowers, you can try to pollinate only the most promising female flowers. Alternatively, you can wait a day or two for more male flowers to bloom. Watermelon plants typically produce a new flush of flowers every few days.
8. Can I use pollen from a different variety of watermelon to pollinate my plants?
While it’s technically possible to cross-pollinate different watermelon varieties, it’s generally not recommended. The resulting fruit may not have the desired characteristics of either parent variety. It’s best to stick to pollinating with pollen from the same variety.
9. Are there any downsides to hand-pollinating watermelons?
The only real downside is the time and effort required. However, the rewards of a bountiful harvest far outweigh the minor inconvenience. Hand-pollination is a proactive approach that gives you greater control over your watermelon crop.
10. What other factors can affect watermelon yield besides pollination?
While pollination is crucial, other factors also play a significant role in watermelon yield. These include:
* **Soil Quality:** Watermelons need well-drained, fertile soil rich in organic matter.
* **Sunlight:** Watermelons require at least 6-8 hours of direct sunlight per day.
* **Watering:** Watermelons need consistent watering, especially during fruit development.
* **Fertilization:** Regular fertilization with a balanced fertilizer is essential for healthy growth and fruit production.
* **Pest and Disease Control:** Protecting your plants from pests and diseases is crucial for maximizing yield.
* Temperature: Watermelons thrive in warm temperatures. Consistent warm weather is essential for optimal growth and fruit development.
By addressing these factors in addition to hand-pollination, you can create the ideal conditions for a thriving watermelon harvest.


Leave a Comment