

Clean grease from cabinets – it’s a chore we all dread, isn’t it? That sticky, stubborn film that seems to laugh in the face of ordinary cleaners. But what if I told you that banishing that kitchen grime could be easier, cheaper, and even a little bit fun? This isn’t just another cleaning article; it’s your guide to reclaiming your kitchen with simple, DIY solutions that actually work!
For generations, resourceful homeowners have relied on homemade remedies to tackle tough cleaning tasks. Think about it – before the age of mass-produced cleaning products, our grandmothers were whipping up effective solutions using ingredients readily available in their pantries. This tradition of resourcefulness is not only economical but also allows us to control the ingredients we bring into our homes, opting for safer, more natural alternatives.
Why is learning how to clean grease from cabinets so important? Because a clean kitchen is a happy kitchen! Grease buildup not only looks unsightly but can also attract dust, bacteria, and even pests. Plus, a sparkling clean kitchen just makes cooking and spending time in the heart of your home so much more enjoyable. I’m going to share some of my favorite DIY tricks and hacks that will leave your cabinets looking brand new, without breaking the bank or exposing your family to harsh chemicals. Get ready to say goodbye to greasy cabinets and hello to a fresh, clean kitchen!
DIY Guide: Banish Grease from Your Kitchen Cabinets!
Okay, let’s face it: kitchen cabinets are grease magnets. No matter how diligent you are with cleaning, that sticky, grimy film always seems to reappear. But don’t despair! I’m going to walk you through a few tried-and-true methods to get your cabinets sparkling clean again. We’ll cover everything from gentle everyday cleaning to tackling those really stubborn, baked-on grease stains. Get ready to say goodbye to sticky cabinets and hello to a fresh, clean kitchen!
What You’ll Need: Your Grease-Busting Arsenal
Before we dive in, let’s gather our supplies. The beauty of these methods is that you probably already have most of these items in your pantry!
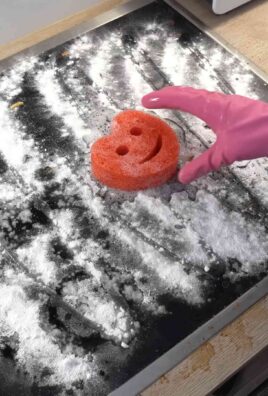
* Microfiber cloths: These are your best friends for cleaning. They’re gentle, absorbent, and won’t leave streaks.
* Soft sponges: For scrubbing, but avoid anything too abrasive that could scratch your cabinets.
* Warm water: The foundation of all good cleaning solutions.
* Dish soap: A mild dish soap is great for everyday cleaning.
* Baking soda: This is a natural abrasive that’s perfect for tackling tough grease.
* White vinegar: A powerful degreaser and disinfectant.
* Vegetable oil: Yes, you read that right! Oil can dissolve oil.
* Lemon essential oil (optional): Adds a fresh, clean scent.
* Spray bottle: For easy application of cleaning solutions.
* Old toothbrush: Perfect for getting into those hard-to-reach crevices.
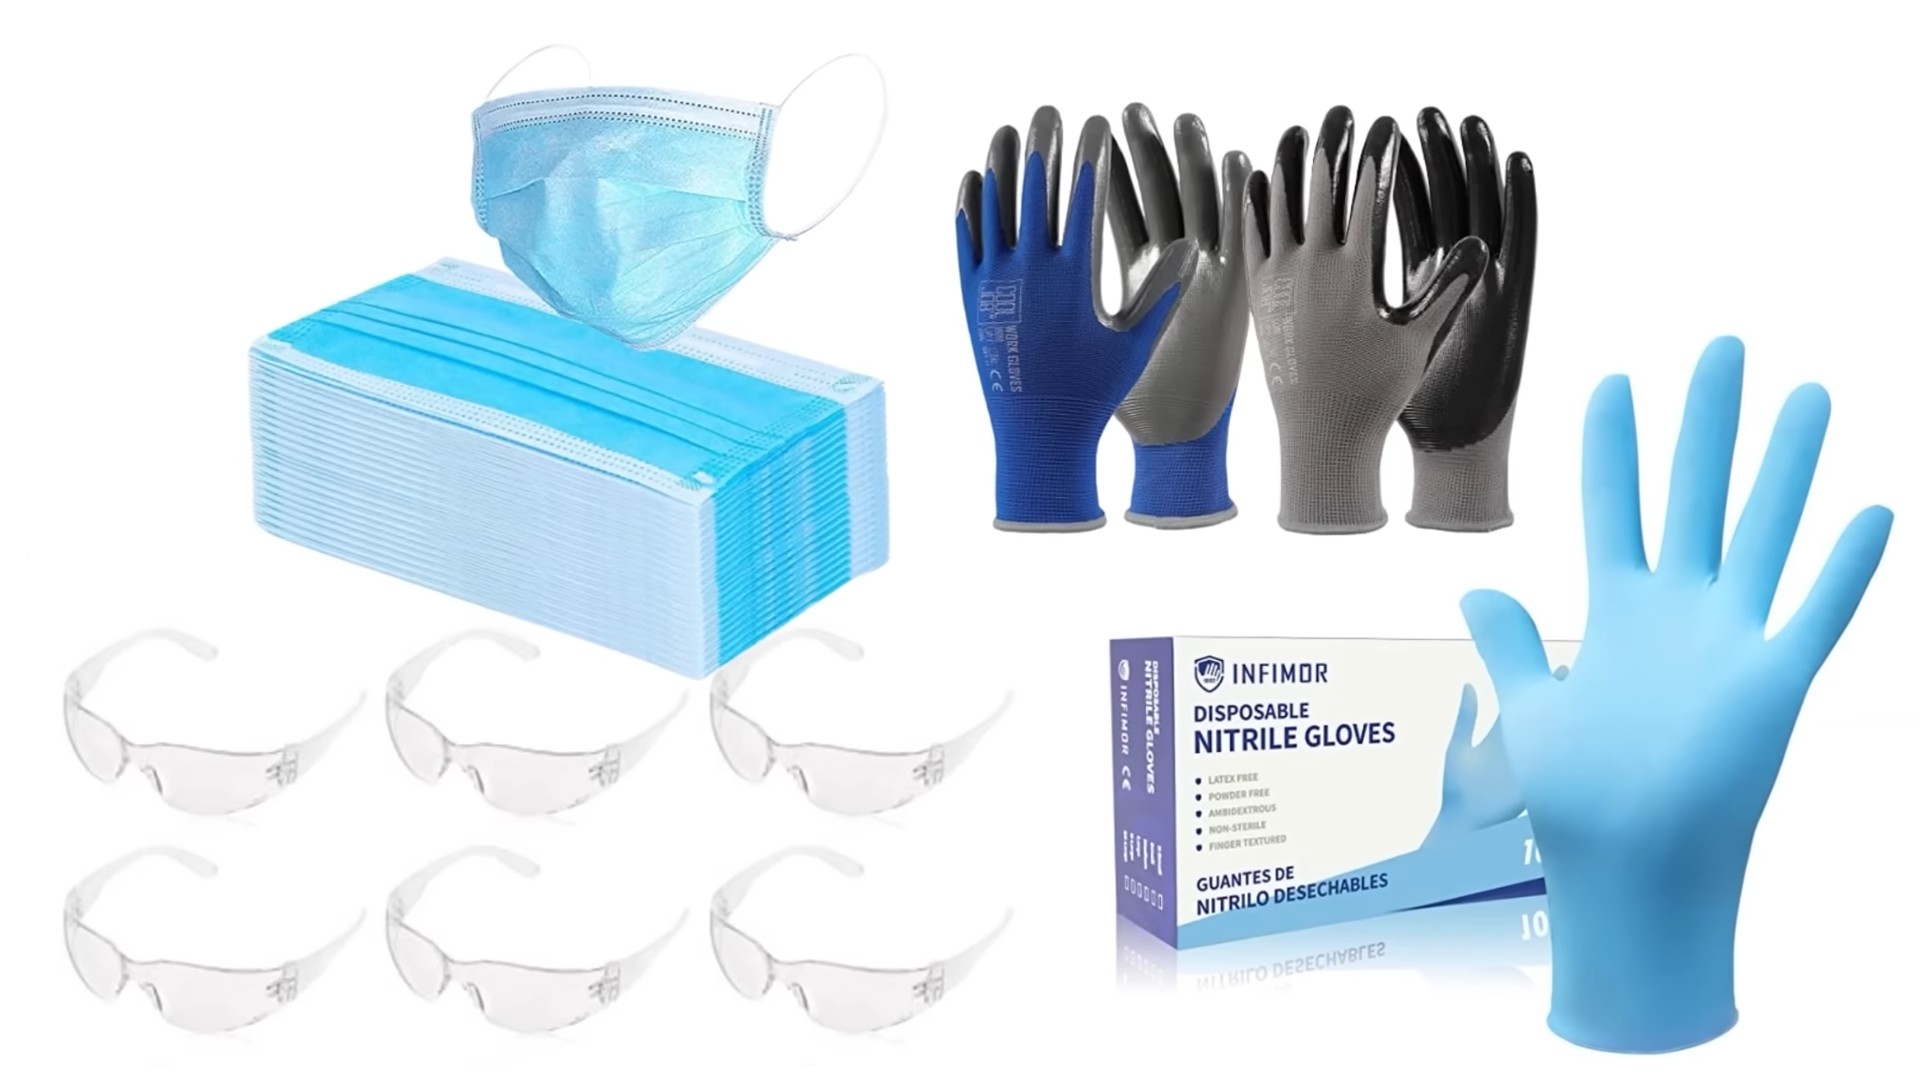
* Rubber gloves: To protect your hands from harsh cleaners.
* Paper towels: For drying and wiping up spills.
* Safety glasses (optional): To protect your eyes, especially when using stronger cleaners.
Method 1: The Gentle Approach – Dish Soap and Water
This is your go-to method for regular cleaning and maintenance. It’s gentle enough for most cabinet finishes and effective at removing light grease and grime.
Step 1: Prepare Your Cleaning Solution
In a bowl, mix a few drops of mild dish soap with warm water. You don’t need a lot of soap; just enough to create a slightly sudsy solution.
Step 2: Test in an Inconspicuous Area
Before you start cleaning the entire cabinet, test the solution in a hidden area, like the inside of a cabinet door. This will ensure that the solution doesn’t damage the finish. Let it sit for a few minutes, then wipe it off and check for any discoloration or damage.
Step 3: Wipe Down the Cabinets
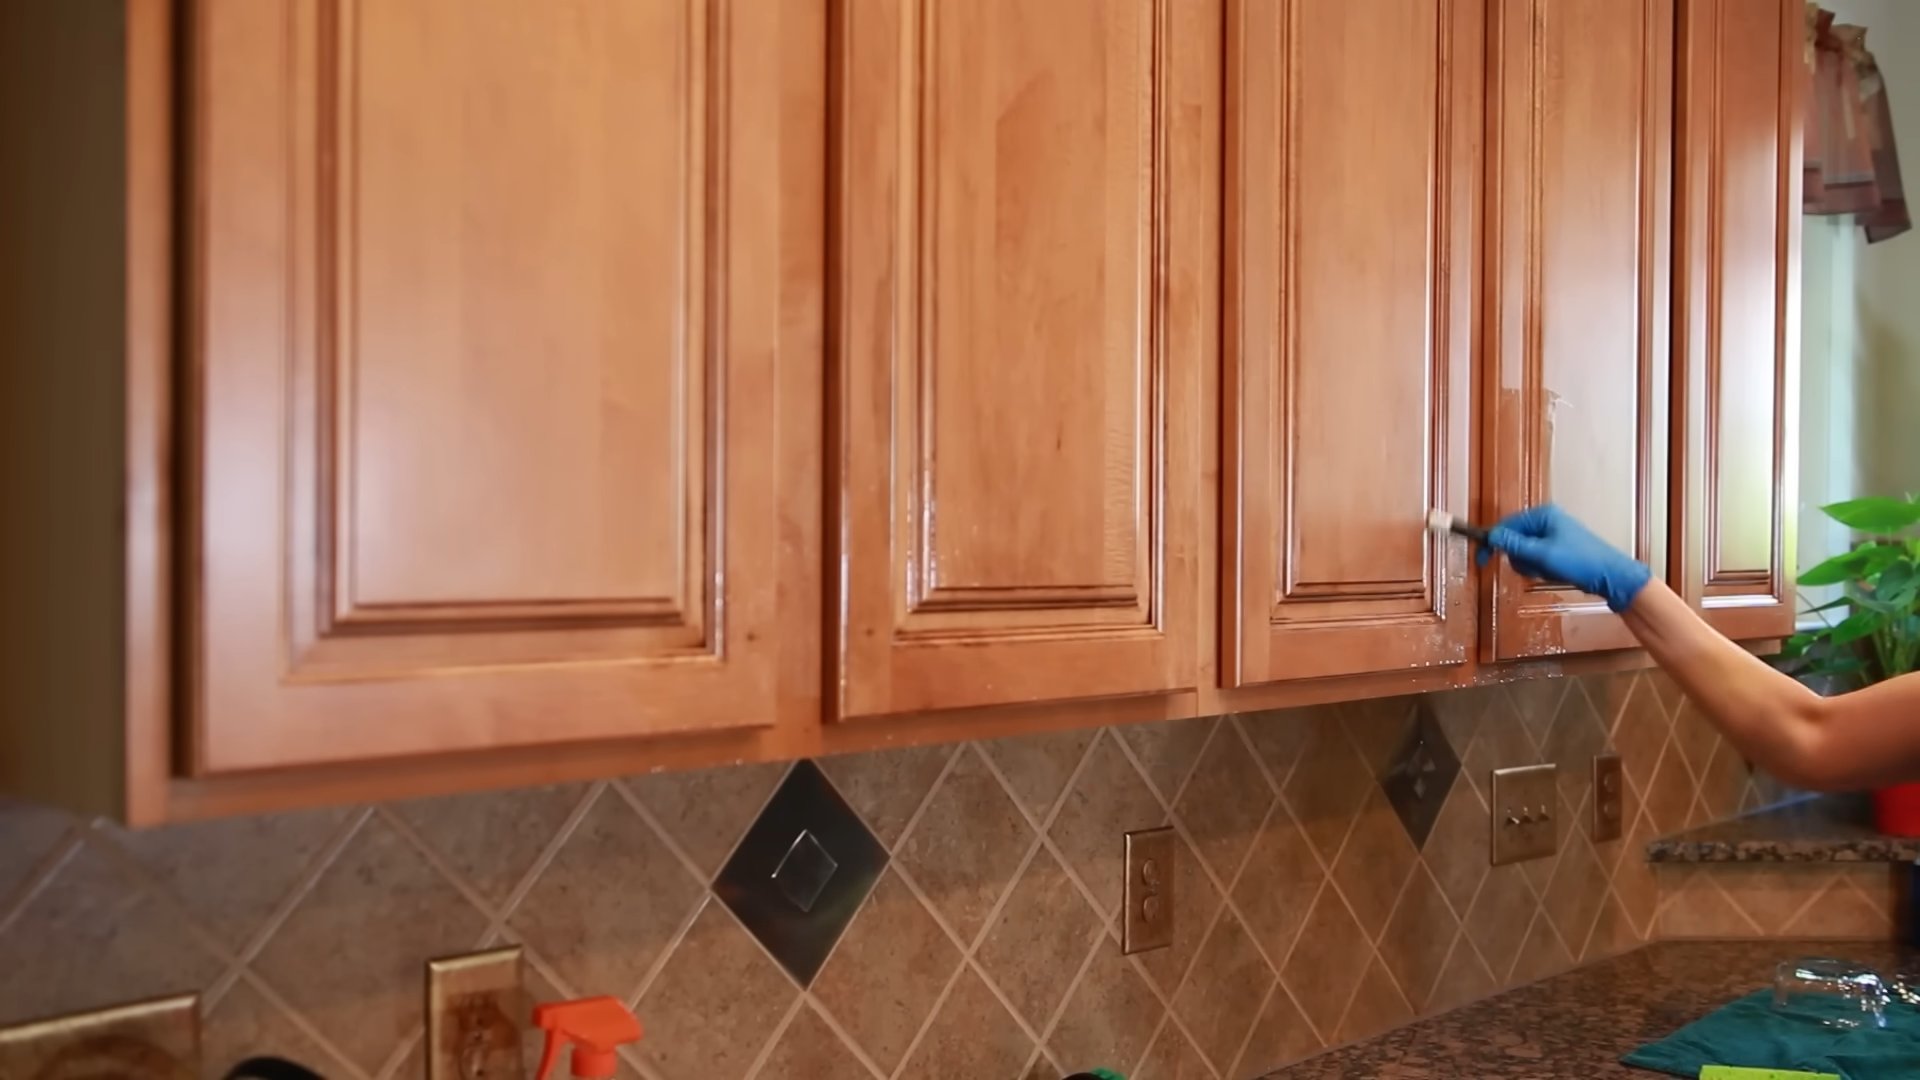
Dip a microfiber cloth into the soapy water, wring it out well (you don’t want the cabinets to be soaking wet), and wipe down the cabinets. Pay special attention to areas that tend to accumulate grease, like around the stove and sink.
Step 4: Rinse with Clean Water
Use a clean, damp microfiber cloth to rinse the cabinets. This will remove any soap residue.
Step 5: Dry Thoroughly
Dry the cabinets with a clean, dry microfiber cloth. This will prevent water spots and streaks.
Method 2: Baking Soda Power – For Stubborn Grease
Baking soda is a fantastic natural cleaner and a mild abrasive, making it perfect for tackling stubborn grease stains.
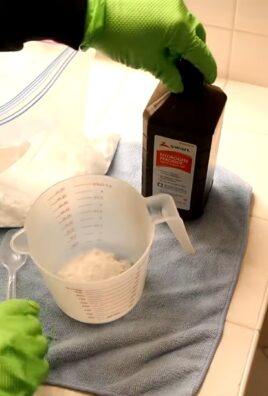
Step 1: Create a Baking Soda Paste
Mix baking soda with a small amount of water to form a thick paste. The consistency should be similar to toothpaste.
Step 2: Apply the Paste to the Grease Stains
Apply the baking soda paste directly to the grease stains. Use your fingers or a soft sponge to gently rub the paste into the stains.
Step 3: Let it Sit
Allow the paste to sit on the stains for 5-10 minutes. This will give the baking soda time to break down the grease.
Step 4: Scrub Gently
Using a soft sponge or an old toothbrush, gently scrub the stains. Avoid using too much pressure, as this could scratch the cabinet finish.
Step 5: Rinse with Clean Water
Rinse the cabinets with a clean, damp microfiber cloth to remove the baking soda residue.
Step 6: Dry Thoroughly
Dry the cabinets with a clean, dry microfiber cloth.
Method 3: Vinegar’s Victory – Degreasing and Disinfecting
White vinegar is a powerful degreaser and disinfectant. It’s also a natural and eco-friendly cleaning option.
Step 1: Prepare a Vinegar Solution
Mix equal parts white vinegar and warm water in a spray bottle.
Step 2: Spray the Cabinets
Spray the vinegar solution onto the cabinets, focusing on the greasy areas.
Step 3: Let it Sit
Allow the solution to sit for a few minutes to break down the grease.
Step 4: Wipe Clean
Wipe the cabinets clean with a microfiber cloth.
Step 5: Rinse with Clean Water (Optional)
If you don’t like the smell of vinegar, you can rinse the cabinets with a clean, damp microfiber cloth.
Step 6: Dry Thoroughly
Dry the cabinets with a clean, dry microfiber cloth.
Method 4: Oil vs. Oil – The Unexpected Grease Fighter
This might sound counterintuitive, but oil can actually dissolve oil! Vegetable oil is a gentle and effective way to remove stubborn grease stains.
Step 1: Apply Vegetable Oil
Apply a small amount of vegetable oil to a clean microfiber cloth.
Step 2: Rub the Grease Stains
Gently rub the oil onto the grease stains. The oil will help to loosen the grease.
Step 3: Wipe Clean with Soapy Water
Wipe the cabinets clean with a solution of mild dish soap and warm water.
Step 4: Rinse with Clean Water
Rinse the cabinets with a clean, damp microfiber cloth.
Step 5: Dry Thoroughly
Dry the cabinets with a clean, dry microfiber cloth.
Method 5: The Power of Steam – For Deep Cleaning
A steam cleaner can be a great way to deep clean your cabinets and remove stubborn grease and grime.
Step 1: Prepare Your Steam Cleaner
Fill your steam cleaner with water according to the manufacturer’s instructions.
Step 2: Attach the Appropriate Attachment
Use the appropriate attachment for cleaning cabinets. A soft brush attachment is usually best.
Step 3: Test in an Inconspicuous Area
Before you start cleaning the entire cabinet, test the steam cleaner in a hidden area.
Step 4: Steam Clean the Cabinets
Hold the steam cleaner a few inches away from the cabinets and move it slowly and steadily.
Step 5: Wipe Dry
Wipe the cabinets dry with a clean microfiber cloth.
Tips for Preventing Grease Buildup
Prevention is always better than cure! Here are a few tips to help prevent grease buildup on your cabinets:
* Wipe down your cabinets regularly: A quick wipe down with a damp cloth after cooking can go a long way in preventing grease buildup.
* Use your range hood: Always use your range hood when cooking, especially when frying or sautéing.
* Clean up spills immediately: Don’t let spills sit on your cabinets. Wipe them up as soon as possible.
* Consider using a backsplash: A backsplash can protect your walls and cabinets from grease splatters.
* Regularly clean your kitchen: A clean kitchen is less likely to attract grease and grime.
Important Considerations for Different Cabinet Finishes
Not all cabinets are created equal! Different finishes require different cleaning methods.
* Painted Cabinets: Be gentle! Avoid using abrasive cleaners or scrub brushes, as they can scratch the paint. Stick to mild dish soap and water or a vinegar solution.
* Wood Cabinets: Wood cabinets can be sensitive to moisture. Be sure to wring out your cloths well and dry the cabinets thoroughly after cleaning. You can also use a wood cleaner or polish to protect the finish.
* Laminate Cabinets: Laminate cabinets are generally easy to clean. You can use dish soap and water, vinegar solution, or a laminate cleaner.
* Glass-Front Cabinets: Clean the glass with a glass cleaner and the frames with a mild dish soap and water solution.
A Final Word on Safety
Always test any cleaning solution in an inconspicuous area before applying it to the entire cabinet. Wear rubber gloves to protect your hands from harsh cleaners. And be sure to ventilate your kitchen well when cleaning.
Cleaning grease from your kitchen cabinets can seem like a daunting task, but with these methods and a little elbow grease, you can get your cabinets sparkling clean again. Remember to be patient and persistent, and don’t be afraid to experiment to find the method that works best for you. Happy cleaning!
Conclusion
So, there you have it! This simple, yet incredibly effective DIY trick for cleaning grease from cabinets is a game-changer for anyone who’s ever battled sticky, grimy surfaces in their kitchen. Forget spending a fortune on harsh chemical cleaners that often leave behind unpleasant odors and can even damage your cabinet finishes. This method is not only budget-friendly, utilizing ingredients you likely already have in your pantry, but it’s also a gentler, more sustainable approach to keeping your kitchen sparkling.
The beauty of this DIY solution lies in its versatility. While the basic recipe of baking soda and a bit of oil (or dish soap) works wonders on most cabinet surfaces, feel free to experiment with variations to suit your specific needs and preferences. For instance, if you’re dealing with particularly stubborn grease buildup, consider adding a few drops of lemon essential oil to the mixture. Lemon oil is a natural degreaser and adds a refreshing scent to your cleaning routine. Alternatively, for painted cabinets, you might want to test the solution on an inconspicuous area first to ensure it doesn’t affect the paint. A slightly diluted version, with more water added, can be a safer bet for delicate finishes.
Another fantastic variation involves using vinegar. While baking soda is alkaline, vinegar is acidic, and the combination can create a powerful cleaning action. However, be cautious when using vinegar on certain surfaces, such as natural stone or waxed wood, as it can cause damage. Always do a spot test before applying it to the entire cabinet.
Beyond the basic ingredients, consider the application method. A soft-bristled brush can be incredibly helpful for reaching into crevices and corners, ensuring a thorough clean. Microfiber cloths are also excellent for wiping away the grease and grime without leaving behind streaks or residue. Remember to always wipe in the direction of the wood grain to avoid scratching the surface.
The real magic of this DIY grease-cleaning method is that it empowers you to take control of your cleaning routine. You’re not reliant on expensive, potentially harmful products. You’re using simple, readily available ingredients to achieve professional-level results. And the satisfaction of seeing your cabinets transform from greasy and grimy to clean and gleaming is truly rewarding.
We wholeheartedly encourage you to try this DIY trick for cleaning grease from cabinets. It’s a simple, effective, and affordable solution that will make a noticeable difference in the appearance and cleanliness of your kitchen. Once you’ve given it a try, we’d love to hear about your experience! Share your before-and-after photos, your favorite variations, and any tips or tricks you’ve discovered along the way. Let’s create a community of clean-cabinet enthusiasts and help each other keep our kitchens looking their best! Your feedback will not only help other readers but also inspire us to continue sharing valuable DIY solutions. So, grab your baking soda, your favorite oil, and get ready to say goodbye to greasy cabinets for good!
Frequently Asked Questions (FAQ)
What type of oil should I use for cleaning grease from cabinets?
You can use a variety of oils, but mineral oil and vegetable oil are generally recommended. Mineral oil is a great choice because it’s non-drying and helps to loosen the grease without leaving a sticky residue. Vegetable oil is another readily available option, but be sure to use it sparingly and wipe it off thoroughly to prevent it from going rancid. Olive oil can also be used, but it has a stronger scent and may leave a slightly oily residue if not properly removed. Avoid using essential oils as the primary oil, as they are too concentrated and can be irritating. The key is to use a small amount of oil to help dissolve the grease, rather than relying on it as the main cleaning agent.
Will this DIY cleaner damage my cabinet finish?
The risk of damage depends on the type of cabinet finish. For most painted or sealed wood cabinets, the baking soda and oil mixture is generally safe. However, it’s always best to test the solution on an inconspicuous area first, such as the inside of a cabinet door or a corner. This will allow you to see if the cleaner affects the paint, stain, or sealant. If you have delicate or antique cabinets, you may want to consult with a professional cleaner before using any DIY solutions. For waxed wood cabinets, avoid using vinegar, as it can strip the wax. Always use a gentle touch and avoid scrubbing too hard, as this can also damage the finish.
How often should I clean my cabinets to prevent grease buildup?
The frequency of cleaning depends on how often you cook and the type of cooking you do. If you frequently cook with oil or grease, you may need to clean your cabinets every few weeks. For less frequent cooks, a monthly cleaning may suffice. It’s a good idea to wipe down your cabinets after any particularly greasy cooking sessions to prevent buildup. Regular cleaning will make the job easier and prevent the grease from becoming hardened and difficult to remove.
Can I use this method on other surfaces besides cabinets?
Yes, this DIY cleaner can be used on other surfaces that are prone to grease buildup, such as stovetops, backsplashes, and range hoods. However, as with cabinets, it’s always best to test the solution on an inconspicuous area first to ensure it doesn’t damage the surface. Avoid using baking soda on delicate surfaces like glass or stainless steel, as it can scratch them. For these surfaces, a mixture of dish soap and water may be a better option.
What if the grease is really stubborn and won’t come off?
For stubborn grease buildup, you may need to let the baking soda and oil mixture sit on the surface for a longer period of time, up to 30 minutes. You can also try using a slightly more abrasive scrubbing tool, such as a non-scratch scouring pad. However, be careful not to scrub too hard, as this can damage the cabinet finish. Another option is to use a steam cleaner, which can help to loosen the grease and make it easier to remove. If all else fails, you may need to consult with a professional cleaner.
How do I prevent grease from building up on my cabinets in the first place?
Prevention is key to keeping your cabinets clean and grease-free. Always use your range hood or exhaust fan when cooking to help vent the grease and steam out of the kitchen. Wipe down your cabinets regularly with a damp cloth to remove any splatters or spills. Consider using a splatter screen when frying or sautéing to prevent grease from splattering onto your cabinets. You can also apply a protective coating to your cabinets, such as a wax or sealant, to make them easier to clean.
Is baking soda safe to use around children and pets?
Baking soda is generally considered safe to use around children and pets. It’s a non-toxic substance that is unlikely to cause harm if ingested in small amounts. However, it’s always a good idea to keep cleaning products out of reach of children and pets. If your child or pet ingests a large amount of baking soda, it may cause stomach upset or diarrhea. If you have any concerns, consult with your doctor or veterinarian.
How do I get rid of the baking soda residue after cleaning?
After cleaning your cabinets with the baking soda and oil mixture, be sure to wipe them down thoroughly with a clean, damp cloth to remove any residue. You may need to rinse the cloth several times to ensure that all of the baking soda is removed. You can also use a solution of vinegar and water to help neutralize the baking soda and remove any lingering residue. Simply mix equal parts vinegar and water in a spray bottle and spray it onto the cabinets, then wipe them down with a clean cloth.
Leave a Comment