

Clean jewelry with toothpaste? Yes, you read that right! I know it sounds a little unconventional, but trust me, this simple DIY trick can bring back the sparkle to your precious pieces without harsh chemicals or expensive trips to the jeweler. For centuries, people have sought ways to maintain the luster of their jewelry, from using natural abrasives like baking soda to specialized polishing cloths. But sometimes, the best solutions are right there in your bathroom cabinet!
Let’s be honest, life happens, and our jewelry often bears the brunt of it. Whether it’s daily wear and tear, exposure to lotions and perfumes, or simply the accumulation of dust and grime, your favorite rings, necklaces, and earrings can start to look dull and lifeless. Who wants to wear jewelry that doesn’t shine? That’s where this amazing DIY hack comes in. Learning how to clean jewelry with toothpaste is not only incredibly easy and affordable, but it’s also a gentle way to remove tarnish and restore the brilliance of your beloved accessories. So, ditch the expensive cleaners and get ready to discover a simple, effective, and surprising way to keep your jewelry looking its absolute best!
DIY Jewelry Cleaning with Toothpaste: A Sparkling Guide
Hey there, fellow jewelry lovers! Are your favorite necklaces, rings, and earrings looking a little dull? Don’t rush to the jeweler just yet! I’m going to show you a super simple and effective way to clean your jewelry using something you probably already have in your bathroom: toothpaste! Yes, you read that right. Toothpaste can work wonders on tarnished jewelry, bringing back its shine and sparkle. Let’s get started!
What You’ll Need
Before we dive in, let’s gather our supplies. This is a pretty low-key project, so you won’t need much:
* Toothpaste: This is the star of the show! Opt for a plain, white, non-gel toothpaste. Avoid anything with whitening agents, abrasives, or added colors, as these can potentially damage delicate jewelry. Think classic, basic toothpaste.
* Soft-bristled toothbrush: An old toothbrush works perfectly. Make sure it’s soft to avoid scratching your jewelry. A baby toothbrush is an excellent choice for intricate pieces.
* Warm water: For rinsing and soaking.
* Soft cloth: A microfiber cloth is ideal for drying and polishing.
* Small bowl (optional): For soaking your jewelry.
* Cotton swabs (optional): For cleaning hard-to-reach areas.
Choosing the Right Jewelry
Okay, before you start slathering toothpaste on everything you own, let’s talk about what kind of jewelry is suitable for this cleaning method.
* Good for: Gold, silver, platinum, and stainless steel jewelry generally respond well to toothpaste cleaning.
* Proceed with caution: Jewelry with soft stones like pearls, opals, emeralds, amber, or turquoise should be cleaned with extreme care or avoided altogether. Toothpaste can be too abrasive for these delicate materials.
* Avoid: Porous stones like coral or lapis lazuli should not be cleaned with toothpaste. The paste can get trapped in the pores and be difficult to remove. Also, avoid using toothpaste on plated jewelry, as it can wear away the plating over time.
If you’re unsure about a particular piece, it’s always best to test a small, inconspicuous area first or consult a professional jeweler.
Step-by-Step Cleaning Process
Alright, let’s get down to the nitty-gritty! Here’s how to clean your jewelry with toothpaste:
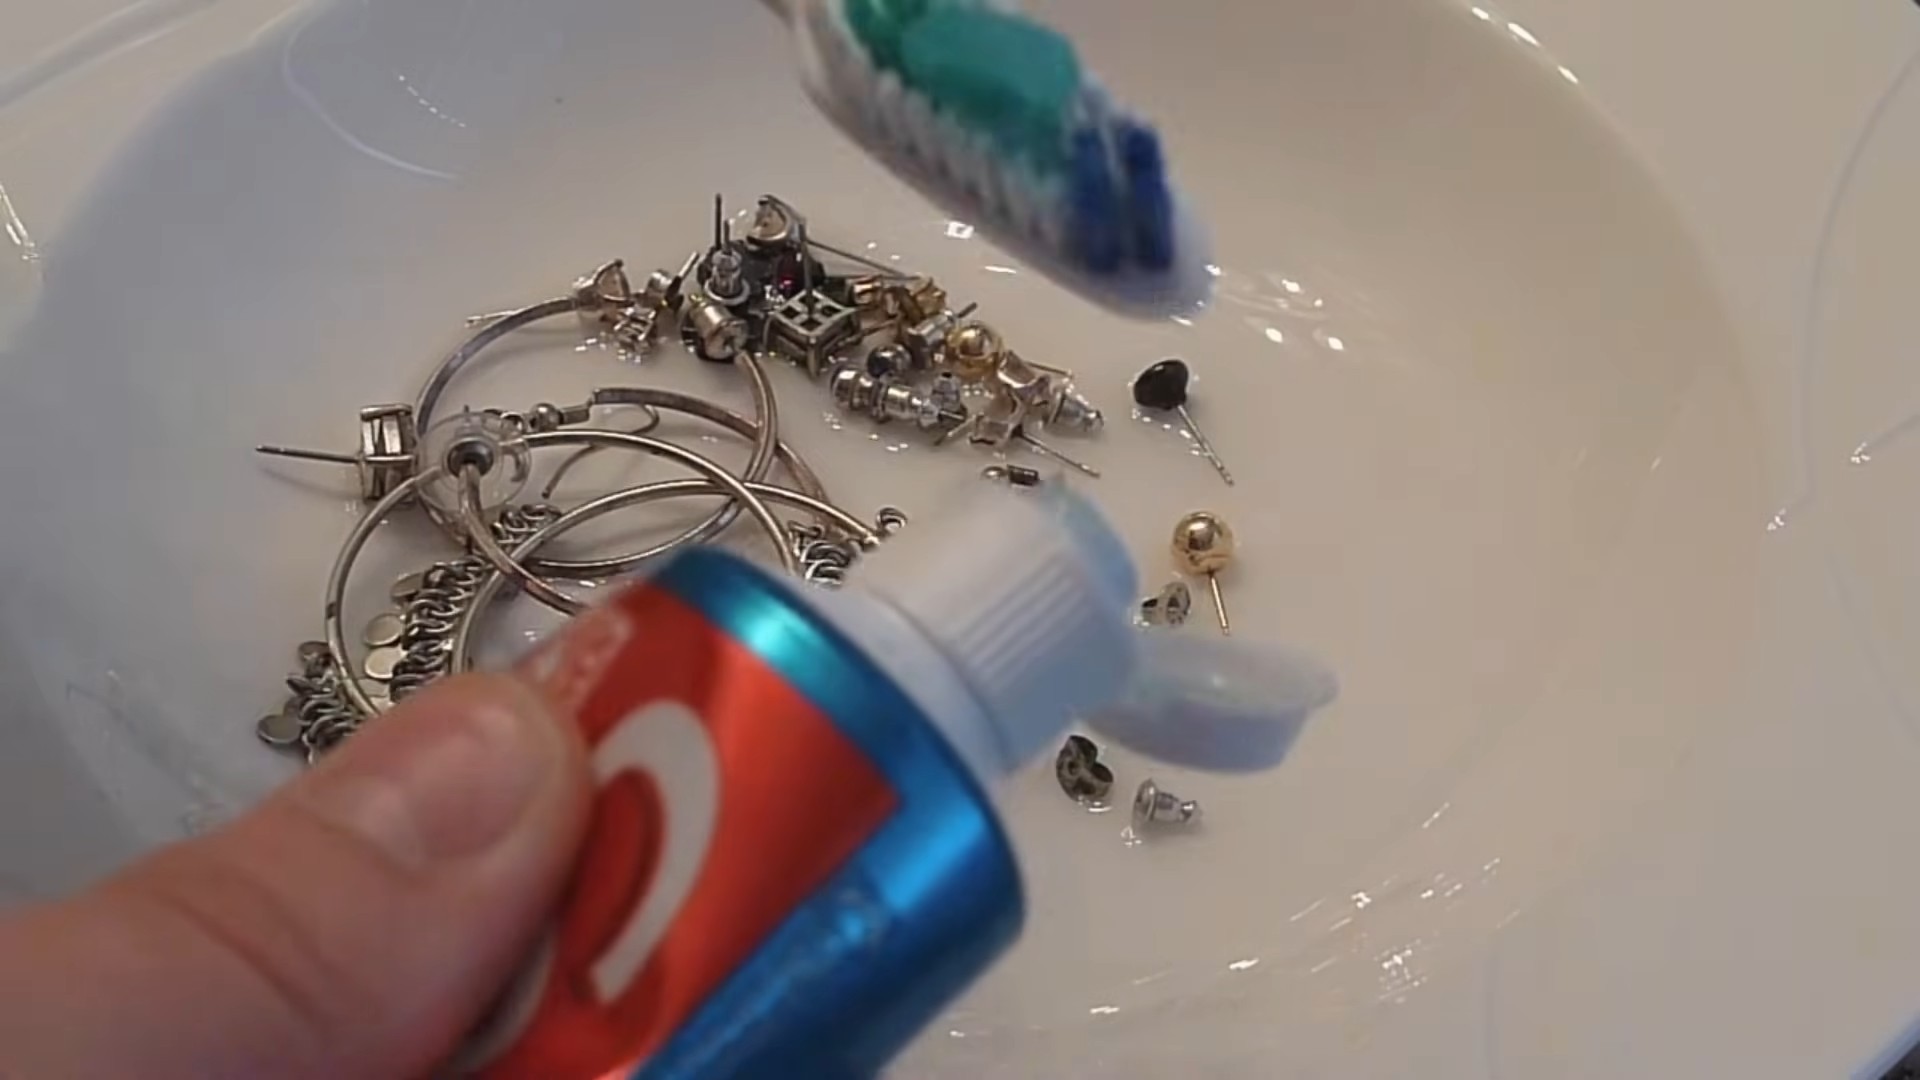
1. Prepare your workspace: Lay down a clean towel or cloth to protect your work surface and prevent your jewelry from rolling away.
2. Apply the toothpaste: Squeeze a small amount of toothpaste (about the size of a pea) onto your soft-bristled toothbrush. You don’t need a lot!
3. Gently scrub: Gently scrub your jewelry with the toothbrush, paying attention to areas with tarnish or dirt buildup. Use small, circular motions. Be extra careful around any stones or delicate settings. Remember, gentle is key! We don’t want to scratch anything.
4. Reach those tricky spots: For intricate designs or hard-to-reach areas, use a cotton swab dipped in toothpaste. This will allow you to get into those tiny crevices and remove stubborn dirt.
5. Soak (optional): For heavily tarnished jewelry, you can let it soak in a small bowl of warm water with a tiny dab of toothpaste for a few minutes before scrubbing. This can help loosen the tarnish and make it easier to remove. Don’t soak for too long, though – a few minutes is plenty.
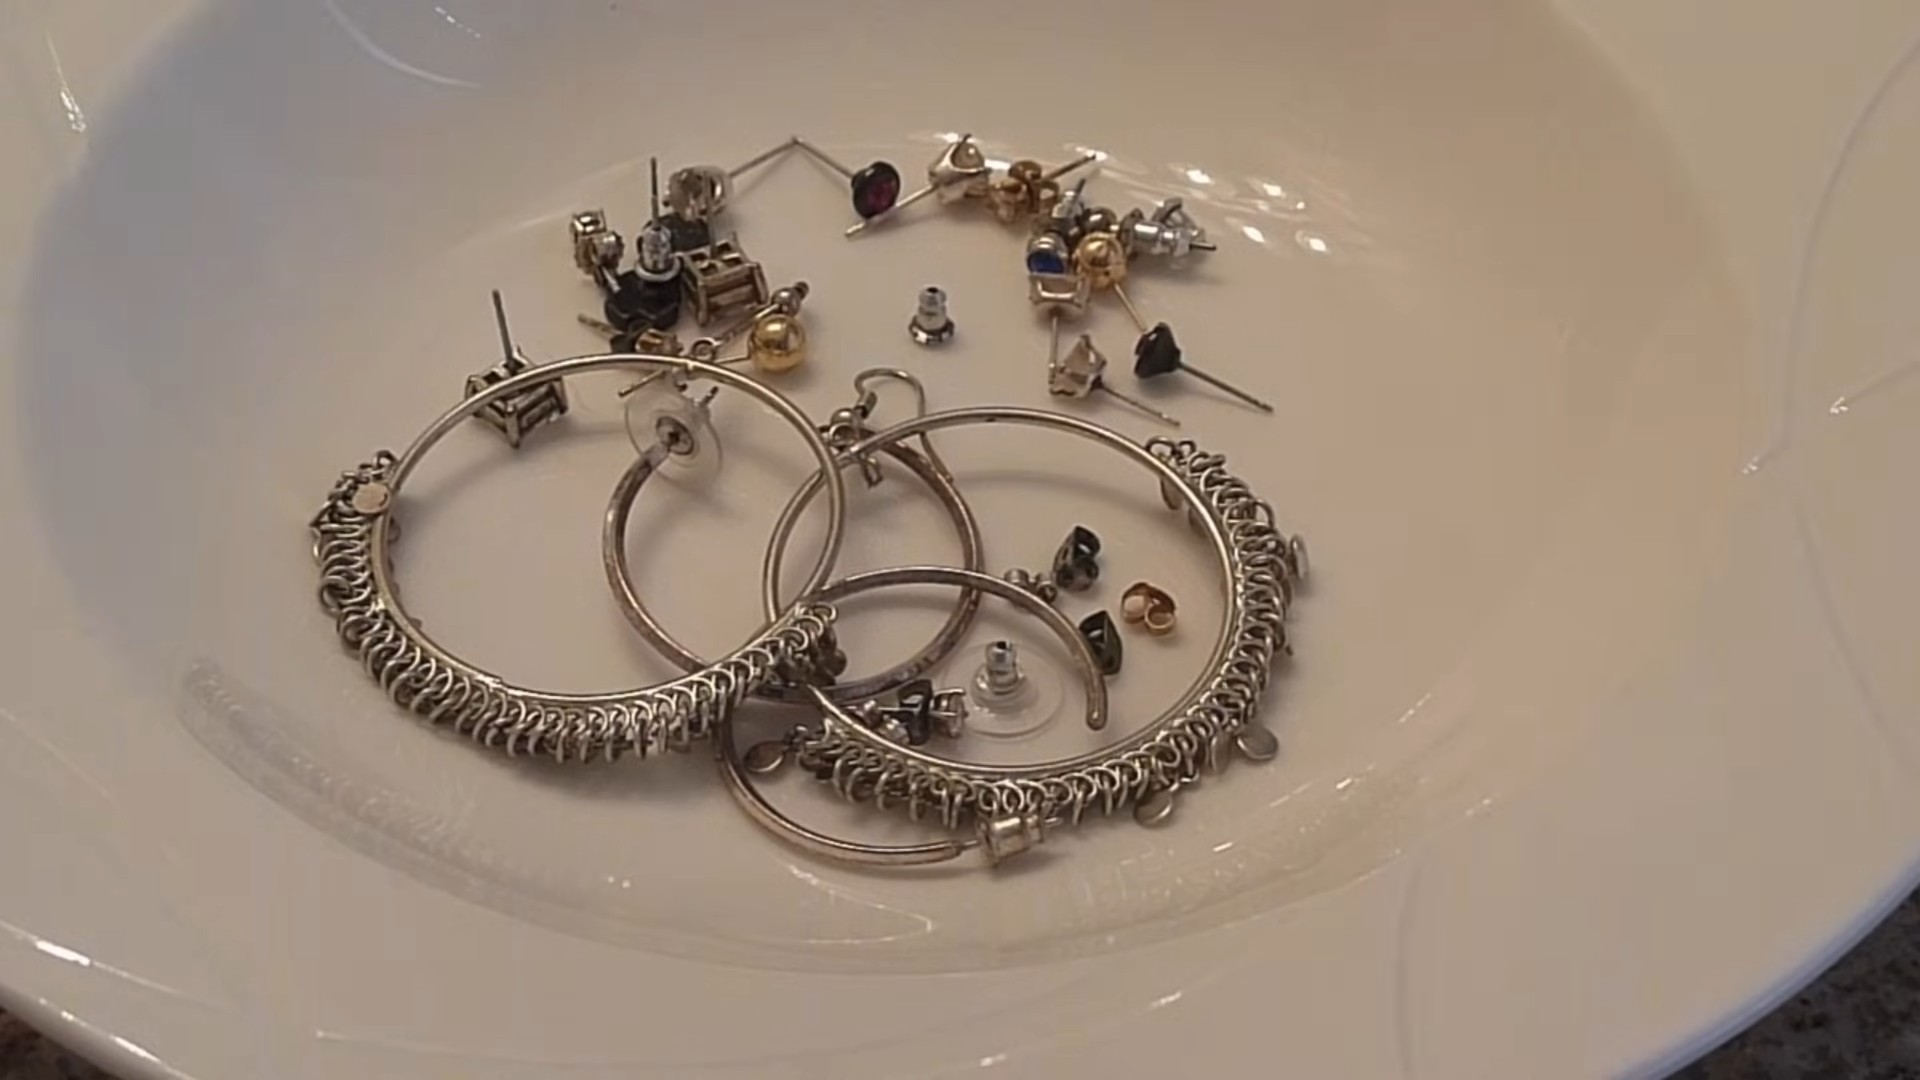
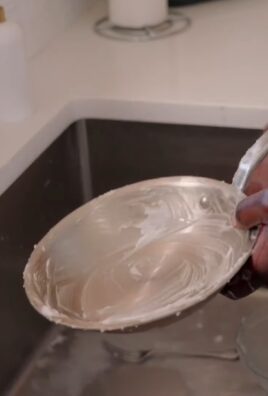
6. Rinse thoroughly: Once you’ve scrubbed your jewelry, rinse it thoroughly under warm running water. Make sure to remove all traces of toothpaste. Any leftover toothpaste can dry and leave a dull film.
7. Dry and polish: Use a soft, clean cloth (microfiber is best) to dry your jewelry completely. Gently buff the surface to restore its shine.
8. Inspect and repeat (if necessary): Take a close look at your jewelry. If you still see any tarnish or dirt, repeat the cleaning process. You might need to do a second round for heavily tarnished pieces.
Specific Jewelry Types: Tips and Tricks
Let’s break down the cleaning process for some common types of jewelry:
Gold Jewelry
Gold is generally quite durable, so you can be a little more assertive with your scrubbing. However, still avoid using abrasive toothpastes. A gentle scrubbing with a soft toothbrush and plain white toothpaste will usually do the trick. For gold chains, make sure to get into all the links to remove any accumulated dirt.
Silver Jewelry
Silver is prone to tarnishing, so you might need to repeat the cleaning process a few times for heavily tarnished pieces. Be extra gentle with silver jewelry, as it can scratch easily. After cleaning, consider using a silver polishing cloth to further enhance the shine and protect it from future tarnishing.
Diamond Jewelry
Diamonds are pretty tough, so you can clean them with toothpaste without worry. The toothpaste will help remove any dirt or oil buildup that’s dulling their sparkle. Pay special attention to the setting around the diamond, as dirt can often accumulate there.
Jewelry with Gemstones
As mentioned earlier, be very cautious when cleaning jewelry with gemstones. Avoid using toothpaste on soft or porous stones. For more durable gemstones like sapphires, rubies, and topaz, you can use a very small amount of toothpaste and a very soft toothbrush, but be extremely gentle and rinse thoroughly. If you’re unsure, it’s always best to consult a professional jeweler.
Important Considerations and Precautions
* Always test first: Before cleaning an entire piece of jewelry, test a small, inconspicuous area to make sure the toothpaste doesn’t damage the material.
* Avoid abrasive toothpastes: As I’ve mentioned several times, avoid using toothpastes with whitening agents, abrasives, or added colors. These can scratch or damage your jewelry.
* Rinse thoroughly: Make sure to rinse your jewelry thoroughly after cleaning to remove all traces of toothpaste.
* Dry completely: Always dry your jewelry completely after cleaning to prevent water spots or further tarnishing.
* Handle with care: Be gentle when scrubbing your jewelry, especially if it has delicate settings or stones.
* Professional cleaning: For valuable or delicate jewelry, it’s always best to consult a professional jeweler for cleaning.
Maintaining Your Sparkling Jewelry
Now that you’ve cleaned your jewelry, let’s talk about how to keep it looking its best:
* Store your jewelry properly: Store your jewelry in a clean, dry place, preferably in individual pouches or compartments to prevent scratching.
* Remove jewelry before showering or swimming: Soaps, shampoos, and chlorine can damage your jewelry over time.
* Avoid contact with harsh chemicals: Perfumes, lotions, and cleaning products can also damage your jewelry.
* Clean your jewelry regularly: Regular cleaning will prevent tarnish and dirt buildup, making it easier to keep your jewelry sparkling. A quick wipe with a soft cloth after each wear can go a long way.
* Consider professional cleaning: Even with regular cleaning at home, it’s a good idea to have your valuable jewelry professionally cleaned and inspected every year or two.
Troubleshooting
* Toothpaste residue: If you find it difficult to remove all the toothpaste residue, try using a soft brush and warm water. You can also use a jewelry cleaning solution specifically designed for removing residue.
* Scratches: If you accidentally scratch your jewelry, you might be able to buff out minor scratches with a jewelry polishing cloth. For deeper scratches, you’ll need to consult a professional jeweler.
* Tarnish won’t come off: If the tarnish is particularly stubborn, you might need to try a stronger cleaning solution or consult a professional jeweler.
Alternative Cleaning Methods
While toothpaste is a great option for cleaning jewelry, there are other methods you can try:
* Soap and water: A simple solution of warm water and mild dish soap can be effective for cleaning many types of jewelry.
* Baking soda paste: A paste made from baking soda and water can be used to clean heavily tarnished silver jewelry.
* Commercial jewelry cleaners: There are many commercial jewelry cleaners available that are specifically designed for different types of jewelry.
Remember to always follow the instructions on the product label and test a small area first.
So there you have it! A comprehensive guide to cleaning your jewelry with toothpaste. I hope this helps you keep your favorite pieces sparkling and looking their best. Happy cleaning!
Conclusion
So, there you have it! Unveiling the surprisingly effective secret of using toothpaste to bring back the sparkle to your beloved jewelry. This simple DIY trick is more than just a cleaning hack; it’s a testament to the power of everyday items to solve common problems. Forget expensive jewelry cleaners filled with harsh chemicals. With just a tube of toothpaste you likely already have in your bathroom, you can achieve professional-level results without breaking the bank or exposing your precious pieces to potentially damaging substances.
Why is this DIY jewelry cleaning method a must-try? Because it’s accessible, affordable, and remarkably effective. It’s a game-changer for anyone who wants to maintain the beauty of their jewelry without the hassle and expense of professional cleaning services. Think about it: no more trips to the jeweler, no more waiting days to get your pieces back, and no more worrying about the ingredients in commercial cleaners. You’re in complete control, using a gentle abrasive that’s designed for your teeth, making it surprisingly safe for most jewelry.
But the beauty of this method lies not only in its simplicity but also in its adaptability. Feel free to experiment with different types of toothpaste. While a plain, non-gel toothpaste is generally recommended, you might find that a whitening toothpaste provides an extra boost for removing stubborn tarnish. Just be cautious with abrasive whitening toothpastes on delicate or soft stones like pearls or opals. For these, a very gentle touch and a soft cloth are essential.
Consider these variations to tailor the cleaning process to your specific needs:
* For heavily tarnished pieces: Let the toothpaste sit on the jewelry for a few minutes before gently scrubbing. This allows the mild abrasives to work their magic on the stubborn tarnish.
* For intricate designs: Use a soft-bristled toothbrush to reach those hard-to-clean crevices and ensure a thorough cleaning.
* For extra shine: After rinsing and drying, buff your jewelry with a microfiber cloth to bring out its natural luster.
We wholeheartedly encourage you to try this DIY jewelry cleaning trick with toothpaste. It’s a quick, easy, and effective way to restore the brilliance of your favorite pieces. We’re confident that you’ll be amazed by the results.
But don’t just take our word for it! We want to hear about your experiences. Did you find this method as effective as we did? Did you discover any variations that worked particularly well for you? Share your tips, tricks, and before-and-after photos in the comments below. Let’s create a community of jewelry-loving DIYers who are passionate about keeping their treasures sparkling! Your feedback will not only help others but also contribute to refining this already fantastic cleaning method. So, grab your toothpaste, gather your jewelry, and get ready to witness the transformative power of this simple yet effective cleaning solution. Let the sparkle begin!
Frequently Asked Questions (FAQs)
1. What type of toothpaste is best for cleaning jewelry?
The best type of toothpaste to use for cleaning jewelry is a plain, non-gel toothpaste. Avoid using gel toothpastes, as they often lack the mild abrasives needed to effectively remove tarnish and dirt. Whitening toothpastes can be used with caution, but be mindful of their potentially higher abrasiveness, especially on delicate stones or softer metals. Always test a small, inconspicuous area first to ensure no damage occurs. The key is to use a toothpaste that is gentle enough to clean without scratching or harming the jewelry.
2. Can I use toothpaste to clean all types of jewelry?
While toothpaste is generally safe for cleaning most types of jewelry, it’s not recommended for all materials. Avoid using toothpaste on soft or porous stones like pearls, opals, emeralds, turquoise, and amber. The abrasives in toothpaste can scratch or damage these delicate materials. Similarly, avoid using toothpaste on plated jewelry, as it can wear away the plating over time. Solid gold, silver, platinum, and durable gemstones like diamonds, sapphires, and rubies are generally safe to clean with toothpaste. When in doubt, consult a professional jeweler or test a small, hidden area first.
3. How often should I clean my jewelry with toothpaste?
The frequency of cleaning your jewelry with toothpaste depends on how often you wear it and how quickly it tarnishes. For jewelry worn daily, a cleaning every few weeks may be sufficient. For pieces worn less frequently, cleaning every few months may be enough. Avoid over-cleaning, as excessive scrubbing can potentially damage the jewelry over time. Always inspect your jewelry regularly and clean it only when it appears dull or tarnished.
4. What is the best way to apply toothpaste to jewelry for cleaning?
The best way to apply toothpaste to jewelry for cleaning is to use a small amount of toothpaste on a soft cloth or a soft-bristled toothbrush. Gently rub the toothpaste onto the jewelry, paying attention to areas with tarnish or dirt buildup. For intricate designs, use the toothbrush to reach those hard-to-clean crevices. Avoid applying excessive pressure, as this can scratch the jewelry. After cleaning, rinse the jewelry thoroughly with water and dry it with a soft cloth.
5. What should I do if toothpaste gets stuck in the crevices of my jewelry?
If toothpaste gets stuck in the crevices of your jewelry, use a soft-bristled toothbrush or a toothpick to gently remove it. You can also try soaking the jewelry in warm water for a few minutes to loosen the toothpaste. Rinse the jewelry thoroughly with water and dry it with a soft cloth. Ensure all traces of toothpaste are removed to prevent any residue buildup.
6. Can I use toothpaste to remove scratches from my jewelry?
While toothpaste can help to minimize the appearance of minor scratches on some types of jewelry, it’s not a substitute for professional polishing. Toothpaste contains mild abrasives that can buff out very superficial scratches, but it won’t remove deeper scratches or gouges. For significant scratches, it’s best to consult a professional jeweler who can properly polish and restore your jewelry.
7. Is it safe to use toothpaste on antique or vintage jewelry?
Cleaning antique or vintage jewelry with toothpaste requires extra caution. These pieces often have delicate settings, fragile stones, or worn finishes that can be easily damaged. Before cleaning any antique or vintage jewelry with toothpaste, test a small, inconspicuous area first. If you’re unsure, it’s best to consult a professional jeweler who specializes in antique jewelry restoration. They can provide the safest and most effective cleaning methods for your precious heirlooms.
8. What are some alternative methods for cleaning jewelry besides using toothpaste?
Besides using toothpaste, there are several other effective methods for cleaning jewelry. These include:
* Soap and water: A gentle solution of warm water and mild dish soap is a safe and effective way to clean most types of jewelry.
* Baking soda paste: A paste made from baking soda and water can be used to remove tarnish from silver jewelry.
* Commercial jewelry cleaners: There are many commercially available jewelry cleaners that are specifically formulated for different types of jewelry. Always follow the manufacturer’s instructions carefully.
* Ultrasonic cleaners: Ultrasonic cleaners use sound waves to remove dirt and grime from jewelry. These are best used for durable jewelry without delicate stones.
Always research the best cleaning method for your specific type of jewelry before proceeding.
9. How can I prevent my jewelry from tarnishing in the first place?
Preventing tarnish is key to keeping your jewelry looking its best. Here are some tips:
* Store your jewelry properly: Store your jewelry in a dry, airtight container or pouch to prevent exposure to air and moisture.
* Remove jewelry before showering, swimming, or exercising: Exposure to water, chlorine, and sweat can accelerate tarnishing.
* Avoid contact with harsh chemicals: Perfumes, lotions, and cleaning products can damage jewelry and cause it to tarnish.
* Clean your jewelry regularly: Regular cleaning helps to remove dirt and oils that can contribute to tarnishing.
* Use anti-tarnish strips: Place anti-tarnish strips in your jewelry box to absorb moisture and prevent tarnishing.
By following these tips, you can significantly reduce the rate at which your jewelry tarnishes and keep it looking beautiful for years to come.


Leave a Comment