

Cleaning greasy cabinets can feel like an uphill battle, right? I know I’ve been there, staring at those sticky surfaces, wondering if I’ll ever see the original wood grain again! But don’t despair, because this isn’t just about aesthetics; it’s about maintaining a healthy and hygienic kitchen environment. Think about it – grease attracts dust, grime, and even bacteria. Over time, this buildup can become incredibly difficult to remove, and let’s be honest, it’s not exactly inviting when you’re preparing meals.
Historically, keeping kitchens clean has always been a priority. From ancient hearths to modern stovetops, people have devised ingenious methods for tackling grease and grime. While our ancestors might have used lye or harsh abrasives, we have the advantage of modern science and readily available ingredients to make cleaning greasy cabinets a breeze.
This DIY guide is packed with simple, effective tricks and hacks that will transform your greasy cabinets from a source of frustration to a point of pride. I’ll share my favorite homemade solutions, step-by-step instructions, and preventative measures to keep your cabinets sparkling for longer. So, grab your supplies, and let’s get started on reclaiming your kitchen!
DIY Guide: Banish Grease from Your Kitchen Cabinets!
Hey there, fellow DIY enthusiasts! Are your kitchen cabinets looking a little… well, let’s just say “loved”? If they’re sporting a greasy film that seems impossible to remove, you’ve come to the right place. I’ve battled this kitchen nemesis myself, and I’m here to share my tried-and-true method for getting those cabinets sparkling clean again. Get ready to say goodbye to sticky residue and hello to a fresh, inviting kitchen!
What You’ll Need
Before we dive in, let’s gather our supplies. This is a pretty straightforward project, and you probably already have most of these items on hand.
* Cleaning Supplies:
* Dish soap (a degreasing formula is ideal)
* Baking soda
* White vinegar
* Warm water
* Spray bottle
* Microfiber cloths (lots of them!)
* Soft-bristled brush (an old toothbrush works great for tight spots)
* Optional: Orange essential oil (for extra degreasing power and a pleasant scent)
* Protective Gear:
* Rubber gloves (trust me, you’ll want these!)
* Other Essentials:
* Bucket or large bowl
* Ladder or step stool (if needed)
* Old towels or drop cloths (to protect your countertops and floor)
Preparing Your Workspace
Okay, let’s get our kitchen ready for a cabinet-cleaning extravaganza!
1. Clear the Area: Remove everything from your countertops that sits below the cabinets you’ll be cleaning. This will give you plenty of room to maneuver and prevent anything from getting splashed with cleaning solution.
2. Protect Your Surfaces: Lay down old towels or drop cloths on your countertops and floor to catch any drips or spills. This is especially important if you have delicate countertops or flooring.
3. Ventilate the Kitchen: Open windows and turn on your kitchen fan to ensure good ventilation. This will help dissipate any fumes from the cleaning solutions and keep the air fresh.
Creating Your Grease-Busting Cleaning Solutions
Now for the magic! We’re going to whip up a few different cleaning solutions to tackle that stubborn grease.
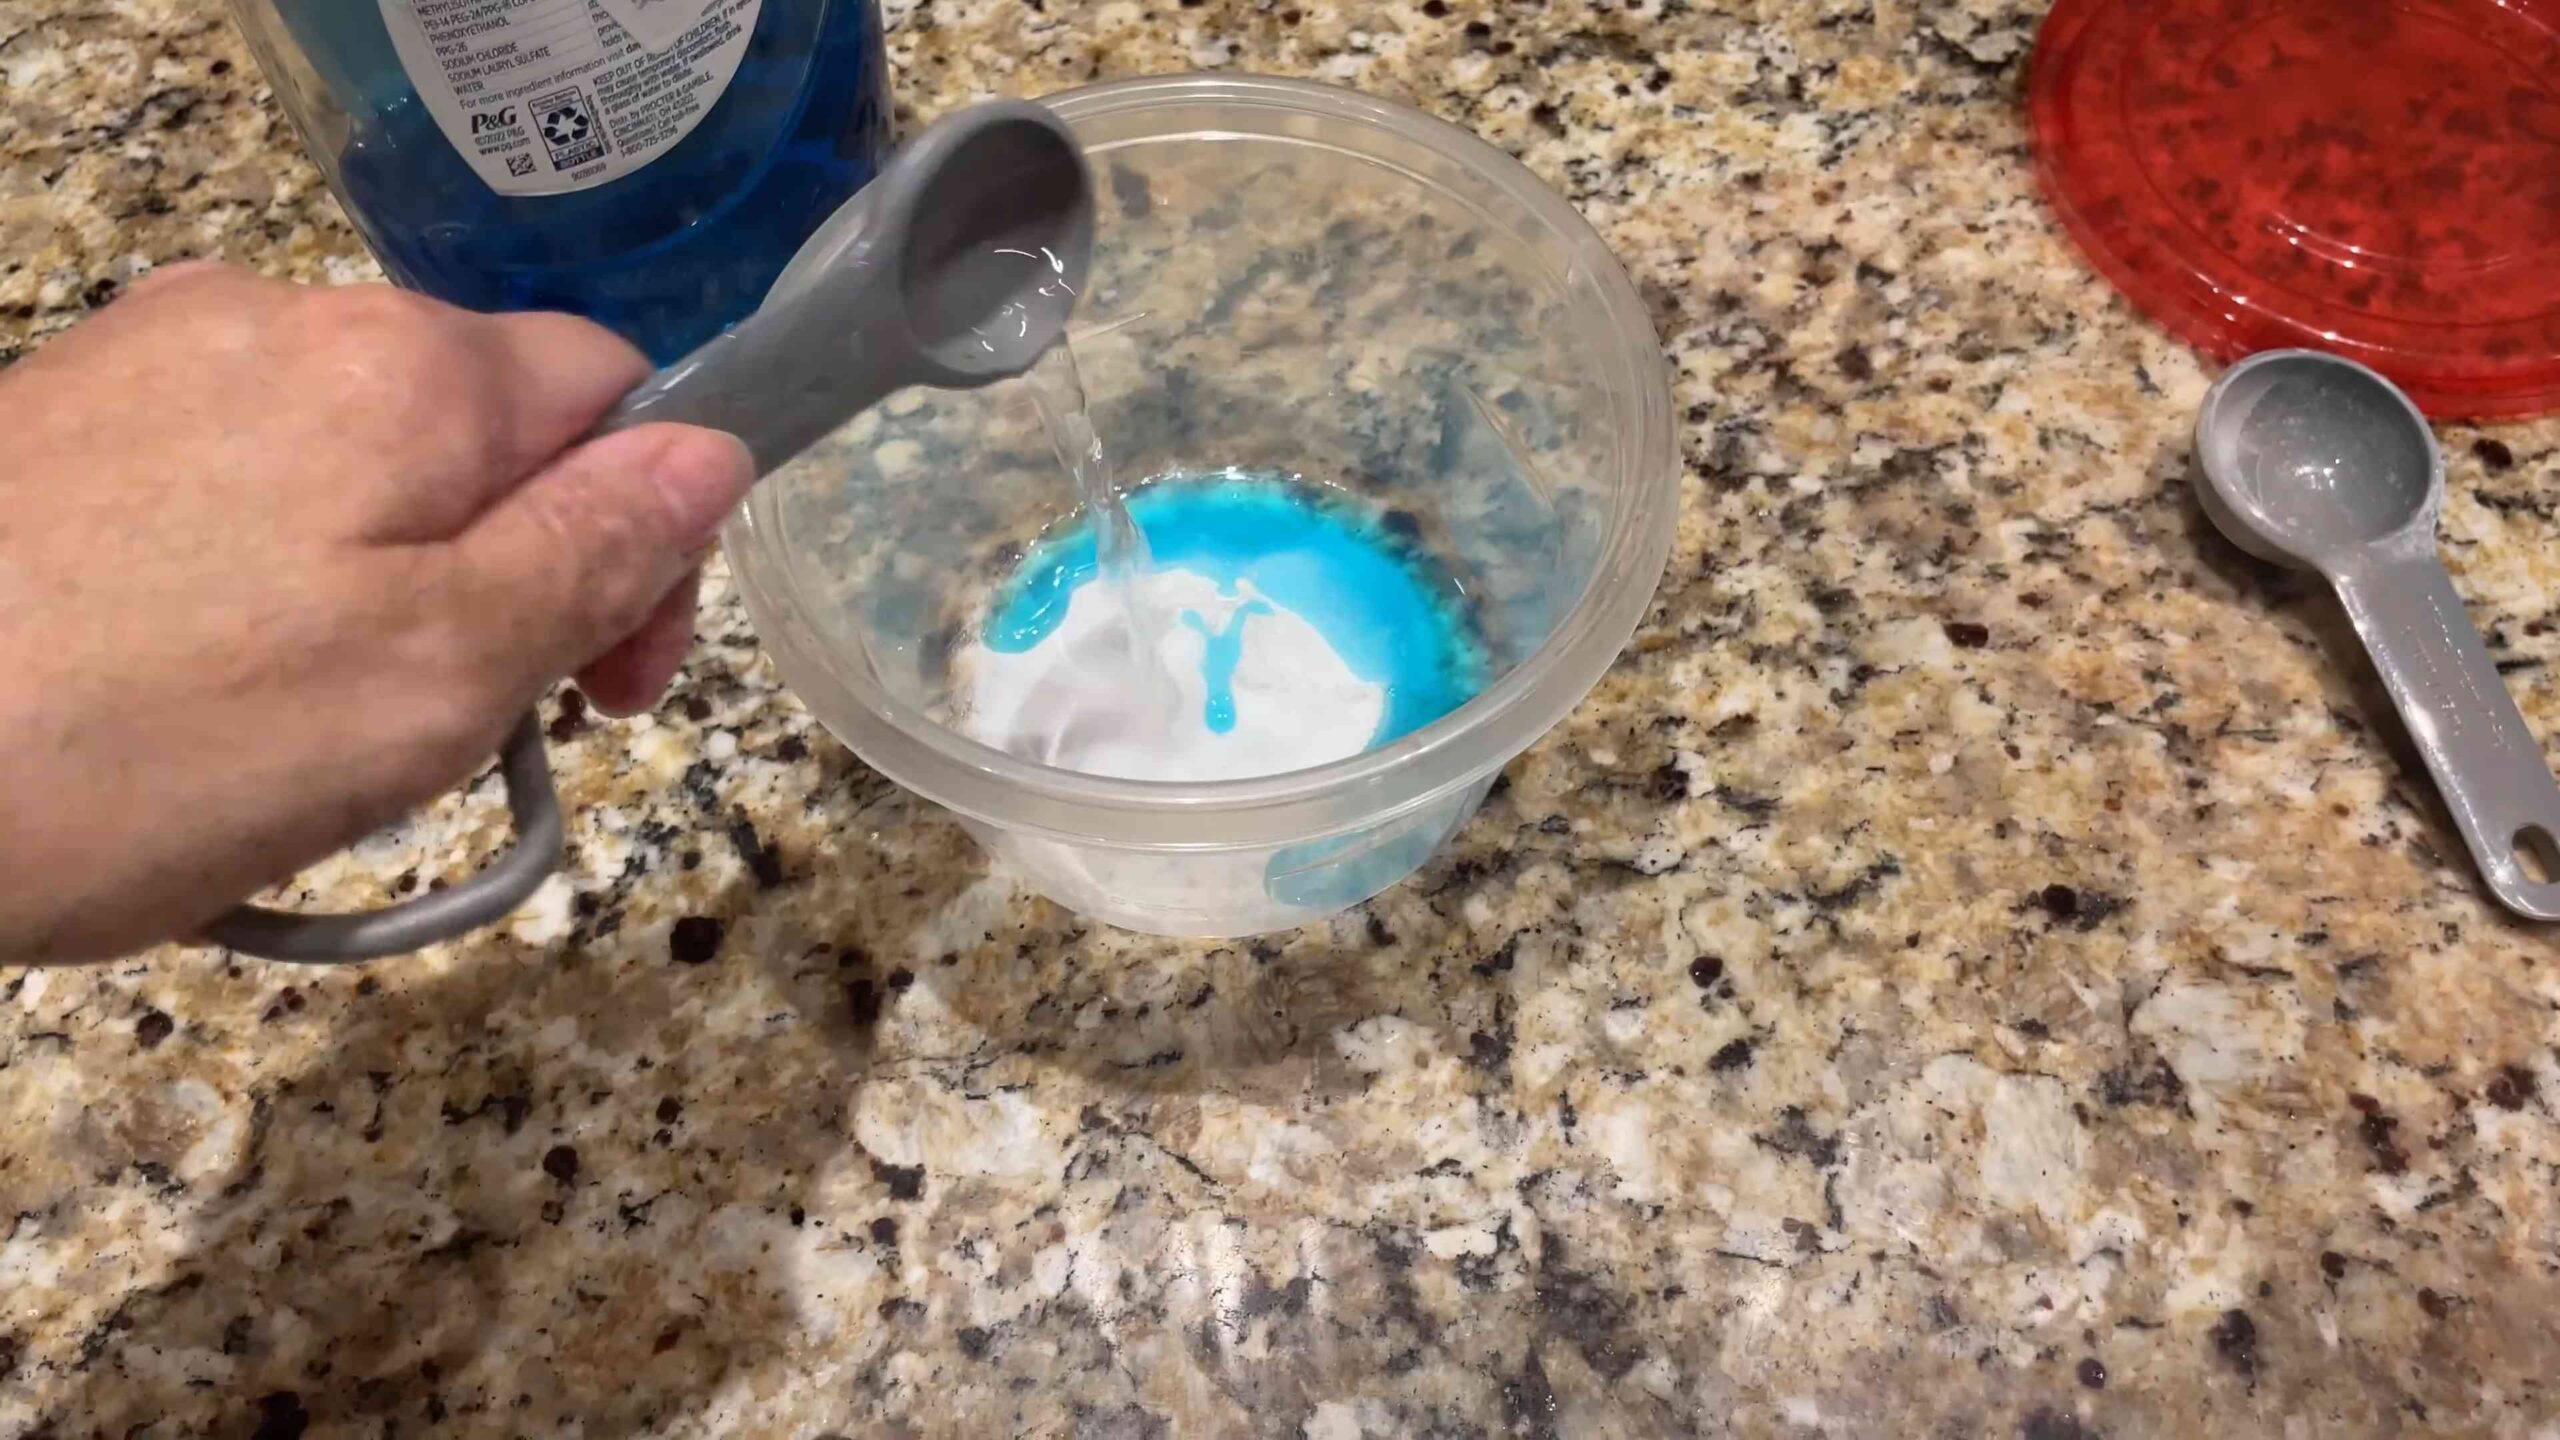
1. Dish Soap Solution: In a bucket or large bowl, mix a few squirts of dish soap with warm water. This will be our primary cleaning solution for most of the cabinet surfaces.
2. Baking Soda Paste: In a small bowl, mix baking soda with a little water to form a thick paste. This will be our heavy-duty cleaner for tackling particularly stubborn grease spots. The baking soda acts as a gentle abrasive, helping to lift the grease without scratching the cabinet finish.
3. Vinegar Spray (Optional): Fill a spray bottle with equal parts white vinegar and warm water. This solution is great for cutting through grease and removing any lingering residue. However, be cautious when using vinegar on certain cabinet finishes, as it can potentially damage them. Always test it in an inconspicuous area first.
4. Orange Essential Oil Boost (Optional): Add a few drops of orange essential oil to your dish soap solution for an extra boost of degreasing power and a refreshing citrus scent.
Cleaning Your Cabinets: Step-by-Step
Alright, let’s get down to the nitty-gritty! We’ll start with the general cleaning and then move on to those extra-greasy spots.
1. Test Your Cleaning Solution: Before you start cleaning the entire cabinet, test your dish soap solution in an inconspicuous area, such as the inside of a cabinet door or the back of a cabinet. This will ensure that the solution doesn’t damage the finish.
2. Wipe Down with Dish Soap Solution: Dip a microfiber cloth into your dish soap solution, wring it out well, and wipe down the entire surface of the cabinet, including the doors, frames, and sides. Use a gentle, circular motion to loosen the grease and grime.
3. Tackle Stubborn Grease Spots with Baking Soda Paste: For those particularly greasy spots, apply a small amount of baking soda paste to the area and gently scrub with a soft-bristled brush or your finger. Be careful not to scrub too hard, as this could scratch the cabinet finish.
4. Rinse with a Clean, Damp Cloth: After cleaning with the dish soap solution or baking soda paste, rinse the area with a clean, damp microfiber cloth. This will remove any soap residue and prevent the cabinets from becoming sticky.
5. Dry Thoroughly: Use a clean, dry microfiber cloth to dry the cabinets thoroughly. This will prevent water spots and help to restore the shine.
6. Vinegar Spray (Optional): If you’re using the vinegar spray, lightly mist the cabinets with the solution and wipe them down with a clean, dry microfiber cloth. This will help to remove any lingering grease and leave the cabinets sparkling clean.
7. Don’t Forget the Hardware: While you’re cleaning the cabinets, don’t forget to clean the hardware, such as knobs and pulls. You can remove the hardware and soak it in warm, soapy water, or you can clean it in place with a damp cloth and a little dish soap.
8. Repeat as Needed: If your cabinets are particularly greasy, you may need to repeat the cleaning process a few times to get them completely clean. Don’t be discouraged if it takes a little elbow grease!
Cleaning Different Types of Cabinets
The cleaning process is generally the same for most types of cabinets, but there are a few things to keep in mind depending on the material.
* Wood Cabinets: Wood cabinets are the most common type, and they can be cleaned with the dish soap solution, baking soda paste, and vinegar spray. However, be careful not to use too much water, as this can damage the wood. Always dry the cabinets thoroughly after cleaning.
* Laminate Cabinets: Laminate cabinets are more durable than wood cabinets, but they can still be damaged by harsh chemicals. Avoid using abrasive cleaners or scouring pads, as these can scratch the surface. The dish soap solution and vinegar spray are safe to use on laminate cabinets.
* Painted Cabinets: Painted cabinets can be cleaned with the dish soap solution and vinegar spray. However, be careful not to scrub too hard, as this can remove the paint. Always test your cleaning solution in an inconspicuous area first to ensure that it doesn’t damage the paint.
* Glass-Front Cabinets: For glass-front cabinets, clean the glass with a glass cleaner and a microfiber cloth. Be careful not to get any cleaner on the cabinet frame, as this could damage the finish.
Extra Tips and Tricks
Here are a few extra tips and tricks to help you get your cabinets sparkling clean:
* Clean Regularly: The best way to prevent grease buildup is to clean your cabinets regularly. Wipe them down with a damp cloth and a little dish soap every week or two to keep them looking their best.
* Use a Degreaser: For particularly greasy cabinets, you can use a commercial degreaser. However, be sure to follow the manufacturer’s instructions carefully and test the degreaser in an inconspicuous area first.
* Steam Cleaning: A steam cleaner can be a great way to remove grease and grime from your cabinets without using harsh chemicals. However, be careful not to use too much steam, as this can damage the cabinets.
* Magic Erasers: Magic Erasers can be effective at removing stubborn stains and grease from cabinets. However, they can also be abrasive, so be careful not to scrub too hard. Test the Magic Eraser in an inconspicuous area first to ensure that it doesn’t damage the finish.
* Lemon Juice: Lemon juice is a natural degreaser and can be used to clean greasy cabinets. Mix equal parts lemon juice and water in a spray bottle and spray the cabinets. Wipe them down with a clean, damp cloth.
* Preventative Measures: To prevent grease from building up on your cabinets in the first place, try to keep your cooking area well-ventilated. Use your range hood when cooking, and wipe up any spills or splatters immediately.
Maintaining Your Sparkling Cabinets
Now that your cabinets are clean and gleaming, let’s talk about keeping them that way!
* Regular Wipe-Downs: As I mentioned earlier, regular wipe-downs are key. A quick wipe with a damp microfiber cloth every week or two will prevent grease and grime from building up.
* Address Spills Immediately: Don’t let spills sit! The longer they sit, the harder they are to remove. Wipe up any spills or splatters as soon as they happen.
* Consider Cabinet Liners: If you’re prone to spills or have messy cooks in the family (no judgment!), consider using cabinet liners to protect the inside of your cabinets.
* Proper Ventilation: Continue to use your range hood when cooking to help vent grease and steam away from your cabinets.
And there you have it! A comprehensive

Conclusion
So, there you have it! No more battling stubborn grease with harsh chemicals and endless scrubbing. This simple, effective DIY trick for cleaning greasy cabinets is a game-changer for any kitchen. It’s not just about aesthetics; removing that built-up grime creates a healthier and more pleasant cooking environment. Think of it – a sparkling clean kitchen, free from sticky residue, ready for your culinary creations.
But why is this DIY method a must-try? Because it’s economical, environmentally friendly, and, most importantly, it works! You’re likely to have most of the ingredients already in your pantry, saving you a trip to the store and reducing your reliance on potentially harmful commercial cleaners. Plus, the satisfaction of seeing years of accumulated grease melt away with minimal effort is incredibly rewarding.
Don’t be afraid to experiment with variations to suit your specific needs and preferences. For instance, if you have particularly stubborn grease buildup, consider letting the cleaning solution sit for a longer period before wiping it away. You could also add a few drops of your favorite essential oil, like lemon or orange, to the mixture for an extra boost of freshness and a pleasant scent. For painted cabinets, always test the solution in an inconspicuous area first to ensure it doesn’t damage the finish. If you’re dealing with wood cabinets, consider using a wood-friendly oil soap after cleaning to replenish the wood’s natural oils and prevent it from drying out. Remember to always wipe in the direction of the wood grain.
This isn’t just a cleaning hack; it’s a kitchen revolution! It’s about taking control of your cleaning routine and creating a space you truly enjoy being in. We’re confident that once you try this DIY method for cleaning greasy cabinets, you’ll never go back to store-bought cleaners again.
We encourage you to give this a try and see the amazing results for yourself. Don’t just take our word for it – experience the difference a clean, grease-free kitchen can make. And most importantly, share your experience! Let us know in the comments below how this DIY trick worked for you. Did you try any variations? Did you discover any other helpful tips? Your feedback is invaluable and helps us all learn and improve our cleaning routines together. Share your before-and-after photos, your favorite variations, and any challenges you encountered. Let’s create a community of clean cabinet enthusiasts!
So, grab your supplies, roll up your sleeves (metaphorically, of course – this is a pretty gentle cleaning method!), and get ready to transform your kitchen. Happy cleaning!
Frequently Asked Questions (FAQs)
What kind of vinegar should I use for cleaning greasy cabinets?
White distilled vinegar is generally recommended for cleaning greasy cabinets. It’s inexpensive, readily available, and has a high acidity level that effectively cuts through grease and grime. Avoid using colored vinegars, such as apple cider vinegar or balsamic vinegar, as they may stain or discolor your cabinets, especially if they are light-colored. The clear, colorless nature of white distilled vinegar ensures that it cleans without leaving any residue or unwanted tints.
Can I use this DIY cleaning solution on all types of cabinet finishes?
While this DIY cleaning solution is generally safe and effective, it’s crucial to test it in an inconspicuous area before applying it to the entire surface, especially if you have painted, lacquered, or antique cabinets. Some finishes may be more sensitive to vinegar or other ingredients in the solution. If you notice any discoloration, damage, or lifting of the finish, discontinue use immediately. For delicate finishes, consider diluting the solution further or using a milder cleaning agent specifically designed for those types of surfaces. Always err on the side of caution when cleaning valuable or antique cabinets.
How often should I clean my greasy cabinets?
The frequency of cleaning your greasy cabinets depends on how often you cook and the amount of grease and splatters that accumulate. As a general guideline, aim to clean your cabinets at least once a month. However, if you cook frequently or notice significant grease buildup, you may need to clean them more often, perhaps every two weeks. Regular cleaning prevents grease from hardening and becoming more difficult to remove, making the cleaning process easier and more efficient in the long run.
What if the grease is really stubborn and doesn’t come off easily?
For particularly stubborn grease buildup, you can try a few different approaches. First, allow the cleaning solution to sit on the greasy area for a longer period, perhaps 10-15 minutes, to allow it to penetrate and loosen the grease. You can also try using a slightly abrasive sponge or scrub brush, but be careful not to scratch the cabinet finish. Another option is to create a paste of baking soda and water and apply it to the greasy area. Let it sit for a few minutes, then gently scrub and wipe clean. For extremely stubborn grease, you may need to repeat the cleaning process several times.
Can I use essential oils in the cleaning solution, and if so, which ones are best?
Yes, you can definitely add essential oils to the cleaning solution for an extra boost of freshness and a pleasant scent. Lemon, orange, grapefruit, and tea tree oil are all excellent choices for cleaning greasy cabinets. These oils have natural degreasing and antibacterial properties that can enhance the cleaning power of the solution. Simply add a few drops of your favorite essential oil to the cleaning mixture before applying it to the cabinets. However, be mindful of the concentration of essential oils, as some can be irritating to the skin or damage certain finishes. Start with a small amount and adjust as needed.
Is baking soda safe to use on all cabinet surfaces?
Baking soda is generally safe to use on most cabinet surfaces, but it’s important to use it with caution, especially on delicate finishes. Baking soda is a mild abrasive, so excessive scrubbing can potentially scratch or dull the finish of your cabinets. Always test baking soda in an inconspicuous area first to ensure it doesn’t cause any damage. When using baking soda, apply it gently and avoid excessive pressure. Rinse thoroughly with clean water to remove any residue. For painted or lacquered cabinets, consider using a softer sponge or cloth to minimize the risk of scratching.
How do I prevent grease from building up on my cabinets in the first place?
Prevention is key to keeping your cabinets clean and grease-free. Here are a few tips to minimize grease buildup:
* Use a range hood or exhaust fan while cooking to vent steam and grease particles away from your cabinets.
* Wipe up spills and splatters immediately to prevent them from hardening and becoming more difficult to remove.
* Consider using a splatter screen when frying or sautéing to contain grease splatters.
* Regularly clean your stovetop and surrounding areas to prevent grease from spreading to your cabinets.
* Apply a protective coating, such as a wax or sealant, to your cabinets to make them easier to clean.
What other DIY cleaning solutions can I use for my kitchen?
Besides the vinegar-based solution, there are several other DIY cleaning solutions you can use for your kitchen. A mixture of dish soap and warm water is a simple and effective all-purpose cleaner. You can also use a solution of lemon juice and water to clean and disinfect surfaces. For stainless steel appliances, try using a mixture of olive oil and vinegar to remove fingerprints and smudges. Baking soda can be used to clean sinks, countertops, and ovens. Always test any cleaning solution in an inconspicuous area before applying it to the entire surface.
What if I don’t have vinegar? Can I substitute it with something else?
If you don’t have vinegar on hand, you can try substituting it with lemon juice. Lemon juice has similar acidic properties to vinegar and can effectively cut through grease and grime. However, lemon juice may not be as strong as vinegar, so you may need to use a higher concentration or let it sit for a longer period. Another option is to use a mild dish soap diluted in warm water. While dish soap may not be as effective at cutting through grease as vinegar or lemon juice, it can still help to remove surface dirt and grime.
How do I clean the hardware (knobs and pulls) on my cabinets?
The hardware on your cabinets can also accumulate grease and grime over time. To clean the hardware, remove it from the cabinets and soak it in a solution of warm water and dish soap. Use a soft brush or cloth to scrub away any dirt or grease. For stubborn grime, you can try using a paste of baking soda and water. Rinse the hardware thoroughly with clean water and dry it completely before reattaching it to the cabinets. For metal hardware, you can use a metal polish to restore its shine.


Leave a Comment