

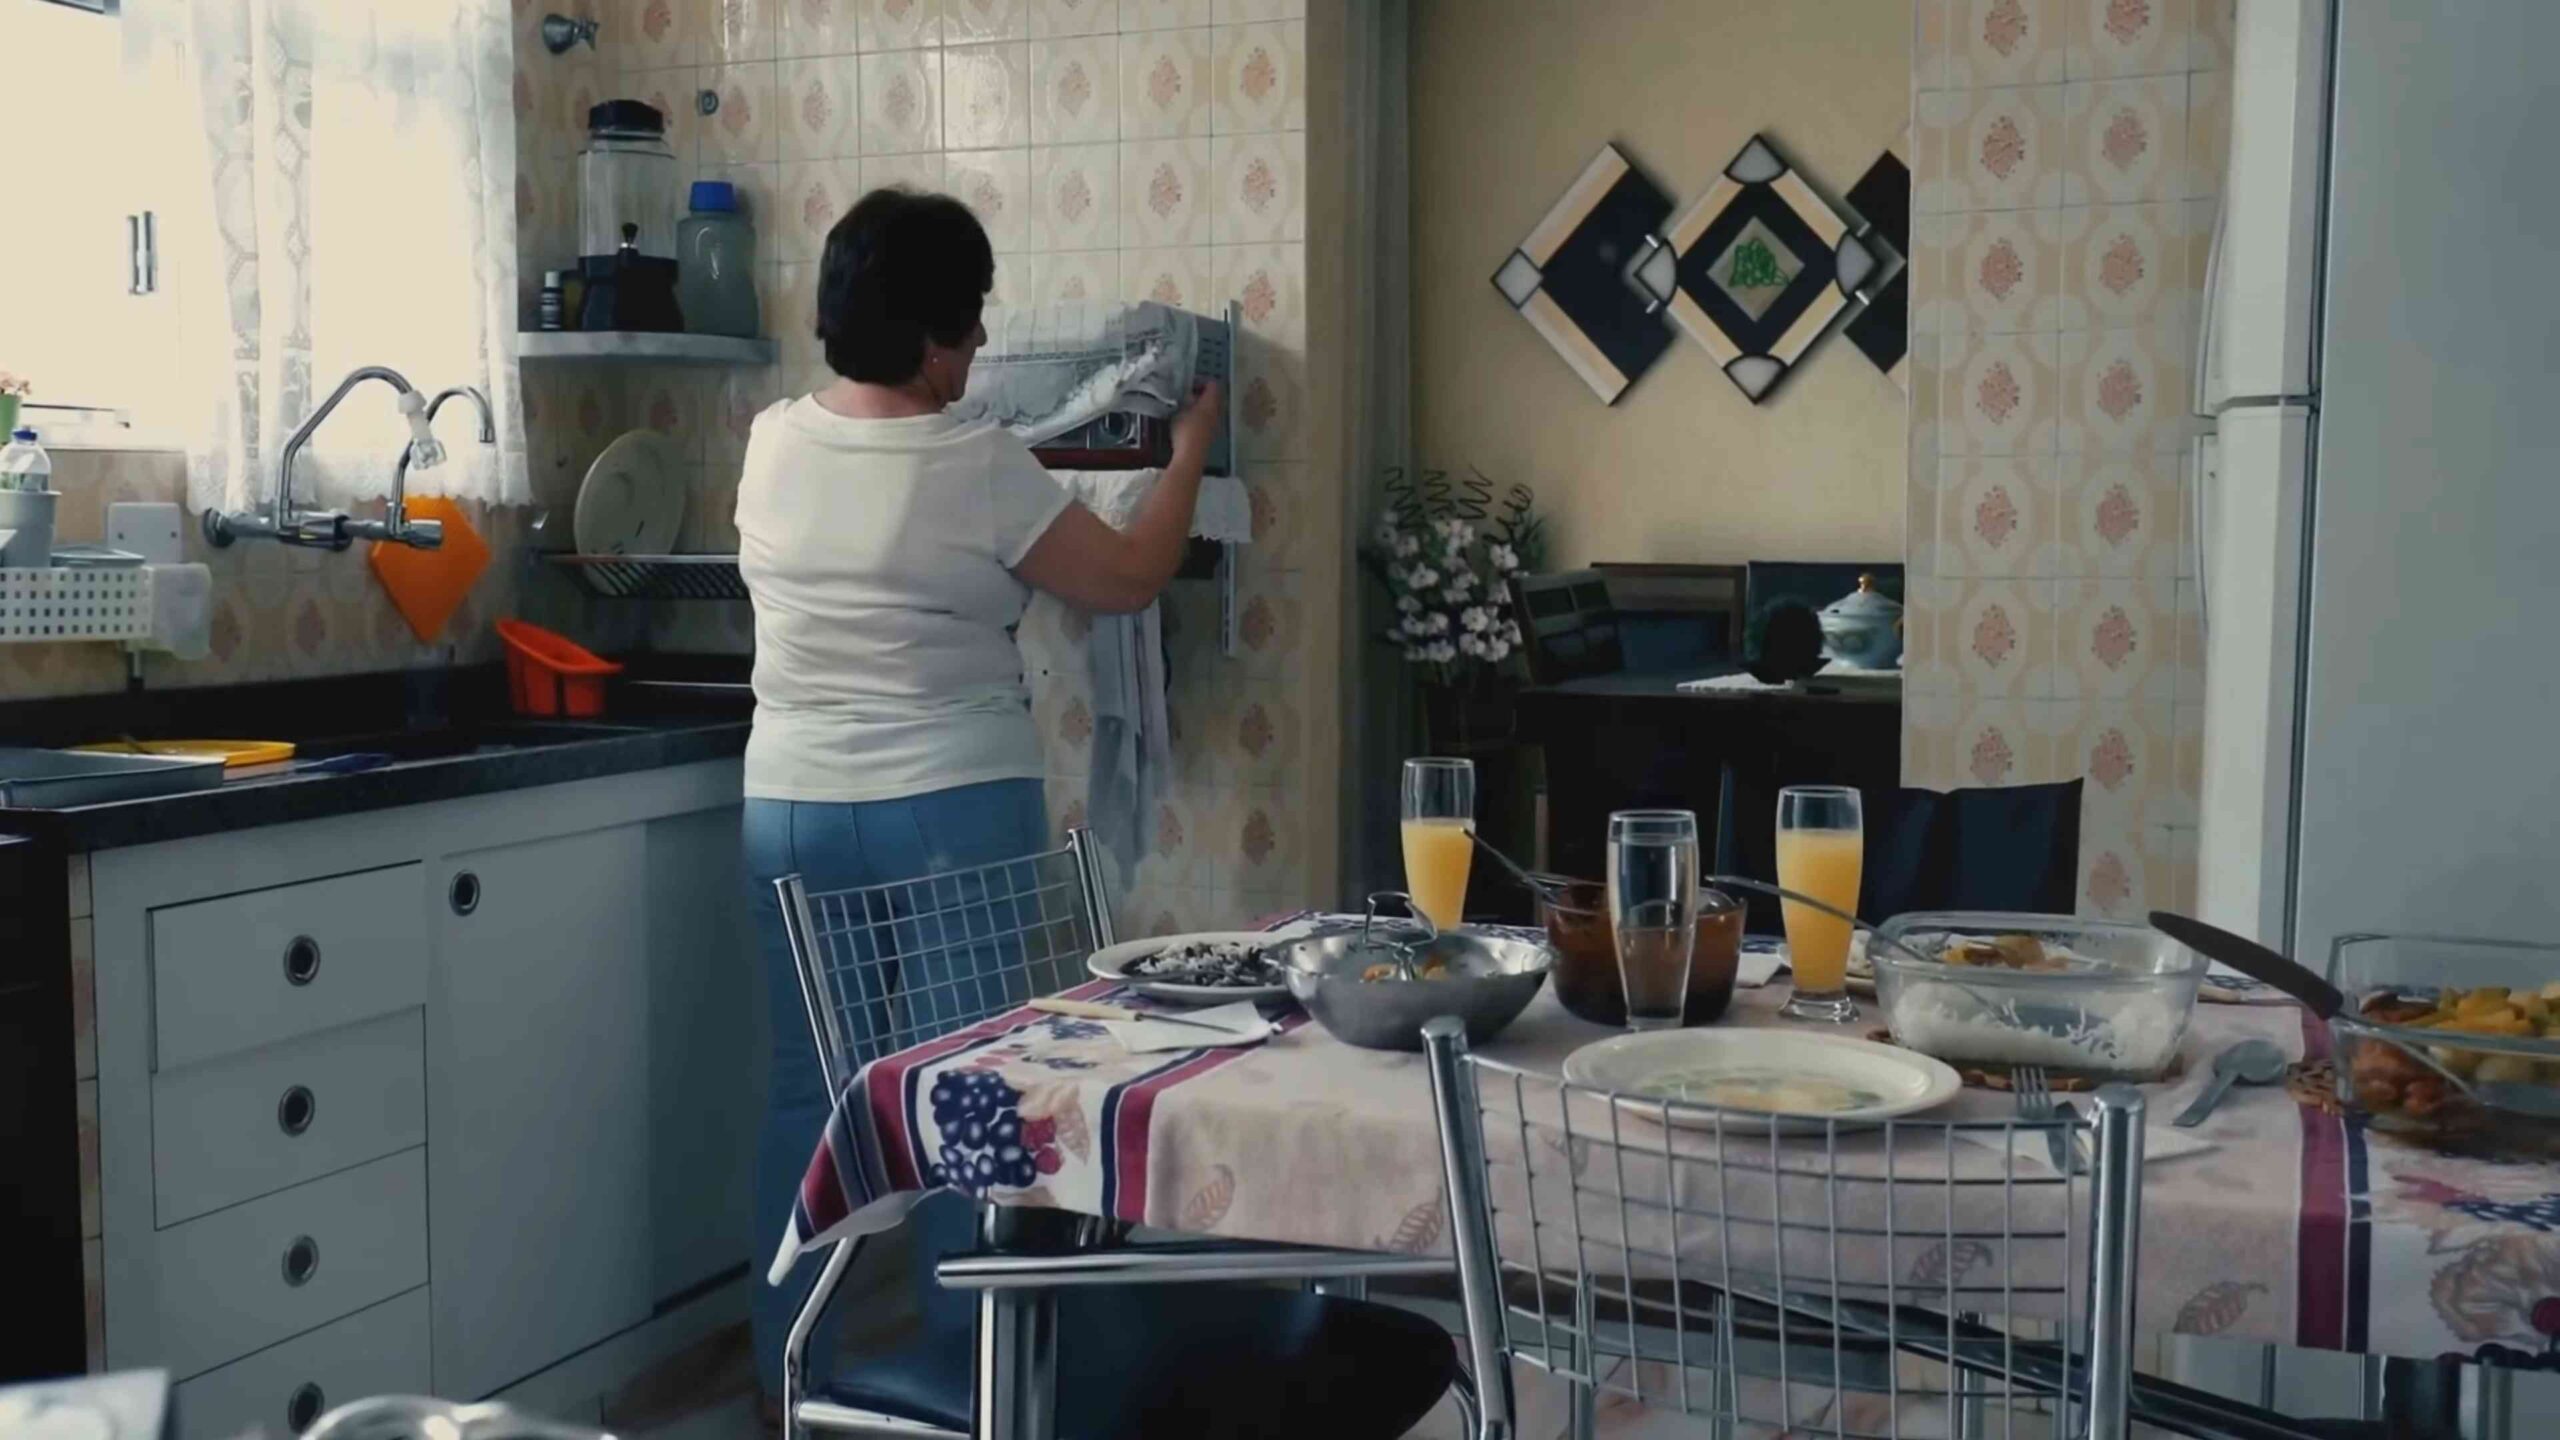
Cleaning hacks for seniors – let’s face it, keeping our homes sparkling can become a bit more challenging as we gracefully age. I understand! Bending, stretching, and scrubbing like we used to might not be as easy or enjoyable. But don’t worry, a clean and comfortable living space is still absolutely achievable, and it doesn’t have to feel like a Herculean task.
For generations, maintaining a tidy home has been a symbol of independence and well-being. Think back to our grandparents, who often took immense pride in their spotless homes, using simple, time-tested methods. While some of those methods might seem outdated now, the underlying principle remains: a clean home contributes to a healthier and happier life.
That’s why I’ve put together this collection of cleaning hacks for seniors, designed to make your life easier and your home cleaner with minimal effort. We’ll explore clever tips and tricks that minimize strain, maximize efficiency, and utilize readily available household items. From tackling stubborn stains to simplifying everyday chores, these hacks will help you maintain a sparkling home without breaking a sweat. Let’s rediscover the joy of a clean and comfortable living space, tailored specifically for you!
DIY Cleaning Hacks for Seniors: Making Life Easier and Brighter!
Hey everyone! As we get a little older, some cleaning tasks can become a bit more challenging. But don’t worry, I’ve put together some fantastic DIY cleaning hacks specifically designed to make your life easier and keep your home sparkling without breaking a sweat (or your back!). These are all about smart solutions, using everyday items, and minimizing strain. Let’s get started!
Hack 1: The Extended Reach Duster
This hack is all about reaching those high and hard-to-get spots without having to climb on chairs or ladders. Safety first, always!
What you’ll need:
* A lightweight broom or mop handle (the kind you can detach the head from)
* Microfiber cloths (the more, the merrier!)
* Rubber bands or hair ties
* Spray bottle with your favorite all-purpose cleaner (optional)
Step-by-step instructions:
1. Prepare the handle: Make sure your broom or mop handle is clean and dry. If it’s adjustable, extend it to a comfortable length that allows you to reach high areas without overstretching.
2. Attach the microfiber cloth: Wrap a microfiber cloth around the head of the broom or mop handle. Secure it tightly with rubber bands or hair ties. Make sure the cloth is snug so it doesn’t slip off while you’re dusting.
3. Dust away! Now you’re ready to tackle those high shelves, ceiling fans, light fixtures, and even cobwebs in corners. The microfiber cloth will attract dust and dirt like a magnet.
4. Optional: Damp dusting: For tougher grime, lightly spray the microfiber cloth with your all-purpose cleaner before dusting. Be careful not to oversaturate the cloth, as you don’t want to drip cleaner everywhere.
5. Cleaning the cloth: Once the cloth gets dirty, simply remove it, toss it in the washing machine, and replace it with a fresh one. Easy peasy!
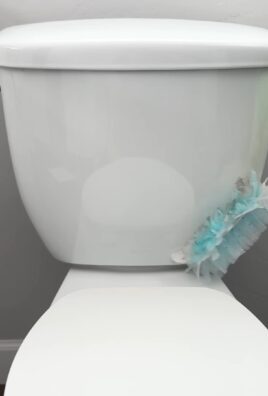
Hack 2: The No-Bend Tub and Shower Scrubber
Bending down to scrub the tub and shower can be a real pain. This hack eliminates the need to bend, saving your back and knees.
What you’ll need:
* A long-handled sponge mop (the kind with a replaceable sponge head)
* A heavy-duty scouring pad (the kind with a handle is even better!)
* Your favorite bathroom cleaner (spray or liquid)
* A bucket of warm water (optional, for rinsing)
Step-by-step instructions:
1. Prepare the sponge mop: Make sure the sponge head is clean and slightly damp. This will help it grip the scouring pad.
2. Attach the scouring pad: Securely attach the scouring pad to the sponge head. You can use strong rubber bands, zip ties, or even duct tape to hold it in place. If you have a scouring pad with its own handle, you might be able to simply wedge it between the sponge and the mop head.
3. Apply the cleaner: Spray or pour your bathroom cleaner onto the tub and shower surfaces. Let it sit for a few minutes to loosen the grime.
4. Scrub away! Using the long-handled sponge mop, scrub the tub and shower walls, floor, and fixtures. The long handle allows you to reach all areas without bending or straining.
5. Rinse thoroughly: Rinse the tub and shower with warm water to remove all traces of cleaner and grime. You can use the sponge mop to help with rinsing, or use a showerhead with a detachable hose.
6. Dry the surfaces: Use a clean towel or squeegee to dry the tub and shower surfaces. This will help prevent water spots and mildew growth.
Hack 3: The Jar Opener Helper
Opening jars can be difficult when your grip isn’t what it used to be. This simple hack provides extra leverage and makes opening jars a breeze.
What you’ll need:
* A rubber jar opener (the flat, round kind)
* A non-slip placemat or shelf liner
* A sturdy countertop or table
Step-by-step instructions:
1. Prepare the jar: Make sure the jar lid is clean and dry.
2. Place the jar on the non-slip surface: Place the jar on the non-slip placemat or shelf liner. This will prevent the jar from sliding around while you’re trying to open it.
3. Use the rubber jar opener: Place the rubber jar opener over the lid of the jar. Grip the jar opener firmly with one hand and the jar with the other.
4. Twist and open: Twist the jar opener counterclockwise to loosen the lid. The rubber jar opener provides extra grip and leverage, making it easier to open the jar.
5. If it’s still stuck: If the lid is still stuck, try tapping the edge of the lid with a spoon or butter knife. This can help break the seal. You can also try running the lid under hot water for a few seconds to expand the metal.
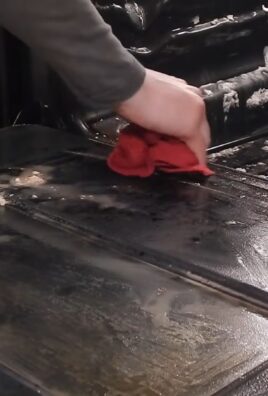
Hack 4: The Baking Soda and Vinegar Drain Cleaner
Forget harsh chemicals! This natural drain cleaner is safe, effective, and uses ingredients you probably already have in your kitchen.
What you’ll need:
* 1 cup baking soda
* 2 cups white vinegar
* Hot water
Step-by-step instructions:
1. Pour in the baking soda: Pour one cup of baking soda down the drain. Try to get as much of it down the drain as possible.
2. Add the vinegar: Pour two cups of white vinegar down the drain after the baking soda.
3. Let it fizz: The baking soda and vinegar will react and create a fizzing action. Let this mixture sit in the drain for at least 30 minutes, or even better, overnight.
4. Flush with hot water: After the fizzing has subsided, flush the drain with hot water for several minutes. This will help to clear away any remaining debris.
5. Repeat if necessary: If the drain is still clogged, repeat the process. For stubborn clogs, you may need to use a plunger after the baking soda and vinegar treatment.
Hack 5: The Lint Roller Dust Buster
Lint rollers aren’t just for clothes! They’re also great for quickly removing dust and crumbs from hard-to-reach places.
What you’ll need:
* A lint roller
* Extension wand (optional, for high places)
Step-by-step instructions:
1. Prepare the lint roller: Make sure the lint roller is clean and has a fresh sheet of adhesive.
2. Roll away the dust: Use the lint roller to roll over dusty surfaces, such as lampshades, curtains, upholstery, and even keyboards. The adhesive sheet will pick up dust, crumbs, and pet hair.
3. For high places: If you need to reach high places, attach the lint roller to an extension wand. This will allow you to clean ceiling fans, light fixtures, and other hard-to-reach areas without having to climb.
4. Replace the sheet: When the adhesive sheet is full of dust, simply peel it off and replace it with a fresh one.
Hack 6: The Pillowcase Ceiling Fan Cleaner
Cleaning ceiling fan blades can be a messy job. This hack keeps the dust contained and prevents it from falling all over you and your furniture.
What you’ll need:
* An old pillowcase
* A step stool or ladder (if needed)
Step-by-step instructions:
1. Prepare the pillowcase: Slide the pillowcase over one of the ceiling fan blades, encasing the entire blade inside the pillowcase.
2. Wipe the blade: Gently wipe the blade with the pillowcase, using a back-and-forth motion. The dust will be trapped inside the pillowcase.
3. Remove the pillowcase: Carefully remove the pillowcase from the blade, being careful not to let any dust escape.
4. Repeat for each blade: Repeat the process for each of the remaining ceiling fan blades.
5. Wash the pillowcase: Once you’ve cleaned all the blades, turn the pillowcase inside out and shake it out over a trash can to remove any remaining dust. Then, wash the pillowcase in the washing machine.
Hack 7: The Vinegar and Water Window Cleaner
This simple and inexpensive window cleaner will leave your windows sparkling clean without any streaks.
What you’ll need:
* Spray bottle
* Equal parts white vinegar and water
* Microfiber cloths or paper towels
Step-by-step instructions:
1. Mix the solution: In a spray bottle, mix equal parts white vinegar and water.
2. Spray the windows: Spray the window surfaces with the

Conclusion
So, there you have it! These cleaning hacks for seniors aren’t just about tidying up; they’re about reclaiming independence, preserving energy, and creating a safer, more comfortable living space. We’ve focused on simple, effective strategies that minimize strain and maximize results, allowing you to maintain a clean home without overexerting yourself.
The beauty of these DIY cleaning tricks lies in their adaptability. Feel free to experiment with different essential oils in your vinegar solution for a personalized scent. If bending is difficult, consider using long-handled scrub brushes and dusters. For those with arthritis, ergonomic cleaning tools with comfortable grips can make a world of difference. Perhaps you prefer using microfiber cloths over paper towels for a more eco-friendly approach. The key is to tailor these cleaning hacks for seniors to your specific needs and abilities.
Don’t be afraid to enlist help when needed. Consider breaking down larger cleaning tasks into smaller, more manageable chunks spread throughout the week. Even 15-20 minutes of focused cleaning each day can prevent dirt and grime from building up and becoming overwhelming. Remember, maintaining a clean home is a marathon, not a sprint.
We truly believe that these cleaning hacks for seniors can significantly improve your quality of life. A clean and organized home can reduce stress, improve mood, and even prevent accidents. It’s an investment in your well-being that’s well worth the effort.
We urge you to try these cleaning hacks for seniors and see the difference they can make. We’re confident that you’ll find them to be both effective and empowering. And most importantly, we want to hear about your experience! Share your tips, tricks, and successes in the comments below. Let’s create a community where we can support each other in maintaining clean, comfortable, and independent living. Your insights could be invaluable to others who are seeking similar solutions. Let us know which cleaning hacks for seniors worked best for you, any modifications you made, and any challenges you encountered. Together, we can empower seniors to live their best lives in clean and comfortable homes.
Frequently Asked Questions (FAQs)
What if I have mobility issues and can’t reach certain areas?
This is a common concern, and there are several solutions. First, invest in long-handled cleaning tools such as dusters, scrub brushes, and grabber tools. These can significantly extend your reach without requiring you to bend or stretch excessively. Second, consider using a sturdy step stool with a handrail for reaching higher areas, but always prioritize safety and ensure the stool is stable before using it. Third, don’t hesitate to ask for help from family members, friends, or professional cleaning services. Even a little assistance with tasks like cleaning high shelves or scrubbing the bathtub can make a big difference. Finally, break down cleaning tasks into smaller, more manageable chunks that you can tackle over several days. This prevents you from overexerting yourself and allows you to focus on areas that are within your reach each day.
Are these cleaning solutions safe for seniors with allergies or sensitivities?
Safety is paramount. While many of the DIY cleaning solutions mentioned are generally safe, it’s crucial to be mindful of individual allergies and sensitivities. Always test a small, inconspicuous area first before applying any new cleaning solution to a larger surface. If you have known allergies to vinegar, baking soda, or essential oils, consider alternative cleaning agents that are specifically formulated for sensitive individuals. Look for products that are fragrance-free, hypoallergenic, and non-toxic. When using any cleaning solution, ensure adequate ventilation by opening windows or using a fan. Wear gloves to protect your skin from irritation. If you experience any adverse reactions, such as skin irritation, respiratory problems, or headaches, discontinue use immediately and consult with a healthcare professional.
How often should I clean my home to maintain a healthy environment?
The frequency of cleaning depends on your individual lifestyle, health conditions, and personal preferences. However, as a general guideline, aim to perform light cleaning tasks, such as wiping down surfaces and sweeping floors, at least once or twice a week. More thorough cleaning, such as scrubbing bathrooms and kitchens, can be done every one to two weeks. Focus on high-touch areas like doorknobs, light switches, and countertops, as these are breeding grounds for germs. If you have pets or allergies, you may need to clean more frequently to remove pet dander and allergens. Remember, consistency is key. Even small, regular cleaning efforts can prevent dirt and grime from building up and creating a healthier living environment.
What are some tips for preventing falls while cleaning?
Falls are a serious concern for seniors, so it’s essential to take precautions to prevent them while cleaning. Wear shoes with good traction to avoid slipping on wet or smooth surfaces. Ensure that all walkways are clear of clutter and obstacles. Use a sturdy step stool with a handrail when reaching high areas, and never stand on chairs or other unstable objects. Wipe up spills immediately to prevent slipping hazards. If you have balance issues, consider using a walking aid or having someone assist you while cleaning. Avoid rushing and take your time to move carefully and deliberately. If you feel dizzy or lightheaded, stop cleaning immediately and sit down to rest.
Can I use these cleaning hacks for seniors if I have limited storage space?
Absolutely! Many of the DIY cleaning solutions require only a few basic ingredients, such as vinegar, baking soda, and essential oils, which can be easily stored in small containers. Consider using stackable storage bins or shelves to maximize your storage space. You can also purchase smaller sizes of cleaning products to avoid clutter. Another option is to make cleaning solutions in small batches as needed, rather than storing large quantities. Remember, a little goes a long way, so you don’t need to stockpile a lot of cleaning supplies. Focus on essential items that are versatile and can be used for multiple cleaning tasks.
What if I find cleaning overwhelming and don’t know where to start?
It’s understandable to feel overwhelmed by cleaning, especially if you’re dealing with health issues or mobility limitations. The key is to break down the task into smaller, more manageable steps. Start by creating a cleaning schedule that outlines specific tasks for each day or week. Focus on one room or area at a time, rather than trying to tackle the entire house at once. Prioritize tasks based on their importance, such as cleaning the bathroom and kitchen first. Don’t be afraid to ask for help from family members, friends, or professional cleaning services. Even a little assistance can make a big difference. Remember, it’s okay to start small and gradually increase your cleaning efforts as you feel more comfortable. The most important thing is to create a cleaning routine that works for you and helps you maintain a clean and comfortable living environment.

Leave a Comment