

DIY Mattress Cleaning Peroxide: Sounds intimidating, right? But trust me, it’s the secret weapon you need for a fresher, cleaner sleep! We all know how important a good night’s rest is, and that starts with a clean and healthy mattress. Think about it – we spend roughly a third of our lives snuggled up in bed, shedding skin cells, dealing with spills, and unknowingly inviting dust mites to the party.
Mattress cleaning, while not the most glamorous task, has been a concern for centuries. Historically, methods ranged from airing mattresses in the sun to beating them with sticks to dislodge dust and debris. Thankfully, we’ve come a long way! Now, with the power of simple household ingredients like peroxide, we can tackle stains and odors effectively and affordably.
Why is this DIY trick so essential? Because a clean mattress isn’t just about aesthetics; it’s about your health. Allergens, bacteria, and mold can thrive in a dirty mattress, leading to allergies, asthma, and other health issues. Plus, let’s be honest, who wants to sleep on something that’s harboring unseen nasties? I’m here to guide you through a simple, effective, and budget-friendly method using DIY mattress cleaning peroxide to revitalize your mattress and ensure a healthier, more restful sleep. Let’s get started!
DIY Mattress Cleaning with Peroxide: A Deep Clean Guide
Okay, let’s face it, we all love our beds, but we don’t always love what might be lurking *in* them. Dust mites, dead skin cells, spills – it’s a party we didn’t RSVP to! But don’t worry, I’m going to walk you through a super effective, DIY mattress cleaning method using hydrogen peroxide. It’s surprisingly simple and will leave your mattress feeling fresh and revitalized.
What You’ll Need: The Arsenal of Clean
Before we dive in, let’s gather our supplies. Trust me, having everything ready beforehand will make the whole process smoother.
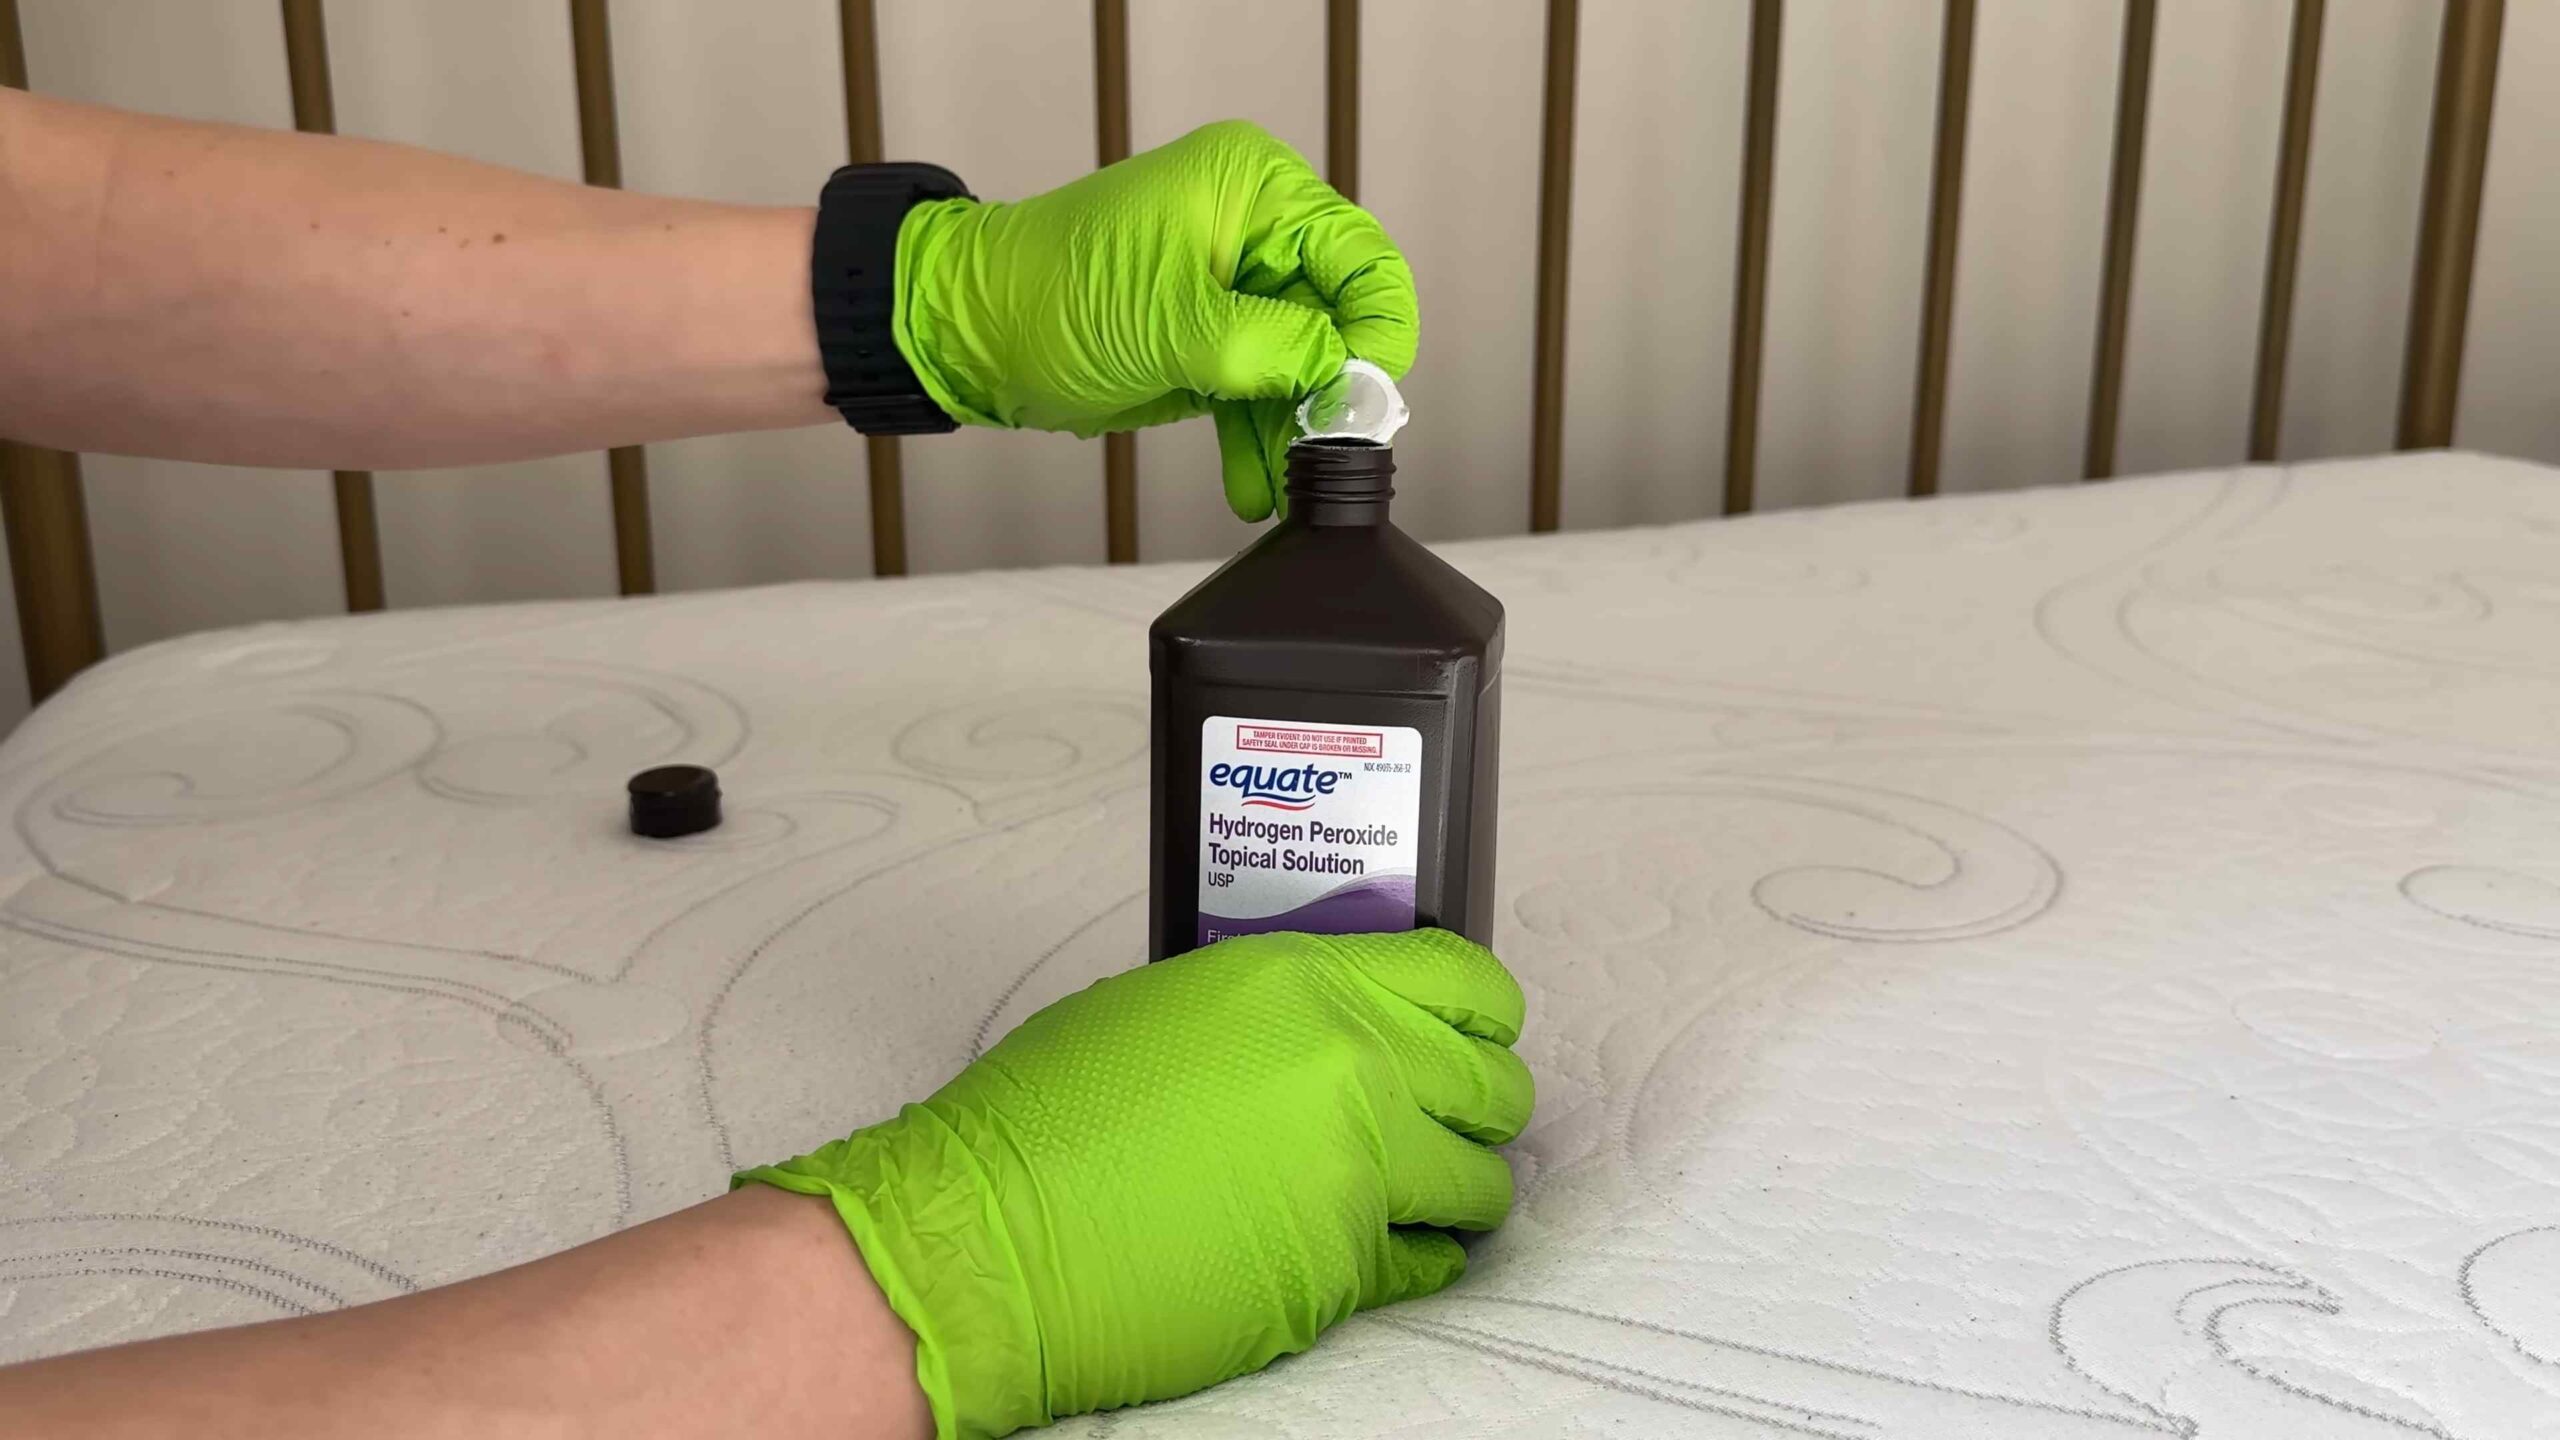
* **Hydrogen Peroxide (3%):** This is the star of the show! The 3% concentration is crucial; anything stronger could damage your mattress. I usually grab a large bottle from the drugstore.
* **Spray Bottle (Dark):** Peroxide degrades in light, so a dark or opaque spray bottle is essential. A clear bottle will work in a pinch if you keep it out of direct sunlight.
* **Baking Soda:** This is our odor-absorbing superhero. It’ll help neutralize any lingering smells and draw out moisture.
* **Dish Soap (Optional):** A tiny bit of mild dish soap can help tackle stubborn stains. I’m talking *tiny* – a few drops will do.
* **Essential Oil (Optional):** If you want to add a fresh scent, a few drops of your favorite essential oil (like lavender or eucalyptus) can be mixed with the peroxide solution.
* **Vacuum Cleaner with Upholstery Attachment:** This is a must for removing loose debris and baking soda residue.
* **Clean Cloths or Sponges:** For blotting stains and wiping down surfaces.
* **Rubber Gloves:** To protect your hands from the peroxide.
* **Fan (Optional):** To speed up the drying process.
Step-by-Step Mattress Cleaning: Let’s Get Started!
Alright, now that we have our supplies, let’s get down to business. Follow these steps carefully for a sparkling clean mattress.
1. **Strip the Bed and Vacuum:** Remove all bedding, including sheets, blankets, and pillowcases. Give your mattress a thorough vacuuming using the upholstery attachment. Pay special attention to seams and crevices where dust mites love to hide. I like to go over the entire surface at least twice.
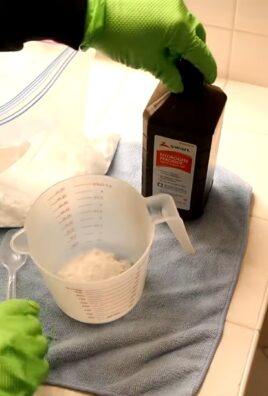
2. **Prepare the Cleaning Solution:** In your dark spray bottle, mix the hydrogen peroxide. If you’re adding dish soap, use only a few drops (seriously, a *few* drops – too much will make it difficult to rinse). If you’re using essential oil, add a few drops to the peroxide solution. Gently swirl the bottle to combine the ingredients. Don’t shake it vigorously, as this can create too many bubbles.
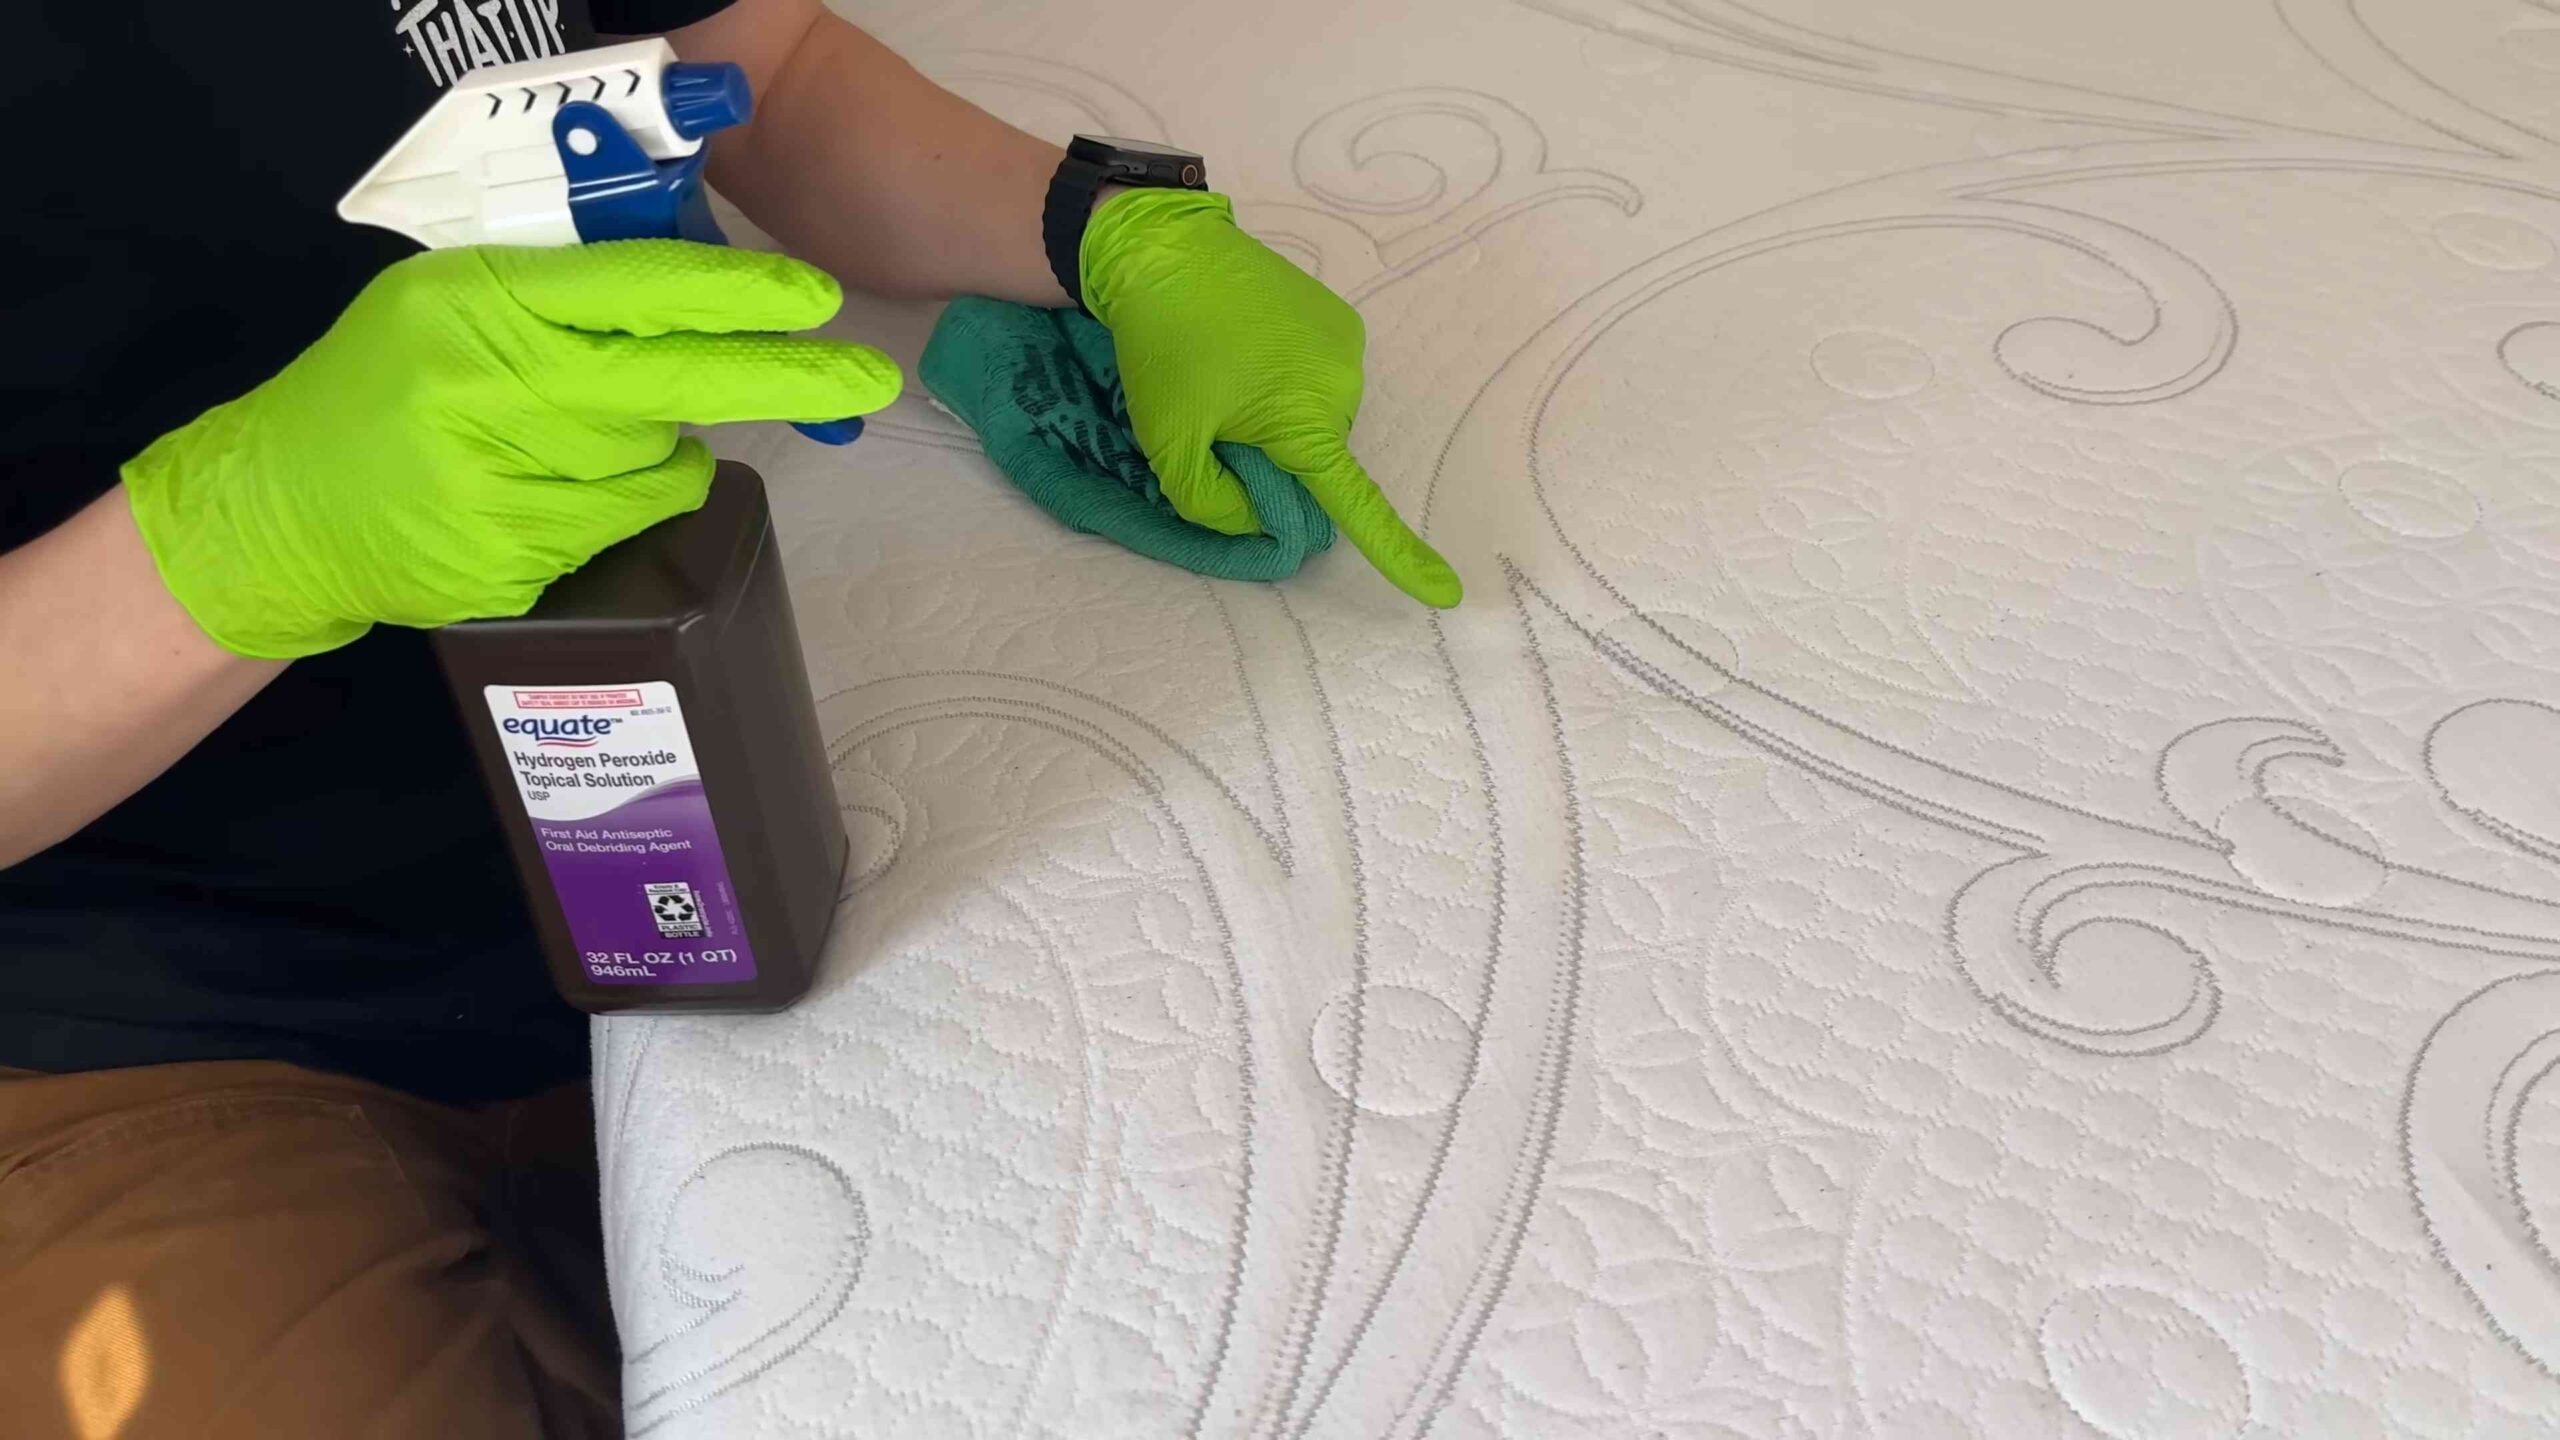
3. **Spot Treat Stains (If Necessary):** Before spraying the entire mattress, test the solution on a small, inconspicuous area to ensure it doesn’t discolor the fabric. If it’s all good, proceed to spot treat any stains. Spray the stain lightly with the peroxide solution and let it sit for a few minutes. Then, gently blot the stain with a clean cloth, working from the outside in to prevent spreading. Avoid rubbing vigorously, as this can damage the mattress fibers. Repeat as needed until the stain is gone or significantly lightened.
4. **Lightly Spray the Mattress:** Now, it’s time to spray the entire mattress with the peroxide solution. Hold the spray bottle about 6-8 inches away from the surface and apply a light, even mist. Don’t saturate the mattress! You want it to be damp, not soaking wet. Over-wetting can lead to mold and mildew growth. I usually work in sections, spraying a small area and then moving on to the next.
5. **Let it Sit and Dry:** Once you’ve sprayed the entire mattress, let it sit and air dry completely. This can take several hours, depending on the humidity and airflow in your room. I usually open windows and turn on a fan to speed up the drying process. The peroxide will naturally break down and disinfect the mattress as it dries.
6. **Apply Baking Soda:** Once the mattress is completely dry, sprinkle a generous layer of baking soda over the entire surface. The baking soda will absorb any remaining moisture and odors. Let the baking soda sit for at least a few hours, or even overnight for best results. I find that leaving it overnight really makes a difference in freshening up the mattress.
7. **Vacuum Again:** After the baking soda has had its time to work its magic, vacuum the mattress thoroughly using the upholstery attachment. Make sure to remove all traces of baking soda. Again, pay special attention to seams and crevices.
8. **Flip the Mattress (Optional):** If your mattress is flippable, now is a good time to flip it over and repeat the entire process on the other side. This will ensure that both sides of your mattress are clean and fresh.
9. **Air Out and Make the Bed:** Before making the bed, let the mattress air out for a little while longer to ensure it’s completely dry. Then, put on fresh, clean sheets and enjoy your freshly cleaned mattress!
Dealing with Specific Stains: A Little Extra Help
Sometimes, you’re dealing with more than just general grime. Here’s how to tackle some common mattress stains:
* **Blood Stains:** Act fast! Blot the stain with cold water and a clean cloth. If the stain persists, try using a paste of baking soda and water. Apply the paste to the stain, let it dry completely, and then vacuum it up. Hydrogen peroxide can also be effective on blood stains, but test it in an inconspicuous area first.
* **Urine Stains:** These can be tricky due to the odor. Blot up as much urine as possible with a clean cloth. Then, saturate the area with a solution of equal parts white vinegar and water. Let it sit for 15-20 minutes, then blot it dry. Follow with the hydrogen peroxide cleaning method described above.
* **Sweat Stains:** Sweat stains are common, especially in warmer climates. The hydrogen peroxide method is usually effective for removing sweat stains. You can also try using a solution of lemon juice and water.
* **Vomit Stains:** Clean up the vomit as quickly as possible. Then, follow the same procedure as for urine stains. Baking soda is particularly helpful for neutralizing the odor.
Important Considerations: Safety First!
* **Ventilation:** Always work in a well-ventilated area when using hydrogen peroxide.
* **Skin Protection:** Wear rubber gloves to protect your hands from the peroxide.
* **Eye Protection:** Avoid getting peroxide in your eyes. If you do, rinse immediately with plenty of water.
* **Mattress Type:** This method is generally safe for most mattress types, but it’s always a good idea to check the manufacturer’s instructions before cleaning.
* **Drying Time:** Ensure the mattress is completely dry before making the bed to prevent mold and mildew growth.
Maintaining a Clean Mattress: Prevention is Key!
Cleaning your mattress is important, but preventing stains and buildup in the first place is even better. Here are a few tips for maintaining a clean mattress:
* **Use a Mattress Protector:** A mattress protector is a waterproof or water-resistant cover that protects your mattress from spills, stains, and dust mites. I highly recommend investing in a good quality mattress protector.
* **Wash Your Bedding Regularly:** Wash your sheets, blankets, and pillowcases at least once a week in hot water to kill dust mites and remove allergens.
* **Vacuum Your Mattress Regularly:** Vacuum your mattress every month or two to remove dust, dead skin cells, and other debris.
* **Air Out Your Mattress:** Occasionally, remove your bedding and let your mattress air out for a few hours. This will help to prevent moisture buildup and odors.
* **Avoid Eating and Drinking in Bed:** This is a tough one, I know! But eating and drinking in bed increases the risk of spills and stains.
Final Thoughts: A Fresher Night’s Sleep Awaits!
Cleaning your mattress with hydrogen peroxide is a simple and effective way to keep it fresh, clean, and free of allergens. By following these steps and taking preventative measures, you can enjoy a healthier and more comfortable night’s sleep. I hope this guide has been helpful! Happy cleaning!
Conclusion
So, there you have it! A simple, effective, and surprisingly affordable way to breathe new life into your mattress using the power of hydrogen peroxide. We’ve walked you through the steps, highlighting the ease and accessibility of this DIY mattress cleaning peroxide method. But why is this a must-try? Because a clean mattress isn’t just about aesthetics; it’s about your health and well-being. Think about it: you spend a significant portion of your life nestled in your bed. Over time, mattresses accumulate dust mites, dead skin cells, sweat, and other allergens that can trigger allergies, asthma, and other respiratory issues. Regular cleaning, especially with a natural solution like hydrogen peroxide, helps eliminate these unwanted guests, creating a healthier and more comfortable sleep environment.
This DIY approach is also a fantastic alternative to harsh chemical cleaners. Many commercial mattress cleaners contain volatile organic compounds (VOCs) that can be harmful to your health and the environment. Hydrogen peroxide, on the other hand, breaks down into water and oxygen, making it a safer and more eco-friendly option. Plus, it’s incredibly effective at removing stains and odors, leaving your mattress feeling fresh and revitalized.
But the benefits don’t stop there. This method is also incredibly cost-effective. Instead of shelling out a significant amount of money for professional cleaning services or expensive commercial products, you can achieve similar results with just a few readily available ingredients. It’s a win-win situation for your wallet and your health!
Looking for variations? Consider adding a few drops of your favorite essential oil to the hydrogen peroxide solution for a subtle, refreshing scent. Lavender, eucalyptus, and tea tree oil are all excellent choices for their calming and antibacterial properties. Just be sure to use pure essential oils and test a small, inconspicuous area of your mattress first to ensure they don’t cause any discoloration. For particularly stubborn stains, you can create a paste of baking soda and hydrogen peroxide and apply it directly to the affected area. Let it sit for a few hours before vacuuming it up.
Another variation involves using a UV light after cleaning. While the hydrogen peroxide tackles the immediate dirt and grime, a UV light can help further sanitize the mattress by killing any remaining bacteria or mold spores. This is especially beneficial for individuals with allergies or sensitivities.
We understand that trying a new DIY method can be a little daunting, but we encourage you to give this one a try. The results are well worth the effort. Imagine sinking into a clean, fresh-smelling mattress every night, knowing that you’re breathing in clean air and protecting your health. It’s a feeling that’s hard to beat!
So, grab your hydrogen peroxide, gather your supplies, and get ready to transform your mattress. We’re confident that you’ll be amazed by the results. And once you’ve experienced the magic of this DIY mattress cleaning peroxide trick, we’d love to hear about it! Share your experiences, tips, and variations in the comments below. Let’s create a community of clean mattress enthusiasts and help each other achieve a healthier and more restful sleep. Don’t forget to share this article with your friends and family so they can benefit from this simple and effective cleaning solution as well. Happy cleaning!
Frequently Asked Questions (FAQ)
1. Is hydrogen peroxide safe to use on all types of mattresses?
Generally, hydrogen peroxide is safe for most mattress types, including innerspring, memory foam, and latex mattresses. However, it’s always a good idea to test a small, inconspicuous area of your mattress first to ensure it doesn’t cause any discoloration or damage. Apply a small amount of the hydrogen peroxide solution to the test area, let it sit for a few minutes, and then blot it dry with a clean cloth. If there’s no adverse reaction, you can proceed with cleaning the entire mattress. For mattresses with delicate fabrics or special coatings, consult the manufacturer’s instructions before using hydrogen peroxide.
2. What concentration of hydrogen peroxide should I use for cleaning my mattress?
A 3% hydrogen peroxide solution is generally recommended for cleaning mattresses. This concentration is effective at killing bacteria and removing stains without being too harsh on the fabric. Avoid using higher concentrations of hydrogen peroxide, as they can potentially damage the mattress or cause discoloration. You can find 3% hydrogen peroxide at most drugstores and supermarkets.
3. How often should I clean my mattress with hydrogen peroxide?
The frequency of cleaning depends on your individual needs and lifestyle. As a general guideline, it’s recommended to clean your mattress at least twice a year. However, if you have allergies, asthma, or pets, you may want to clean it more frequently, such as every three to four months. You should also clean your mattress immediately if there’s a spill or accident. Regular cleaning helps prevent the buildup of dust mites, allergens, and odors, ensuring a healthier and more comfortable sleep environment.
4. Can I use hydrogen peroxide to remove old or set-in stains from my mattress?
Hydrogen peroxide can be effective at removing many types of stains, including blood, sweat, urine, and food stains. However, the success of stain removal depends on the type of stain, how long it’s been there, and the type of mattress fabric. For old or set-in stains, you may need to use a stronger solution or a combination of cleaning methods. Try creating a paste of baking soda and hydrogen peroxide and applying it directly to the stain. Let it sit for several hours or even overnight before vacuuming it up. You can also try using a commercial stain remover specifically designed for mattresses.
5. How long does it take for a mattress to dry after cleaning with hydrogen peroxide?
The drying time depends on several factors, including the amount of hydrogen peroxide solution used, the humidity level in the room, and the type of mattress. Generally, it takes several hours for a mattress to dry completely after cleaning with hydrogen peroxide. To speed up the drying process, you can use a fan or open windows to improve ventilation. You can also use a dry towel to blot up any excess moisture. Avoid putting sheets or bedding on the mattress until it’s completely dry to prevent mold and mildew growth.
6. Will hydrogen peroxide bleach or discolor my mattress?
Hydrogen peroxide has a mild bleaching effect, so there’s a small risk of discoloration, especially on darker-colored mattresses. That’s why it’s important to test a small, inconspicuous area first. If you notice any discoloration, dilute the hydrogen peroxide solution with water or use a different cleaning method. Avoid using hydrogen peroxide on mattresses with delicate fabrics or special coatings that may be more susceptible to bleaching.
7. Can I use hydrogen peroxide to get rid of bed bugs in my mattress?
While hydrogen peroxide can kill some bed bugs on contact, it’s not a reliable or effective method for eliminating a bed bug infestation. Bed bugs are notoriously difficult to get rid of, and they can hide in cracks and crevices throughout your home. If you suspect you have a bed bug infestation, it’s best to contact a professional pest control company for treatment. They have the expertise and equipment to effectively eliminate bed bugs and prevent them from returning.
8. What are some other natural alternatives to hydrogen peroxide for cleaning my mattress?
If you’re looking for other natural alternatives to hydrogen peroxide, you can try using baking soda, vinegar, or essential oils. Baking soda is a great deodorizer and can help absorb moisture and odors. Sprinkle baking soda over your mattress, let it sit for several hours, and then vacuum it up. Vinegar is a natural disinfectant and can help kill bacteria and remove stains. Mix equal parts vinegar and water in a spray bottle and use it to clean your mattress. Essential oils, such as lavender, eucalyptus, and tea tree oil, have antibacterial and antifungal properties and can help freshen up your mattress. Add a few drops of essential oil to a spray bottle filled with water and use it to lightly mist your mattress.
9. Is it necessary to vacuum my mattress after cleaning it with hydrogen peroxide?
Yes, it’s essential to vacuum your mattress after cleaning it with hydrogen peroxide. Vacuuming helps remove any remaining residue, dust mites, allergens, and dead skin cells. Use a vacuum cleaner with a HEPA filter to trap even the smallest particles. Pay special attention to seams and crevices, where dust mites tend to accumulate. Vacuum your mattress thoroughly on all sides and let it air dry completely before putting sheets or bedding back on.

Leave a Comment