

DIY spa cleaners: who knew keeping your hot tub sparkling could be so simple, affordable, and even…fun? I’m always looking for ways to save money and be more eco-conscious, and that’s how I stumbled upon the world of homemade spa cleaners. Forget those expensive, chemical-laden products from the store! We’re diving into the world of natural ingredients and easy recipes that will leave your spa water crystal clear and your skin feeling amazing.
The desire for clean, relaxing water has been around for centuries. From ancient Roman bathhouses to Japanese onsen, cultures worldwide have valued the therapeutic benefits of soaking in warm water. But maintaining that pristine water quality has always been a challenge. While modern chemicals offer a quick fix, they often come with unwanted side effects. That’s where the beauty of DIY spa cleaners comes in. You control exactly what goes into your spa, ensuring a safe and healthy environment for you and your loved ones.
Why do you need these DIY tricks and hacks? Because let’s face it, spa maintenance can be a real pain! Store-bought cleaners can be harsh on your skin, expensive to replace, and potentially harmful to the environment. Plus, who really knows what’s in those mysterious formulas? With these simple DIY recipes, you’ll not only save money but also gain peace of mind knowing exactly what’s keeping your spa clean and inviting. Get ready to unlock the secrets to a sparkling spa, naturally!
DIY Spa Cleaners: Keep Your Hot Tub Sparkling Naturally!
Hey there, fellow spa enthusiasts! I’m so excited to share my favorite DIY spa cleaner recipes with you. Let’s face it, keeping a hot tub clean can be a chore, and those commercial cleaners can be expensive and full of harsh chemicals. I’ve been experimenting with natural alternatives for years, and I’ve finally perfected some recipes that are effective, affordable, and gentle on your skin and the environment. Get ready to ditch the store-bought stuff and embrace a cleaner, greener spa experience!
Understanding Spa Chemistry Basics
Before we dive into the recipes, let’s quickly touch on the basics of spa chemistry. Maintaining proper pH, alkalinity, and sanitizer levels is crucial for a clean and safe spa. These DIY cleaners are designed to supplement, not replace, your regular water testing and balancing routine. Always test your water regularly and adjust as needed. I use a simple test kit I got online, and it works wonders!
* pH: Measures the acidity or alkalinity of your water. Ideal range is 7.2-7.8.
* Alkalinity: Buffers pH and prevents it from fluctuating wildly. Ideal range is 80-120 ppm.
* Sanitizer (Chlorine or Bromine): Kills bacteria and algae. Maintain appropriate levels according to your sanitizer type.
DIY Spa Filter Cleaner
A clean filter is essential for a clean spa! A clogged filter reduces water flow and allows debris to circulate, making it harder to maintain water clarity. I recommend cleaning your filter every 4-6 weeks, or more often if you use your spa frequently.
What You’ll Need:
* Large bucket or tub
* Garden hose with a spray nozzle
* White vinegar
* Baking soda (optional, for extra cleaning power)
* Soft-bristled brush (optional, for stubborn debris)
Step-by-Step Instructions:
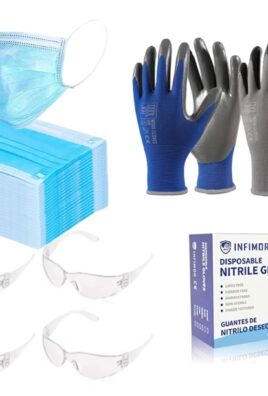
1. Remove the Filter: Turn off the spa and locate the filter compartment. Carefully remove the filter, following the manufacturer’s instructions. I usually wear gloves for this part, just in case.
2. Rinse the Filter: Use the garden hose with a spray nozzle to thoroughly rinse the filter pleats. Spray from the inside out to dislodge any trapped debris. I like to use a high-pressure setting to really blast away the dirt.
3. Prepare the Cleaning Solution: Fill the bucket or tub with enough warm water to completely submerge the filter. Add 1 cup of white vinegar per gallon of water. For extra cleaning power, you can also add 1/2 cup of baking soda per gallon of water. Be careful, as the baking soda will fizz when added to the vinegar!
4. Soak the Filter: Submerge the filter in the cleaning solution and let it soak for at least 12 hours, or preferably overnight. This will help to dissolve any oils, lotions, and other contaminants that have accumulated in the filter. I usually set a timer so I don’t forget about it!
5. Scrub (Optional): If the filter is heavily soiled, you can use a soft-bristled brush to gently scrub the pleats after soaking. Be careful not to damage the filter material.
6. Rinse Thoroughly: After soaking, remove the filter from the cleaning solution and rinse it thoroughly with the garden hose. Make sure to remove all traces of vinegar and baking soda.
7. Dry the Filter: Allow the filter to air dry completely before reinstalling it in the spa. I usually leave it out in the sun for a few hours to speed up the drying process.
8. Reinstall the Filter: Once the filter is dry, carefully reinstall it in the spa, following the manufacturer’s instructions.
DIY Spa Surface Cleaner
Keeping the spa shell clean is just as important as keeping the water clean. Over time, oils, lotions, and other contaminants can build up on the surface, creating a slimy film. This DIY surface cleaner is gentle yet effective at removing these deposits.
What You’ll Need:
* Spray bottle
* White vinegar
* Water
* Essential oil (optional, for fragrance)
* Soft cloth or sponge
Step-by-Step Instructions:
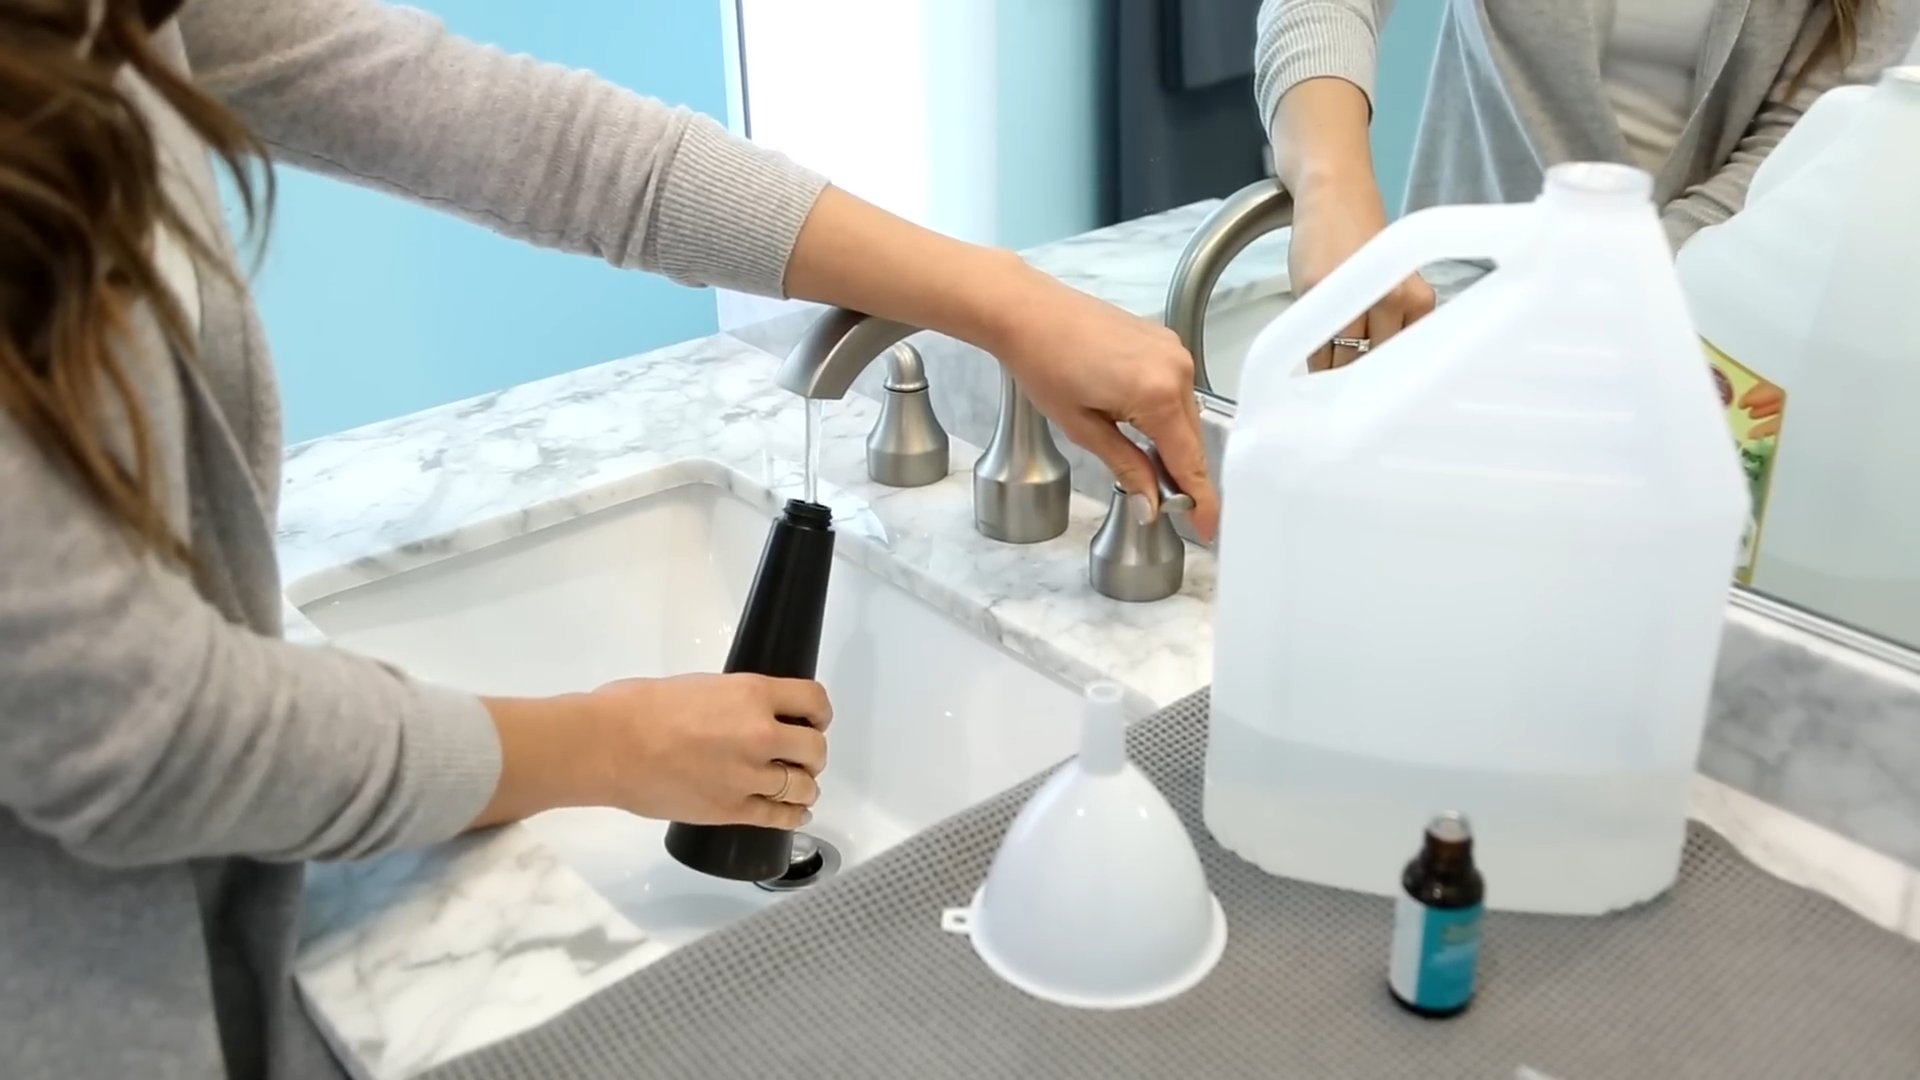
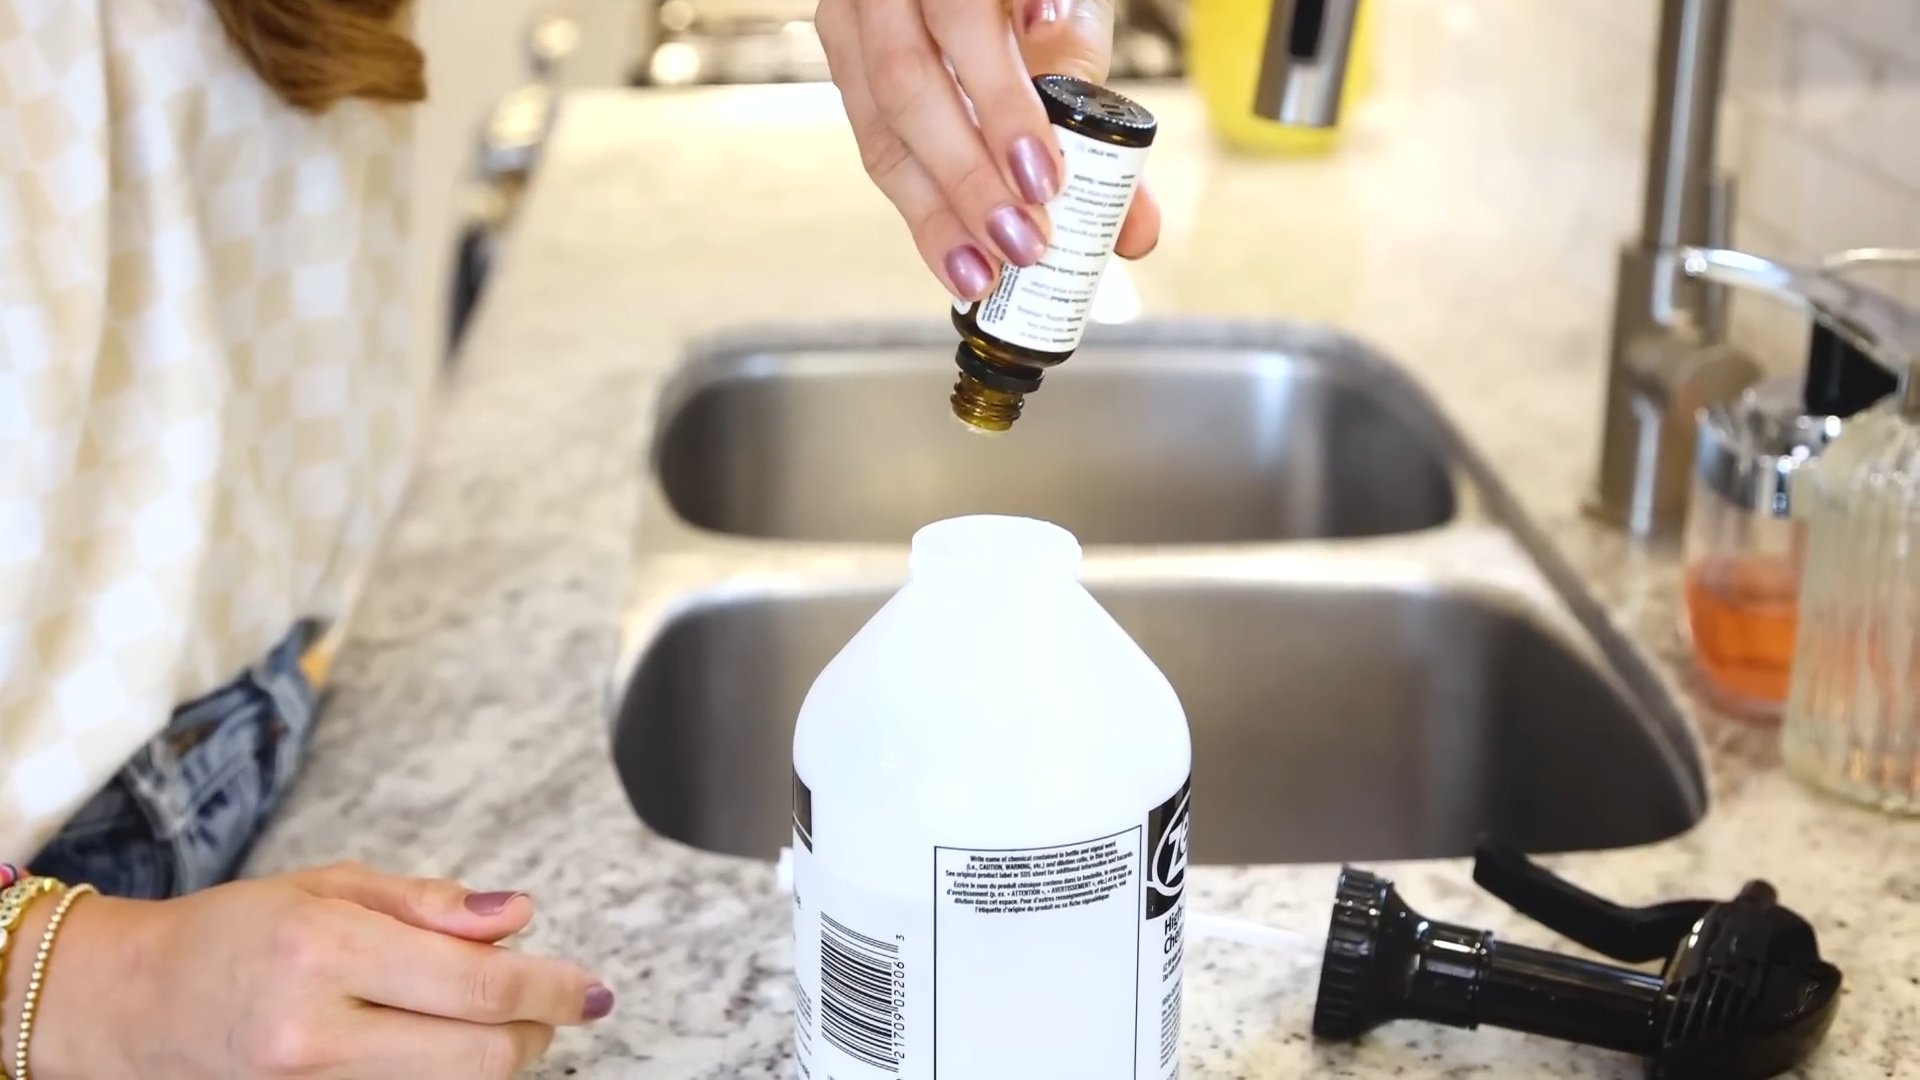
1. Prepare the Cleaning Solution: In the spray bottle, combine equal parts white vinegar and water. Add a few drops of your favorite essential oil for fragrance, if desired. I love using lavender or eucalyptus for a relaxing spa experience.
2. Spray the Surface: Spray the cleaning solution onto the spa surface, focusing on areas where you see buildup or staining.
3. Wipe Clean: Use a soft cloth or sponge to wipe the surface clean. For stubborn stains, let the cleaning solution sit for a few minutes before wiping.
4. Rinse (Optional): If desired, you can rinse the surface with clean water after wiping. This is especially helpful if you used a lot of cleaning solution.
5. Dry the Surface: Allow the surface to air dry or wipe it dry with a clean cloth.
DIY Spa Water Clarifier
Cloudy spa water can be a real bummer. This DIY water clarifier helps to clump together small particles, making them easier for the filter to remove.
What You’ll Need:
* Baking soda
* Water
* Bucket
Step-by-Step Instructions:
1. Test Your Water: Before adding anything to your spa, test your water’s pH and alkalinity. Adjust as needed to ensure they are within the ideal ranges.
2. Prepare the Solution: Dissolve 1/2 cup of baking soda in a bucket of warm water. Stir until the baking soda is completely dissolved.
3. Add to Spa: Slowly pour the baking soda solution into the spa water, distributing it evenly around the perimeter.
4. Run the Jets: Run the spa jets for 15-20 minutes to help circulate the solution and distribute it throughout the water.
5. Monitor Water Clarity: Monitor the water clarity over the next 24-48 hours. You should notice a gradual improvement as the particles clump together and are removed by the filter.
Important Note: Baking soda will raise the pH and alkalinity of your spa water. Monitor these levels closely and adjust as needed. If your alkalinity is already high, you may want to use a different type of clarifier.
DIY Spa Stain Remover
Stubborn stains can be a real eyesore in your spa. This DIY stain remover is effective at removing mineral deposits, waterline stains, and other discoloration.
What You’ll Need:
* Lemon juice
* Salt (optional, for extra scrubbing power)
* Soft cloth or sponge
Step-by-Step Instructions:
1. Apply Lemon Juice: Apply lemon juice directly to the stain.
2. Add Salt (Optional): For extra scrubbing power, sprinkle a small amount of salt onto the lemon juice.
3. Scrub Gently: Use a soft cloth or sponge to gently scrub the stain. Be careful not to scratch the spa surface.
4. Let it Sit: Let the lemon juice sit on the stain for 15-20 minutes.
5. Rinse Thoroughly: Rinse the area thoroughly with clean water.
6. Repeat if Necessary: If the stain is still visible, repeat the process.
Important Note: Lemon juice is acidic and can potentially damage some spa surfaces. Test it in an inconspicuous area before applying it to a large stain.
Preventative Measures for a Sparkling Spa
Prevention is always better than cure! Here are some tips to help keep your spa clean and prevent problems from occurring in the first place:
* Shower Before Entering: Encourage everyone to shower before entering the spa to remove oils, lotions, and other contaminants. I always make sure my family does this!
* Use a Spa Cover: Keep the spa covered when not in use to prevent debris from entering the water.
* Wipe Down the Spa Shell Regularly: Wipe down the spa shell with a damp cloth after each use to remove any spills or splashes.
* Maintain Proper Water Chemistry: Regularly test and balance your spa water to ensure proper pH, alkalinity, and sanitizer levels.
* Clean Your Filter Regularly: Clean your filter every 4-6 weeks, or more often if you use your spa frequently.
* Shock Your Spa Regularly: Shock your spa with a non-chlorine shock treatment every 1-2 weeks to oxidize organic contaminants.
Troubleshooting Common Spa Problems
Even with the best care, you may occasionally encounter problems with your spa water. Here are some common issues and how to address them:
* Cloudy Water: Could be caused by high pH, alkalinity, or sanitizer levels, or by a buildup of organic contaminants. Adjust water chemistry as needed and shock the spa.
* Foamy Water: Could be caused by soaps, lotions, or other contaminants.
Conclusion
So, there you have it! Ditching the harsh chemicals and embracing these DIY spa cleaners is more than just a trend; it’s a conscious choice for a healthier you, a happier spa, and a greener planet. We’ve walked you through simple, effective recipes that utilize ingredients you likely already have in your pantry. From the invigorating citrus-infused surface cleaner to the gentle yet powerful baking soda scrub, each formula is designed to tackle common spa grime without compromising your well-being or damaging your equipment.
Why is this a must-try? Because it’s empowering! You’re taking control of what goes into your spa, eliminating the mystery ingredients and potential irritants found in commercial products. You’re saving money, reducing plastic waste, and creating a truly personalized spa experience. Plus, the satisfaction of knowing you’re cleaning with natural, safe ingredients is simply unmatched.
But the beauty of DIY lies in its adaptability. Feel free to experiment with variations to suit your specific needs and preferences. For a stronger disinfectant, add a few drops of tea tree oil to your surface cleaner. If you have hard water stains, a vinegar-based solution might be your best bet. And for a truly luxurious touch, consider infusing your cleaning solutions with essential oils like lavender or eucalyptus for a calming and aromatic experience.
Don’t be afraid to get creative! Perhaps you want to add a touch of lemon juice to your baking soda paste for extra brightening power. Or maybe you’ll discover a unique combination of essential oils that perfectly complements your spa’s ambiance. The possibilities are endless!
We genuinely believe that switching to DIY spa cleaners is a game-changer. It’s a small change that can have a significant impact on your health, your wallet, and the environment. So, we urge you to give it a try. Start with one recipe, see how it works for you, and gradually transition to a completely natural cleaning routine.
Most importantly, we want to hear about your experience! Share your tips, variations, and success stories in the comments below. Let’s build a community of spa enthusiasts who are committed to creating a cleaner, healthier, and more sustainable spa experience. Your feedback will not only help others but also inspire us to continue developing and refining these DIY solutions. Together, we can revolutionize the way we care for our spas and ourselves. Embrace the power of natural cleaning and discover the joy of a truly clean and healthy spa!
Frequently Asked Questions (FAQs)
1. Are DIY spa cleaners as effective as commercial cleaners?
Yes, absolutely! Many DIY spa cleaners are surprisingly effective, often matching or even exceeding the performance of commercial cleaners, especially for routine maintenance. The key is understanding the specific cleaning needs of your spa and choosing the right ingredients. For example, vinegar is a powerful descaler, baking soda is a gentle abrasive, and essential oils like tea tree oil have natural antibacterial properties. While some heavy-duty cleaning tasks might require a specialized commercial product, for the vast majority of spa cleaning needs, DIY solutions are more than capable. The effectiveness also depends on consistent cleaning. Regular light cleaning with DIY solutions is often more effective than infrequent deep cleaning with harsh chemicals.
2. What ingredients should I avoid when making DIY spa cleaners?
While DIY cleaning is generally safer, there are some ingredients you should avoid. Never mix bleach with ammonia or vinegar, as this creates toxic fumes. Avoid using harsh abrasives like steel wool, which can scratch spa surfaces. Also, be cautious with essential oils, as some can be irritating to the skin or damage certain spa materials. Always dilute essential oils properly and test them in an inconspicuous area first. Avoid using anything that could clog your spa’s filters or jets, such as powdered detergents or soaps with excessive foaming agents. Finally, be mindful of the pH balance of your spa water. Some DIY cleaners, like vinegar, can lower the pH, so monitor your water chemistry and adjust accordingly.
3. How often should I clean my spa with DIY cleaners?
The frequency of cleaning depends on how often you use your spa and the number of people using it. As a general guideline, wipe down the spa surfaces with a DIY surface cleaner after each use to prevent buildup. Deep clean the spa shell and jets every 1-2 weeks, or more frequently if needed. Clean or replace your spa filter regularly, following the manufacturer’s recommendations. Drain and refill your spa every 3-6 months, depending on usage and water chemistry. Regular maintenance with DIY cleaners will help keep your spa clean, healthy, and enjoyable for years to come.
4. Can DIY spa cleaners damage my spa equipment?
When used correctly, DIY spa cleaners are generally safe for spa equipment. However, it’s essential to use the right ingredients and follow the instructions carefully. Avoid using harsh chemicals or abrasive materials that could damage the spa shell, jets, or filters. Always test your DIY cleaner in an inconspicuous area first to ensure it doesn’t cause any discoloration or damage. Be mindful of the pH balance of your spa water, as some DIY cleaners can affect it. If you’re unsure about using a particular ingredient or cleaner, consult your spa’s manufacturer or a qualified spa technician.
5. What are some variations I can try with these DIY spa cleaner recipes?
The beauty of DIY is the ability to customize recipes to your liking. For a citrus boost, add lemon or orange peels to your vinegar cleaner for a refreshing scent and extra cleaning power. For a more potent disinfectant, add a few drops of tea tree, eucalyptus, or lavender essential oil to your surface cleaner. If you have hard water stains, try using a stronger vinegar solution or adding a bit of citric acid. For a gentle scrub, mix baking soda with a small amount of water to create a paste. You can also experiment with different essential oil blends to create a spa-like aroma. Just remember to always test your variations in an inconspicuous area first and monitor your spa’s water chemistry.
6. Where can I find the ingredients for these DIY spa cleaners?
Most of the ingredients for these DIY spa cleaners are readily available at your local grocery store or online. White vinegar, baking soda, and essential oils are common household items. Citric acid can be found in the baking aisle or online. For more specialized ingredients, such as borax or washing soda, you may need to visit a hardware store or online retailer. When purchasing essential oils, choose high-quality, pure oils from a reputable source.
7. How do I store my DIY spa cleaners?
Store your DIY spa cleaners in clean, airtight containers labeled with the contents and date. Keep them out of reach of children and pets. Store them in a cool, dry place away from direct sunlight. Avoid storing them in metal containers, as some ingredients can react with metal. Most DIY spa cleaners will last for several months, but it’s best to use them within a reasonable timeframe for optimal effectiveness. If you notice any changes in color, odor, or consistency, discard the cleaner.
8. What if I have a stubborn stain or buildup in my spa?
For stubborn stains or buildup, you may need to use a more concentrated DIY cleaner or a combination of methods. Try applying a paste of baking soda and water to the affected area and letting it sit for a few minutes before scrubbing gently. You can also try using a vinegar-soaked cloth to loosen mineral deposits. For tough stains, consider using a commercial spa stain remover, but always follow the manufacturer’s instructions carefully. If you’re unsure about how to remove a particular stain, consult your spa’s manufacturer or a qualified spa technician.
9. Can I use these DIY cleaners in other areas of my home?
Many of these DIY cleaners can be used in other areas of your home as well. Vinegar is a versatile cleaner for bathrooms, kitchens, and floors. Baking soda is a great deodorizer and gentle abrasive for cleaning sinks, tubs, and appliances. Essential oils can be used to freshen the air and create a pleasant aroma. However, always test your DIY cleaner in an inconspicuous area first to ensure it doesn’t damage the surface.
10. What are the environmental benefits of using DIY spa cleaners?
Using DIY spa cleaners offers numerous environmental benefits. You’re reducing your reliance on harsh chemicals that can pollute waterways and harm aquatic life. You’re minimizing plastic waste by reusing containers and avoiding single-use cleaning products. You’re choosing natural, biodegradable ingredients that are less harmful to the environment. By making the switch to DIY spa cleaners, you’re contributing to a more sustainable and eco-friendly lifestyle.

Leave a Comment