

DIY Tomato Garden Ideas: Imagine biting into a sun-warmed, juicy tomato, bursting with flavor that no store-bought variety can ever match. That’s the magic of growing your own tomatoes, and trust me, it’s easier than you think! For centuries, cultivating tomatoes has been a cherished tradition, dating back to the Aztecs and Incas who first domesticated this vibrant fruit. Today, whether you have a sprawling backyard or a tiny balcony, you can experience the joy of harvesting your own delicious tomatoes.
But let’s be honest, getting started can feel a little overwhelming. Where do you begin? What are the secrets to a bountiful harvest? That’s where these DIY Tomato Garden Ideas come in! I’m going to share some simple, effective, and budget-friendly tricks and hacks that will transform you into a tomato-growing pro. From clever container solutions to natural pest control methods, we’ll cover everything you need to know to create a thriving tomato garden, no matter your space or experience level.
Why do you need these DIY tricks? Because let’s face it, store-bought tomatoes often lack the flavor and freshness of homegrown ones. Plus, gardening is incredibly therapeutic! It’s a chance to connect with nature, de-stress, and enjoy the satisfaction of nurturing something from seed to table. So, get ready to roll up your sleeves, get your hands dirty, and discover the secrets to a thriving tomato garden with these easy and fun DIY ideas!
DIY Tomato Garden: From Seed to Sauce (and Everything In Between!)
Okay, tomato lovers, let’s get our hands dirty! I’m going to walk you through some awesome DIY tomato garden ideas, from starting seeds indoors to creating unique planters. We’ll cover everything you need to know to have a bumper crop of juicy, delicious tomatoes. Get ready to impress your friends and family with your green thumb!
Starting Your Tomato Seeds Indoors
Starting your tomato seeds indoors gives you a head start on the growing season, especially if you live in a cooler climate. It allows you to nurture those tiny seedlings before the unpredictable weather of spring arrives. Trust me, it’s worth the effort!
What You’ll Need:
* Tomato seeds (choose your favorite varieties!)
* Seed starting trays or small pots
* Seed starting mix (this is crucial – it’s lighter and drains better than regular potting soil)
* Spray bottle with water
* Heat mat (optional, but highly recommended)
* Grow light (also optional, but helps prevent leggy seedlings)
* Clear plastic dome or plastic wrap (to create a humid environment)
Step-by-Step Instructions:
1. Prepare Your Seed Starting Trays: Fill your seed starting trays or small pots with seed starting mix. Gently tap the trays to settle the mix, but don’t pack it down too tightly. You want good drainage and air circulation.
2. Sow the Seeds: Make a small indentation (about ¼ inch deep) in the center of each cell or pot. Place 2-3 tomato seeds in each indentation. This increases your chances of at least one seed germinating. Cover the seeds lightly with more seed starting mix.
3. Water Gently: Use a spray bottle to mist the soil thoroughly. You want the soil to be moist, but not soggy. Avoid pouring water directly onto the soil, as this can displace the seeds.
4. Create a Humid Environment: Cover the seed starting trays with a clear plastic dome or plastic wrap. This will help retain moisture and create a warm, humid environment that’s ideal for germination.
5. Provide Warmth: Place the seed starting trays on a heat mat. Tomato seeds germinate best in warm temperatures (around 75-85°F). If you don’t have a heat mat, you can place the trays in a warm spot in your house, such as on top of your refrigerator.
6. Provide Light: Place the seed starting trays under a grow light. If you don’t have a grow light, you can place the trays near a sunny window, but be sure to rotate them regularly to prevent the seedlings from leaning towards the light.
7. Monitor and Water: Check the seed starting trays daily to ensure that the soil remains moist. Mist the soil with a spray bottle as needed. Once the seeds germinate (usually within 5-10 days), remove the plastic dome or plastic wrap.
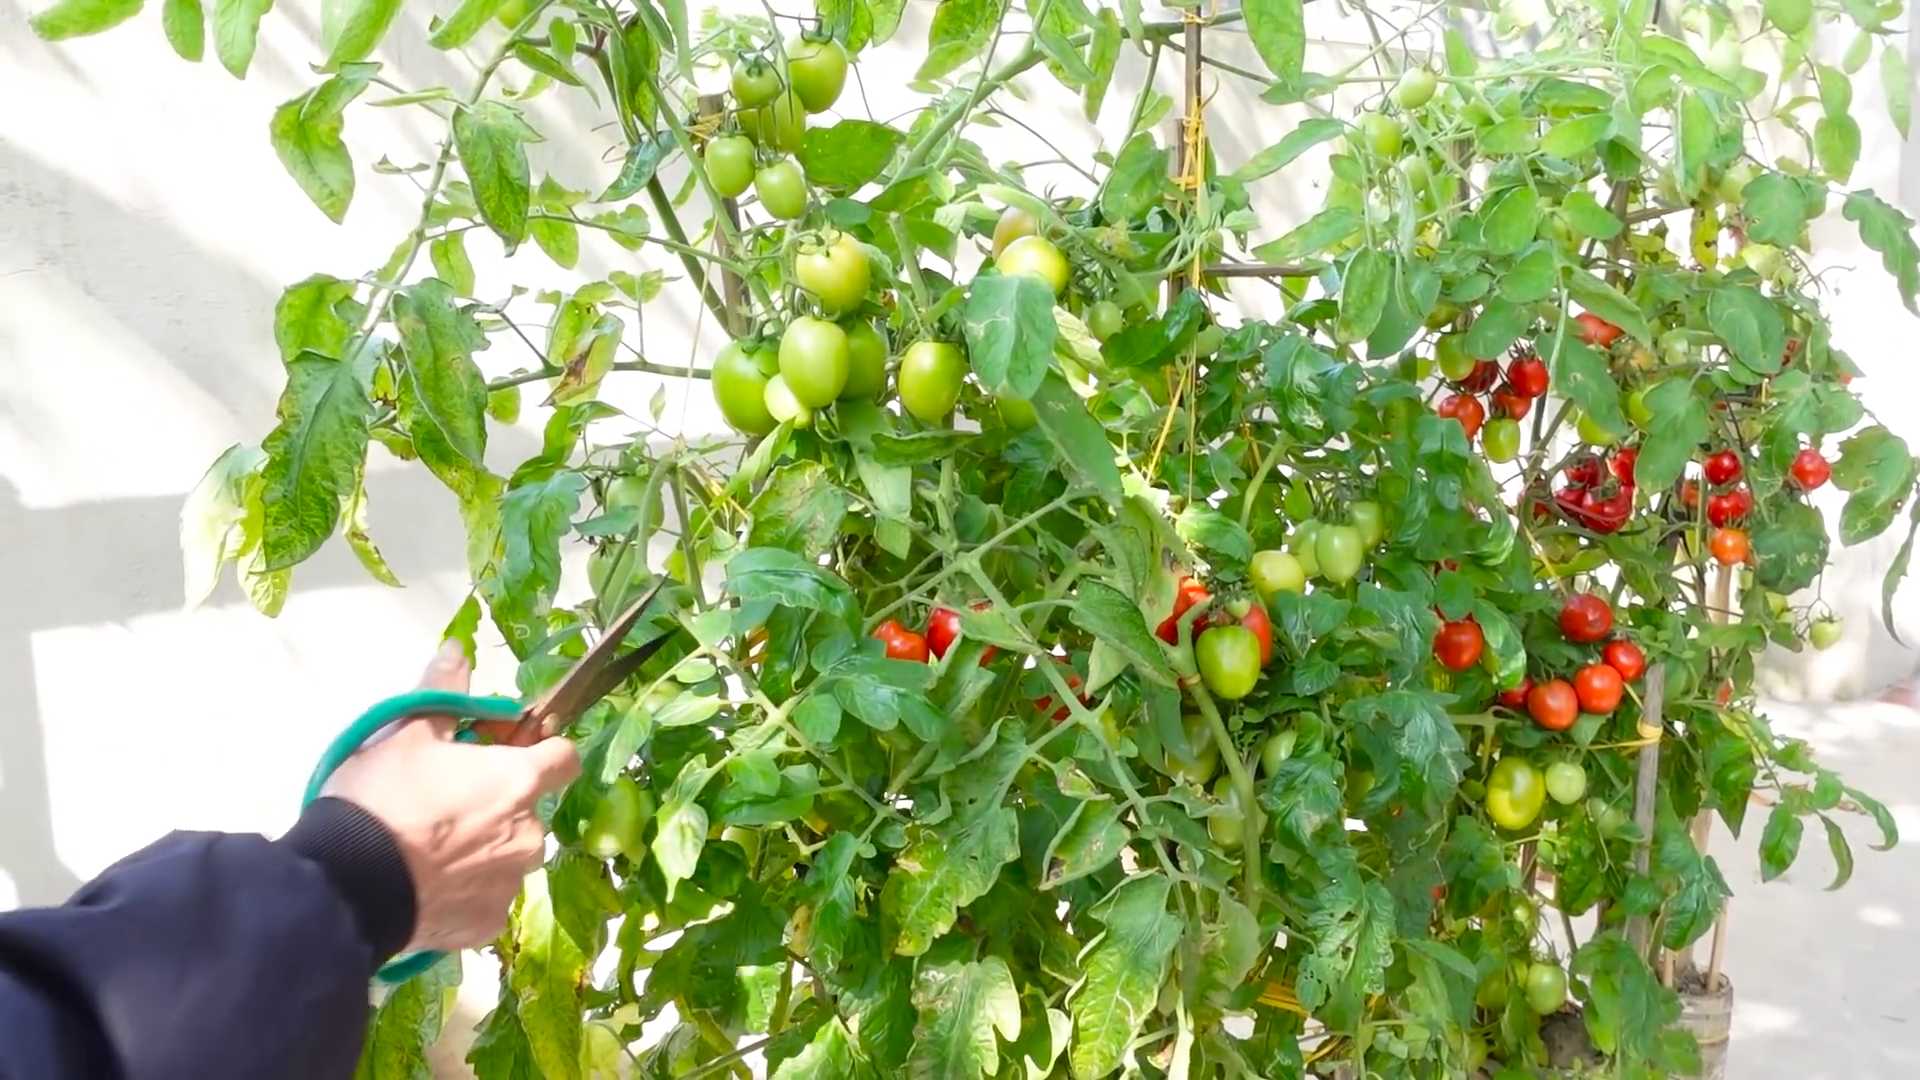
8. Thin the Seedlings: Once the seedlings have developed their first true leaves (the leaves that appear after the initial seed leaves), thin them out by snipping off the weaker seedlings at the soil line with scissors. Leave only the strongest seedling in each cell or pot.
9. Harden Off the Seedlings: Before transplanting the seedlings outdoors, you need to harden them off. This means gradually exposing them to outdoor conditions over a period of 7-10 days. Start by placing the seedlings outdoors in a sheltered location for a few hours each day, gradually increasing the amount of time they spend outdoors. Protect them from direct sunlight and strong winds.
DIY Tomato Planters: Get Creative!
Now, let’s talk about planters! You don’t need to spend a fortune on fancy pots. There are tons of creative and budget-friendly DIY options. Here are a few of my favorites:
1. Repurposed Buckets and Containers:
* What You’ll Need: Old buckets, plastic storage containers, or even large tin cans.
* Instructions:
1. Clean the container thoroughly.
2. Drill drainage holes in the bottom. This is absolutely crucial to prevent root rot!
3. Decorate the container with paint, stencils, or even fabric scraps. Get creative!
4. Fill with a good quality potting mix.
2. Fabric Grow Bags:
* What You’ll Need: Heavy-duty fabric (like burlap or landscape fabric), sewing machine (optional – you can also hand-sew), scissors, and potting mix.
* Instructions:
1. Cut the fabric into a rectangle. The size will depend on how large you want your grow bag to be. A good starting point is about 24 inches wide and 36 inches long.
2. Fold the fabric in half lengthwise.
3. Sew the sides together, leaving the top open. If you’re hand-sewing, use a strong stitch.
4. Reinforce the bottom corners by sewing across them. This will help the bag hold its shape.
5. Fold the top edge down a few inches to create a cuff.
6. Fill with potting mix.
3. Pallet Planter:
* What You’ll Need: Wooden pallet, landscape fabric, staples, staple gun, potting mix.
* Instructions:
1. Choose a pallet that’s in good condition and hasn’t been treated with harmful chemicals.
2. Line the inside of each section of the pallet with landscape fabric. Staple the fabric securely to the wood.
3. Fill each section with potting mix.
4. Plant your tomato seedlings in the soil.
4. Upside-Down Tomato Planter:
* What You’ll Need: 5-gallon bucket, drill, 2-inch hole saw, potting mix, tomato seedling.
* Instructions:
1. Drill a 2-inch hole in the center of the bottom of the bucket.
2. Carefully insert the tomato seedling through the hole, with the roots inside the bucket and the leaves hanging out. You might need to gently wrap the roots in newspaper to protect them.
3. Fill the bucket with potting mix, being careful not to damage the seedling.
4. Hang the bucket from a sturdy support, such as a tree branch or a hook.
5. Water regularly.
Transplanting Your Tomato Seedlings Outdoors
Once your tomato seedlings are hardened off and the danger of frost has passed, it’s time to transplant them into your garden or planters. This is a crucial step, so pay attention to the details!
What You’ll Need:
* Your hardened-off tomato seedlings
* Your chosen planters or garden bed
* Trowel or shovel
* Tomato cages or stakes
* Fertilizer (specifically formulated for tomatoes)
* Watering can or hose
Step-by-Step Instructions:
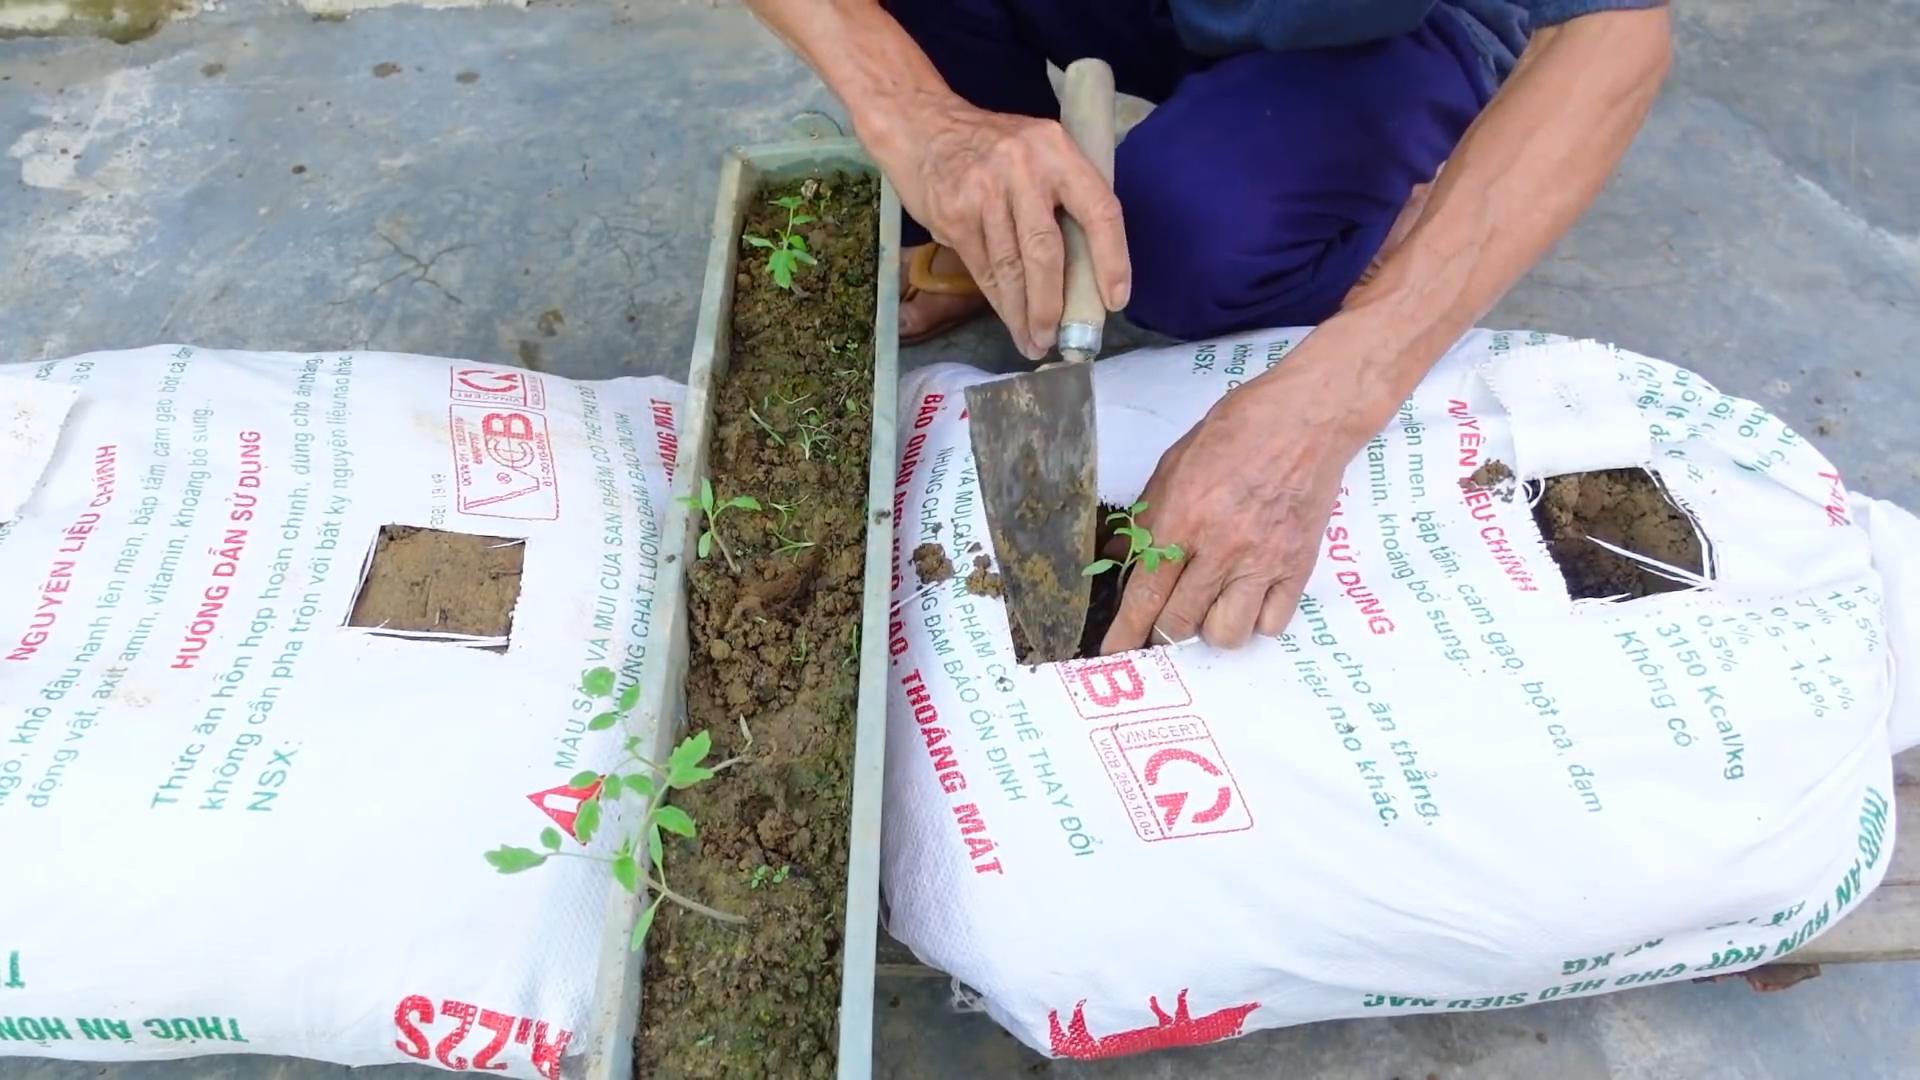
1. Prepare the Planting Area: Dig a hole in your garden bed or planter that’s large enough to accommodate the root ball of the tomato seedling.
2. Amend the Soil: If you’re planting in a garden bed, amend the soil with compost or other organic matter to improve drainage and fertility.
3. Remove the Seedling from its Container: Gently squeeze the sides of the seed starting tray or pot to loosen the seedling. Carefully remove the seedling from its container, being careful not to damage the roots.
4. Plant the Seedling: Place the seedling in the hole, making sure that the top of the root ball is level with the surrounding soil. You can bury the stem of the tomato plant deeper than it was in the pot. Tomatoes will grow roots along the buried stem, resulting in a stronger, healthier plant.
5. Backfill the Hole: Fill the hole with soil, gently firming it around the seedling.
6. Water Thoroughly: Water the seedling thoroughly to help settle the soil and encourage root growth.
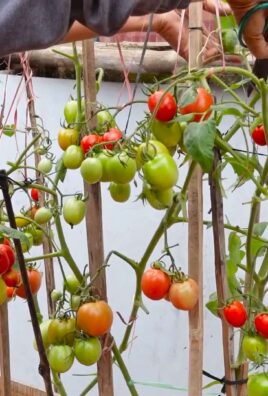
7. Add Support: Install a tomato cage or stake to support the plant as it grows. This will prevent the plant from falling over and help keep the fruit off the ground.
8. Fertilize: Fertilize the seedling with a fertilizer specifically formulated for tomatoes. Follow the instructions on the fertilizer package.
Caring for Your Tomato Plants
Congratulations! You’ve successfully transplanted your tomato seedlings. Now, it’s time to provide them with the care they need to thrive.
Watering:
* Water your tomato plants regularly, especially during hot, dry weather.
* Water deeply and infrequently, rather than shallowly and frequently. This encourages deep root growth.
* Avoid watering the foliage, as this can promote fungal diseases. Water at the base of the plant.
Fertilizing:
* Fertilize your tomato plants every 2-3 weeks with a fertilizer specifically formulated for tomatoes.
* Follow the instructions on
Conclusion
So, there you have it! Transforming your outdoor space with these DIY tomato garden ideas isn’t just about growing delicious, sun-ripened tomatoes; it’s about cultivating a connection with nature, fostering creativity, and enjoying the immense satisfaction of harvesting your own food. We’ve explored a range of options, from the space-saving ingenuity of vertical planters to the rustic charm of repurposed containers and the budget-friendly appeal of upcycled materials. Each idea offers a unique pathway to achieving a thriving tomato garden, regardless of your experience level or the size of your available space.
The beauty of these DIY projects lies in their adaptability. Feel free to personalize them to suit your specific needs and preferences. For example, if you’re short on space but crave variety, consider a tiered planter with different tomato varieties on each level. Cherry tomatoes cascade beautifully from the top tier, while larger beefsteak tomatoes can thrive on the lower levels. Or, if you’re concerned about pests, incorporate companion planting into your design. Marigolds, basil, and other herbs not only add visual appeal but also naturally deter common tomato pests.
Don’t be afraid to experiment with different materials and techniques. Perhaps you have an old wooden pallet lying around that could be transformed into a vertical garden, or maybe you’re inspired to create a self-watering container using recycled plastic bottles. The possibilities are truly endless! Remember, the most important ingredient in any successful garden is your passion and dedication.
Why is this a must-try? Because it empowers you to take control of your food source, reduce your environmental impact, and enjoy the unparalleled flavor of homegrown tomatoes. Store-bought tomatoes simply can’t compare to the taste of a tomato picked fresh from your own garden, still warm from the sun. Plus, gardening is a fantastic way to relieve stress, get some exercise, and connect with the natural world.
We strongly encourage you to embark on your own DIY tomato garden adventure. Choose an idea that resonates with you, gather your materials, and get your hands dirty! And most importantly, don’t forget to share your experiences with us. We’d love to see your creations, hear about your successes (and even your challenges!), and learn from your unique perspectives. Share your photos and stories on our social media channels using #DIYTomatoGarden. Let’s inspire each other to create beautiful and bountiful tomato gardens! This is your chance to truly master the art of the DIY tomato garden.
Frequently Asked Questions (FAQ)
What are the best tomato varieties for a DIY garden?
The best tomato varieties for your DIY garden depend on several factors, including your climate, the amount of sunlight your garden receives, and your personal preferences. However, some popular and reliable choices include:
* **Cherry Tomatoes:** These small, sweet tomatoes are prolific producers and are well-suited for containers and hanging baskets. ‘Sungold’ and ‘Sweet Million’ are excellent choices.
* **Roma Tomatoes:** These plum tomatoes are ideal for making sauces and pastes. They are relatively compact and easy to grow.
* **Beefsteak Tomatoes:** These large, meaty tomatoes are perfect for slicing and sandwiches. They require more space and support than other varieties. ‘Brandywine’ and ‘Mortgage Lifter’ are popular options.
* **Determinate vs. Indeterminate:** Consider whether you want determinate (bush) or indeterminate (vining) tomato plants. Determinate varieties grow to a certain size and produce all their fruit at once, making them suitable for canning. Indeterminate varieties continue to grow and produce fruit throughout the season, requiring staking or caging.
How much sunlight do tomato plants need?
Tomato plants need at least 6-8 hours of direct sunlight per day to thrive. Choose a location for your DIY tomato garden that receives ample sunlight. If you live in a hot climate, some afternoon shade may be beneficial to prevent the plants from overheating.
What type of soil is best for growing tomatoes?
Tomatoes prefer well-drained, fertile soil with a slightly acidic pH (6.0-6.8). Amend your soil with compost or other organic matter to improve its drainage and fertility. You can also purchase a potting mix specifically formulated for tomatoes.
How often should I water my tomato plants?
Water your tomato plants deeply and regularly, especially during hot, dry weather. Aim to keep the soil consistently moist but not waterlogged. Water at the base of the plant to avoid wetting the foliage, which can increase the risk of disease. A good rule of thumb is to water when the top inch of soil feels dry to the touch.
How do I prevent common tomato pests and diseases?
There are several things you can do to prevent common tomato pests and diseases:
* **Choose disease-resistant varieties:** Look for tomato varieties that are labeled as resistant to common diseases such as Fusarium wilt, Verticillium wilt, and Tomato Mosaic Virus.
* **Practice crop rotation:** Avoid planting tomatoes in the same location year after year.
* **Provide good air circulation:** Space your plants adequately to allow for good air circulation, which can help prevent fungal diseases.
* **Use organic pest control methods:** Consider using organic pest control methods such as insecticidal soap, neem oil, or Bacillus thuringiensis (Bt) to control pests.
* **Remove diseased foliage:** Promptly remove any diseased foliage to prevent the spread of disease.
* **Companion Planting:** Plant basil, marigolds, or other herbs near your tomatoes to deter pests.
How do I stake or cage my tomato plants?
Staking or caging your tomato plants is essential, especially for indeterminate varieties, to provide support and prevent the plants from sprawling on the ground. There are several options for staking or caging your tomato plants:
* **Wooden Stakes:** Drive a sturdy wooden stake into the ground near the plant and tie the main stem to the stake with soft twine.
* **Tomato Cages:** Purchase or build tomato cages to support the plants.
* **Florida Weave:** Use stakes and twine to create a woven support system for the plants.
When should I harvest my tomatoes?
Tomatoes are typically ready to harvest when they are fully colored and slightly soft to the touch. Gently twist the tomato from the vine. The color will vary depending on the variety.
Can I grow tomatoes indoors?
Yes, you can grow tomatoes indoors, but it requires providing them with adequate light and warmth. Use grow lights to supplement natural sunlight, and choose a sunny location for your indoor garden. Dwarf or patio tomato varieties are best suited for indoor growing.
What if I don’t have a lot of space for a garden?
That’s where the beauty of DIY tomato garden ideas comes in! Many of the projects we’ve discussed are designed for small spaces. Vertical gardens, container gardens, and hanging baskets are all excellent options for growing tomatoes in limited areas. You can even grow tomatoes on a balcony or patio.
How can I make my own compost for my tomato plants?
Composting is a great way to enrich your soil and provide your tomato plants with essential nutrients. You can compost kitchen scraps, yard waste, and other organic materials. There are many different composting methods, including traditional compost piles, compost bins, and vermicomposting (using worms). Research different methods to find one that suits your needs and space.
Leave a Comment