

DIY Wood Furniture Polish: Is your beloved wooden furniture looking a little dull? Are you tired of expensive, chemical-laden polishes that promise the world but deliver lackluster results? I understand! There’s nothing quite like the warmth and character that wood furniture brings to a home, and keeping it looking its best doesn’t have to break the bank or expose you to harsh chemicals.
For centuries, people have cherished wood furniture, passing down treasured pieces through generations. From the intricately carved chests of ancient Egypt to the sleek mid-century modern designs, wood has always been a symbol of craftsmanship and enduring beauty. But time and use can take their toll, leaving surfaces scratched, faded, and lacking their original luster. That’s where a good wood polish comes in!
In this article, I’m going to share my favorite DIY wood furniture polish recipe – a simple, effective, and all-natural solution that will breathe new life into your wooden treasures. You’ll learn how to create a polish using ingredients you probably already have in your pantry. This DIY trick will not only save you money but also give you the satisfaction of knowing exactly what you’re putting on your furniture. Plus, it’s a fantastic way to reduce your environmental impact by avoiding harsh chemicals and plastic packaging. So, let’s get started and unlock the secret to beautifully restored wood furniture!
DIY Wood Furniture Polish: Revive Your Furniture with Natural Ingredients
Hey there, fellow DIY enthusiasts! Are you tired of commercial furniture polishes filled with harsh chemicals? Do you want to give your beloved wooden furniture a natural, healthy shine? Well, you’ve come to the right place! I’m going to walk you through creating your very own wood furniture polish using simple, readily available ingredients. This polish is not only effective but also eco-friendly and safe for your home. Let’s get started!
What You’ll Need
Before we dive into the process, let’s gather all the necessary supplies. This will make the whole experience smoother and more enjoyable.
* Olive Oil: This is the base of our polish. It nourishes the wood and provides a beautiful sheen.
* Lemon Juice: Acts as a natural cleaner and helps to remove grime and dirt. Plus, it smells amazing!
* White Vinegar: Another excellent cleaner that helps to dissolve buildup and restore the wood’s natural luster.
* Essential Oil (Optional): For added fragrance and potential benefits. Lavender, orange, or cedarwood are great choices.
* Spray Bottle: To store and apply the polish. Make sure it’s clean and dry.
* Soft Cloths: Microfiber cloths are ideal for polishing as they won’t scratch the wood.
* Measuring Spoons/Cups: For accurate measurements.
* Bowl: To mix the ingredients.
Mixing the Magic Potion
This is where the fun begins! We’ll combine our ingredients to create a powerful yet gentle wood polish.
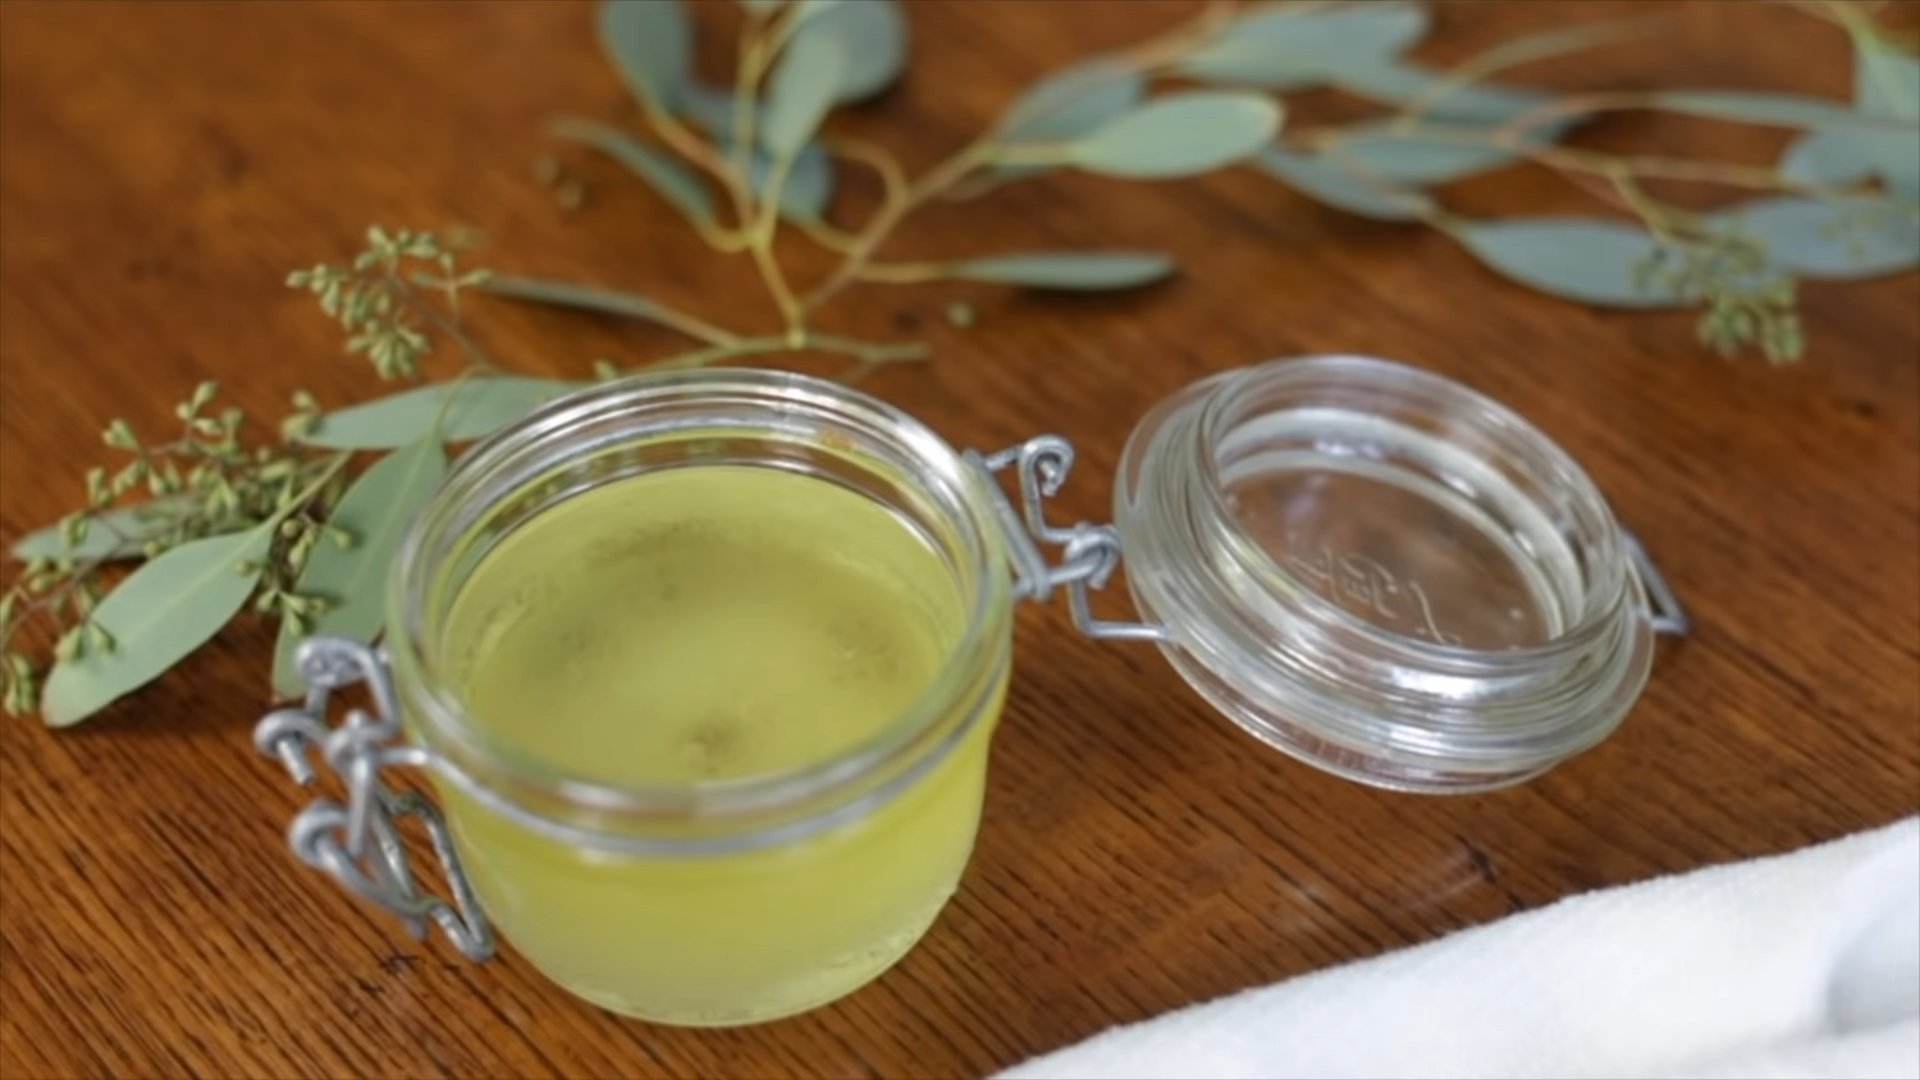
1. Combine the Base Ingredients: In your bowl, pour 1/2 cup of olive oil, 1/4 cup of lemon juice, and 1/4 cup of white vinegar. These three ingredients work together to clean, nourish, and protect your wood furniture.
2. Add Essential Oil (Optional): If you’re using essential oil, add 10-15 drops to the mixture. I personally love the calming scent of lavender, but feel free to experiment with your favorite fragrances. Remember to choose an essential oil that is safe for use on wood.
3. Mix Thoroughly: Use a spoon or whisk to combine all the ingredients until they are well blended. The mixture might look a little cloudy, but that’s perfectly normal.
4. Transfer to Spray Bottle: Carefully pour the mixture into your clean spray bottle. A funnel can be helpful to avoid spills.
Testing and Preparing Your Furniture
Before you go wild polishing everything in sight, it’s crucial to test the polish on an inconspicuous area of your furniture. This will ensure that it doesn’t damage or discolor the wood.
1. Choose a Hidden Spot: Select a small, hidden area on your furniture, such as the back of a leg or the underside of a table.
2. Apply a Small Amount: Spray a small amount of the polish onto the chosen area.
3. Wipe with a Clean Cloth: Gently wipe the area with a clean, soft cloth.
4. Observe the Results: Wait for a few minutes and observe the results. Check for any discoloration, streaking, or other adverse reactions. If everything looks good, you can proceed with polishing the rest of your furniture.
5. Dust Your Furniture: Before applying the polish, dust your furniture thoroughly with a clean, dry cloth. This will remove any loose dirt or debris that could scratch the wood during polishing.
Polishing Like a Pro
Now for the main event! Let’s bring that furniture back to life.
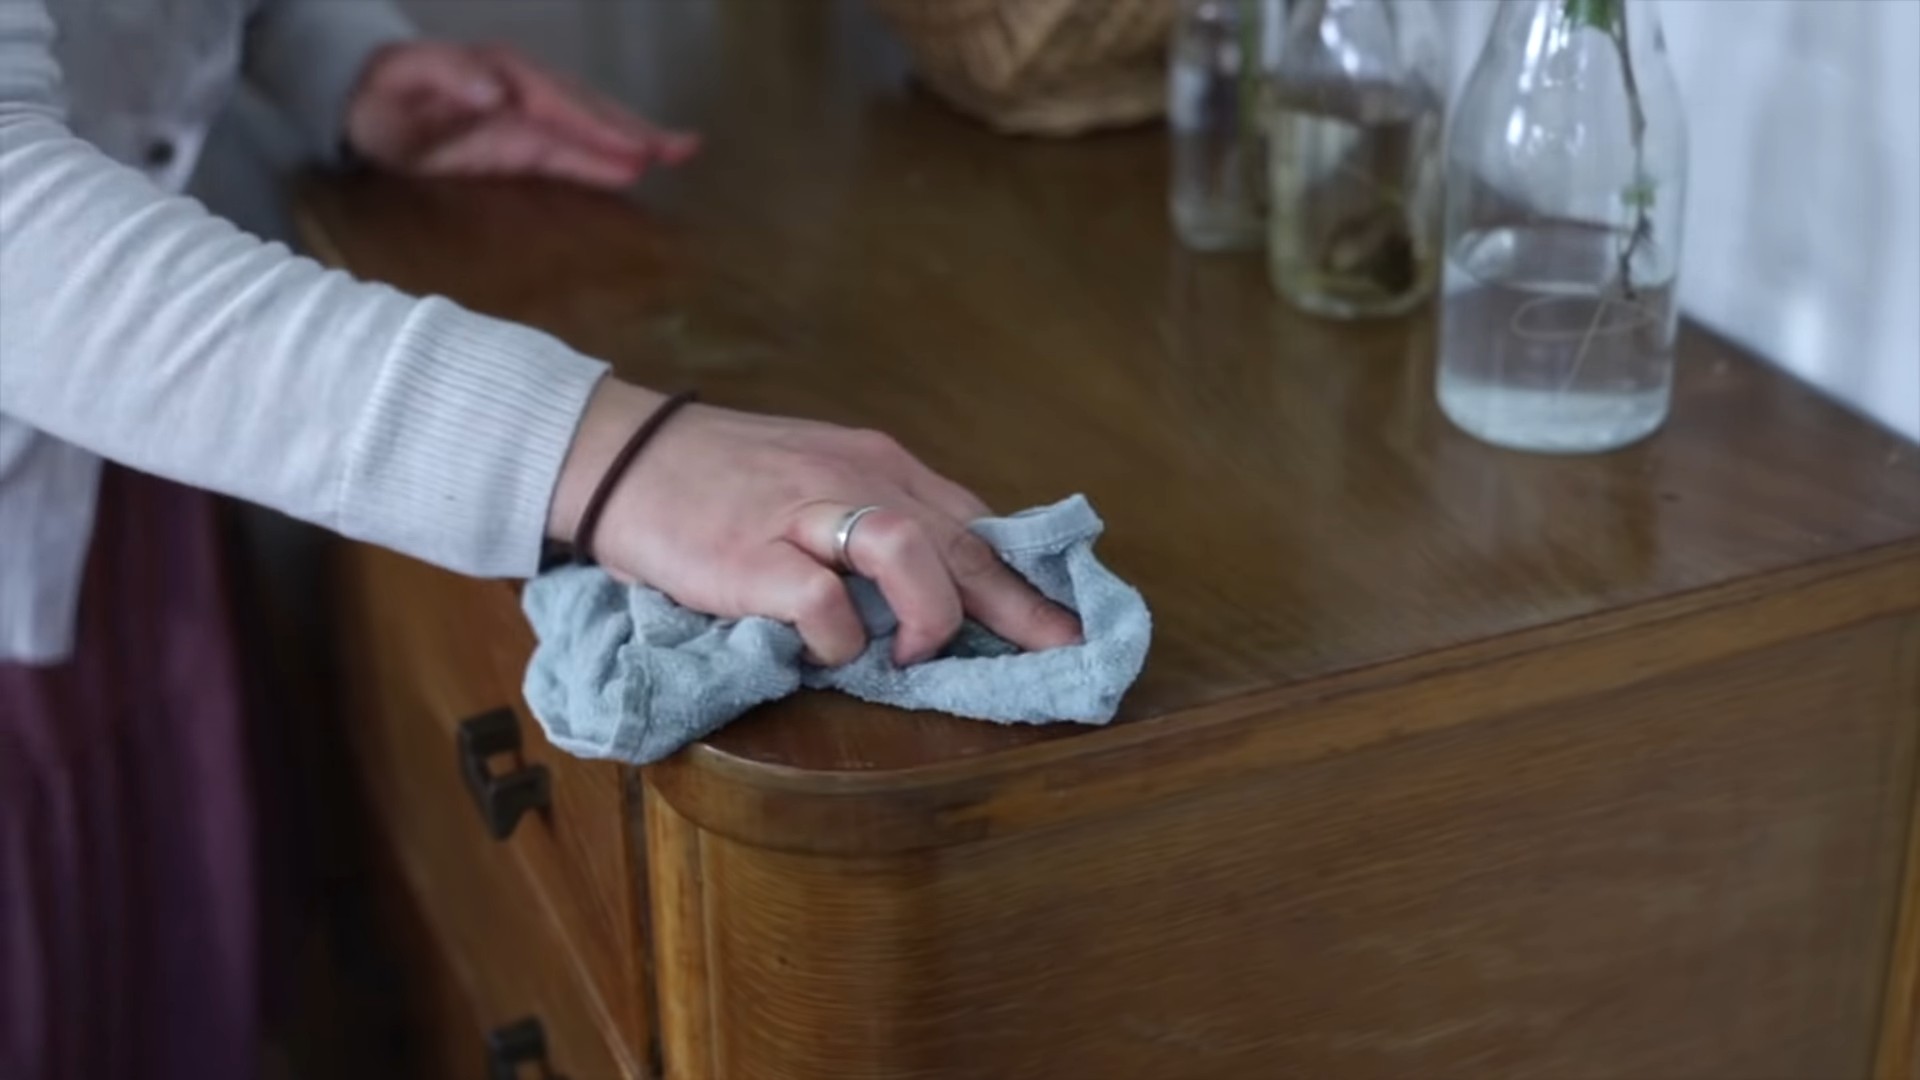
1. Spray Lightly: Lightly spray the polish onto a small section of your furniture. Avoid over-saturating the wood. A little goes a long way!
2. Wipe with a Circular Motion: Using a clean, soft cloth, wipe the polish into the wood with a gentle circular motion. This will help to lift dirt and grime and distribute the polish evenly.
3. Buff to a Shine: After wiping, use a clean, dry cloth to buff the surface to a beautiful shine. This will remove any excess polish and leave your furniture looking its best.
4. Repeat as Needed: Repeat the process on other sections of your furniture until you’ve polished the entire piece.
5. Allow to Dry: Allow the polish to dry completely before using the furniture. This usually takes about 15-30 minutes.
Dealing with Stubborn Stains and Scratches
Sometimes, your furniture might have stubborn stains or scratches that require a little extra attention. Here are a few tips for dealing with these issues:
* For Water Rings: Try using a hairdryer on a low setting to gently heat the water ring. This can help to evaporate the moisture and reduce the appearance of the ring. Follow up with polishing.
* For Minor Scratches: You can try using a walnut to conceal minor scratches. Simply rub the walnut over the scratch, and the natural oils will help to fill it in. Then, polish the area as usual.
* For Sticky Residue: If you have sticky residue on your furniture, try using a mixture of equal parts olive oil and baking soda. Gently rub the mixture onto the residue, and then wipe it away with a clean cloth.
Tips and Tricks for Long-Lasting Results
To keep your furniture looking its best, here are a few extra tips and tricks:
* Polish Regularly: Polish your furniture every few months to maintain its shine and protect it from damage.
* Avoid Direct Sunlight: Direct sunlight can fade and damage wood furniture. Try to keep your furniture out of direct sunlight or use curtains or blinds to protect it.
* Use Coasters and Placemats: Always use coasters and placemats to protect your furniture from spills and scratches.
* Store the Polish Properly: Store your homemade furniture polish in a cool, dark place. It should last for several months.
* Shake Well Before Use: Because the ingredients can separate over time, shake the spray bottle well before each use.
Troubleshooting
Even with the best instructions, sometimes things don’t go exactly as planned. Here are a few common issues and how to address them:
* Streaking: If you notice streaking after polishing, it could be due to using too much polish or not buffing the surface properly. Try using a clean, dry cloth to buff the surface again.
* Dull Finish: If your furniture doesn’t have the shine you were hoping for, it could be due to using too little polish or not polishing enough. Try applying another coat of polish and buffing thoroughly.
* Cloudy Appearance: A cloudy appearance can sometimes occur if the polish isn’t fully absorbed. Ensure you’re using a clean, dry cloth for buffing and allow ample drying time.
Alternative Recipes and Variations
Want to experiment a little? Here are a few variations on the basic recipe:
* Beeswax Polish: Melt 1/4 cup of beeswax with 1 cup of olive oil. Let it cool and solidify before using. This creates a thicker, more protective polish.
* Coconut Oil Polish: Substitute coconut oil for olive oil for a slightly different scent and texture. Coconut oil can also help to condition the wood.
* Tea Tree Oil Polish: Add a few drops of tea tree oil for its antibacterial properties. This is especially useful for furniture that comes into contact with food.
Why DIY is the Way to Go
Making your own wood furniture polish is not only cost-effective but also allows you to control the ingredients and avoid harmful chemicals. Plus, it’s a fun and rewarding project that you can do in your own home. So, go ahead and give it a try! Your furniture will thank you for it.
I hope you found this guide helpful. Happy polishing!
Conclusion
So, there you have it! Ditching the store-bought chemicals and embracing this DIY wood furniture polish is more than just a trend; it’s a conscious choice for a healthier home, a happier planet, and furniture that truly shines. We’ve walked you through a simple, effective recipe that uses ingredients you likely already have in your pantry. Think about it: no more mysterious ingredients lists, no more overpowering chemical smells, and no more contributing to plastic waste.
But the benefits extend beyond the environmental and health aspects. This homemade polish actually *nourishes* your wood furniture, penetrating deep to restore its natural luster and protect it from drying out and cracking. Commercial polishes often contain silicones that create a temporary shine but can ultimately damage the wood over time. Our DIY version, on the other hand, uses natural oils that condition and protect, leaving your furniture looking its best for years to come.
And the best part? You can customize it! Feel free to experiment with different essential oils to create your signature scent. Lavender, lemon, orange, or cedarwood are all excellent choices, each offering its own unique aroma and potential benefits. For example, lemon oil is known for its cleaning properties, while cedarwood can help repel insects. You can also adjust the ratio of oil to vinegar to suit the specific needs of your furniture. If you have particularly dry wood, you might want to increase the amount of oil.
Consider these variations to further enhance your DIY wood furniture polish:
* For a deeper clean: Add a teaspoon of borax to the mixture for extra cleaning power, especially helpful for removing stubborn grime.
* For a subtle tint: Infuse your oil with herbs like rosemary or chamomile for a subtle tint that can enhance the natural color of your wood. Simply steep the herbs in the oil for a few days before straining and using.
* For a protective sealant: After polishing, consider applying a thin coat of beeswax polish for added protection against scratches and water damage.
We truly believe that once you try this DIY wood furniture polish, you’ll never go back to the store-bought stuff. It’s easy, affordable, effective, and good for the environment. What’s not to love?
So, grab your ingredients, mix up a batch, and give your furniture the love it deserves. We’re confident you’ll be amazed by the results. Don’t just take our word for it, though! We encourage you to try this DIY trick and see for yourself.
And most importantly, we want to hear about your experience! Share your photos, tips, and variations in the comments below. Let’s build a community of DIY enthusiasts who are passionate about creating a healthier home and a more sustainable future. What essential oil combinations did you try? Did you notice a difference in the way your furniture looks and feels? We’re eager to learn from your experiences and share them with others. Let’s make our homes shine, naturally!
FAQ
What types of wood furniture is this DIY polish suitable for?
This DIY wood furniture polish is generally safe and effective for most types of finished wood furniture, including tables, chairs, dressers, and cabinets. However, it’s always a good idea to test it on an inconspicuous area first, especially if you have antique or delicate furniture. Avoid using it on unfinished wood, as the oil can soak in and cause staining. For furniture with a very delicate or specialized finish, consult with a professional before using any homemade polish.
How often should I use this DIY wood furniture polish?
The frequency of polishing depends on how often your furniture is used and exposed to dust and dirt. Generally, polishing every one to three months is sufficient to maintain its shine and protect the wood. If your furniture is in a high-traffic area or is frequently exposed to sunlight, you may need to polish it more often. Conversely, if your furniture is rarely used, you can polish it less frequently. Pay attention to the appearance of your furniture and polish it when it starts to look dull or dry.
Can I use this polish on laminate or veneer furniture?
While the ingredients in this DIY polish are generally gentle, it’s not recommended for use on laminate or veneer furniture. Laminate and veneer are often made with synthetic materials that can be damaged by oil-based polishes. Instead, use a damp cloth with a mild dish soap solution to clean laminate and veneer furniture. Always test any cleaning product on an inconspicuous area first.
What if I don’t have all the ingredients listed in the recipe?
The basic recipe for this DIY wood furniture polish calls for olive oil, vinegar, and essential oil. If you don’t have olive oil, you can substitute it with another natural oil, such as jojoba oil, almond oil, or even coconut oil (melted). If you don’t have vinegar, you can use lemon juice as a substitute. The essential oil is optional but adds a pleasant scent and can provide additional benefits. If you don’t have essential oil, you can simply omit it.
How should I store the DIY wood furniture polish?
Store your DIY wood furniture polish in an airtight container in a cool, dark place. This will help to prevent the oils from going rancid and the essential oils from evaporating. A glass jar or bottle is ideal for storing the polish. Be sure to label the container clearly so you don’t accidentally use it for something else. The polish should last for several months when stored properly.
My furniture has a lot of build-up. Will this polish remove it?
This DIY wood furniture polish is more of a maintenance polish than a heavy-duty cleaner. If your furniture has a lot of build-up, you may need to clean it first with a separate cleaning solution. You can use a mixture of warm water and dish soap or a commercial wood cleaner. Be sure to rinse the furniture thoroughly and allow it to dry completely before applying the DIY polish. For stubborn build-up, you may need to use a specialized wood cleaner or consult with a professional furniture restorer.
Can I use this polish on my hardwood floors?
While the ingredients in this DIY polish are natural and gentle, it’s not recommended for use on hardwood floors. Hardwood floors require specialized cleaning and polishing products that are designed to protect the finish and prevent damage. Using this DIY polish on hardwood floors could make them slippery or cause the finish to become dull or sticky. Instead, use a hardwood floor cleaner and polish that is specifically designed for your type of flooring.
Is there a specific type of cloth I should use to apply the polish?
Yes, it’s best to use a soft, lint-free cloth to apply the DIY wood furniture polish. Microfiber cloths are an excellent choice, as they are gentle on wood and won’t leave behind any lint or residue. You can also use an old t-shirt or flannel cloth. Avoid using abrasive cloths or paper towels, as they can scratch the surface of your furniture.
What are the benefits of using DIY wood furniture polish over commercial products?
There are several benefits to using DIY wood furniture polish over commercial products. First, it’s more environmentally friendly, as it uses natural ingredients and reduces plastic waste. Second, it’s often more affordable, as you likely already have the ingredients on hand. Third, it’s healthier for your home, as it doesn’t contain harsh chemicals or synthetic fragrances. Finally, it allows you to customize the polish to your specific needs and preferences. You can choose the essential oils you like best and adjust the ratio of ingredients to suit the type of wood furniture you have.


Leave a Comment