

Dusting tricks for spotless home – sounds like a dream, right? I know, I know, dusting is probably *the* most dreaded chore for many of us. It feels like you barely finish, and poof! It’s back again, mocking your efforts. But what if I told you there are ways to not only make dusting easier but also more effective, leaving your home sparkling and healthier?
Think about it: dust isn’t just unsightly; it’s a breeding ground for allergens and can even affect the air quality in your home. Historically, keeping homes dust-free was a sign of prosperity and good health, a tradition passed down through generations. While we might not be using feather dusters like our grandmothers did, the underlying principle remains the same: a clean home is a happy home.
This DIY article is packed with simple yet game-changing dusting tricks for spotless home that I’ve personally tested and perfected. Forget spending hours scrubbing and sneezing! I’ll share my secrets for tackling those hard-to-reach spots, choosing the right tools, and even preventing dust from accumulating in the first place. Get ready to say goodbye to dust bunnies and hello to a cleaner, brighter living space. Let’s get started!
DIY Dusting Tricks for a Spotless Home
Okay, let’s face it: dusting is nobody’s favorite chore. But a dust-free home is a happier, healthier home. I’m going to share some of my favorite DIY dusting tricks that will make the process easier, more effective, and maybe even a little bit…dare I say…enjoyable? (Okay, maybe not enjoyable, but definitely less painful!)
Gather Your Arsenal: Essential Dusting Supplies
Before we dive into the nitty-gritty, let’s make sure you have everything you need. Having the right tools makes all the difference!
* Microfiber Cloths: These are my absolute go-to. They trap dust like magnets and are washable, making them super eco-friendly. Get a bunch!
* Feather Duster: A classic for a reason! Great for delicate items and reaching high places.
* Vacuum Cleaner with Attachments: Essential for upholstery, curtains, and those hard-to-reach corners. A brush attachment is a must.
* Dusting Spray: Choose a good quality dusting spray that not only removes dust but also helps prevent it from settling again. I prefer natural, non-toxic options.
* Old Socks: Yes, you read that right! These are surprisingly effective for dusting blinds and baseboards.
* Paintbrushes (Various Sizes): Perfect for getting into crevices and detailed areas.
* Cotton Swabs: Ideal for cleaning small, intricate items.
* Spray Bottle with Water: For damp dusting, which is often more effective than dry dusting.
* Dish Soap: A mild solution for cleaning surfaces that can handle a little moisture.
* White Vinegar: A natural cleaner and disinfectant.
* Essential Oils (Optional): Add a few drops to your dusting spray for a pleasant scent. Lavender, lemon, and eucalyptus are my favorites.
* Ladder or Step Stool: For reaching high places safely.
Dusting Like a Pro: Step-by-Step Guide
Now that you’re armed with the right tools, let’s get down to business! Remember, consistency is key. Dusting regularly (at least once a week) will prevent dust buildup and make the job much easier in the long run.
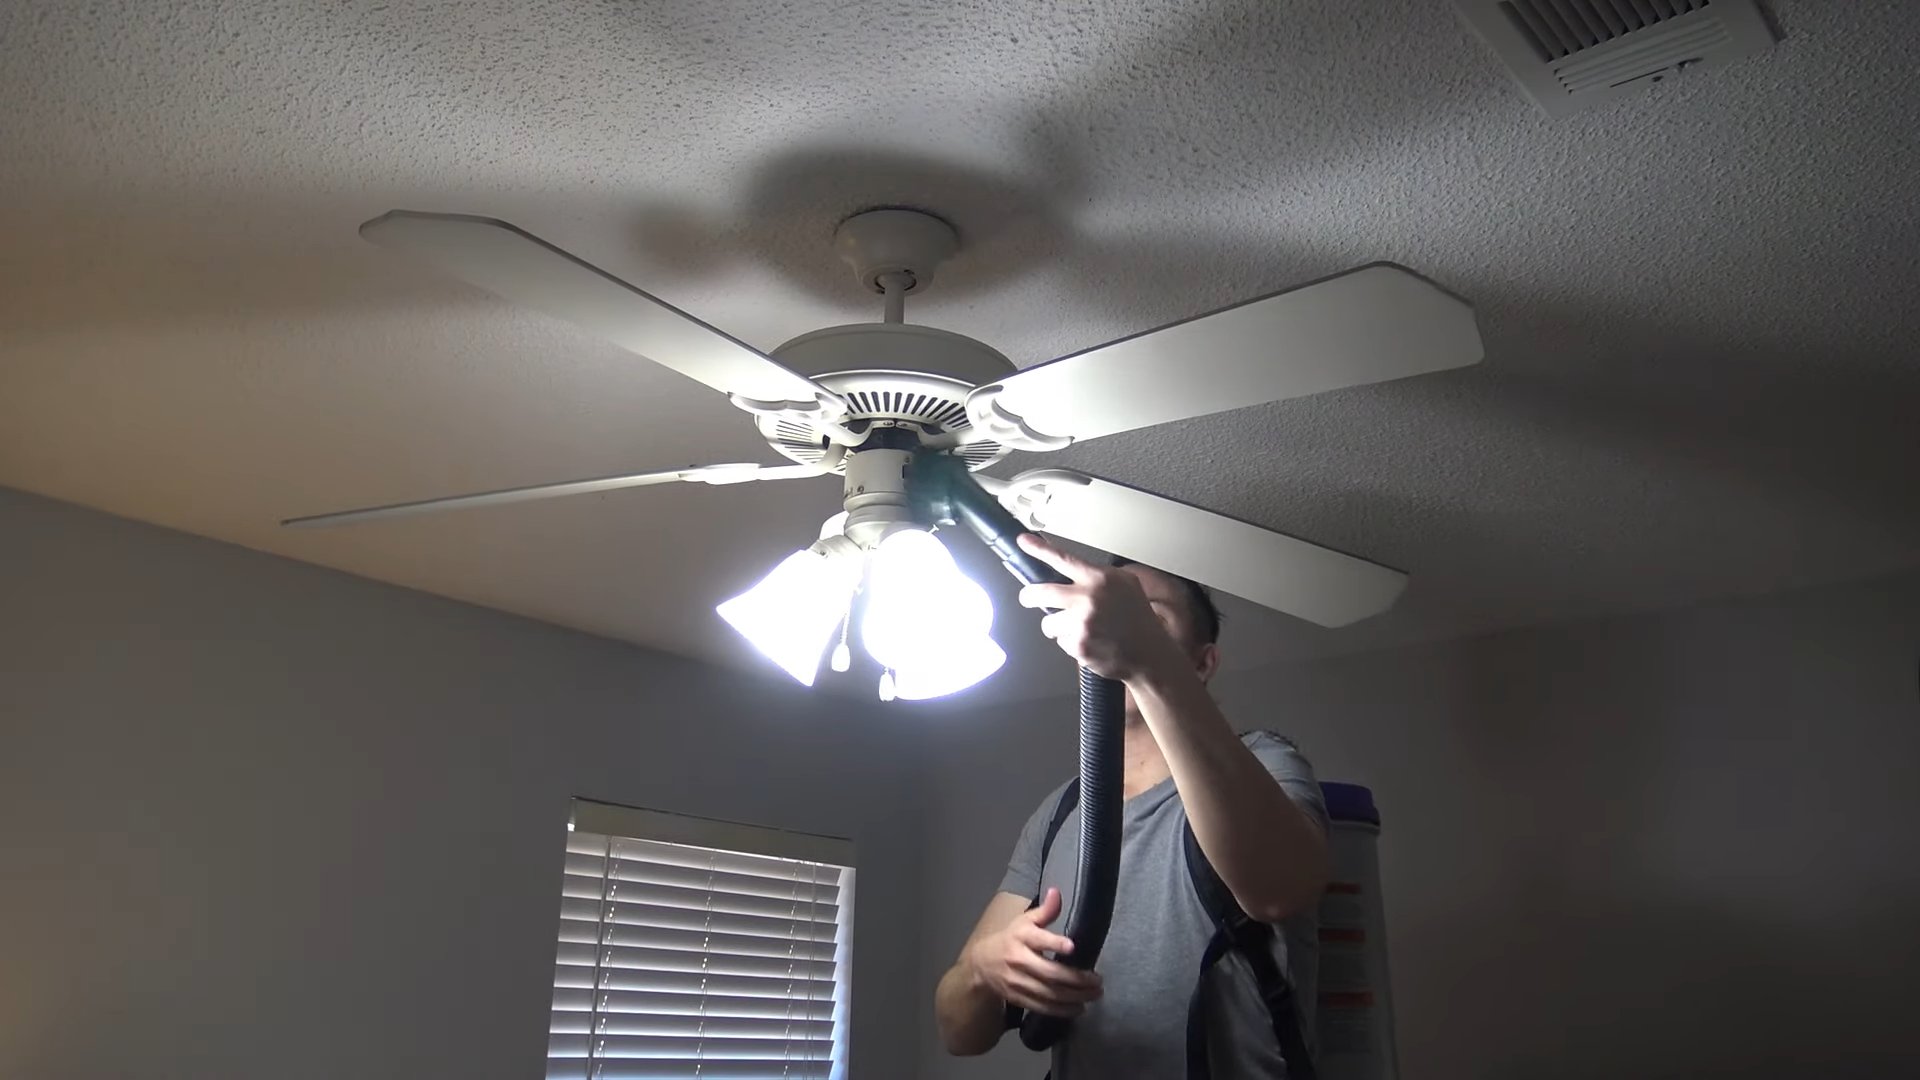
1. Start High, Work Low: This is the golden rule of dusting. Gravity is your friend (or enemy, depending on how you look at it!). Start with ceiling fans, light fixtures, and high shelves, and work your way down to the floor. This prevents dust from falling onto already cleaned surfaces.
2. Ceiling Fans:
* Safety First: Make sure the fan is turned off!
* Dusting Method 1 (The Pillowcase Trick): This is my favorite method because it’s so effective and prevents dust from raining down on you. Take an old pillowcase and carefully slip it over one of the fan blades. Press the pillowcase against the blade and slowly pull it off, trapping the dust inside. Repeat for each blade.
* Dusting Method 2 (Feather Duster or Microfiber Cloth): If you don’t have a pillowcase handy, you can use a feather duster or microfiber cloth to dust the blades. Be sure to hold the duster or cloth firmly and wipe each blade thoroughly.
* Clean the Fan Housing: Use a damp microfiber cloth to wipe down the fan housing.
3. Light Fixtures:
* Safety First: Turn off the light and let the bulb cool down completely before dusting.
* Remove Shades: Carefully remove any shades or globes and wash them with warm, soapy water. Dry them thoroughly before replacing them.
* Dust the Fixture: Use a feather duster or microfiber cloth to dust the fixture itself. For intricate fixtures, use a small paintbrush to get into all the nooks and crannies.
* Clean the Bulbs: Wipe down the light bulbs with a damp microfiber cloth.
4. Shelves and Surfaces:
* Clear the Clutter: Before you start dusting, remove everything from the shelves and surfaces. This will make the job much easier and more effective.
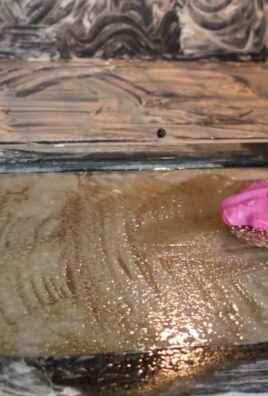
* Dust the Shelves: Use a damp microfiber cloth to wipe down the shelves. For wooden shelves, you can use a wood cleaner or polish.
* Dust the Items: Dust each item individually before placing it back on the shelf. Use a feather duster for delicate items and a damp microfiber cloth for more durable items.
* Arrange Neatly: Take this opportunity to rearrange your shelves and surfaces. Get rid of anything you don’t need or use.
5. Electronics:
* Safety First: Turn off and unplug all electronics before dusting.
* Use a Dry Cloth: Never use a wet cloth to dust electronics. Use a dry microfiber cloth to gently wipe down the screen, keyboard, and other surfaces.
* Compressed Air: Use compressed air to blow dust out of keyboards, vents, and other hard-to-reach areas.
* Screen Cleaner: Use a screen cleaner specifically designed for electronics to clean the screen.
6. Upholstery:
* Vacuum First: Use the upholstery attachment on your vacuum cleaner to remove loose dust and debris.
* Spot Clean: If there are any stains, spot clean them with a mild upholstery cleaner.
* Dust with a Damp Cloth: Use a damp microfiber cloth to wipe down the upholstery. Be careful not to get the fabric too wet.
* Deodorize (Optional): Sprinkle baking soda on the upholstery and let it sit for 30 minutes before vacuuming it up. This will help to deodorize the fabric.
7. Curtains and Blinds:
* Curtains: Vacuum curtains with the upholstery attachment on your vacuum cleaner. You can also take them down and wash them according to the care instructions.
* Blinds: This is where the old sock trick comes in handy! Put an old sock on your hand and use it to wipe down each slat of the blinds. For stubborn dust, dampen the sock slightly. You can also use a blind cleaning tool.
8. Baseboards:
* Vacuum First: Use the brush attachment on your vacuum cleaner to remove loose dust and debris.
* Wipe with a Damp Cloth: Use a damp microfiber cloth to wipe down the baseboards. For stubborn dirt, add a little dish soap to the water.
* Dry Thoroughly: Dry the baseboards with a clean, dry cloth.
9. Floors:
* Sweep or Vacuum: Sweep or vacuum the floors to remove loose dust and debris.
* Mop: Mop the floors with a damp mop and a floor cleaner.
DIY Dusting Solutions: Natural and Effective
Want to ditch the harsh chemicals? Here are a few of my favorite DIY dusting solutions:
* Vinegar and Water: Mix equal parts white vinegar and water in a spray bottle. This is a great all-purpose cleaner and disinfectant.
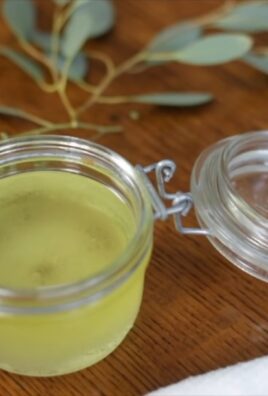
* Lemon Juice and Water: Mix 1 tablespoon of lemon juice with 1 cup of water in a spray bottle. This solution is great for cleaning wood surfaces.
* Olive Oil and Lemon Juice: Mix 1/4 cup of olive oil with 1 tablespoon of lemon juice. This is a great furniture polish.
* Essential Oil Dusting Spray: Fill a spray bottle with water and add a few drops of your favorite essential oil. Lavender, lemon, and eucalyptus are all great choices.
Tackling Specific Dusting Challenges
Some areas and items require a little extra attention. Here’s how I handle some common dusting challenges:
* Bookshelves: Books are dust magnets! Use a feather duster or a soft brush to dust the tops of the books. For the sides, use a damp microfiber cloth.
* Picture Frames: Use a feather duster or a soft brush to dust the frames. For glass-covered pictures, use a glass cleaner.
* Plants: Dust plant leaves with a damp microfiber cloth. This will help them to absorb sunlight more efficiently.
* Delicate Items: Use a feather duster or a soft brush to dust delicate items. You can also use compressed air to blow dust out of hard-to-reach areas.
* Pet Hair: Pet hair can be a real pain to remove. Use a lint roller or a rubber glove to pick up pet hair from upholstery and carpets. You can also use a vacuum cleaner with a pet hair attachment.
Preventing Dust Buildup: Proactive Measures
The best way to keep your home dust-free is to prevent dust from building up in the first place. Here are a few tips:
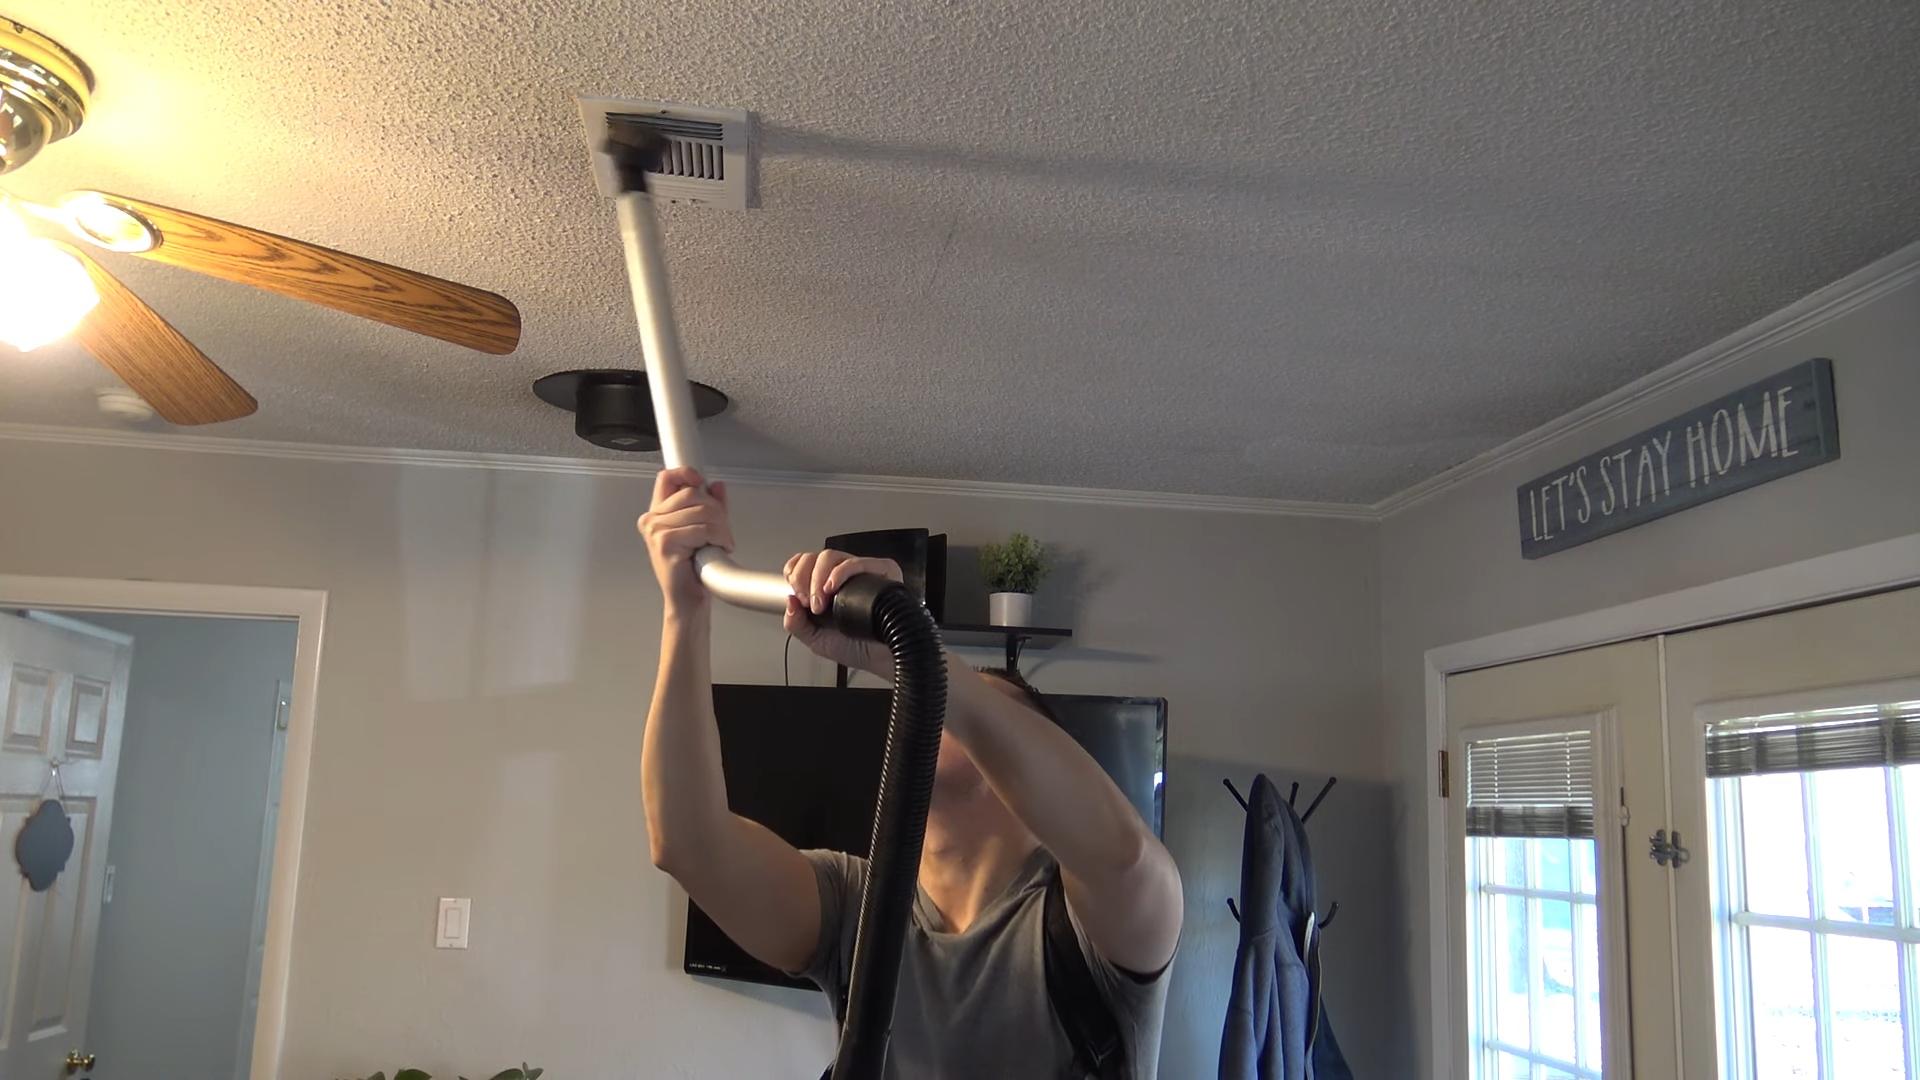
* Change Your Air Filters Regularly: Dirty air filters can circulate dust throughout your home.
Conclusion
So, there you have it! This simple yet incredibly effective DIY dusting trick is a game-changer for anyone looking to achieve a truly spotless home without breaking the bank or relying on harsh chemicals. We’ve shown you how to transform readily available materials into a powerful dusting solution that tackles everything from stubborn grime to delicate surfaces.
Why is this a must-try? Because it’s more than just a dusting method; it’s an investment in a healthier, happier home. Think about it: fewer allergens floating around, less exposure to potentially harmful cleaning agents, and a sparkling clean environment that boosts your mood and well-being. Plus, the satisfaction of knowing you created something effective with your own two hands is an added bonus!
But the beauty of this DIY dusting trick lies in its adaptability. Feel free to experiment with variations to suit your specific needs and preferences. For instance, if you have particularly sensitive wood furniture, consider adding a few drops of lemon essential oil to your solution for a gentle, polishing effect. Or, if you’re dealing with stubborn dust buildup on blinds, try using an old sock dampened with the solution and slipped over your hand for easy cleaning between the slats. You can also infuse your solution with your favorite essential oils like lavender or eucalyptus for a refreshing, aromatic cleaning experience. Remember to always test your solution on an inconspicuous area first to ensure compatibility with the surface you’re cleaning.
This DIY dusting method isn’t just about cleaning; it’s about creating a sustainable and personalized cleaning routine. It’s about taking control of the products you use in your home and making conscious choices that benefit both your health and the environment.
We are confident that once you try this DIY dusting trick, you’ll be amazed by the results. It’s a simple, affordable, and effective way to keep your home looking its best. So, ditch the expensive store-bought cleaners and give this method a try. You won’t regret it!
Now, we want to hear from you! Have you tried this DIY dusting trick? What variations did you use? What were your results? Share your experiences, tips, and tricks in the comments below. Let’s build a community of clean-home enthusiasts and learn from each other. Your feedback is invaluable and will help others discover the power of this simple yet effective cleaning solution. Let’s make our homes sparkle, one dust-free surface at a time!
Frequently Asked Questions (FAQs)
1. What exactly is this DIY dusting trick, and what makes it so special?
This DIY dusting trick involves creating your own dusting solution using common household ingredients. The specific recipe will vary, but it typically includes ingredients like water, vinegar, and a small amount of dish soap or olive oil. What makes it special is its effectiveness, affordability, and eco-friendliness. It’s a powerful alternative to commercial dusting products that often contain harsh chemicals and can be expensive. It’s also customizable, allowing you to tailor the ingredients to your specific needs and preferences.
2. What kind of surfaces can I use this DIY dusting solution on?
This solution is generally safe for most hard surfaces, including wood furniture (sealed), glass, tile, and laminate. However, it’s crucial to test the solution on an inconspicuous area first, especially on delicate or antique furniture. Avoid using it on unfinished wood, as the moisture can damage the surface. For electronics, always spray the solution onto a cloth first, never directly onto the device.
3. What are some variations I can try with this DIY dusting solution?
There are many ways to customize this solution to suit your needs. Here are a few ideas:
* **For wood furniture:** Add a few drops of lemon essential oil or olive oil for a polishing effect.
* **For a fresh scent:** Infuse the solution with your favorite essential oils like lavender, eucalyptus, or tea tree oil.
* **For extra cleaning power:** Add a small amount of baking soda to the solution for tackling stubborn grime.
* **For allergy sufferers:** Use distilled water and avoid adding any fragrances or essential oils.
4. How often should I use this DIY dusting solution?
The frequency of dusting depends on your individual needs and the amount of dust accumulation in your home. Generally, dusting once or twice a week is sufficient for most households. However, if you have pets, allergies, or live in a dusty environment, you may need to dust more frequently.
5. Is this DIY dusting solution safe for pets and children?
Yes, this solution is generally safe for pets and children, as it uses natural ingredients. However, it’s still important to keep the solution out of their reach and avoid spraying it directly in their faces. If your pet or child accidentally ingests the solution, contact your veterinarian or doctor immediately.
6. Can I store this DIY dusting solution for later use?
Yes, you can store the solution in a spray bottle for later use. However, it’s best to use it within a few weeks, as the ingredients may start to separate or lose their effectiveness over time. Store the bottle in a cool, dark place to prolong its shelf life.
7. What kind of cloth should I use with this DIY dusting solution?
Microfiber cloths are ideal for dusting, as they are highly absorbent and effectively trap dust and dirt. You can also use soft cotton cloths or old t-shirts. Avoid using abrasive cloths, as they can scratch delicate surfaces.
8. What if I don’t have all the ingredients listed in the recipe?
Don’t worry! You can often substitute ingredients based on what you have on hand. For example, if you don’t have vinegar, you can use lemon juice instead. If you don’t have dish soap, you can use a small amount of castile soap. The key is to experiment and find a combination that works for you.
9. I’ve tried other DIY cleaning solutions before, and they haven’t worked very well. Why should I try this one?
This DIY dusting trick is different because it combines the power of multiple natural ingredients to create a highly effective cleaning solution. The vinegar helps to cut through grease and grime, while the dish soap or olive oil helps to lift dust and dirt. The essential oils add a fresh scent and can also provide additional cleaning benefits. Plus, the customizable nature of the recipe allows you to tailor it to your specific needs and preferences.
10. What are the long-term benefits of using this DIY dusting trick?
The long-term benefits of using this DIY dusting trick include:
* **A healthier home:** By reducing your exposure to harsh chemicals, you can create a healthier environment for yourself and your family.
* **Cost savings:** DIY cleaning solutions are significantly cheaper than store-bought products.
* **Environmental friendliness:** By using natural ingredients, you can reduce your environmental impact.
* **A sense of accomplishment:** Creating your own cleaning solutions can be a rewarding and empowering experience.
This DIY dusting method is a simple, effective, and sustainable way to keep your home clean and healthy. Give it a try and see the difference it can make!

Leave a Comment