

Easy cleaning hacks are a game-changer, aren’t they? I mean, who *really* enjoys spending hours scrubbing and stressing over stubborn stains? Let’s be honest, cleaning can feel like a never-ending chore. But what if I told you there’s a smarter, faster, and dare I say, even *fun* way to keep your home sparkling?
For centuries, people have been searching for clever shortcuts to maintain a clean and healthy living space. From ancient civilizations using natural remedies like vinegar and baking soda, to our grandmothers passing down their secret cleaning recipes, the quest for easy cleaning hacks is deeply rooted in our history. These aren’t just modern inventions; they’re time-tested solutions refined over generations.
In today’s busy world, time is precious. We’re all juggling work, family, and personal commitments, leaving little room for extensive cleaning routines. That’s where these DIY cleaning tricks come in! They’re designed to save you time, money, and energy, allowing you to focus on the things that truly matter. Imagine spending less time scrubbing and more time relaxing, pursuing hobbies, or simply enjoying quality time with loved ones. This article is packed with simple, effective, and often surprising cleaning solutions that will transform your cleaning routine from a dreaded task into a breeze. Get ready to discover the secrets to a cleaner, happier home!
DIY Cleaning Hacks That Will Save You Time and Money!
Okay, friends, let’s be honest. Cleaning isn’t exactly anyone’s favorite pastime. But a clean home is a happy home, right? So, I’m going to share some of my absolute favorite DIY cleaning hacks that are not only super effective but also incredibly budget-friendly. Get ready to ditch those expensive store-bought cleaners and embrace the power of everyday household items!
Cleaning Your Microwave Like a Pro (Without Scrubbing!)
This is a game-changer, trust me. I used to dread cleaning the microwave, but not anymore!
What you’ll need:
* 1 cup of water
* 1 tablespoon of white vinegar or lemon juice
* Microwave-safe bowl
Step-by-step instructions:
1. Mix it up: In your microwave-safe bowl, combine the water and vinegar (or lemon juice). I personally prefer lemon juice because it leaves a fresher scent.
2. Microwave magic: Place the bowl in the microwave and heat it on high for 5-10 minutes. The goal is to get the mixture boiling and create steam. The steam will loosen all that stuck-on food.
3. Let it sit: Once the timer goes off, don’t open the microwave immediately! Let it sit for another 5 minutes. This allows the steam to really work its magic.
4. Wipe it clean: Carefully remove the bowl (it will be hot!). Then, using a clean cloth or paper towel, wipe down the inside of the microwave. You’ll be amazed at how easily the grime comes off! For stubborn spots, you might need a little extra elbow grease, but it should be minimal.
5. Clean the turntable: Don’t forget to remove and wash the microwave turntable and the roller ring underneath with warm, soapy water.
Unclogging Drains Naturally (Say Goodbye to Harsh Chemicals!)
Clogged drains are the worst! But before you reach for those harsh chemical drain cleaners, try this natural and effective method.
What you’ll need:
* 1 cup of baking soda
* 2 cups of white vinegar
* Boiling water
Step-by-step instructions:
1. Pour in the baking soda: Carefully pour one cup of baking soda down the clogged drain. Try to get as much of it down the drain as possible.
2. Add the vinegar: Next, pour two cups of white vinegar down the drain. You’ll see a fizzing reaction – that’s a good thing! It means the baking soda and vinegar are working together to break down the clog.
3. Let it fizz: Let the mixture fizz and bubble for about 30 minutes. This gives it time to dissolve the gunk and grime that’s causing the blockage.
4. Flush with boiling water: After 30 minutes, carefully pour a pot of boiling water down the drain. This will help flush away the loosened debris.
5. Repeat if necessary: If the drain is still clogged, repeat the process. For really stubborn clogs, you might need to do it a couple of times.
Pro Tip: To prevent future clogs, try pouring boiling water down your drains once a week.
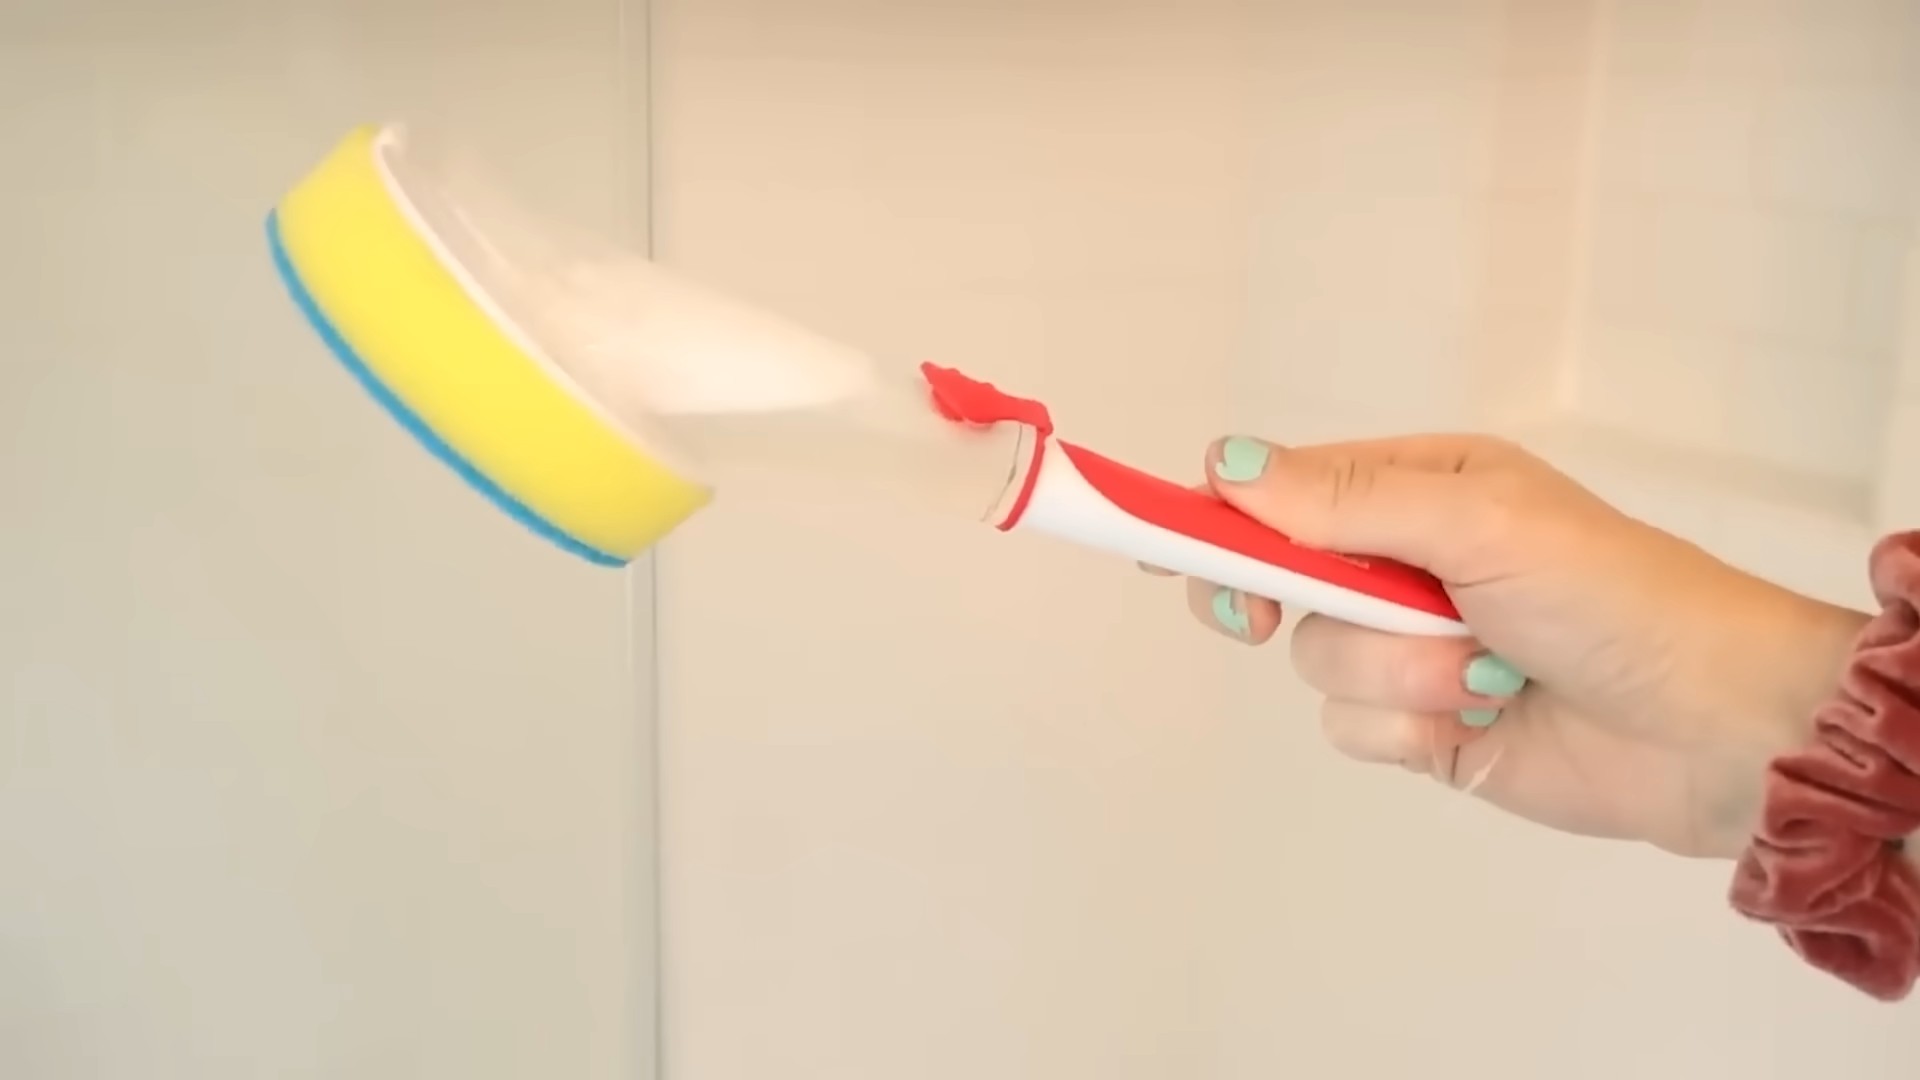
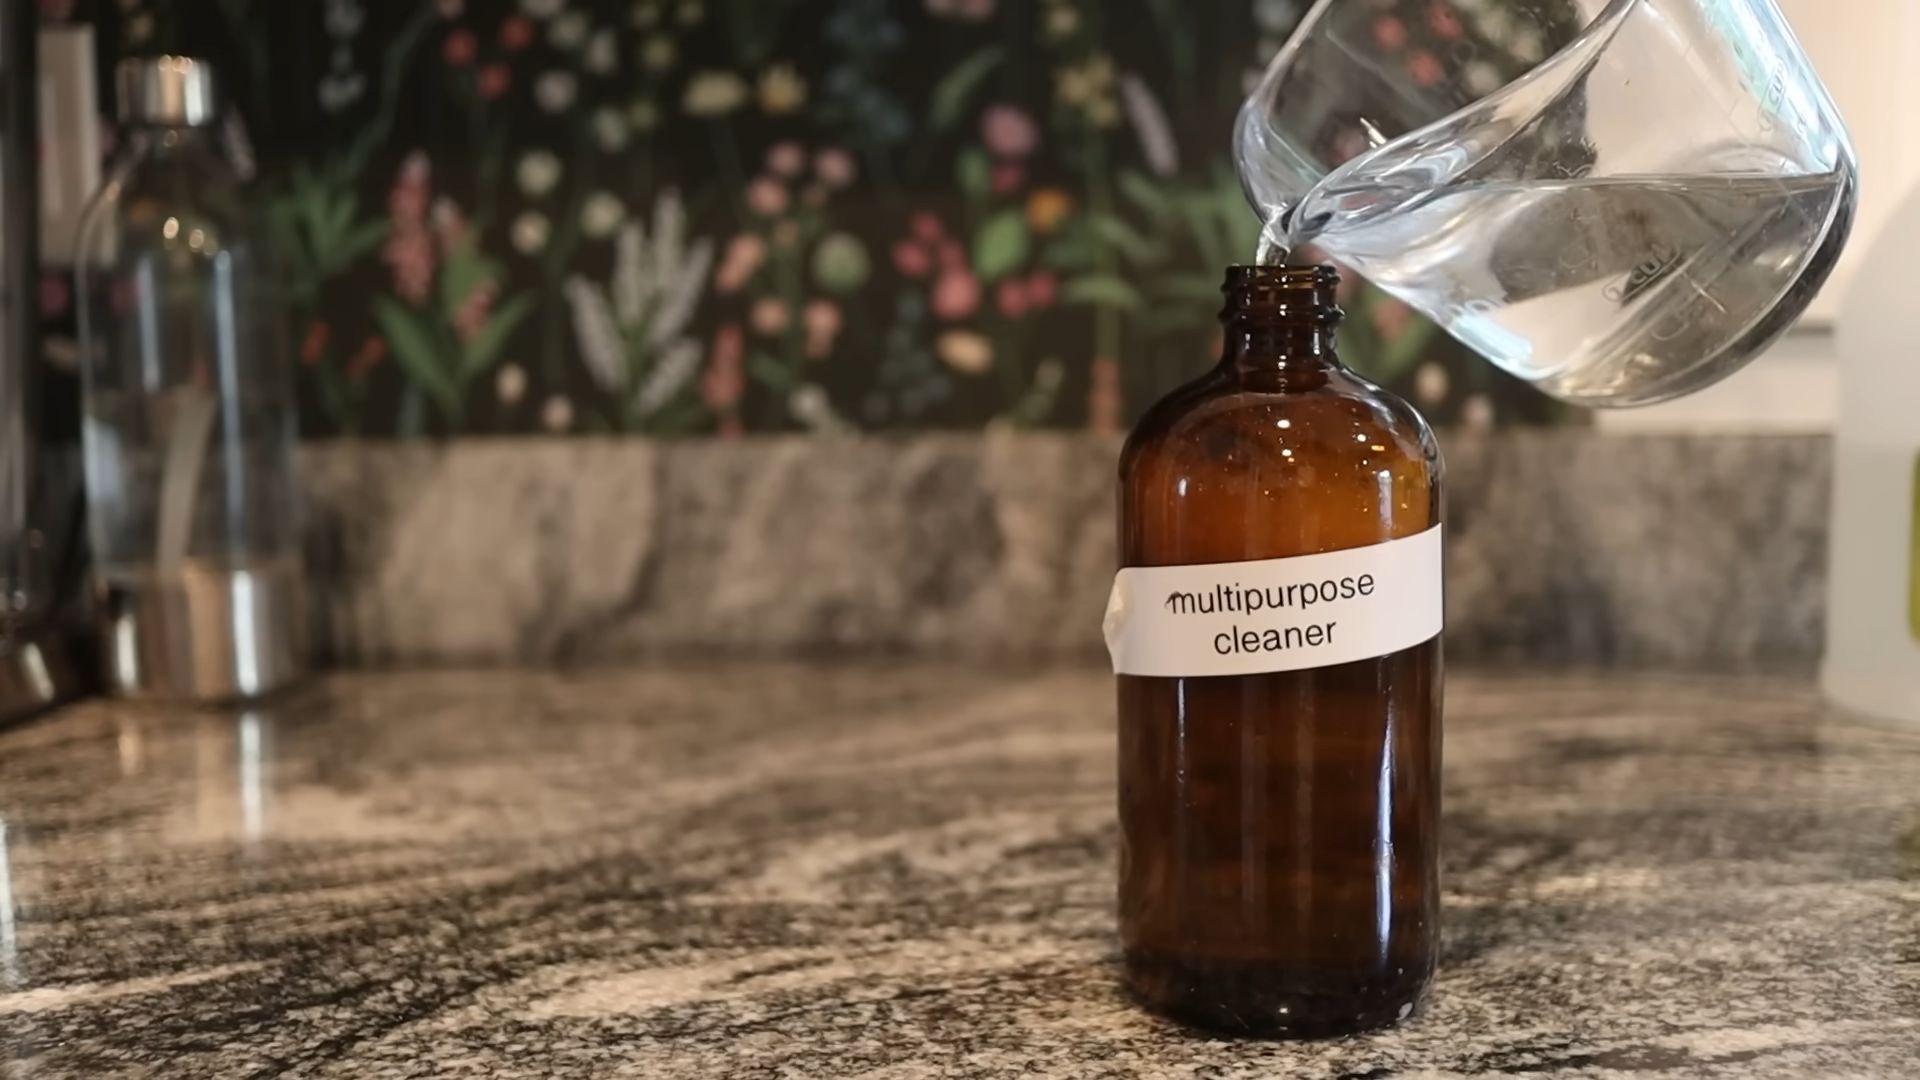
Making Your Own All-Purpose Cleaner (Save Money and Reduce Waste!)
This is my go-to cleaner for almost everything! It’s safe, effective, and smells amazing.
What you’ll need:
* Spray bottle
* 1/4 cup white vinegar
* 1 tablespoon baking soda
* Water
* Optional: 10-20 drops of your favorite essential oil (I love lemon, lavender, or tea tree)
Step-by-step instructions:
1. Add baking soda to the bottle: Pour the baking soda into the spray bottle.
2. Slowly add vinegar: Slowly add the white vinegar. Be careful, as it will fizz when it comes into contact with the baking soda.
3. Fill with water: Fill the rest of the spray bottle with water.
4. Add essential oils (optional): If you want to add a pleasant scent, add 10-20 drops of your favorite essential oil.
5. Shake well: Secure the spray nozzle and shake the bottle well to combine all the ingredients.
6. Use and enjoy: Spray the cleaner onto surfaces and wipe clean with a cloth or paper towel.
Safety Note: While this cleaner is generally safe, it’s always a good idea to test it on a small, inconspicuous area first, especially on delicate surfaces.
Cleaning Your Showerhead for Better Water Pressure (No Disassembly Required!)
Hard water can wreak havoc on showerheads, causing mineral buildup and reducing water pressure. Here’s how to clean it without taking it apart.
What you’ll need:
* Plastic bag (sandwich bag or larger, depending on the size of your showerhead)
* White vinegar
* Rubber band or twist tie
Step-by-step instructions:
1. Fill the bag with vinegar: Fill the plastic bag with enough white vinegar to completely submerge the showerhead.
2. Attach the bag to the showerhead: Carefully position the bag over the showerhead, ensuring that the showerhead is fully submerged in the vinegar.
3. Secure the bag: Use a rubber band or twist tie to secure the bag tightly around the showerhead neck.
4. Soak overnight: Let the showerhead soak in the vinegar overnight (or for at least a few hours). This will give the vinegar time to dissolve the mineral buildup.
5. Remove the bag and rinse: Remove the bag and discard the vinegar. Turn on the shower and let the water run for a few minutes to flush out any remaining vinegar and loosened debris.
6. Wipe clean: Use a cloth or sponge to wipe away any remaining residue.
Extra Tip: For stubborn buildup, you can use an old toothbrush to gently scrub the showerhead nozzles after soaking.
Freshening Up Your Mattress (Get Rid of Dust Mites and Odors!)
We spend a lot of time on our mattresses, so it’s important to keep them clean and fresh.
What you’ll need:
* Baking soda
* Vacuum cleaner with upholstery attachment
* Optional: Essential oils (lavender or eucalyptus are great for sleep)
* Sieve or strainer (optional, for even distribution of baking soda)
Step-by-step instructions:
1. Strip the bed: Remove all bedding, including sheets, blankets, and pillows.
2. Sprinkle with baking soda: Generously sprinkle baking soda over the entire surface of the mattress. If you want a more even distribution, use a sieve or strainer.
3. Add essential oils (optional): If you’re using essential oils, add a few drops to the baking soda before sprinkling it on the mattress.
4. Let it sit: Let the baking soda sit on the mattress for at least 30 minutes, or even better, for a few hours. This allows the baking soda to absorb odors and moisture.
5. Vacuum thoroughly: Use the upholstery attachment of your vacuum cleaner to thoroughly vacuum the entire surface of the mattress, removing all the baking soda.
6. Flip and repeat: Flip the mattress over and repeat the process on the other side.
7. Air it out: Let the mattress air out for a few hours before making the bed.
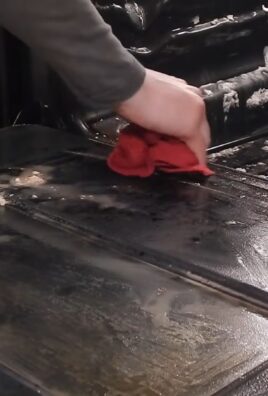
Cleaning Burnt Food from Pots and Pans (No More Endless Scrubbing!)
Burnt food in pots and pans is a common kitchen mishap. But don’t despair! This simple trick will save you from hours of scrubbing.
What you’ll need:
* Water
* Baking soda
* Dish soap
* Scrubbing sponge or pad
Step-by-step instructions:
1. Fill the pot/pan with water: Fill the burnt pot or pan with enough water to cover the burnt food.
2. Add baking soda: Add a generous amount of baking soda to the water (about 2-3 tablespoons, depending on the size of the pot/pan).
3. Boil the mixture: Bring the water and baking soda mixture to a boil on the stovetop.
4. Simmer for 10-15 minutes: Let the mixture simmer for 10-15 minutes, stirring occasionally. This will help loosen the burnt food.
5. Let it cool: Remove the pot/pan from the heat and let it cool slightly.
6. Scrub away: Pour out the water and baking soda mixture. Use a scrubbing sponge or pad to scrub away the loosened burnt food. You should find that it comes off much easier than before.
7. Wash as usual: Wash the pot/pan with dish
Conclusion
So, there you have it! This simple DIY cleaning hack is more than just a quick fix; it’s a game-changer for anyone looking to streamline their cleaning routine and achieve sparkling results with minimal effort. We’ve shown you how to transform everyday household items into powerful cleaning agents, saving you money and reducing your reliance on harsh chemicals. The beauty of this method lies in its simplicity and adaptability. It’s a truly effective way to tackle grime and dirt, leaving your home feeling fresh and revitalized.
Why is this DIY cleaning hack a must-try? Because it’s efficient, cost-effective, and environmentally conscious. You’re not just cleaning; you’re making a conscious choice to reduce waste and create a healthier living environment. Plus, the satisfaction of creating your own cleaning solutions and seeing them work wonders is incredibly rewarding.
But don’t just take our word for it! We encourage you to experiment with variations to find what works best for your specific needs and preferences. For instance, if you’re dealing with stubborn stains on upholstery, try adding a few drops of essential oil like lemon or tea tree for extra cleaning power and a pleasant scent. For a more abrasive scrub, consider using baking soda paste instead of a liquid solution. If you’re cleaning delicate surfaces, dilute the solution further to prevent any damage. Remember to always test any cleaning solution on a small, inconspicuous area first to ensure it doesn’t cause discoloration or damage.
Consider adding a splash of white vinegar to your DIY cleaning solution for extra disinfecting power. Vinegar is a natural disinfectant and deodorizer, making it perfect for cleaning bathrooms and kitchens. You can also infuse your cleaning solutions with herbs like rosemary or lavender for a natural fragrance boost. Simply steep the herbs in hot water for a few hours, then strain the water and add it to your cleaning solution.
The possibilities are endless! The key is to be creative and adapt the recipe to suit your specific cleaning challenges.
We’re confident that once you try this DIY cleaning hack, you’ll be amazed by the results. It’s a simple, effective, and sustainable way to keep your home clean and fresh. So, ditch the expensive store-bought cleaners and embrace the power of DIY.
We’re eager to hear about your experiences with this DIY cleaning hack. Did you find it helpful? Did you try any variations? What were your results? Share your thoughts and tips in the comments below! Your feedback will not only help us improve our recipes but also inspire other readers to try this amazing cleaning solution. Let’s create a community of DIY cleaning enthusiasts and share our knowledge and experiences to make cleaning easier and more enjoyable for everyone. Let us know how this **easy cleaning hack** worked for you!
Frequently Asked Questions (FAQ)
What exactly makes this DIY cleaning hack so much better than store-bought cleaners?
Store-bought cleaners often contain harsh chemicals that can be harmful to your health and the environment. They can also be quite expensive. This DIY cleaning hack uses simple, natural ingredients that are readily available and much more affordable. Plus, you have complete control over what goes into your cleaning solution, allowing you to avoid potentially harmful chemicals and customize it to your specific needs. It’s a win-win for your wallet and your well-being.
Is this DIY cleaning hack safe to use on all surfaces?
While this DIY cleaning hack is generally safe for most surfaces, it’s always a good idea to test it on a small, inconspicuous area first, especially on delicate surfaces like wood or painted walls. Avoid using abrasive ingredients like baking soda on easily scratched surfaces. For stone countertops, be cautious with acidic ingredients like vinegar, as they can etch the surface over time. When in doubt, dilute the solution further or consult the manufacturer’s instructions for your specific surface.
Can I use essential oils in this DIY cleaning hack, and if so, which ones are best?
Yes, absolutely! Essential oils can add a pleasant scent and boost the cleaning power of your DIY cleaning solution. Some of the best essential oils for cleaning include lemon, tea tree, lavender, eucalyptus, and peppermint. Lemon and tea tree have antibacterial and antifungal properties, while lavender and eucalyptus offer a calming and refreshing scent. Peppermint can help repel insects. When using essential oils, start with a few drops and adjust to your preference. Be sure to use pure, therapeutic-grade essential oils for the best results.
How long will this DIY cleaning solution last?
The shelf life of your DIY cleaning solution will depend on the ingredients you use. Solutions made with water and vinegar should be used within a few weeks, as the vinegar can lose its potency over time. Solutions made with essential oils may last longer, as the oils have preservative properties. To extend the shelf life of your cleaning solution, store it in a cool, dark place in an airtight container. Always label your cleaning solution with the date it was made.
What if I don’t have all the ingredients listed in the recipe? Can I substitute anything?
The beauty of DIY cleaning is that you can often substitute ingredients based on what you have on hand. For example, if you don’t have white vinegar, you can use apple cider vinegar instead. If you don’t have baking soda, you can use washing soda. If you don’t have essential oils, you can simply omit them or use a different fragrance. The key is to experiment and find what works best for you. Just be sure to research the properties of any substitute ingredients to ensure they are safe and effective for cleaning.
I have sensitive skin. Is this DIY cleaning hack safe for me to use?
If you have sensitive skin, it’s always a good idea to wear gloves when using any cleaning solution, including DIY ones. You can also dilute the solution further to reduce its concentration. If you’re concerned about potential skin irritation, test the solution on a small area of your skin before using it on a larger surface. If you experience any irritation, discontinue use immediately. You can also try using gentler ingredients like castile soap instead of harsher detergents.
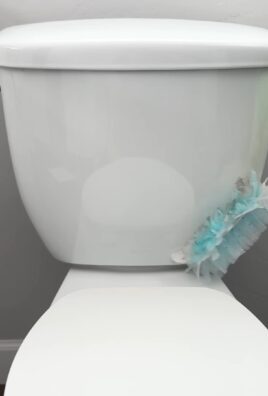
Can I use this DIY cleaning hack to clean my toilet?
Yes, this DIY cleaning hack can be used to clean your toilet. Simply spray the solution inside the bowl and around the rim, let it sit for a few minutes, then scrub with a toilet brush and flush. For extra cleaning power, you can add a cup of baking soda to the toilet bowl before spraying with the cleaning solution. The baking soda will help to loosen dirt and grime, making it easier to scrub away.
How do I dispose of the DIY cleaning solution when I’m finished with it?
Since this DIY cleaning solution is made with natural ingredients, it is generally safe to dispose of down the drain. However, if you have a septic system, it’s best to avoid pouring large amounts of vinegar or baking soda down the drain, as they can disrupt the balance of bacteria in your septic tank. Instead, you can dilute the solution with water and pour it onto your garden or lawn. The natural ingredients will help to nourish the soil and promote plant growth.
Leave a Comment