

Effective Cleaning Tips are the secret weapon every homeowner needs in their arsenal! Let’s face it, nobody *loves* cleaning, but a sparkling clean home is a sanctuary. Imagine walking into a space that smells fresh, feels organized, and is free from the grime of daily life. Sounds dreamy, right? Well, it’s totally achievable with a few clever DIY tricks and hacks.
Cleaning, in its essence, is an age-old practice. From ancient civilizations using natural remedies like vinegar and herbs to keep their dwellings tidy, to the modern-day obsession with spotless surfaces, the desire for a clean living space is deeply ingrained in us. But let’s be honest, the sheer volume of cleaning products and complicated routines can be overwhelming. That’s where these DIY cleaning tips come in!
I’m here to share some of my favorite, tried-and-true methods for tackling dirt, dust, and grime using simple ingredients you probably already have in your pantry. Why spend a fortune on expensive cleaners when you can create equally effective solutions yourself? Not only will you save money, but you’ll also reduce your exposure to harsh chemicals, making your home a healthier and happier place. So, get ready to roll up your sleeves and discover how these effective cleaning tips can transform your cleaning routine from a chore into a breeze!
DIY Deep Cleaning: Transform Your Home with These Simple Hacks!
Hey there, fellow cleaning enthusiasts! I’m so excited to share some of my favorite DIY deep cleaning hacks that will leave your home sparkling and feeling fresh. Forget those expensive cleaning products packed with harsh chemicals. We’re going to tackle grime and dirt with simple, natural ingredients you probably already have in your pantry! Let’s get started!
The Ultimate DIY Cleaning Arsenal: What You’ll Need
Before we dive into the nitty-gritty, let’s gather our supplies. Having everything organized beforehand will make the whole process much smoother and more enjoyable. Trust me, preparation is key!
* Baking Soda: This is our all-purpose champion! It’s a gentle abrasive, deodorizer, and pH regulator.
* White Vinegar: The acidic power of vinegar cuts through grease, dissolves mineral deposits, and disinfects.
* Lemon Juice: A natural disinfectant and degreaser with a lovely, fresh scent.
* Dish Soap: A mild, grease-cutting agent. Choose a natural, unscented variety if you prefer.
* Essential Oils (Optional): For added fragrance and potential antibacterial properties. Lavender, tea tree, and lemon are great choices.
* Spray Bottles: For mixing and applying our DIY cleaning solutions.
* Microfiber Cloths: These are fantastic for wiping surfaces without leaving streaks or lint.
* Sponges: For scrubbing tougher stains.
* Old Toothbrush: Perfect for getting into those hard-to-reach crevices.
* Rubber Gloves: To protect your hands from harsh chemicals (even though we’re using natural ingredients, some can be drying).
* Bucket: For mixing larger cleaning solutions.
* Squeegee: For streak-free window cleaning.
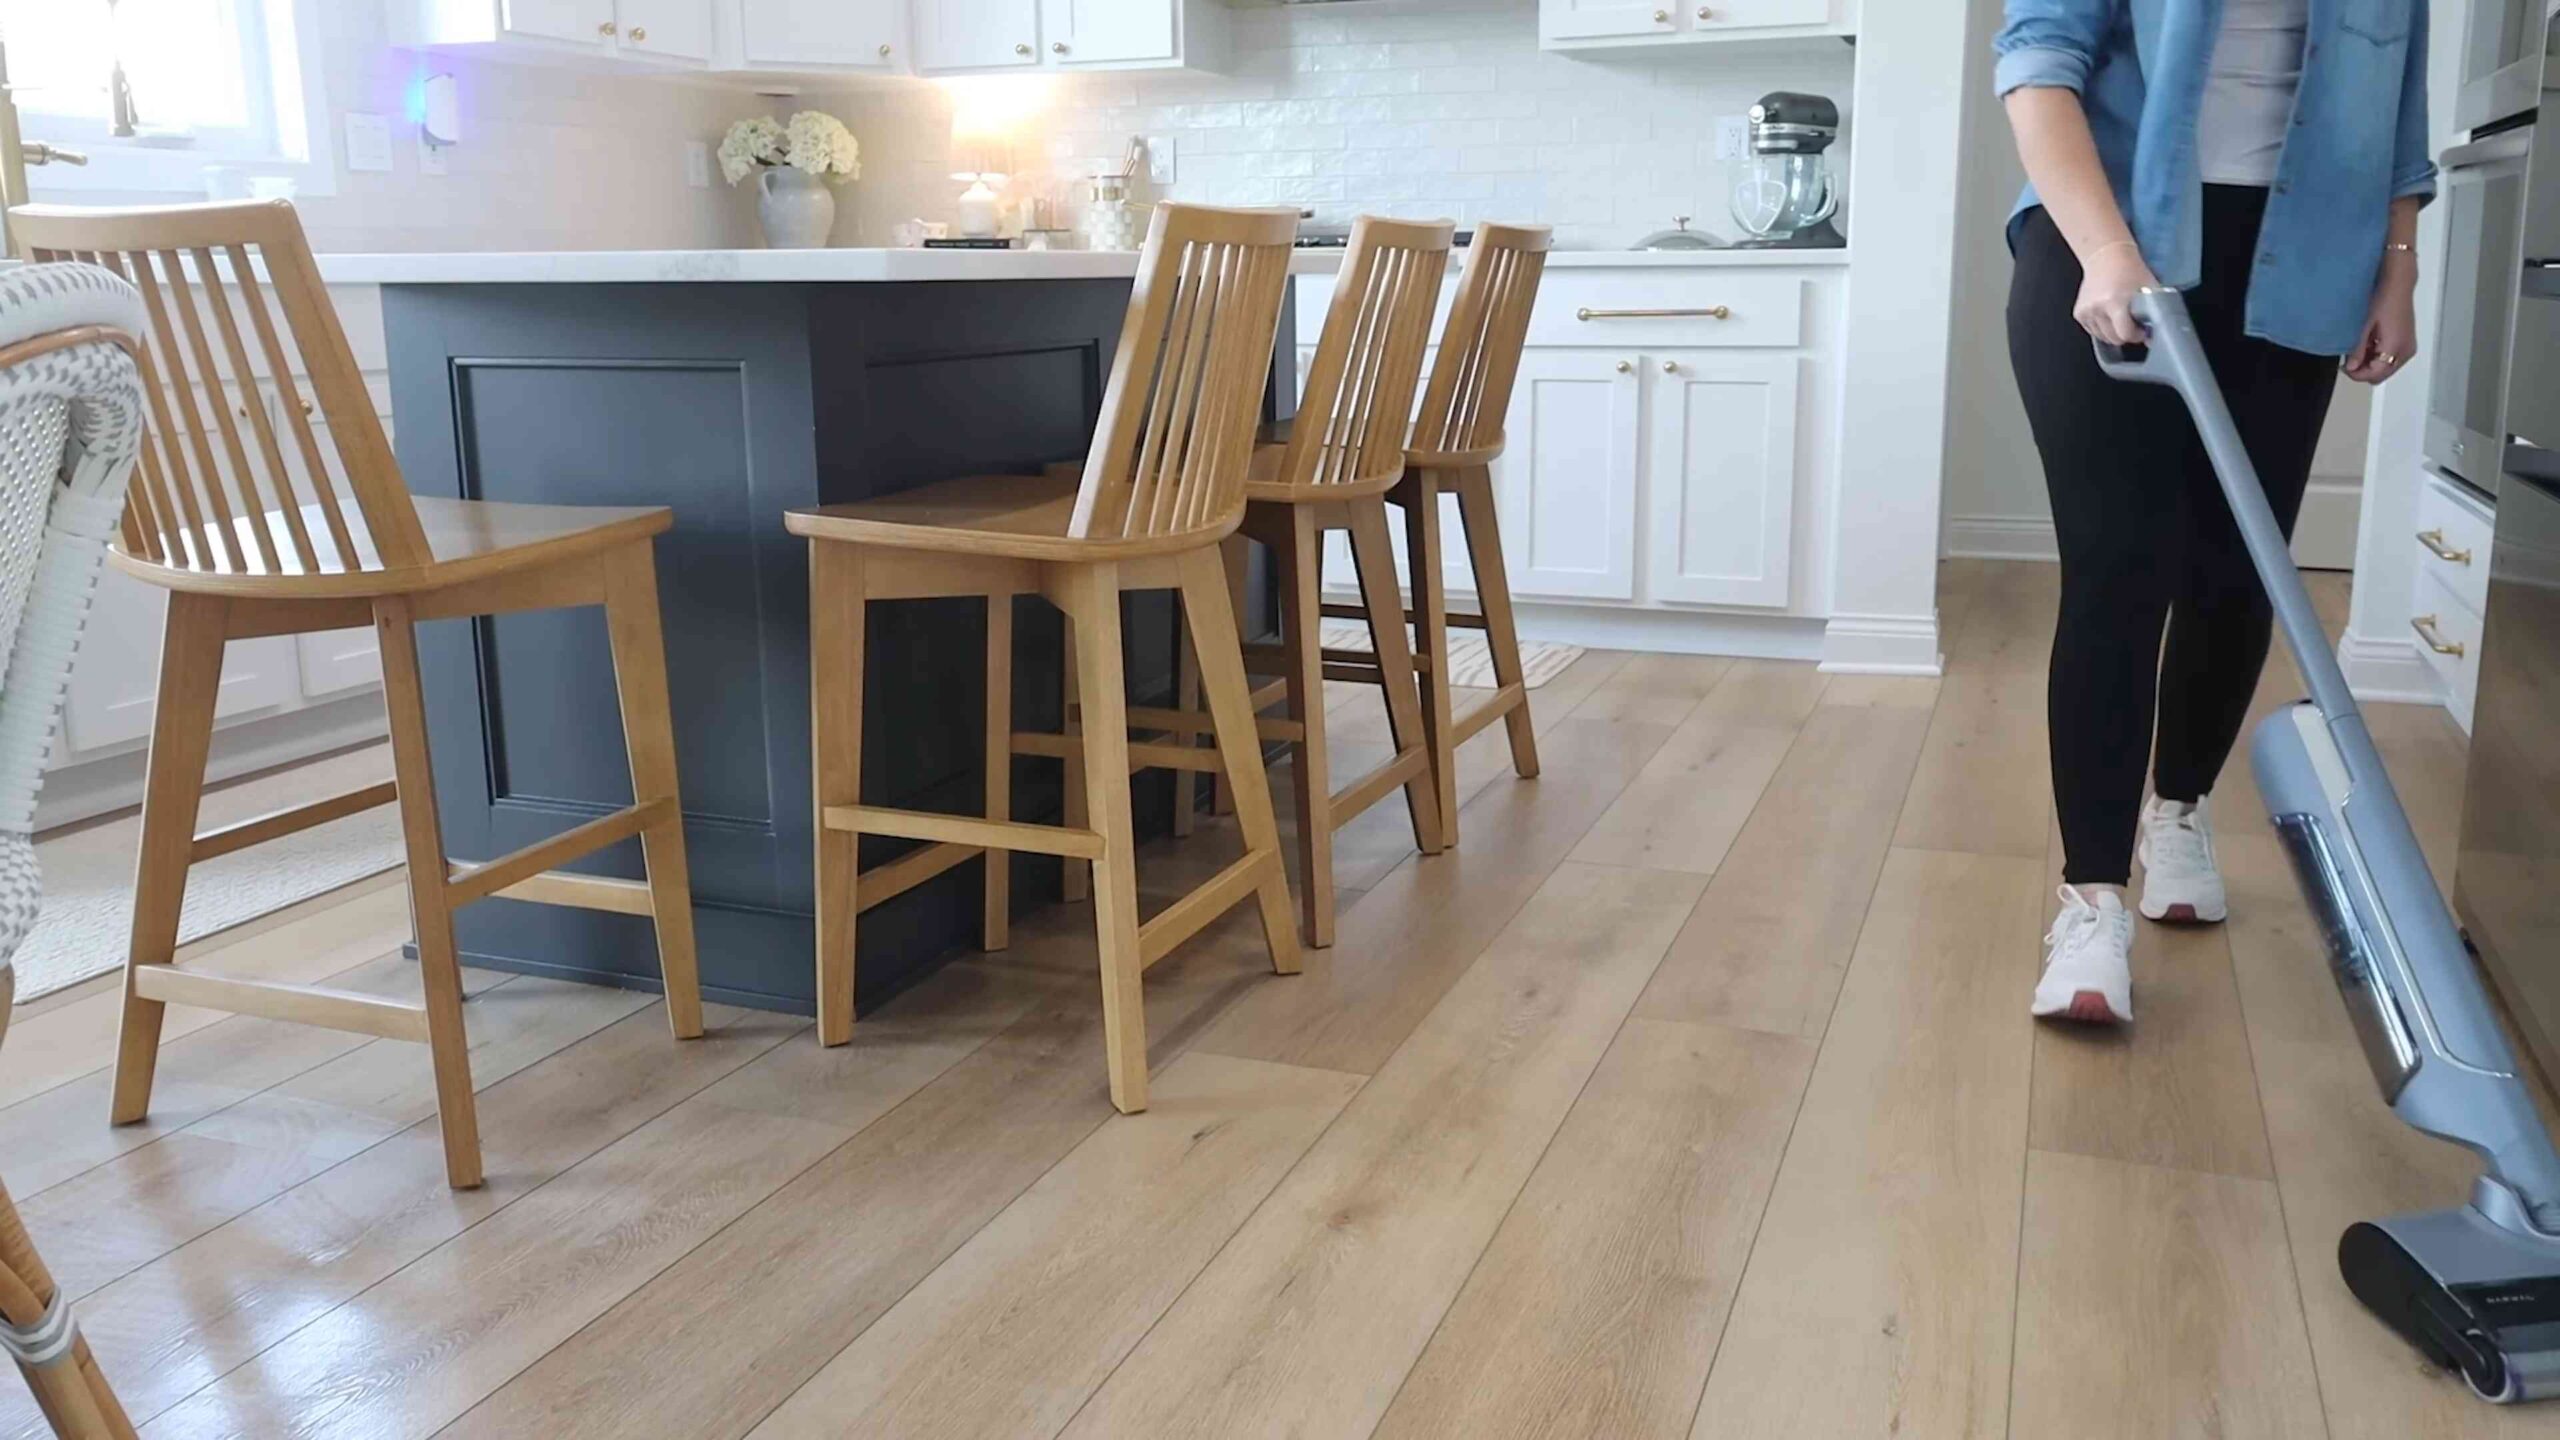
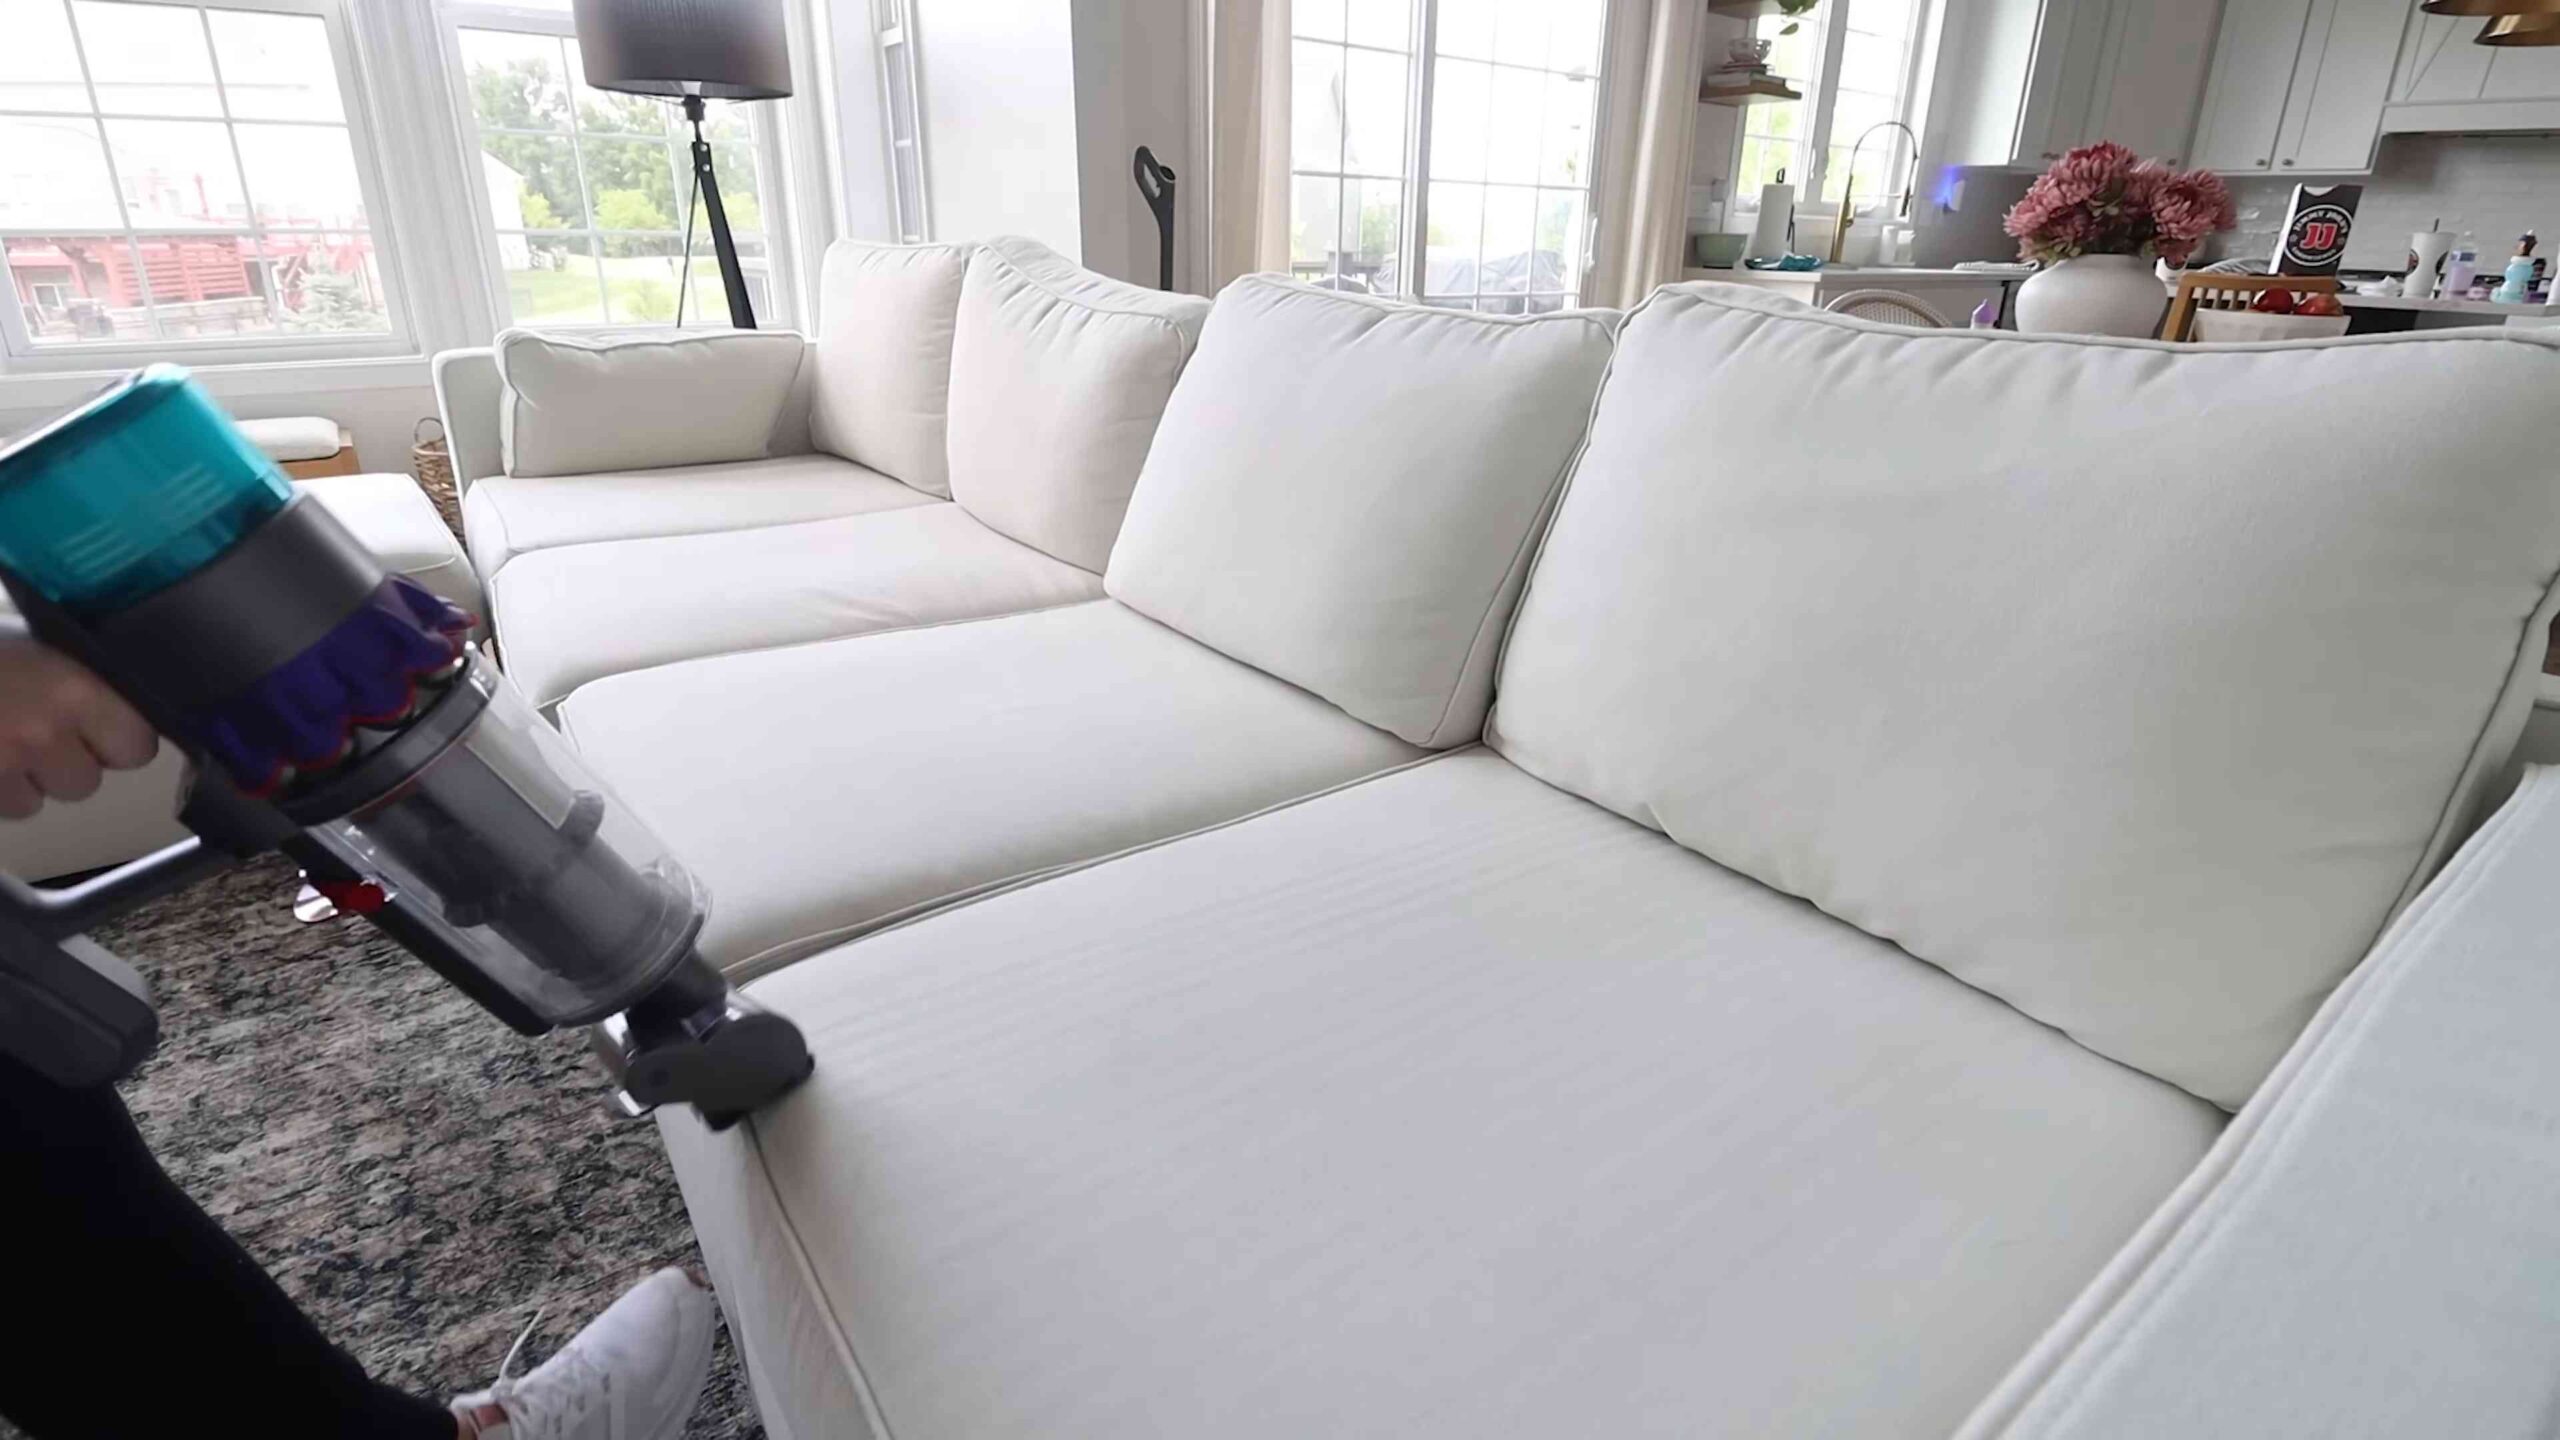
* Vacuum Cleaner: A must-have for pre-cleaning floors and carpets.
* Mop: For cleaning hard floors.
* Toilet Bowl Brush: For obvious reasons!
Tackling the Kitchen: From Grimy to Gleaming
The kitchen is often the heart of the home, but it can also be a breeding ground for dirt and grime. Let’s break down the cleaning process step-by-step.
Cleaning the Oven: Bye-Bye Baked-On Messes!
This is probably the most dreaded task, but with this DIY method, it’s surprisingly easy!
1. Prepare the Oven: Remove oven racks and any loose debris.
2. Baking Soda Paste: Mix 1/2 cup of baking soda with enough water to form a thick paste.
3. Coat the Oven: Spread the paste evenly throughout the inside of the oven, avoiding the heating elements.
4. Let it Sit: Leave the paste on overnight (or for at least 12 hours). This allows the baking soda to loosen the baked-on grime.
5. Vinegar Spray: The next day, spray the baking soda paste with white vinegar. It will fizz!
6. Wipe Clean: Use a damp sponge or cloth to wipe away the baking soda and vinegar mixture. You may need to scrub a bit for stubborn spots.
7. Rinse and Dry: Rinse the oven thoroughly with clean water and dry with a clean cloth.
8. Clean the Racks: Soak the oven racks in hot, soapy water. Scrub them with a sponge or brush to remove any remaining grime. Rinse and dry.
Degreasing the Stovetop: Say Goodbye to Sticky Residue
A greasy stovetop can be a real eyesore. Here’s how to get it sparkling clean.
1. Remove Grates and Burner Caps: Take off the stovetop grates and burner caps.
2. Soak the Grates and Caps: Soak them in hot, soapy water. For extra greasy grates, add 1/4 cup of baking soda to the water.
3. Wipe Down the Stovetop: Use a damp cloth to wipe down the stovetop surface, removing any loose debris.
4. Baking Soda Paste (Again!): Make a paste of baking soda and water.
5. Apply the Paste: Apply the paste to the greasy areas of the stovetop.
6. Let it Sit: Let it sit for 15-20 minutes.
7. Scrub and Wipe: Scrub the stovetop with a sponge or cloth.
8. Rinse and Dry: Rinse thoroughly with clean water and dry with a clean cloth.
9. Clean the Grates and Caps: Scrub the grates and burner caps with a sponge or brush. Rinse and dry.
10. Reassemble: Put the grates and burner caps back on the stovetop.
Cleaning the Microwave: Zap Away the Splatter
Microwaves can get surprisingly dirty. This steam-cleaning method is quick and easy.
1. Vinegar and Water Solution: Combine 1 cup of water and 1/4 cup of white vinegar in a microwave-safe bowl.
2. Microwave: Microwave the solution on high for 5-7 minutes, or until the solution boils and the microwave is filled with steam.
3. Let it Sit: Let the microwave sit for 5 minutes without opening the door. The steam will loosen the grime.
4. Wipe Clean: Carefully remove the bowl (it will be hot!) and wipe down the inside of the microwave with a damp cloth.
5. Clean the Turntable: Remove the turntable and wash it with hot, soapy water. Rinse and dry.
6. Reassemble: Put the turntable back in the microwave.
Freshening the Dishwasher: Banishing Bad Odors
A clean dishwasher is essential for clean dishes!
1. Remove Food Debris: Check the drain and remove any food debris.
2. Vinegar Rinse: Place a dishwasher-safe cup filled with white vinegar on the top rack of the dishwasher.
3. Run an Empty Cycle: Run the dishwasher on a hot cycle without any dishes.
4. Baking Soda Refresh: Sprinkle 1 cup of baking soda on the bottom of the dishwasher.
5. Run a Short Cycle: Run a short cycle to freshen the dishwasher.
Bathroom Bliss: Sparkling Clean from Top to Bottom
The bathroom can be a challenge, but with these tips, you’ll have it sparkling in no time.
Cleaning the Toilet: A Sparkling Throne
Let’s face it, cleaning the toilet isn’t glamorous, but it’s necessary.
1. Flush the Toilet: Flush the toilet to wet the bowl.
2. Vinegar Power: Pour 1 cup of white vinegar into the toilet bowl.
3. Let it Sit: Let it sit for at least 30 minutes (or overnight for stubborn stains).
4. Scrub: Scrub the bowl with a toilet bowl brush.
5. Flush Again: Flush the toilet to rinse.
6. Clean the Exterior: Wipe down the exterior of the toilet with a disinfectant cleaner or a solution of vinegar and water.
Shining the Shower and Tub: Banish Soap Scum
Soap scum can be a real pain. Here’s how to tackle it.
1. Vinegar Spray: Fill a spray bottle with equal parts white vinegar and water.
2. Spray the Surfaces: Spray the shower and tub surfaces with the vinegar solution.
3. Let it Sit: Let it sit for 15-20 minutes.
4. Scrub: Scrub the surfaces with a sponge or brush.
5. Rinse: Rinse thoroughly with clean water.
6. For Stubborn Soap Scum: Make a paste of baking soda and water and apply it to the stubborn areas. Let it sit for a few minutes, then scrub and rinse.
Cleaning the Showerhead: Restoring Water Pressure
A clogged showerhead can reduce water pressure. Here’s how to clean it.
1. Vinegar Soak: Fill a plastic bag with white vinegar.
2. Secure the Bag: Secure the bag around the showerhead with a rubber band or twist tie, ensuring the showerhead is submerged in the vinegar.
3. Let it Soak: Let it soak overnight.
4. Remove and Rinse: Remove the bag and rinse the showerhead thoroughly with water.
5. Remove Mineral Deposits: Use an old toothbrush to scrub away any remaining mineral deposits.
Mirror, Mirror on the Wall: Streak-Free Shine
Streaky mirrors are a pet peeve of mine!
1. Vinegar and Water Solution: Mix equal parts white vinegar and water in a spray bottle.
2. Spray the Mirror: Spray the mirror
Conclusion
So, there you have it! This simple yet incredibly effective cleaning trick is a game-changer for anyone looking to streamline their cleaning routine and achieve sparkling results without breaking the bank. We’ve shown you how to harness the power of readily available ingredients to create a potent cleaning solution that tackles grime, dirt, and everyday messes with ease.
Why is this DIY cleaning method a must-try? Because it’s not just about saving money (although that’s a definite perk!). It’s about taking control of the ingredients you’re using in your home, minimizing your exposure to harsh chemicals, and contributing to a more sustainable lifestyle. Many commercial cleaners are packed with synthetic fragrances and potentially harmful substances that can irritate sensitive skin, trigger allergies, and even negatively impact the environment. This DIY approach allows you to customize your cleaning experience, ensuring that you’re using only what you need and avoiding unnecessary additives.
But the benefits don’t stop there. This method is incredibly versatile. Feel free to experiment with different essential oils to create your own signature scent. Lavender, lemon, tea tree, and eucalyptus are all excellent choices, each offering unique aromatherapy benefits in addition to their cleaning properties. For tougher stains, consider adding a tablespoon of borax to the mixture for an extra boost of cleaning power. If you’re dealing with hard water, a splash of white vinegar can help prevent streaks and mineral buildup.
Remember, safety first! Always test your DIY cleaning solution on an inconspicuous area before applying it to larger surfaces. And while the ingredients are generally safe, it’s always a good idea to wear gloves, especially if you have sensitive skin.
We’re confident that once you try this DIY cleaning trick, you’ll be amazed by the results. It’s a simple, affordable, and effective way to keep your home clean and healthy. So, ditch the expensive store-bought cleaners and embrace the power of DIY!
We encourage you to give this method a try and share your experiences with us. Let us know what variations you’ve experimented with, what surfaces you’ve found it most effective on, and any tips or tricks you’ve discovered along the way. Your feedback is invaluable and helps us continue to refine and improve our cleaning recommendations. Share your stories in the comments below – we can’t wait to hear from you! Let’s revolutionize the way we clean, one DIY solution at a time! This is a great way to implement some effective cleaning tips.
Frequently Asked Questions (FAQ)
Is this DIY cleaning solution safe for all surfaces?
While this DIY cleaning solution is generally safe for most surfaces, it’s always best to test it on an inconspicuous area first, especially on delicate or sensitive materials like wood, marble, or granite. The acidity of vinegar, even in diluted form, can potentially damage certain surfaces over time. If you’re unsure, consult the manufacturer’s recommendations for cleaning specific materials. For example, avoid using vinegar-based cleaners on natural stone countertops, as they can etch the surface. Instead, opt for a pH-neutral cleaner specifically designed for stone. When in doubt, err on the side of caution and test before applying liberally.
Can I use different essential oils in this cleaning solution?
Absolutely! Essential oils not only add a pleasant fragrance to your cleaning solution but also offer various antibacterial, antiviral, and antifungal properties. Lavender, lemon, tea tree, eucalyptus, and peppermint are all popular choices for cleaning. Lavender is known for its calming and relaxing scent, while lemon offers a refreshing and invigorating aroma. Tea tree oil is a powerful antiseptic, and eucalyptus has decongestant properties. Peppermint can help to repel insects. Experiment with different combinations to find your favorite scent and cleaning benefits. Just be sure to use pure, high-quality essential oils for the best results. Avoid using fragrance oils, as they don’t offer the same therapeutic or cleaning properties.
How long will this DIY cleaning solution last?
This DIY cleaning solution can typically last for several weeks when stored properly in an airtight container. However, it’s best to use it within a month for optimal effectiveness. Over time, the essential oils may lose their potency, and the solution may become less effective at cleaning. To prolong its shelf life, store it in a cool, dark place away from direct sunlight. You can also add a small amount of vodka or rubbing alcohol to the mixture as a preservative. If you notice any changes in color, odor, or consistency, it’s best to discard the solution and make a fresh batch.
Can I use this cleaning solution on my clothes?
While this DIY cleaning solution can be used as a pre-treatment for stains on clothing, it’s not recommended for use in the washing machine as a detergent replacement. The solution may not be strong enough to remove all types of stains and dirt, and it could potentially damage delicate fabrics. If you’re using it as a pre-treatment, apply a small amount to the stain, let it sit for a few minutes, and then wash the garment as usual. Always test the solution on an inconspicuous area of the fabric first to ensure that it doesn’t cause any discoloration or damage. For best results, use a laundry detergent specifically designed for your clothing type and washing machine.
Is this DIY cleaning solution safe for pets and children?
While the ingredients in this DIY cleaning solution are generally considered safe, it’s still important to exercise caution when using it around pets and children. Essential oils can be toxic to pets if ingested, so keep the solution out of their reach. Avoid spraying it directly on pets or in areas where they frequently spend time. If you have young children, store the solution in a locked cabinet or out of their reach. Supervise children when they are helping with cleaning tasks and teach them about the importance of using cleaning products safely. If you’re concerned about potential sensitivities or allergies, consult with your pediatrician or veterinarian before using the solution around your family and pets.
What if I don’t have all the ingredients listed?
The beauty of DIY cleaning is its flexibility! If you’re missing an ingredient, you can often substitute it with something else. For example, if you don’t have white vinegar, you can use lemon juice instead. If you don’t have essential oils, you can simply omit them or use a natural fragrance extract. The most important ingredients are water and a cleaning agent like vinegar or baking soda. Experiment with different combinations to find what works best for you and your cleaning needs. Remember, the goal is to create a simple, effective, and affordable cleaning solution that you feel comfortable using in your home.
How often should I use this DIY cleaning solution?
The frequency of use will depend on your cleaning habits and the specific areas you’re cleaning. For daily cleaning tasks like wiping down countertops and sinks, you can use this solution as often as needed. For deeper cleaning tasks like scrubbing bathrooms and kitchens, you may only need to use it once or twice a week. Pay attention to the cleanliness of your home and adjust your cleaning schedule accordingly. Remember, consistency is key to maintaining a clean and healthy home.
Can I use this solution to clean my windows and mirrors?
Yes, this DIY cleaning solution can be used to clean windows and mirrors, but you may need to adjust the recipe slightly to prevent streaks. Use distilled water instead of tap water, as it contains fewer minerals that can leave streaks. You can also add a small amount of rubbing alcohol to the solution to help it evaporate quickly and prevent streaking. Use a microfiber cloth to wipe down the windows and mirrors, and avoid cleaning them in direct sunlight, as this can cause the solution to dry too quickly and leave streaks.
What are some other effective cleaning tips I can use with this solution?
This DIY cleaning solution is just one tool in your cleaning arsenal. Here are a few other effective cleaning tips to help you keep your home sparkling:
* **Declutter regularly:** A cluttered home is harder to clean, so make it a habit to declutter regularly.
* **Clean as you go:** Wipe up spills and messes as soon as they happen to prevent them from setting in.
* **Use the right tools:** Invest in high-quality cleaning tools like microfiber cloths, sponges, and brushes.
* **Ventilate your home:** Open windows and doors to improve air circulation and prevent the buildup of odors.
* **Don’t forget the details:** Pay attention to often-overlooked areas like light switches, doorknobs, and baseboards.
By combining this DIY cleaning solution with these effective cleaning tips, you can create a clean, healthy, and inviting home for you and your family.


Leave a Comment