

Grow Leaf Mustard, and you’ll unlock a world of peppery flavor right outside your back door! Have you ever dreamed of snipping fresh, vibrant greens just moments before adding them to your salad or stir-fry? Well, dream no more! This DIY guide will show you how incredibly easy it is to cultivate your own bountiful supply of leaf mustard, even if you’re a complete beginner.
Leaf mustard has a rich history, particularly in Asian cuisines, where it’s been enjoyed for centuries. From the spicy kick in a Korean kimchi to the subtle warmth in a Japanese ohitashi, this versatile green has earned its place as a culinary staple. But you don’t need to travel the world to experience its deliciousness.
In today’s world, where fresh, healthy produce can be expensive and sometimes hard to find, learning to grow leaf mustard at home is more relevant than ever. Imagine skipping the grocery store lines and instead, harvesting your own organic, pesticide-free greens whenever you need them. Not only will you save money, but you’ll also enjoy the satisfaction of nurturing something from seed to table. Plus, it’s a fantastic way to connect with nature and add a touch of green to your living space. So, let’s get started and discover the simple secrets to a thriving leaf mustard garden!
Grow Your Own Delicious Leaf Mustard: A DIY Guide
Hey there, fellow gardening enthusiasts! I’m so excited to share my experience with growing leaf mustard. It’s surprisingly easy, incredibly rewarding, and adds a fantastic peppery kick to salads, stir-fries, and so much more. Trust me, once you’ve tasted homegrown mustard greens, you’ll never go back to the store-bought stuff!
This guide will walk you through every step, from choosing the right variety to harvesting your bountiful crop. Let’s get started!
Choosing Your Mustard Variety
Before we dive into planting, let’s talk mustard varieties. There are tons to choose from, each with its own unique flavor and texture. Here are a few of my favorites:
* ‘Florida Broadleaf’: This is a classic, reliable variety with large, smooth leaves and a mild mustard flavor. It’s a great choice for beginners.
* ‘Red Giant’: As the name suggests, this variety boasts beautiful reddish-purple leaves and a slightly spicier flavor than ‘Florida Broadleaf’. It adds a pop of color to your garden and your plate!
* ‘Osaka Purple’: Similar to ‘Red Giant’ but with even more intense purple hues, ‘Osaka Purple’ is a real showstopper. Its flavor is bold and peppery.
* ‘Mizuna’: This Japanese mustard green has feathery, serrated leaves and a mild, slightly sweet flavor. It’s perfect for salads and stir-fries.
* ‘Gai Choy’: Also known as Chinese mustard, ‘Gai Choy’ has a strong, pungent flavor and is often used in Asian cuisine.
Pro Tip: Consider growing a mix of varieties for a diverse range of flavors and textures!
Getting Started: Planting Your Mustard Greens
Mustard greens are cool-season crops, meaning they thrive in cooler temperatures. The best time to plant them is in early spring or late summer/early fall.
Here’s what you’ll need:
* Mustard seeds (choose your favorite variety!)
* Well-draining soil (I like to use a mix of compost, potting soil, and a little bit of sand)
* A sunny spot in your garden (mustard greens need at least 6 hours of sunlight per day)
* A garden rake
* Watering can or hose
* Optional: Row covers to protect from pests and frost
Now, let’s get planting!
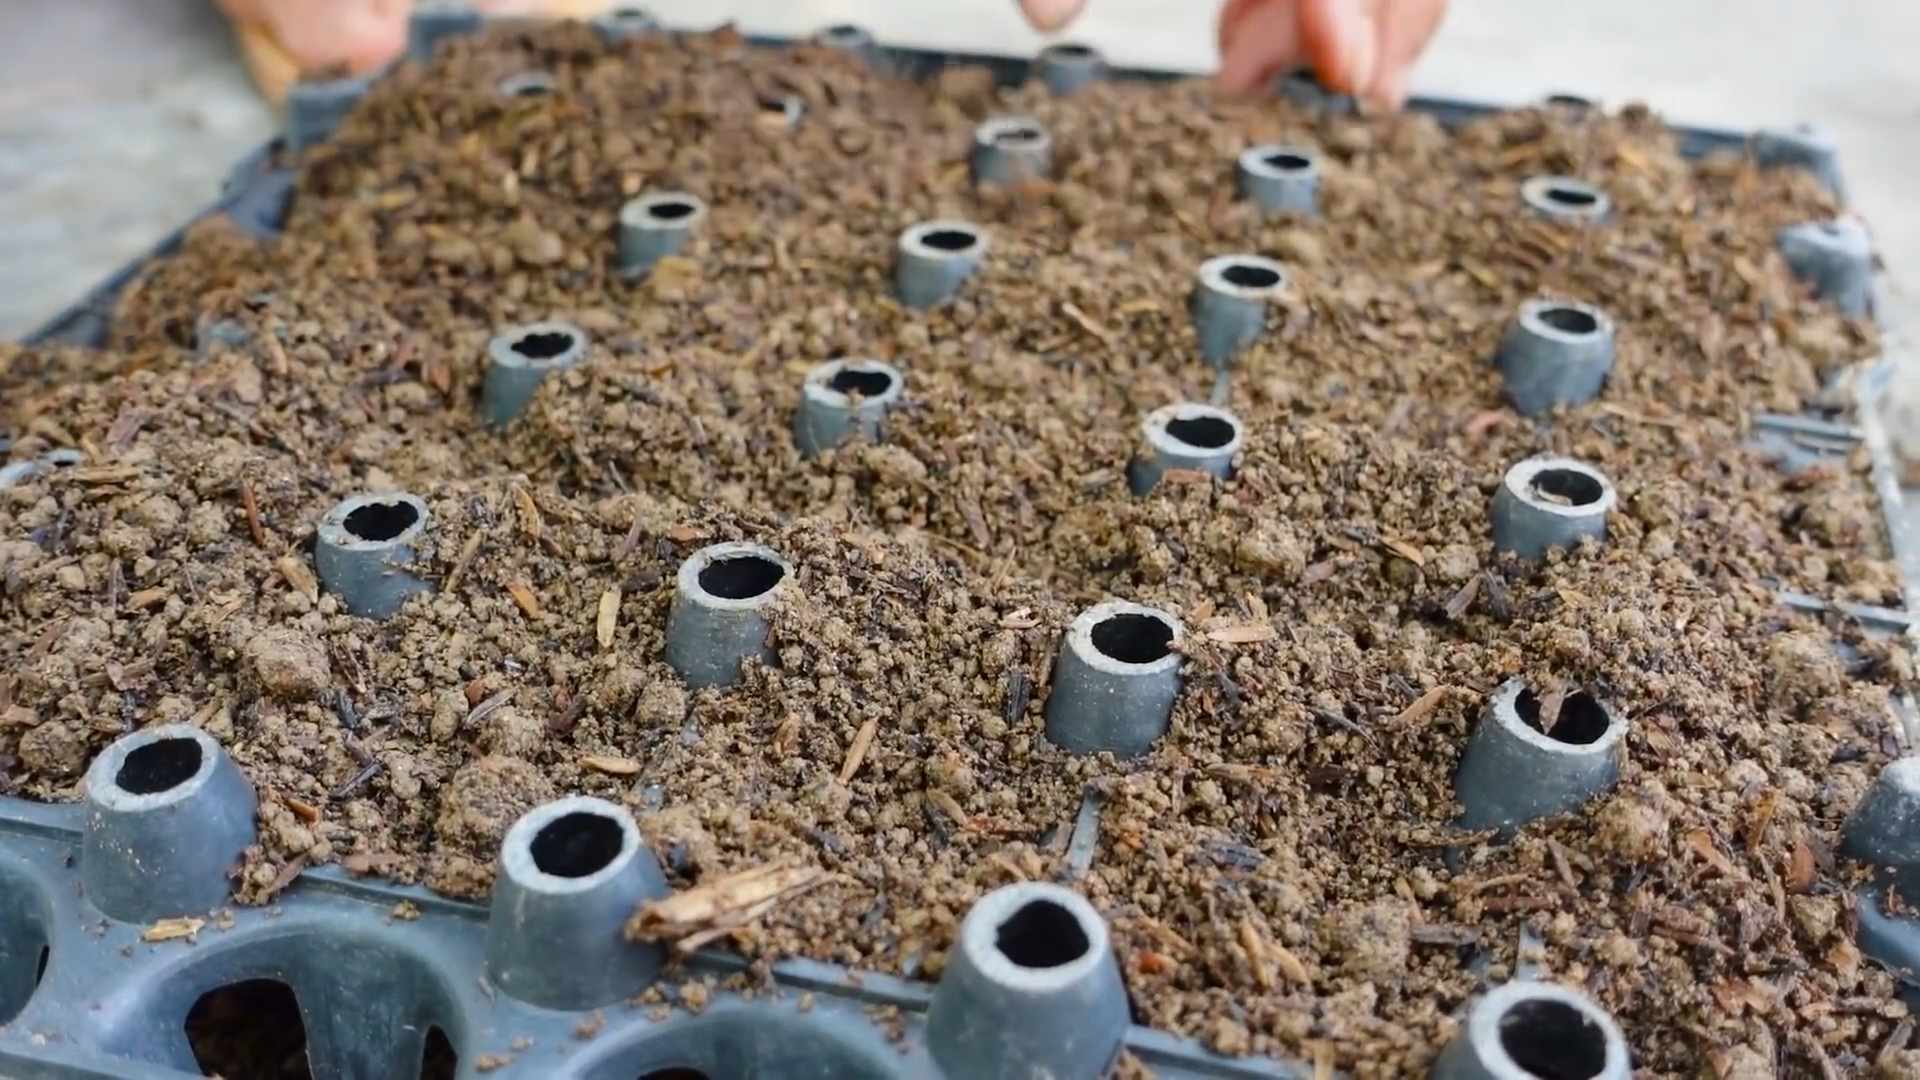
1. Prepare the soil: Start by clearing the area where you want to plant your mustard greens. Remove any weeds, rocks, or debris. Then, use a garden rake to loosen the soil and create a smooth, even surface. I like to amend the soil with compost to improve its fertility and drainage.
2. Sow the seeds: Mustard seeds are tiny, so you don’t need to plant them very deep. Simply sprinkle the seeds evenly over the prepared soil. You can broadcast them (scatter them randomly) or sow them in rows. If you’re sowing in rows, space the rows about 12 inches apart.
3. Cover the seeds: Gently rake the soil over the seeds, covering them with a thin layer (about ¼ inch) of soil. You don’t want to bury them too deep, as they need light to germinate.
4. Water gently: Use a watering can or hose to gently water the soil. Be careful not to wash away the seeds. The soil should be moist but not soggy.
5. Optional: Cover with row covers: If you’re planting in early spring or late fall, you may want to cover your mustard greens with row covers to protect them from frost and pests. Row covers are lightweight fabric covers that you can place over your plants.
Caring for Your Mustard Greens
Once your mustard seeds have germinated (usually within a week or two), it’s time to start caring for your plants. Here’s what you need to do:
1. Thin the seedlings: Once the seedlings are a few inches tall, thin them out so that they are spaced about 4-6 inches apart. This will give them enough room to grow and prevent overcrowding. You can use scissors or your fingers to carefully remove the extra seedlings. Don’t throw them away! You can add them to salads or stir-fries.
2. Water regularly: Mustard greens need consistent moisture to thrive. Water them regularly, especially during dry spells. Aim to keep the soil moist but not soggy. I usually water my mustard greens every other day, or more often if the weather is hot and dry.
3. Fertilize (optional): Mustard greens are relatively light feeders, but you can give them a boost with a light feeding of fertilizer. I like to use a liquid fertilizer diluted to half strength. Apply the fertilizer every few weeks, following the instructions on the package.
4. Weed regularly: Keep your mustard green patch free of weeds. Weeds compete with your plants for nutrients and water. Hand-pull weeds regularly, or use a hoe to cultivate the soil around your plants.
5. Watch out for pests: Mustard greens can be susceptible to pests such as aphids, flea beetles, and cabbage worms. Inspect your plants regularly for signs of infestation. If you find pests, you can try spraying them with insecticidal soap or neem oil. You can also cover your plants with row covers to prevent pests from getting to them in the first place.
Harvesting Your Mustard Greens
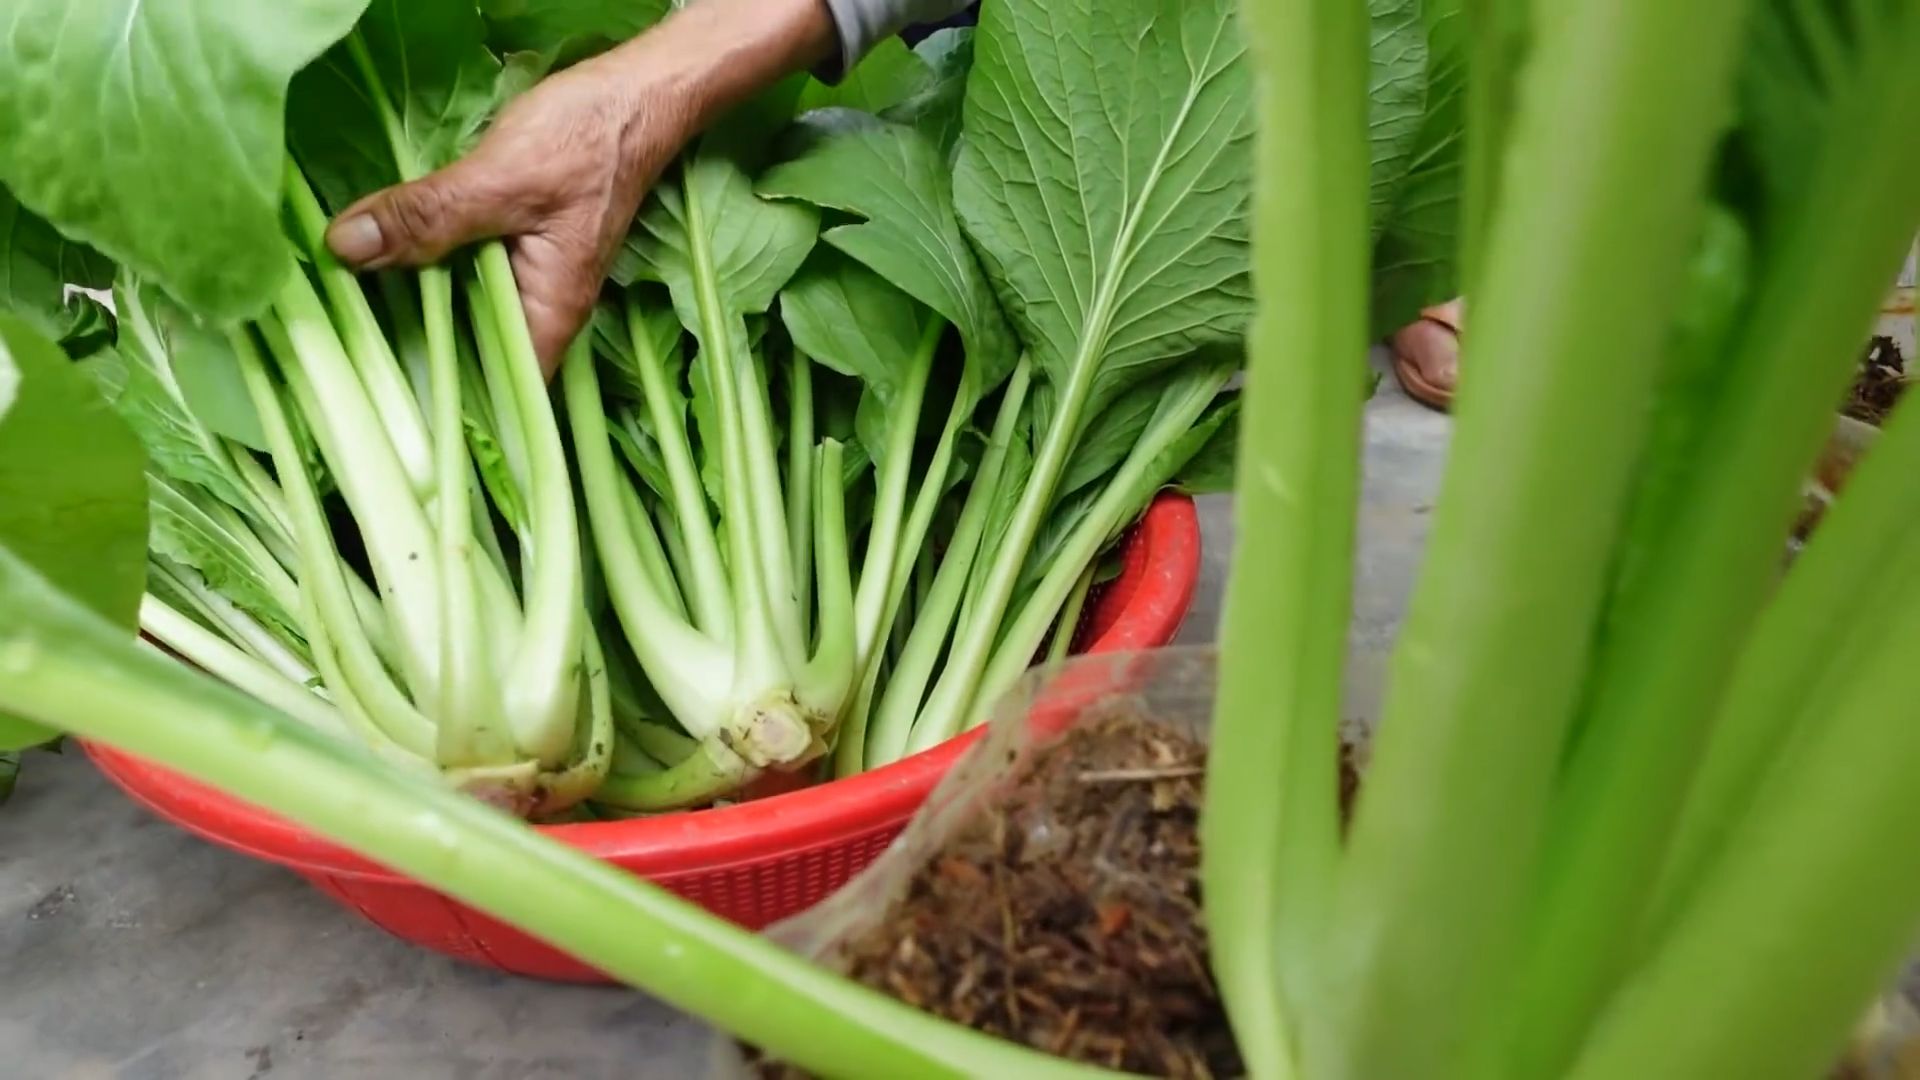
The best part of growing your own mustard greens is, of course, harvesting them! You can start harvesting your mustard greens when the leaves are about 6-8 inches long.
Here’s how to harvest:
1. Choose the leaves to harvest: Select the outer leaves of the plant, leaving the inner leaves to continue growing. This will allow you to harvest multiple times from the same plant.
2. Cut the leaves: Use a sharp knife or scissors to cut the leaves off the plant, about an inch above the ground.
3. Wash the leaves: Wash the harvested leaves thoroughly with water to remove any dirt or debris.
4. Store the leaves: Store the washed leaves in a plastic bag in the refrigerator. They will keep for several days.
Pro Tip: For the best flavor, harvest your mustard greens in the morning, before the sun gets too hot.
Enjoying Your Homegrown Mustard Greens
Now that you’ve harvested your delicious mustard greens, it’s time to enjoy them! Here are a few of my favorite ways to use them:
* Salads: Add mustard greens to your favorite salad for a peppery kick. They pair well with other greens, such as lettuce, spinach, and arugula.
* Stir-fries: Mustard greens are a great addition to stir-fries. They add a slightly bitter and spicy flavor that complements other vegetables and proteins.
* Soups: Add mustard greens to soups for a boost of flavor and nutrients. They are especially good in Asian-inspired soups.
* Sautéed: Sauté mustard greens with garlic and olive oil for a simple and delicious side dish.
* Pickled: Pickle mustard greens for a tangy and flavorful condiment.
Recipe Idea: Simple Sautéed Mustard Greens
This is my go-to recipe for a quick and easy side dish.
Ingredients:
* 1 bunch of mustard greens, washed and chopped
* 2 cloves garlic, minced
* 2 tablespoons olive oil
* Salt and pepper to taste
* Optional: Red pepper flakes for a little heat
Instructions:
1. Heat the olive oil in a large skillet over medium heat.
2. Add the garlic and cook for about a minute, until fragrant.
3. Add the mustard greens and cook for about 5-7 minutes, until wilted and tender.
4. Season with salt, pepper, and red pepper flakes (if using).
5. Serve immediately.
Troubleshooting
Even with the best planning, sometimes things don’t go exactly as expected. Here are a few common problems you might encounter when growing mustard greens and how to fix them:
* Poor germination: If your mustard seeds aren’t germinating, it could be due to several factors. Make sure the soil is moist but not soggy. The seeds may also be too old, or the soil temperature may be too cold. Try starting the seeds indoors in a warm, sunny location.
* Yellowing leaves: Yellowing leaves can be a sign of nutrient deficiency. Try fertilizing your mustard greens with a balanced fertilizer. It could also be due to overwatering or poor drainage. Make sure the soil is well-draining and avoid overwatering.
* Pest infestations: As mentioned earlier, mustard greens can be susceptible to pests. Inspect your plants regularly and take action as soon as you notice any signs of infestation.
* Bolting: Bolting is when the plant starts to produce flowers and seeds prematurely. This can happen when the weather gets too hot. To prevent bolting, try planting your mustard greens in a shady location or providing them with shade during the
Conclusion
So, there you have it! Growing your own leaf mustard isn’t just a fun gardening project; it’s a gateway to a world of fresh, peppery flavor right at your fingertips. We’ve walked through the simple steps, from selecting the right seeds to harvesting your bountiful crop. But why is this DIY trick a must-try?
Firstly, the taste. Store-bought mustard greens simply can’t compare to the vibrant, spicy kick of freshly harvested, homegrown leaf mustard. The difference is palpable, a testament to the power of fresh produce. Secondly, it’s incredibly rewarding. There’s a unique satisfaction in nurturing a plant from seed to table, knowing you’ve created something delicious and healthy with your own two hands. Thirdly, it’s economical. A single packet of seeds can yield multiple harvests, saving you money compared to constantly buying greens at the grocery store. Finally, it’s sustainable. You’re reducing your carbon footprint by growing your own food and minimizing reliance on commercially produced and transported vegetables.
But the fun doesn’t stop there! Feel free to experiment with different varieties of leaf mustard. ‘Red Giant’ offers a beautiful color contrast in salads, while ‘Florida Broadleaf’ provides a milder, more versatile flavor. You can also adjust the growing conditions to influence the taste. For a spicier kick, expose your plants to more sunlight. For a milder flavor, provide some afternoon shade.
Consider companion planting your leaf mustard with other vegetables like radishes or carrots. These companions can help deter pests and improve the overall health of your garden. You can also use your homegrown leaf mustard in a variety of dishes. Add it to salads for a peppery bite, sauté it with garlic and olive oil for a simple side dish, or incorporate it into soups and stews for added flavor and nutrients. Don’t be afraid to get creative in the kitchen!
Growing your own leaf mustard is more than just a recipe; it’s an experience. It’s a chance to connect with nature, learn new skills, and enjoy the unparalleled taste of fresh, homegrown produce.
We wholeheartedly encourage you to give this DIY trick a try. Start small, experiment with different varieties, and most importantly, have fun! Once you’ve harvested your first crop, we’d love to hear about your experience. Share your photos, recipes, and tips in the comments below. Let’s build a community of leaf mustard enthusiasts and inspire others to embrace the joys of homegrown goodness. What are you waiting for? Get planting!
Frequently Asked Questions (FAQ)
What is the best time of year to plant leaf mustard?
Leaf mustard is a cool-season crop, meaning it thrives in cooler temperatures. The best time to plant is typically in early spring or late summer/early fall. For a spring crop, sow seeds 2-4 weeks before the last expected frost. For a fall crop, sow seeds 6-8 weeks before the first expected frost. In warmer climates, you can often grow leaf mustard throughout the winter. Avoid planting during the hottest months of summer, as high temperatures can cause the plants to bolt (go to seed) and become bitter.
How much sunlight does leaf mustard need?
Leaf mustard prefers full sun, which means at least 6 hours of direct sunlight per day. However, it can tolerate partial shade, especially in warmer climates. If you live in a hot climate, providing some afternoon shade can help prevent the plants from bolting. Insufficient sunlight can result in leggy, weak plants with less intense flavor.
What kind of soil is best for growing leaf mustard?
Leaf mustard grows best in well-drained soil that is rich in organic matter. The ideal soil pH is between 6.0 and 7.5. Before planting, amend the soil with compost or other organic matter to improve drainage and fertility. Avoid heavy clay soils, as they can become waterlogged and hinder root growth. If you have clay soil, consider growing your leaf mustard in raised beds or containers.
How often should I water leaf mustard?
Leaf mustard needs consistent moisture to thrive. Water regularly, especially during dry periods. Aim to keep the soil consistently moist but not waterlogged. Overwatering can lead to root rot, while underwatering can cause the plants to wilt and become stressed. A good rule of thumb is to water when the top inch of soil feels dry to the touch. Mulching around the plants can help retain moisture and suppress weeds.
How do I harvest leaf mustard?
You can begin harvesting leaf mustard when the leaves are about 4-6 inches long. Harvest individual leaves as needed, starting with the outer leaves. This allows the inner leaves to continue growing. Alternatively, you can harvest the entire plant at once by cutting it off at the base. For the best flavor, harvest in the morning after the dew has dried. Avoid harvesting during the hottest part of the day, as the leaves may be wilted.
What are some common pests and diseases that affect leaf mustard?
Leaf mustard can be susceptible to several pests and diseases, including aphids, flea beetles, cabbage worms, and downy mildew. To prevent pest and disease problems, practice good garden hygiene. Remove weeds and debris from around the plants, and water from below to avoid wetting the foliage. Inspect your plants regularly for signs of pests or diseases, and take action promptly if you notice any problems. Organic pest control methods, such as insecticidal soap or neem oil, can be effective for controlling aphids and other pests.
How do I store harvested leaf mustard?
Freshly harvested leaf mustard is best used immediately. However, you can store it in the refrigerator for up to a week. To store, wash the leaves thoroughly and pat them dry. Wrap them in a paper towel and place them in a plastic bag or container. This will help keep them fresh and prevent them from wilting.
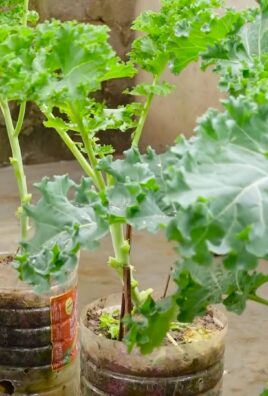
Can I grow leaf mustard in containers?
Yes, leaf mustard grows well in containers. Choose a container that is at least 6 inches deep and has drainage holes. Fill the container with a well-draining potting mix. Plant the seeds according to the instructions on the seed packet. Water regularly and fertilize as needed. Container-grown leaf mustard may need to be watered more frequently than plants grown in the ground, especially during hot weather.
How can I make my leaf mustard spicier?
The spiciness of leaf mustard can be influenced by several factors, including the variety, growing conditions, and maturity of the leaves. To grow spicier leaf mustard, choose a variety that is known for its spicy flavor, such as ‘Osaka Purple’ or ‘Red Giant’. Expose the plants to more sunlight, as this can increase the concentration of mustard oils in the leaves. Harvest the leaves when they are more mature, as the flavor tends to become spicier as the plants age.
What are some creative ways to use leaf mustard in cooking?
Leaf mustard is a versatile ingredient that can be used in a variety of dishes. Add it to salads for a peppery bite, sauté it with garlic and olive oil for a simple side dish, or incorporate it into soups and stews for added flavor and nutrients. You can also use it in stir-fries, sandwiches, and wraps. For a unique twist, try pickling leaf mustard or using it to make a pesto. The possibilities are endless!

Leave a Comment