

Grow Pechay at Home – and unlock the secrets to a thriving, delicious garden right outside your door! Have you ever dreamed of snipping fresh, vibrant greens for your dinner salad just moments before eating? Or perhaps you’re tired of the wilted, overpriced vegetables at the grocery store? Well, dream no more! This guide is your passport to cultivating your very own pechay patch, no matter how small your space may be.
Pechay, also known as Chinese cabbage, has been a staple in Asian cuisine for centuries. Its crisp texture and mild flavor make it incredibly versatile, lending itself beautifully to stir-fries, soups, and even salads. Beyond its culinary appeal, growing your own pechay connects you to a rich agricultural heritage, a tradition of self-sufficiency that has nourished communities for generations.
But why should *you* learn to grow pechay at home? In today’s world, knowing where your food comes from is more important than ever. By cultivating your own vegetables, you gain control over the quality and freshness of your produce, avoiding harmful pesticides and supporting sustainable practices. Plus, let’s be honest, there’s nothing quite as satisfying as harvesting something you’ve nurtured from seed to table. So, let’s dive in and discover the simple, effective DIY tricks that will have you enjoying homegrown pechay in no time!
Grow Your Own Delicious Pechay at Home: A Beginner’s Guide
Hey there, fellow gardening enthusiasts! Ever dreamt of having fresh, crisp pechay right at your fingertips? Well, dream no more! Growing your own pechay at home is surprisingly easy and rewarding. I’m going to walk you through every step, from choosing the right seeds to harvesting your bounty. Let’s get started!
Choosing the Right Pechay Variety
First things first, let’s talk about pechay varieties. There are a few popular options, each with its own unique characteristics:
* ‘Black Behi’: This variety is known for its dark green leaves and slightly bitter taste. It’s a great choice if you prefer a more robust flavor.
* ‘White Stem’: As the name suggests, this variety has white stems and lighter green leaves. It’s milder in flavor and very popular in Asian cuisine.
* ‘Hybrid Varieties’: These are often bred for disease resistance and higher yields. Check your local garden center for hybrid options that thrive in your climate.
I personally prefer the ‘White Stem’ variety because of its delicate flavor, but feel free to experiment and find your favorite!
Preparing Your Growing Medium
Pechay thrives in well-draining, nutrient-rich soil. Here’s how I prepare my growing medium:
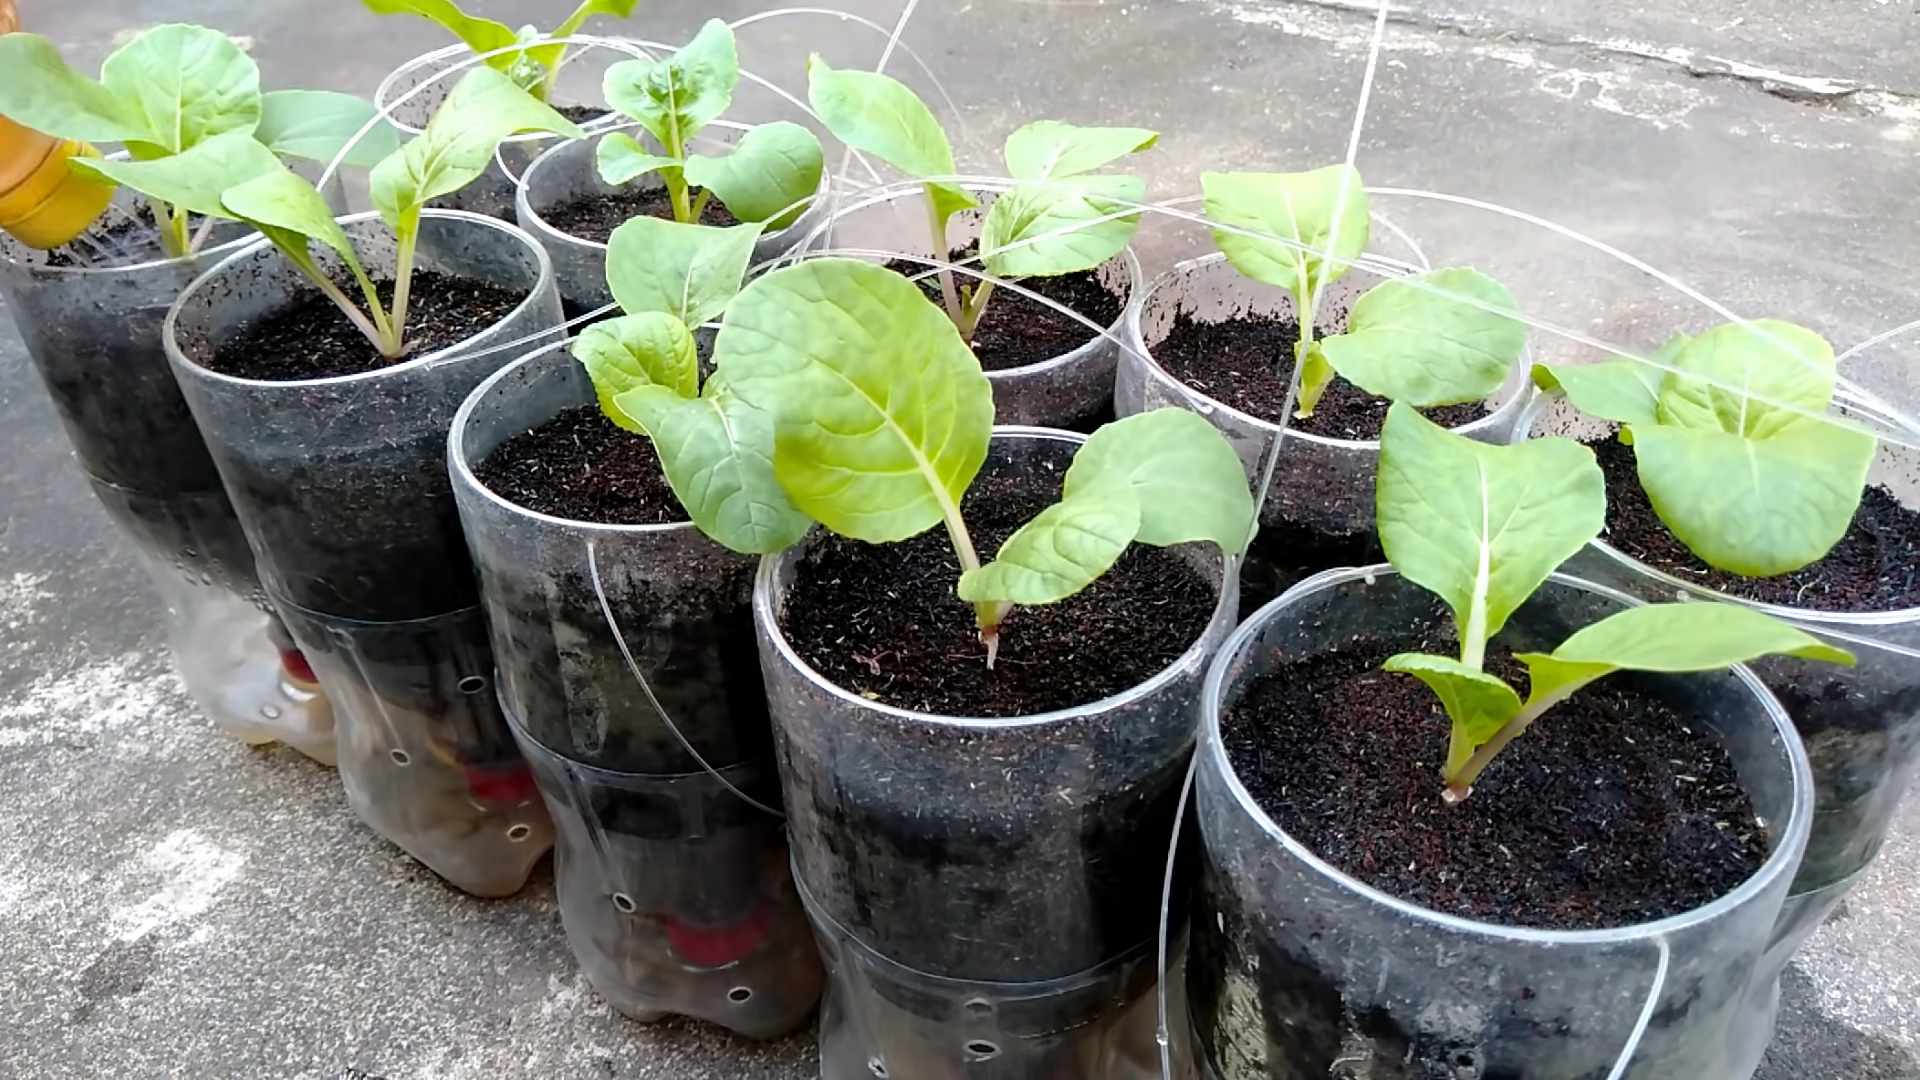
* Container Gardening: If you’re growing in containers (which is perfect for beginners!), use a high-quality potting mix. I like to amend mine with compost and perlite for added drainage and nutrients.
* Garden Bed: If you’re planting directly in the garden, make sure the soil is loose and free of rocks and debris. Amend it with compost or well-rotted manure to improve fertility.
Important Tip: Pechay prefers a slightly acidic to neutral soil pH (around 6.0 to 7.0). You can test your soil pH with a simple soil testing kit from your local garden center.
Sowing Your Pechay Seeds
Now for the fun part – planting! You can either start your pechay seeds indoors or directly sow them in your garden. I usually prefer direct sowing, as it avoids the hassle of transplanting.
* Timing: Pechay is a cool-season crop, so the best time to plant is in early spring or late summer/early fall. Avoid planting during the hottest months of the year, as the heat can cause the plants to bolt (go to seed prematurely).
* Direct Sowing:
1. Prepare your soil as described above.
2. Create shallow furrows about 1/4 inch deep and 6 inches apart.
3. Sow the seeds thinly along the furrows.
4. Cover the seeds lightly with soil and gently water.
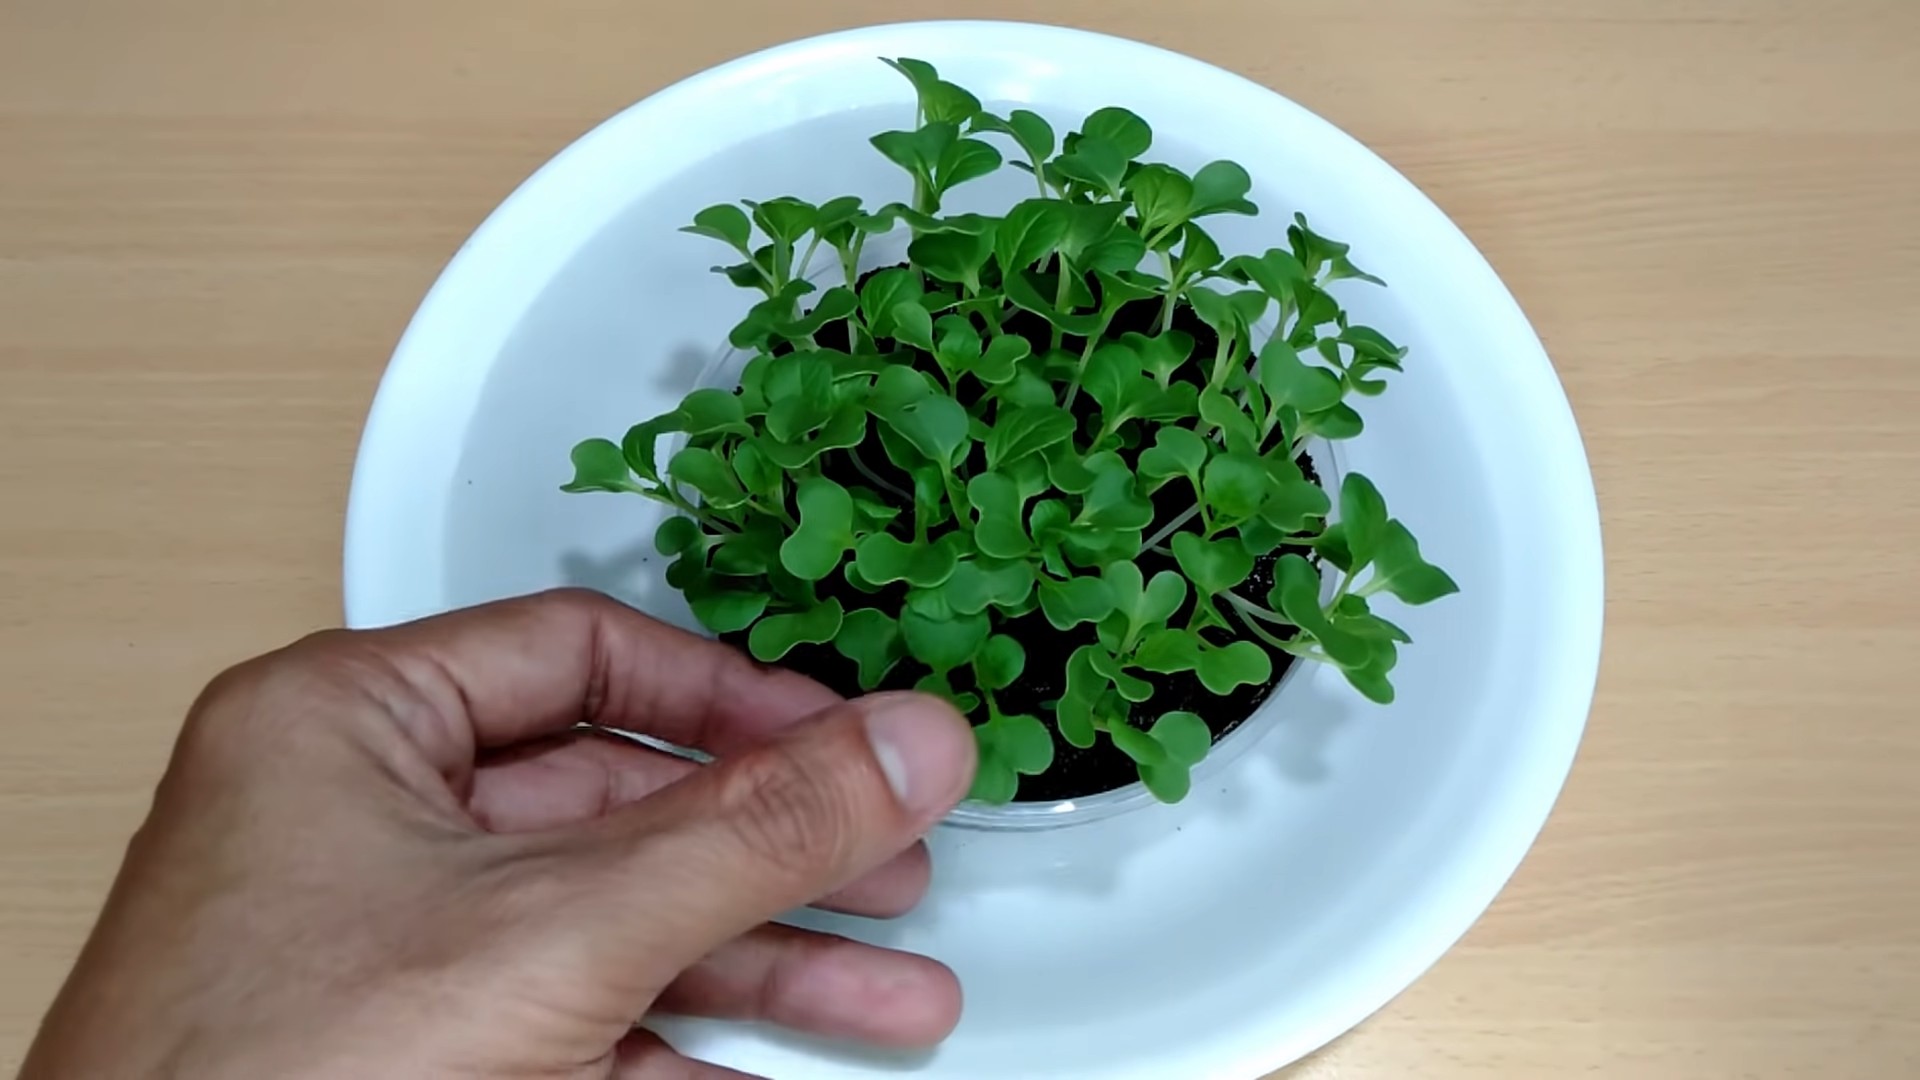
5. Keep the soil consistently moist until the seeds germinate (usually within 5-7 days).
* Starting Indoors (Optional):
1. Fill seed trays or small pots with potting mix.
2. Sow 2-3 seeds per cell or pot.
3. Cover the seeds lightly with soil and gently water.
4. Keep the soil moist and place the trays in a warm, sunny location.
5. Once the seedlings have developed a few true leaves, you can transplant them into your garden or containers.
Caring for Your Pechay Plants
Once your pechay seedlings have emerged, it’s time to provide them with the care they need to thrive.
* Watering: Pechay needs consistent moisture, especially during hot weather. Water deeply whenever the top inch of soil feels dry. Avoid overwatering, as this can lead to root rot.
* Thinning: If you direct-sowed your seeds, you’ll need to thin the seedlings once they’re a few inches tall. Thin them to about 4-6 inches apart to give them enough room to grow.
* Fertilizing: Pechay is a heavy feeder, so it benefits from regular fertilization. I like to use a balanced organic fertilizer every 2-3 weeks. You can also side-dress with compost or worm castings.
* Weeding: Keep your pechay patch free of weeds, as they can compete for nutrients and water. Hand-pull weeds carefully to avoid disturbing the pechay roots.
* Sunlight: Pechay prefers full sun (at least 6 hours of direct sunlight per day), but it can tolerate partial shade, especially in hot climates.
* Pest Control: Keep an eye out for common pests like aphids, cabbage worms, and slugs.
* Aphids: These tiny insects can suck the sap from your pechay leaves. You can control them with a strong spray of water or by introducing beneficial insects like ladybugs.
* Cabbage Worms: These caterpillars can devour your pechay leaves. Hand-pick them off the plants or use a biological insecticide like Bacillus thuringiensis (Bt).
* Slugs: These slimy creatures can damage your pechay leaves, especially at night. You can trap them with beer traps or use slug pellets.
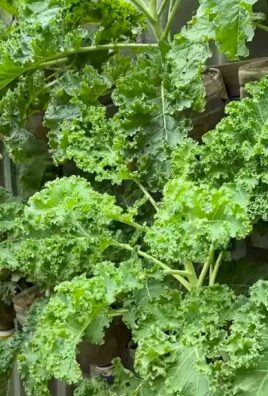
Harvesting Your Pechay
The best part! Pechay is typically ready to harvest about 40-50 days after planting.
* Harvesting Method: You can harvest the entire plant at once by cutting it off at the base, or you can harvest individual leaves as needed. I prefer to harvest individual leaves, as this allows the plant to continue producing for a longer period.
* Harvesting Time: Harvest your pechay in the morning, when the leaves are crisp and fresh.
* Storage: Store harvested pechay in the refrigerator in a plastic bag or container. It will keep for several days.
Troubleshooting Common Problems
Even with the best care, you might encounter some problems while growing pechay. Here are a few common issues and how to address them:
* Bolting: Bolting (premature flowering) can occur if the plants are exposed to high temperatures or stress. To prevent bolting, plant your pechay during the cool season and provide adequate water and shade.
* Yellowing Leaves: Yellowing leaves can be a sign of nutrient deficiency, overwatering, or disease. Check your soil pH and nutrient levels, and adjust your watering schedule accordingly.
* Stunted Growth: Stunted growth can be caused by poor soil, lack of sunlight, or pest infestation. Make sure your pechay is planted in well-draining, nutrient-rich soil and receives adequate sunlight. Inspect your plants regularly for pests and take appropriate action.
Enjoying Your Homegrown Pechay
Now that you’ve harvested your delicious pechay, it’s time to enjoy it! Pechay is a versatile vegetable that can be used in a variety of dishes. Here are a few of my favorite ways to use it:
* Stir-fries: Pechay is a classic ingredient in stir-fries. It adds a crisp, refreshing flavor and a boost of nutrients.
* Soups: Pechay can be added to soups for a healthy and flavorful addition.
* Salads: Young, tender pechay leaves can be used in salads.
* Steamed: Steamed pechay is a simple and healthy side dish.
* Sauteed: Sauteed pechay with garlic and ginger is a quick and easy weeknight meal.
I hope this guide has inspired you to grow your own pechay at home. It’s a rewarding experience that will provide you with fresh, healthy vegetables for your family. Happy gardening!
Conclusion
So, there you have it! Growing your own pechay at home isn’t just a fun project; it’s a gateway to fresher, more flavorful meals and a deeper connection with the food you eat. We’ve walked you through the simple steps, from seed to harvest, and hopefully demystified the process. The beauty of this DIY approach is its adaptability. Whether you have a sprawling garden or a small balcony, there’s a way to cultivate these leafy greens.
Why is this a must-try? Because store-bought pechay simply can’t compare to the vibrant taste and nutritional value of homegrown. You control the growing environment, ensuring your pechay is free from harmful pesticides and packed with vitamins. Plus, there’s an undeniable satisfaction in nurturing a plant from a tiny seed to a bountiful harvest.
Looking for variations? Consider experimenting with different pechay varieties. Some are more compact, ideal for container gardening, while others boast unique flavors and textures. You can also adjust the growing conditions to influence the taste. For a sweeter flavor, ensure your pechay receives plenty of sunlight. For a slightly more robust taste, provide a bit more shade. Companion planting is another avenue to explore. Planting herbs like basil or mint nearby can deter pests and enhance the overall health of your pechay.
Don’t be afraid to get your hands dirty and embrace the learning process. Gardening is a journey, and every mistake is an opportunity to grow (pun intended!). The key is to start small, be patient, and observe your plants closely. They’ll tell you what they need.
We wholeheartedly encourage you to try growing pechay at home. It’s a rewarding experience that will not only enhance your culinary creations but also connect you with nature in a meaningful way. And most importantly, you’ll have access to fresh, delicious, and healthy greens right at your fingertips.
Once you’ve harvested your first batch of homegrown pechay, we’d love to hear about your experience! Share your tips, tricks, and photos in the comments below. Let’s build a community of home gardeners and inspire others to discover the joys of growing their own food. Your success story could be the encouragement someone else needs to take the plunge. So, go ahead, give it a try, and let us know how it goes! Happy gardening!
Frequently Asked Questions (FAQs)
What is the best time of year to grow pechay?
Pechay thrives in cooler temperatures, making it an ideal crop for spring and fall. In regions with mild winters, you can even grow it year-round. Avoid planting during the hottest months of summer, as excessive heat can cause bolting (premature flowering), which affects the taste and texture of the leaves. If you live in a warmer climate, consider providing shade during the hottest part of the day.
How much sunlight does pechay need?
Pechay requires at least 4-6 hours of direct sunlight per day. However, in hotter climates, providing some afternoon shade can prevent the leaves from scorching. If you’re growing pechay indoors, use grow lights to supplement natural sunlight and ensure adequate light exposure. Insufficient sunlight can result in leggy growth and reduced yields.
What type of soil is best for growing pechay?
Pechay prefers well-draining, fertile soil with a pH between 6.0 and 7.5. Amend your soil with compost or other organic matter to improve drainage, fertility, and water retention. Avoid heavy clay soils, as they can become waterlogged and hinder root growth. A slightly acidic soil is ideal for optimal nutrient uptake.
How often should I water my pechay plants?
Water your pechay plants regularly, keeping the soil consistently moist but not waterlogged. Water deeply at the base of the plants, avoiding wetting the leaves, which can increase the risk of fungal diseases. The frequency of watering will depend on the weather conditions and the type of soil you’re using. Check the soil moisture regularly and adjust your watering schedule accordingly.
What are some common pests and diseases that affect pechay?
Common pests that can affect pechay include aphids, cabbage worms, and flea beetles. To control these pests, you can use organic methods such as handpicking, insecticidal soap, or neem oil. Common diseases include downy mildew and damping-off. To prevent these diseases, ensure good air circulation, avoid overwatering, and use disease-resistant varieties. Regularly inspect your plants for signs of pests or diseases and take action promptly.
How long does it take for pechay to mature?
Pechay is a fast-growing vegetable, typically maturing in 45-50 days from seed. You can start harvesting the outer leaves as soon as they reach a usable size, or you can wait until the entire plant is mature. Regular harvesting encourages continued growth and extends the harvest period.
Can I grow pechay in containers?
Yes, pechay is well-suited for container gardening. Choose a container that is at least 6-8 inches deep and wide to allow for adequate root growth. Use a well-draining potting mix and ensure the container has drainage holes. Place the container in a sunny location and water regularly. Container-grown pechay may require more frequent watering and fertilization than plants grown in the ground.
How do I harvest pechay?
You can harvest pechay by cutting the entire plant at the base or by harvesting the outer leaves as needed. If you harvest the outer leaves, the plant will continue to produce new leaves. Harvest in the morning when the leaves are crisp and fresh. Wash the leaves thoroughly before using them in your recipes.
What are some ways to use homegrown pechay?
Homegrown pechay can be used in a variety of dishes, including stir-fries, soups, salads, and stews. It can also be steamed, boiled, or sautéed. Pechay has a mild, slightly peppery flavor that complements many different cuisines. Experiment with different recipes and find your favorite ways to enjoy this versatile vegetable.
How can I encourage more growth after harvesting some leaves?
After harvesting, side-dress your pechay plants with a balanced organic fertilizer to replenish nutrients in the soil. This will encourage new growth and ensure a continuous harvest. Also, continue to water regularly and protect the plants from pests and diseases. Regular monitoring and care will help your pechay plants thrive.


Leave a Comment